
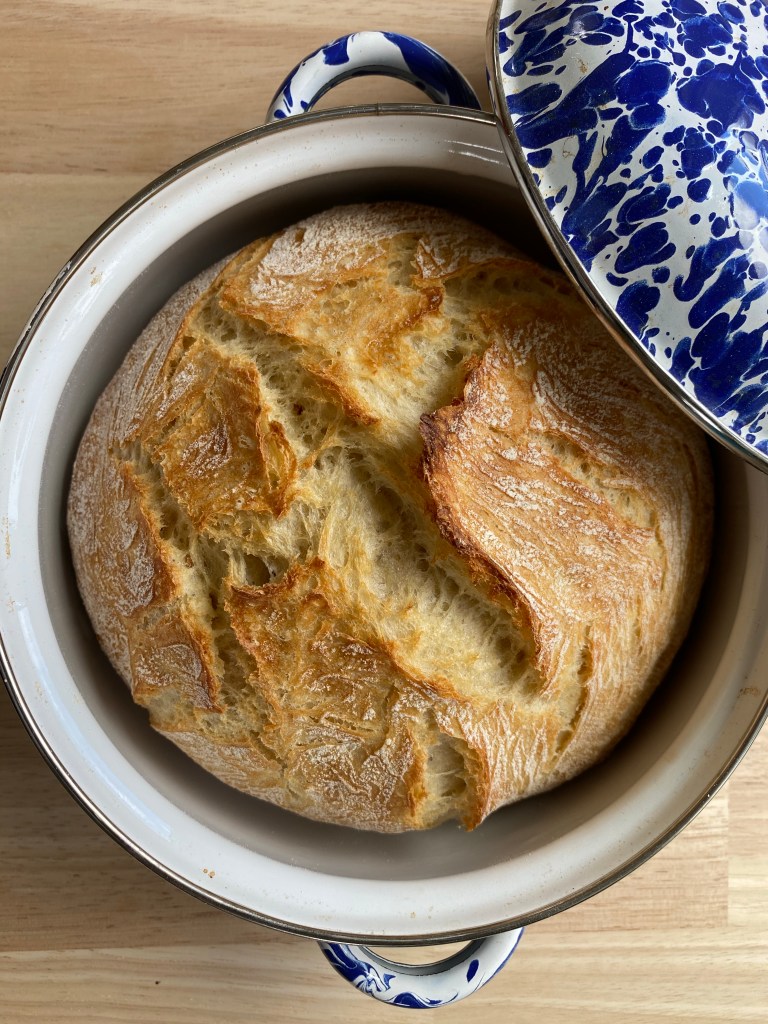
FRANCE: A round, heavy loaf baked in a pot with a lid (it doesn’t have to be a dutch oven). I chose this version because of the detailed instructions, great videos, delicious taste, and the no-knead method. If you learn how to make just one bread this should be the one. The perfect loaf to impress!
There are thousands of recipes on line for this type of no-knead, dutch oven breads. I tested many of them and this one has loads of tips and explanations that make it the best one out there – and you can make it in a few hours, i.e. no overnight proofing time. I suggest reading through the entire page all the way to the end and watching the videos before you get started.
It is best viewed on a laptop; there are lots of pop up ads and videos that get in the way if you try to follow along via your phone. Have fun! You’ll be so glad you did! And don’t forget to read the “Homemade Bread FAQ” before you begin. Get those questions answered before you’re in the middle of the process!
Sometimes an overnight proof comees in handy, especially if you’d like to get the bread in the oven in the morning. Check out the Fig & Walnut loaf from Week 49.
Easy Crusty French Bread
Website: Life as a Strawberry | Baker: Jessie Johnson
Step 1: Make dough
- 7 g yeast (2-1/4 tsp, or one packet) You can use rapid-rise or instant.
- 4 g (1 tsp) sugar
- 10 g salt (1-1/4 tsp)
- 360 g all purpose flour (3 cups. Make sure to measure flour by spooning it into a cup measurer, then leveling off the top with a knife. Don’t scoop the cup measurer into the flour, you’ll pack it down and end up with too much.)
- 300 g warm water (1-1/4 cups, or 10 oz.) water should be pleasantly warm to the touch, not hot, but a little warmer than just room temperature.
- Measure dry ingredients into a large bowl, and stir with a whisk to combine.
- Add warm water and mix. It’ll seem like you can’t get it all to combine, but you will. Just keep stirring, and get the bits that are stuck to the side to stick to the dough. It’ll start to clump all together. You can use the handle of a wooden spoon if you prefer.
Step 2: Proof dough
- Cover and set aside to rise/proof. If the kitchen is really cold, heat the microwave (EMPTY!), then proof my dough inside. But, you don’t need it to be in a really warm spot.
- Let proof/rise for 30 minutes, then do a stretch and fold. Wet your fingertips so the dough doesn’t stick (see video below).
- Cover, and let rise another 30 minutes.
Step 3: Shape & Bake
- Lightly dust your countertop
- Tip dough out gently – don’t punch it down like you see in videos!
- Shape into a ball by pulling the sides in towards the middle.
- Turn over and make the surface tight.
- Place in a flour-lined bowl. Linen towel. Seam side down.
- Cover and let rest 30 minutes.
- Meanwhile, heat oven to 450 degrees. With your baking pot inside, and cut out a sling with parchment paper.
- turn dough out onto the sling.
- Remove pot from oven and gently lower the dough into the pot.
- Cover and bake for 30 minutes. I cover and bake for another 15.


