Week 104: End of Year Two!

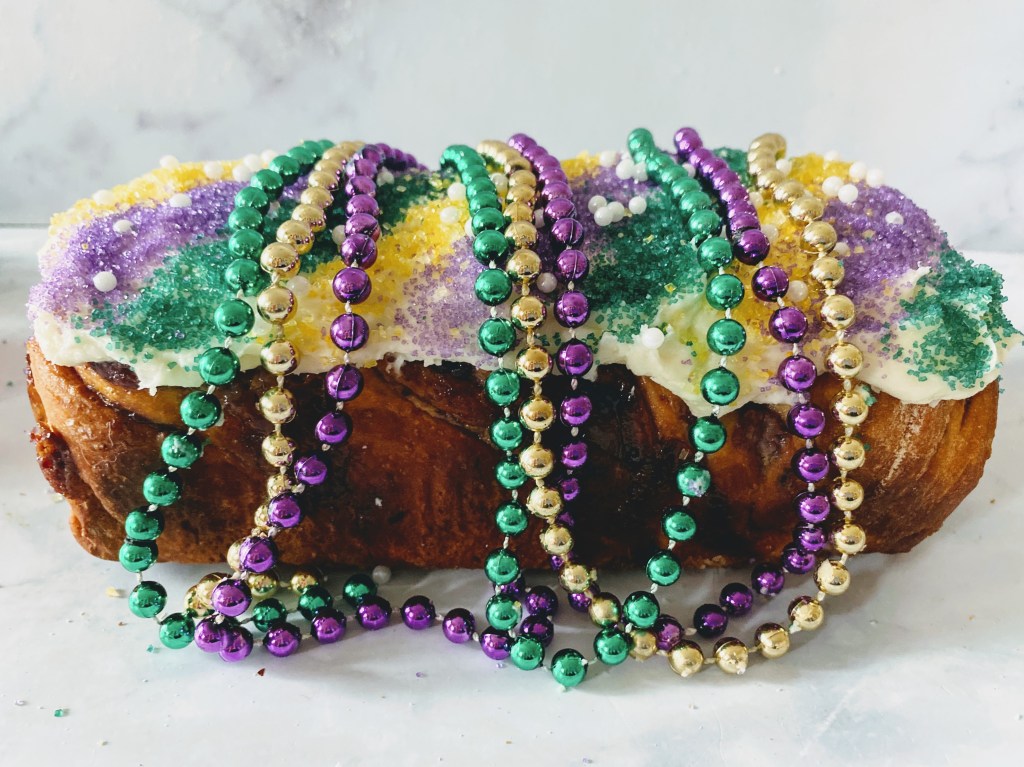
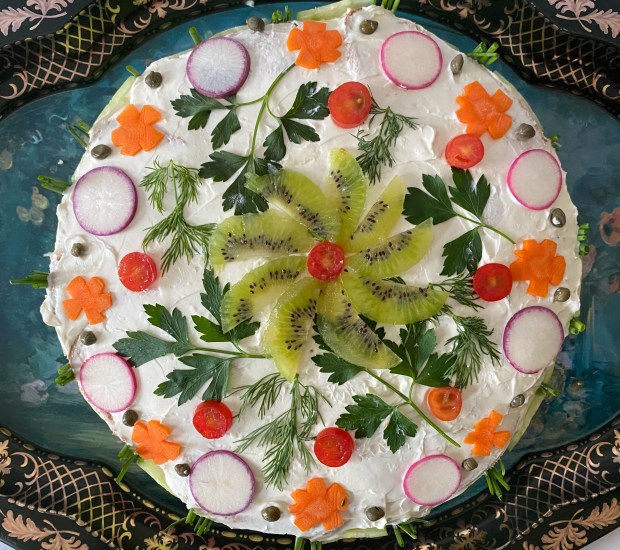
Smörgåstårta: I’m celebrating Breademic’s two-year anniversary, so have taken the week off from baking, and taking the opportunity to share with you Smörgåstårta, a Swedish sandwich cake that all bread bakers should be aware of. It’s beautiful, delicious, and makes great use of leftover bread! (More info below.)

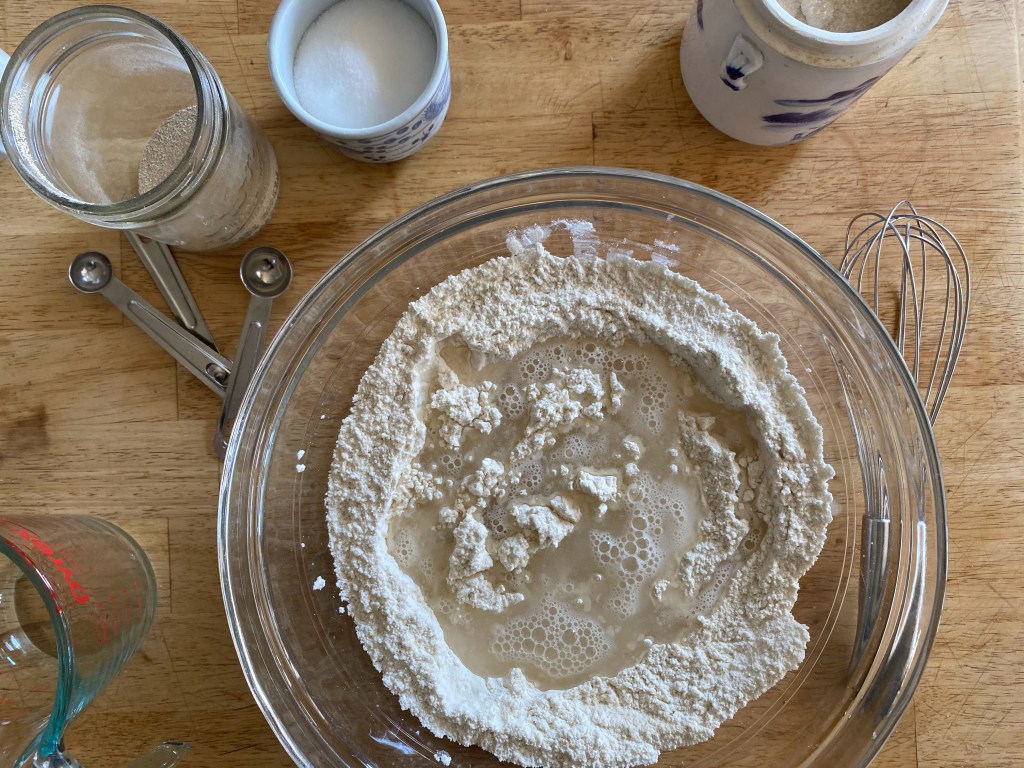
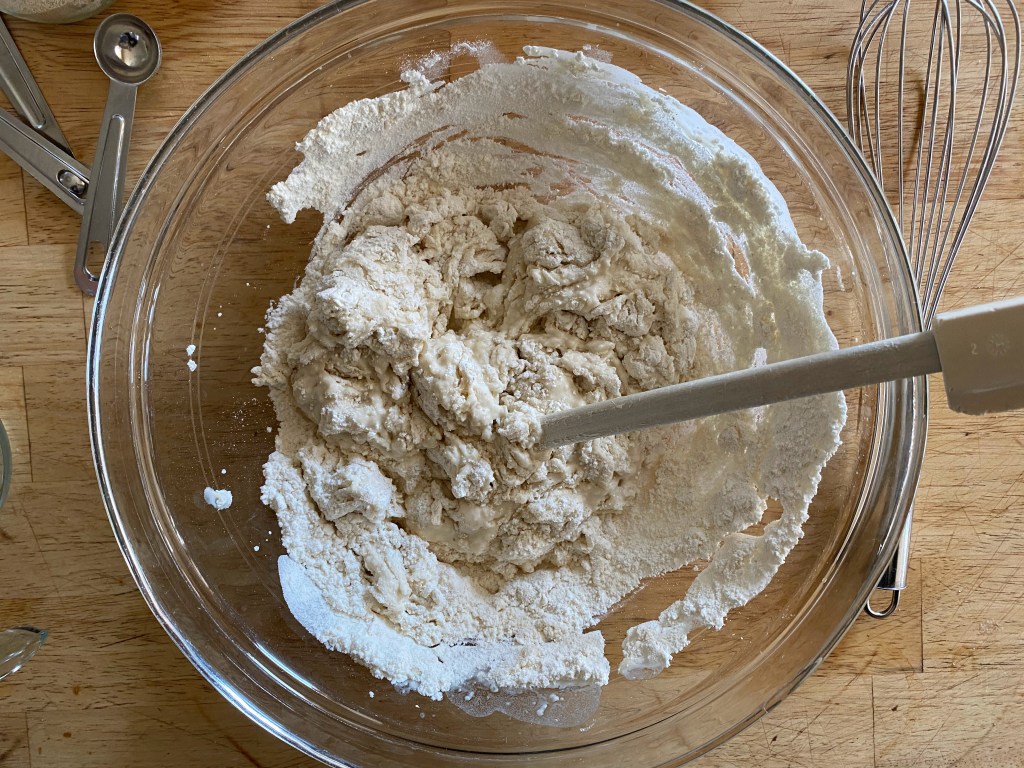
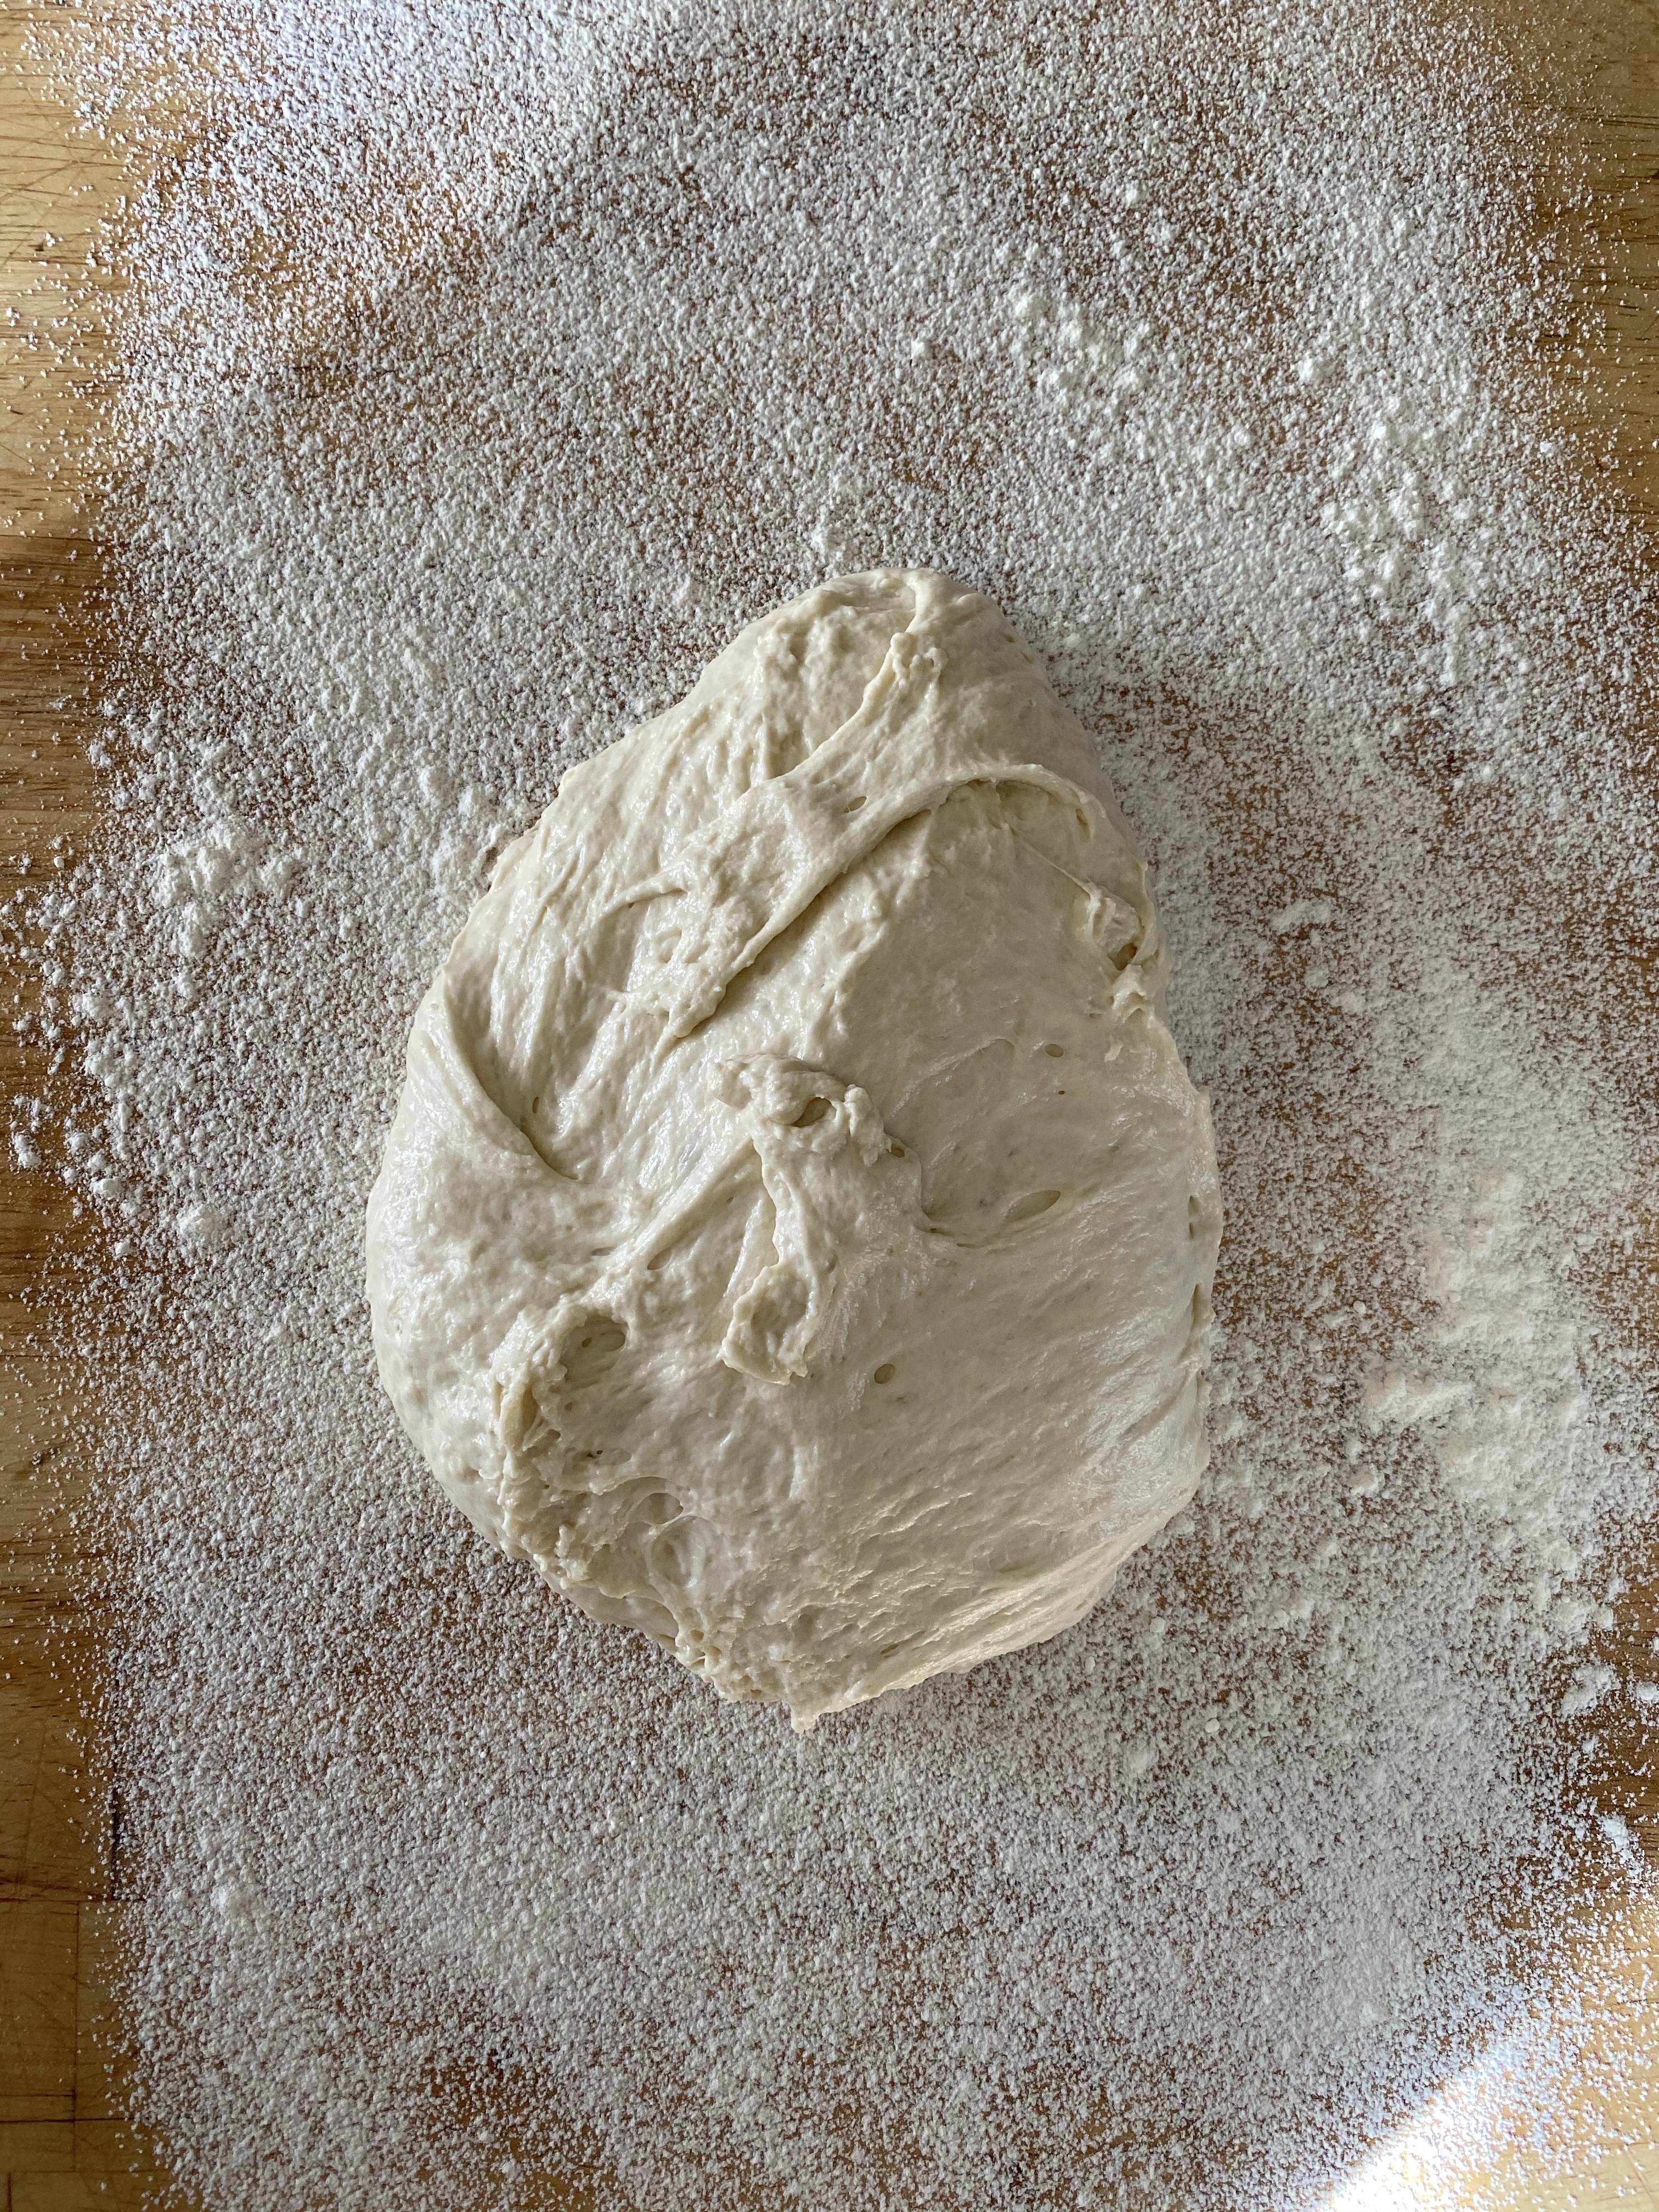
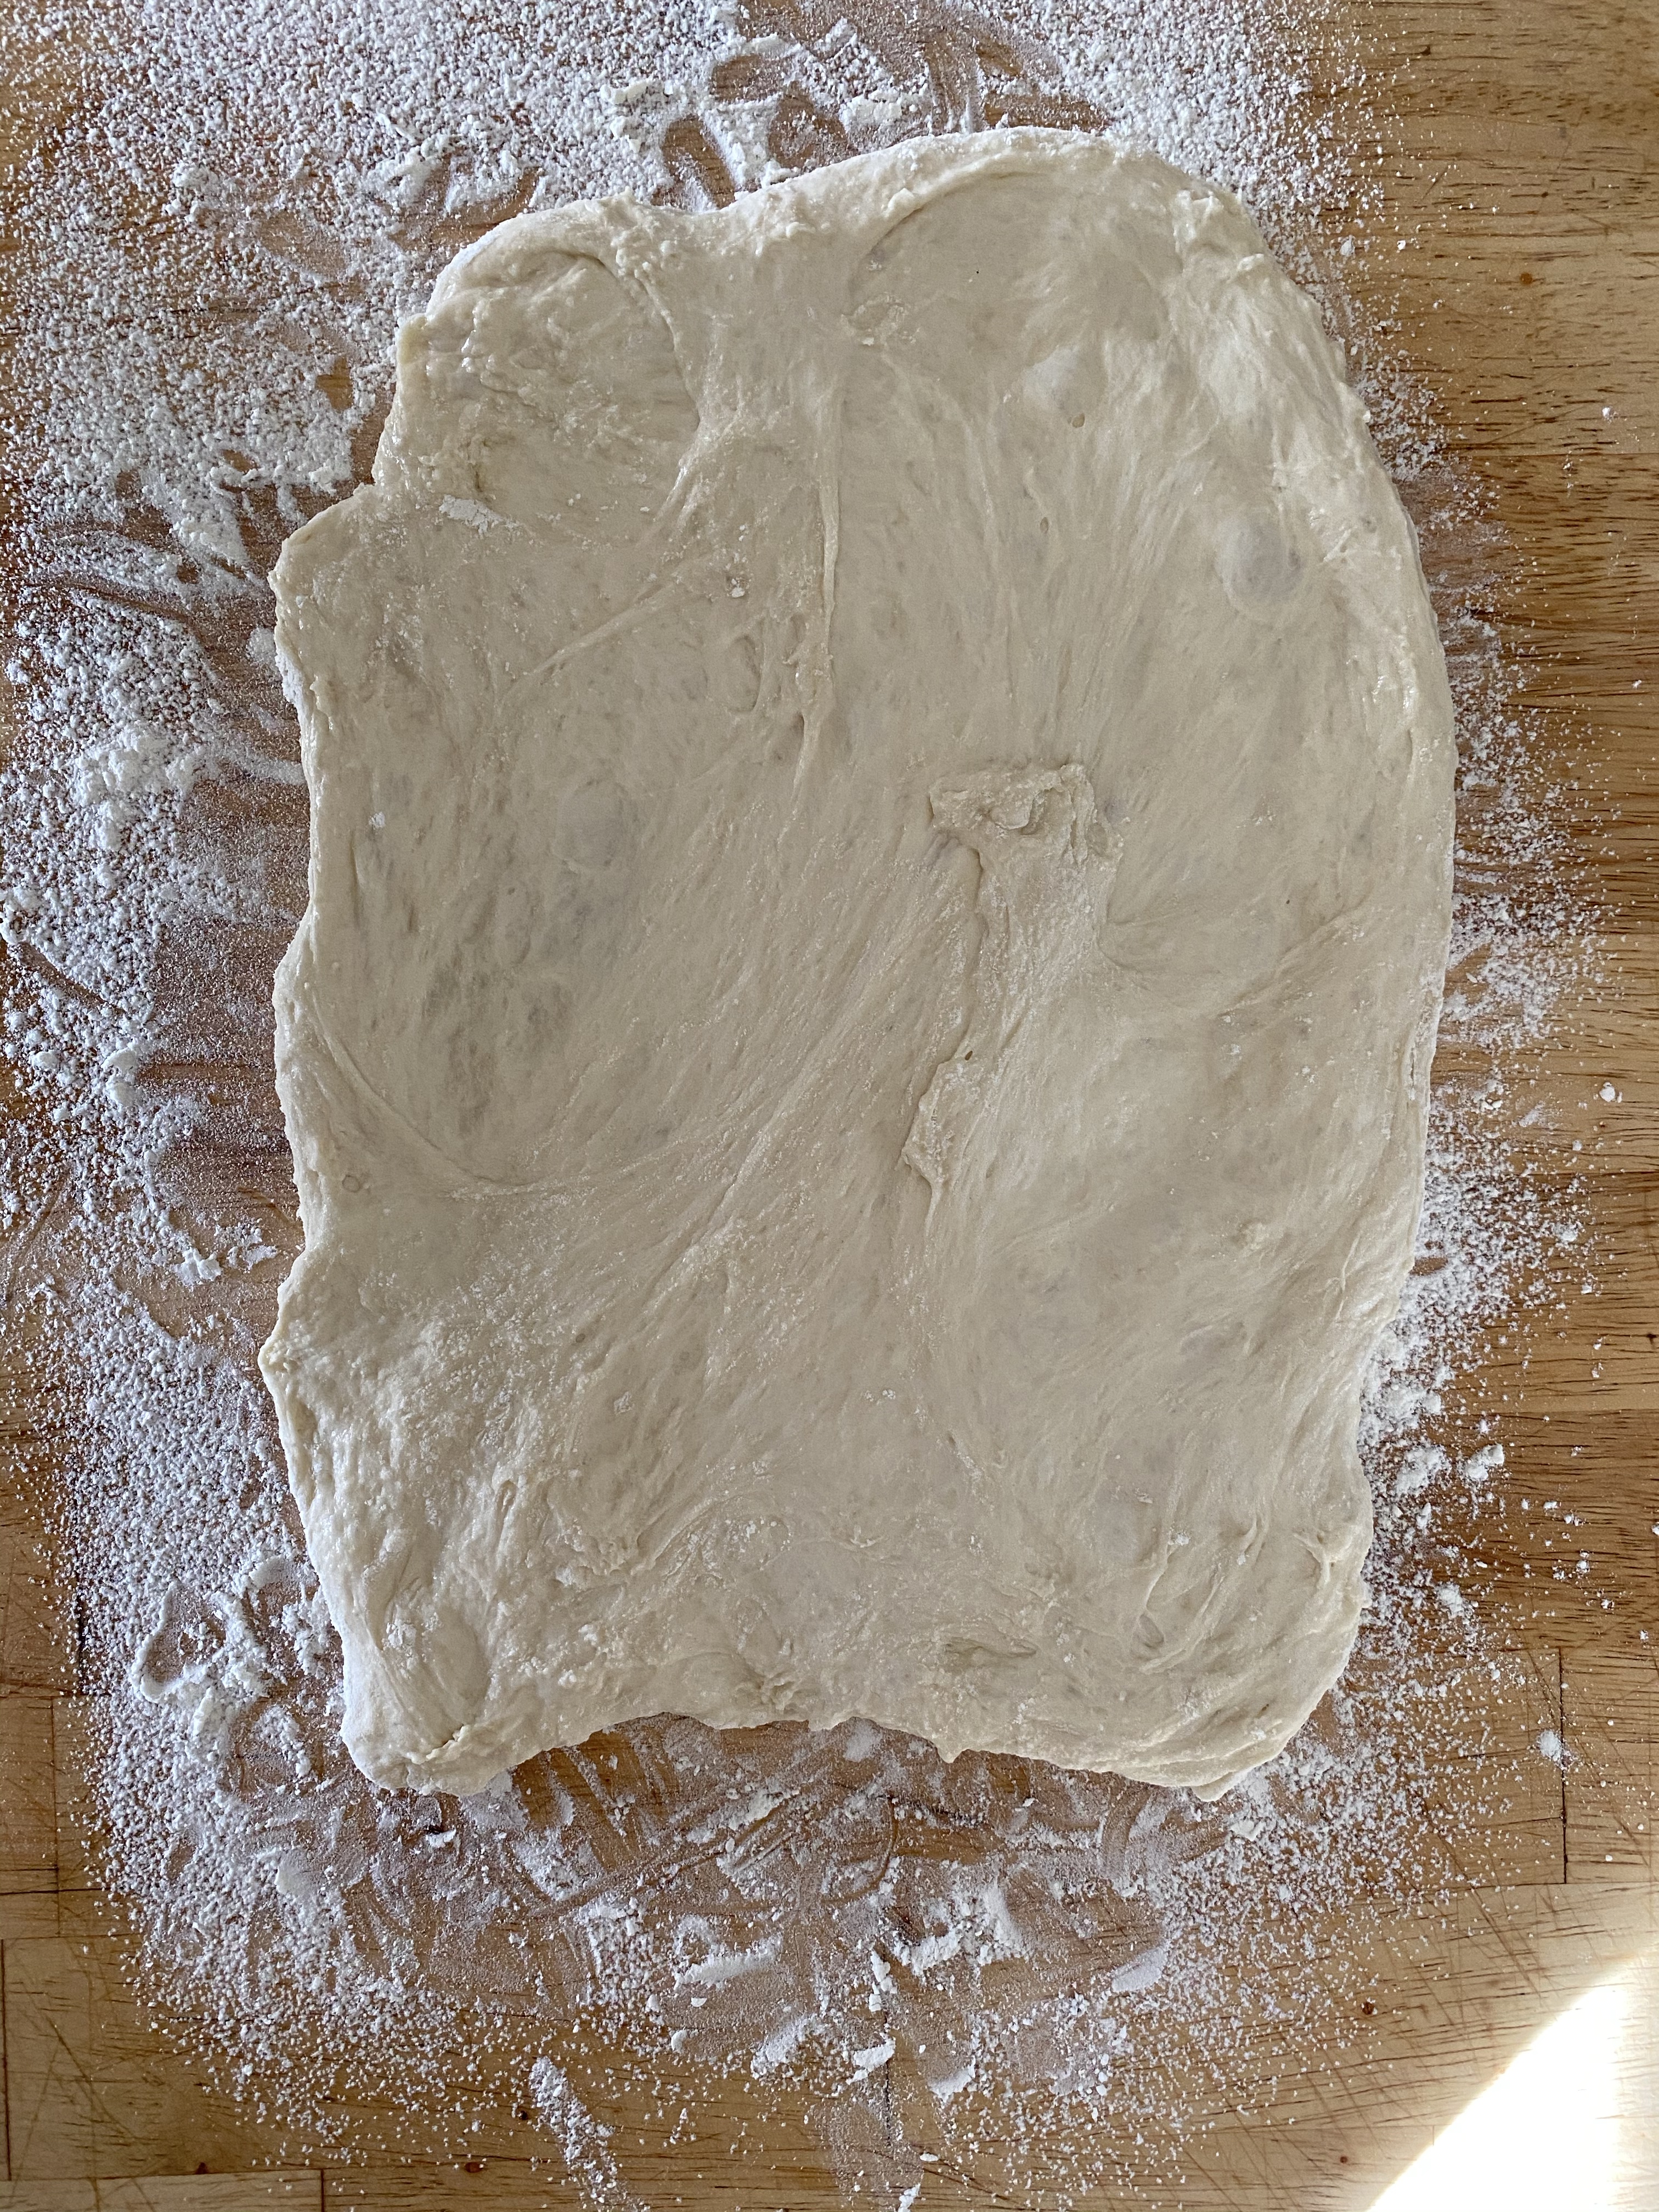
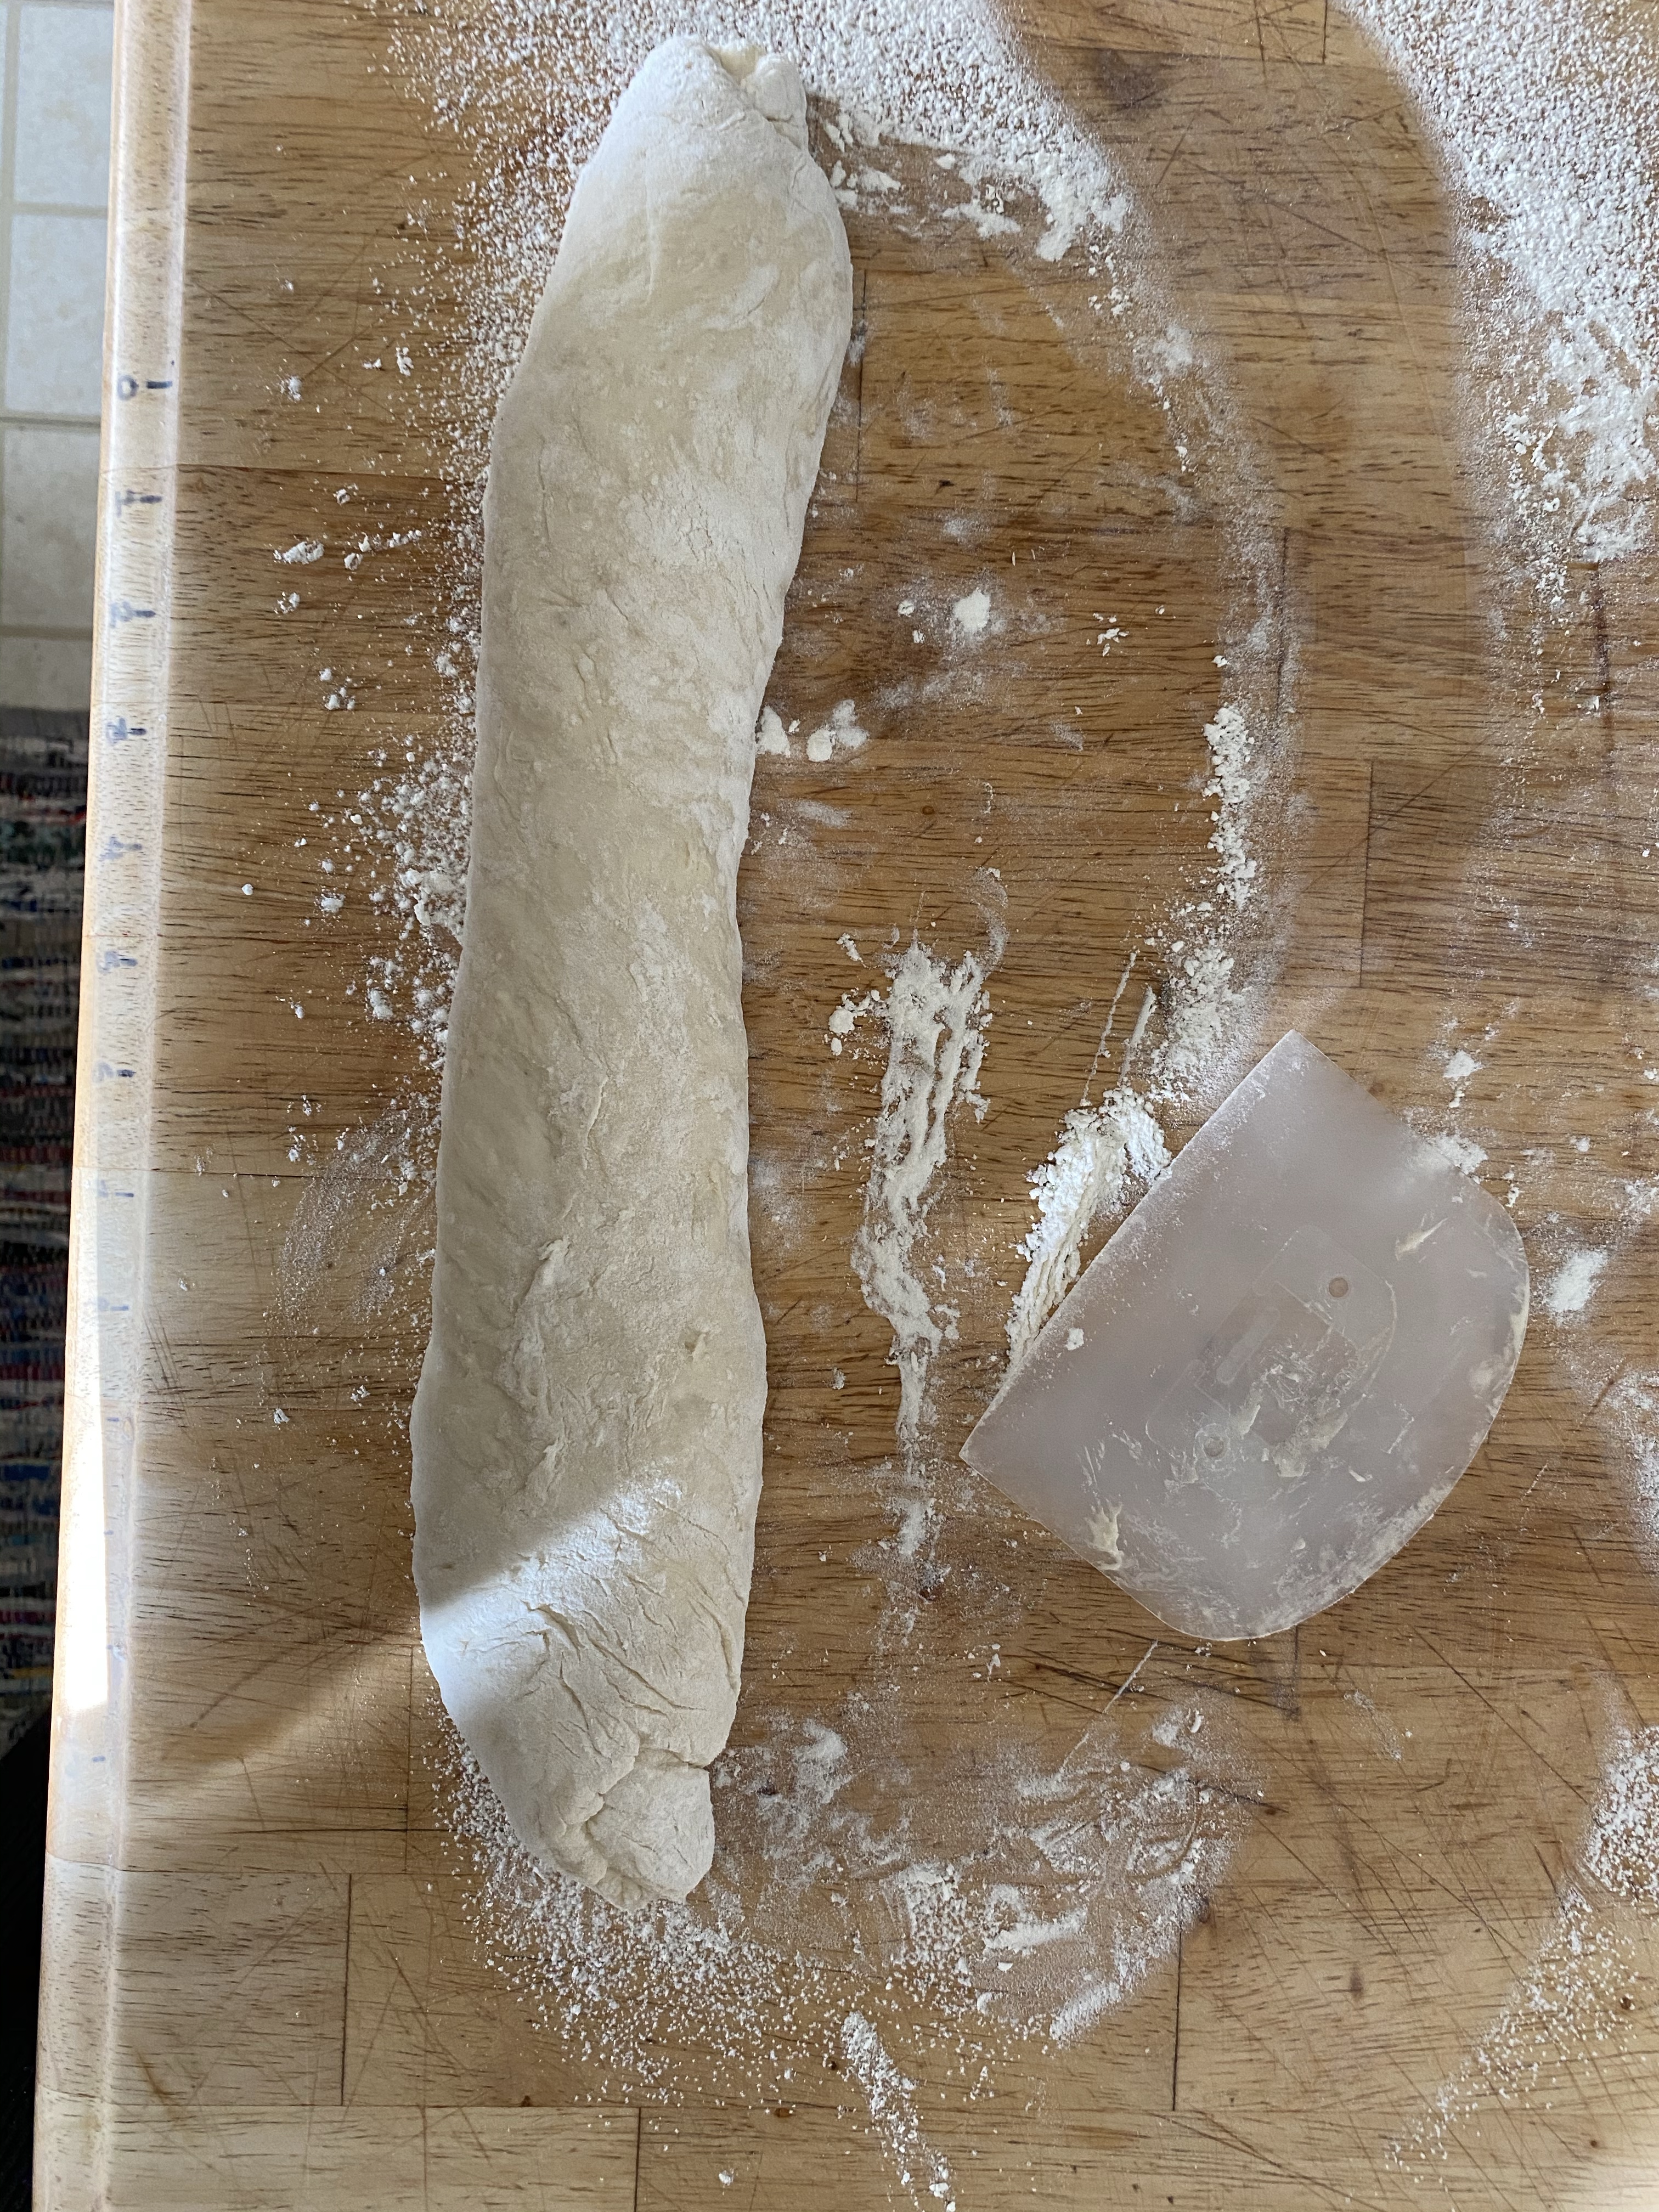
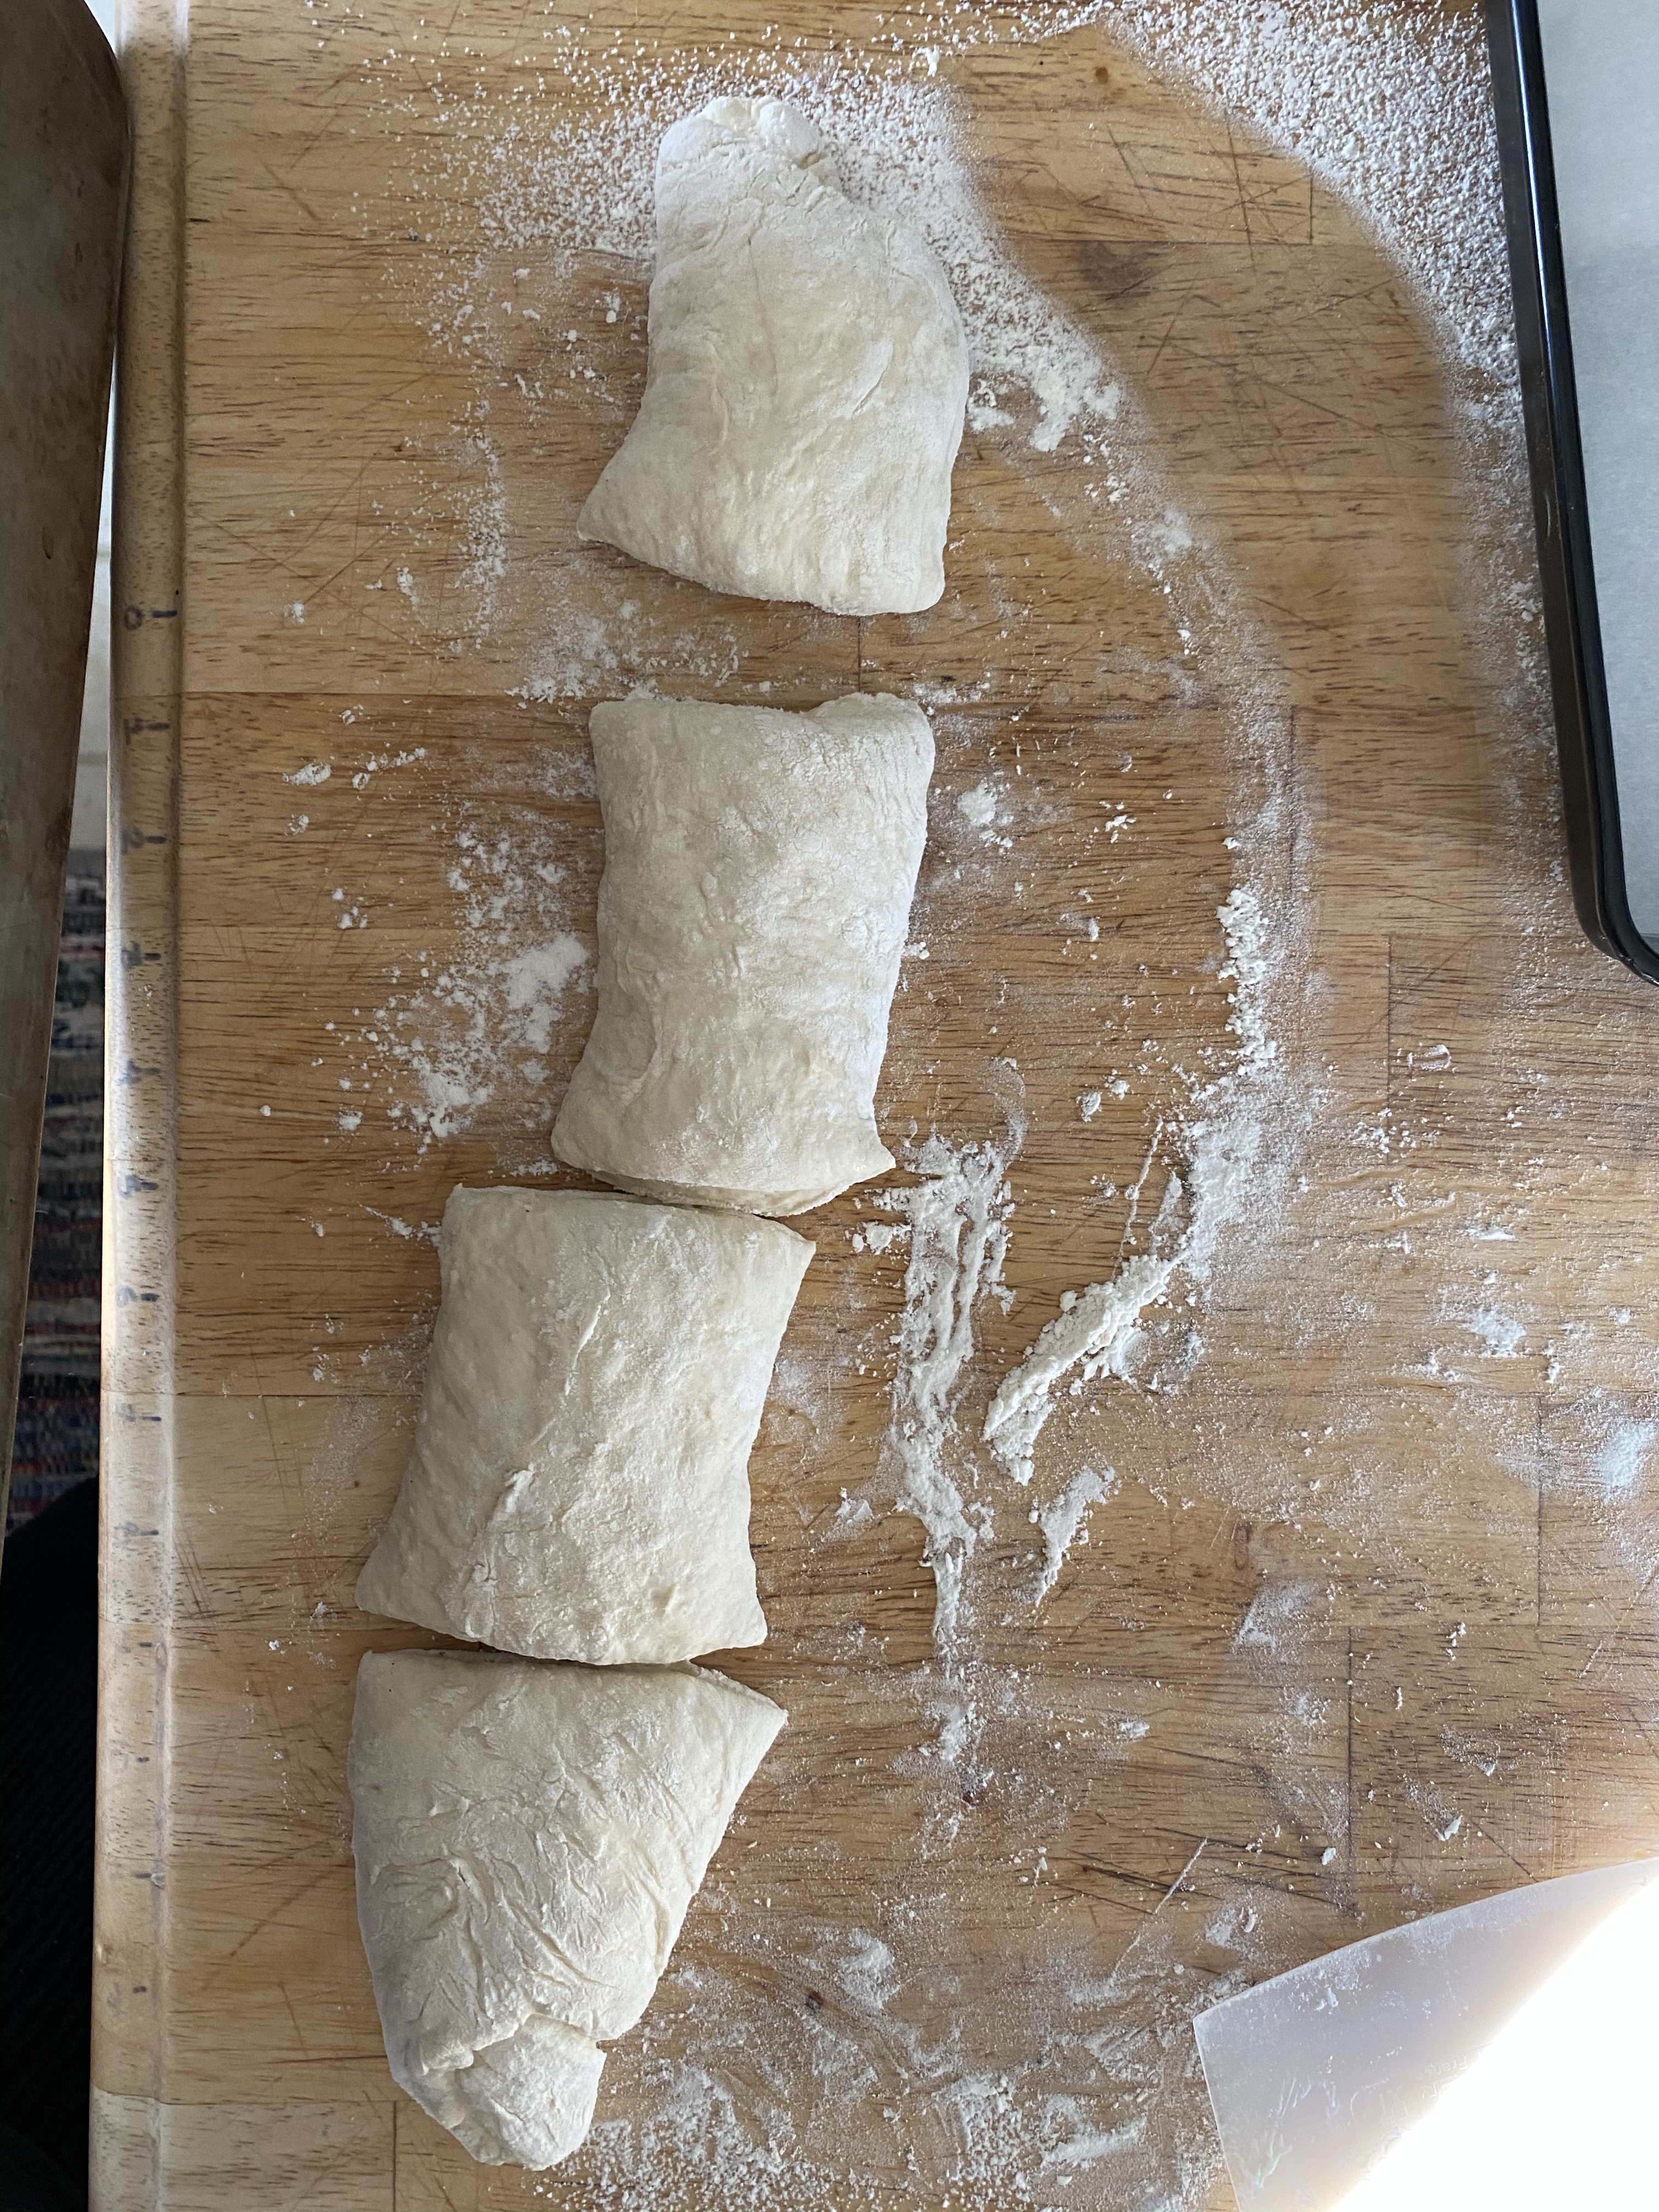
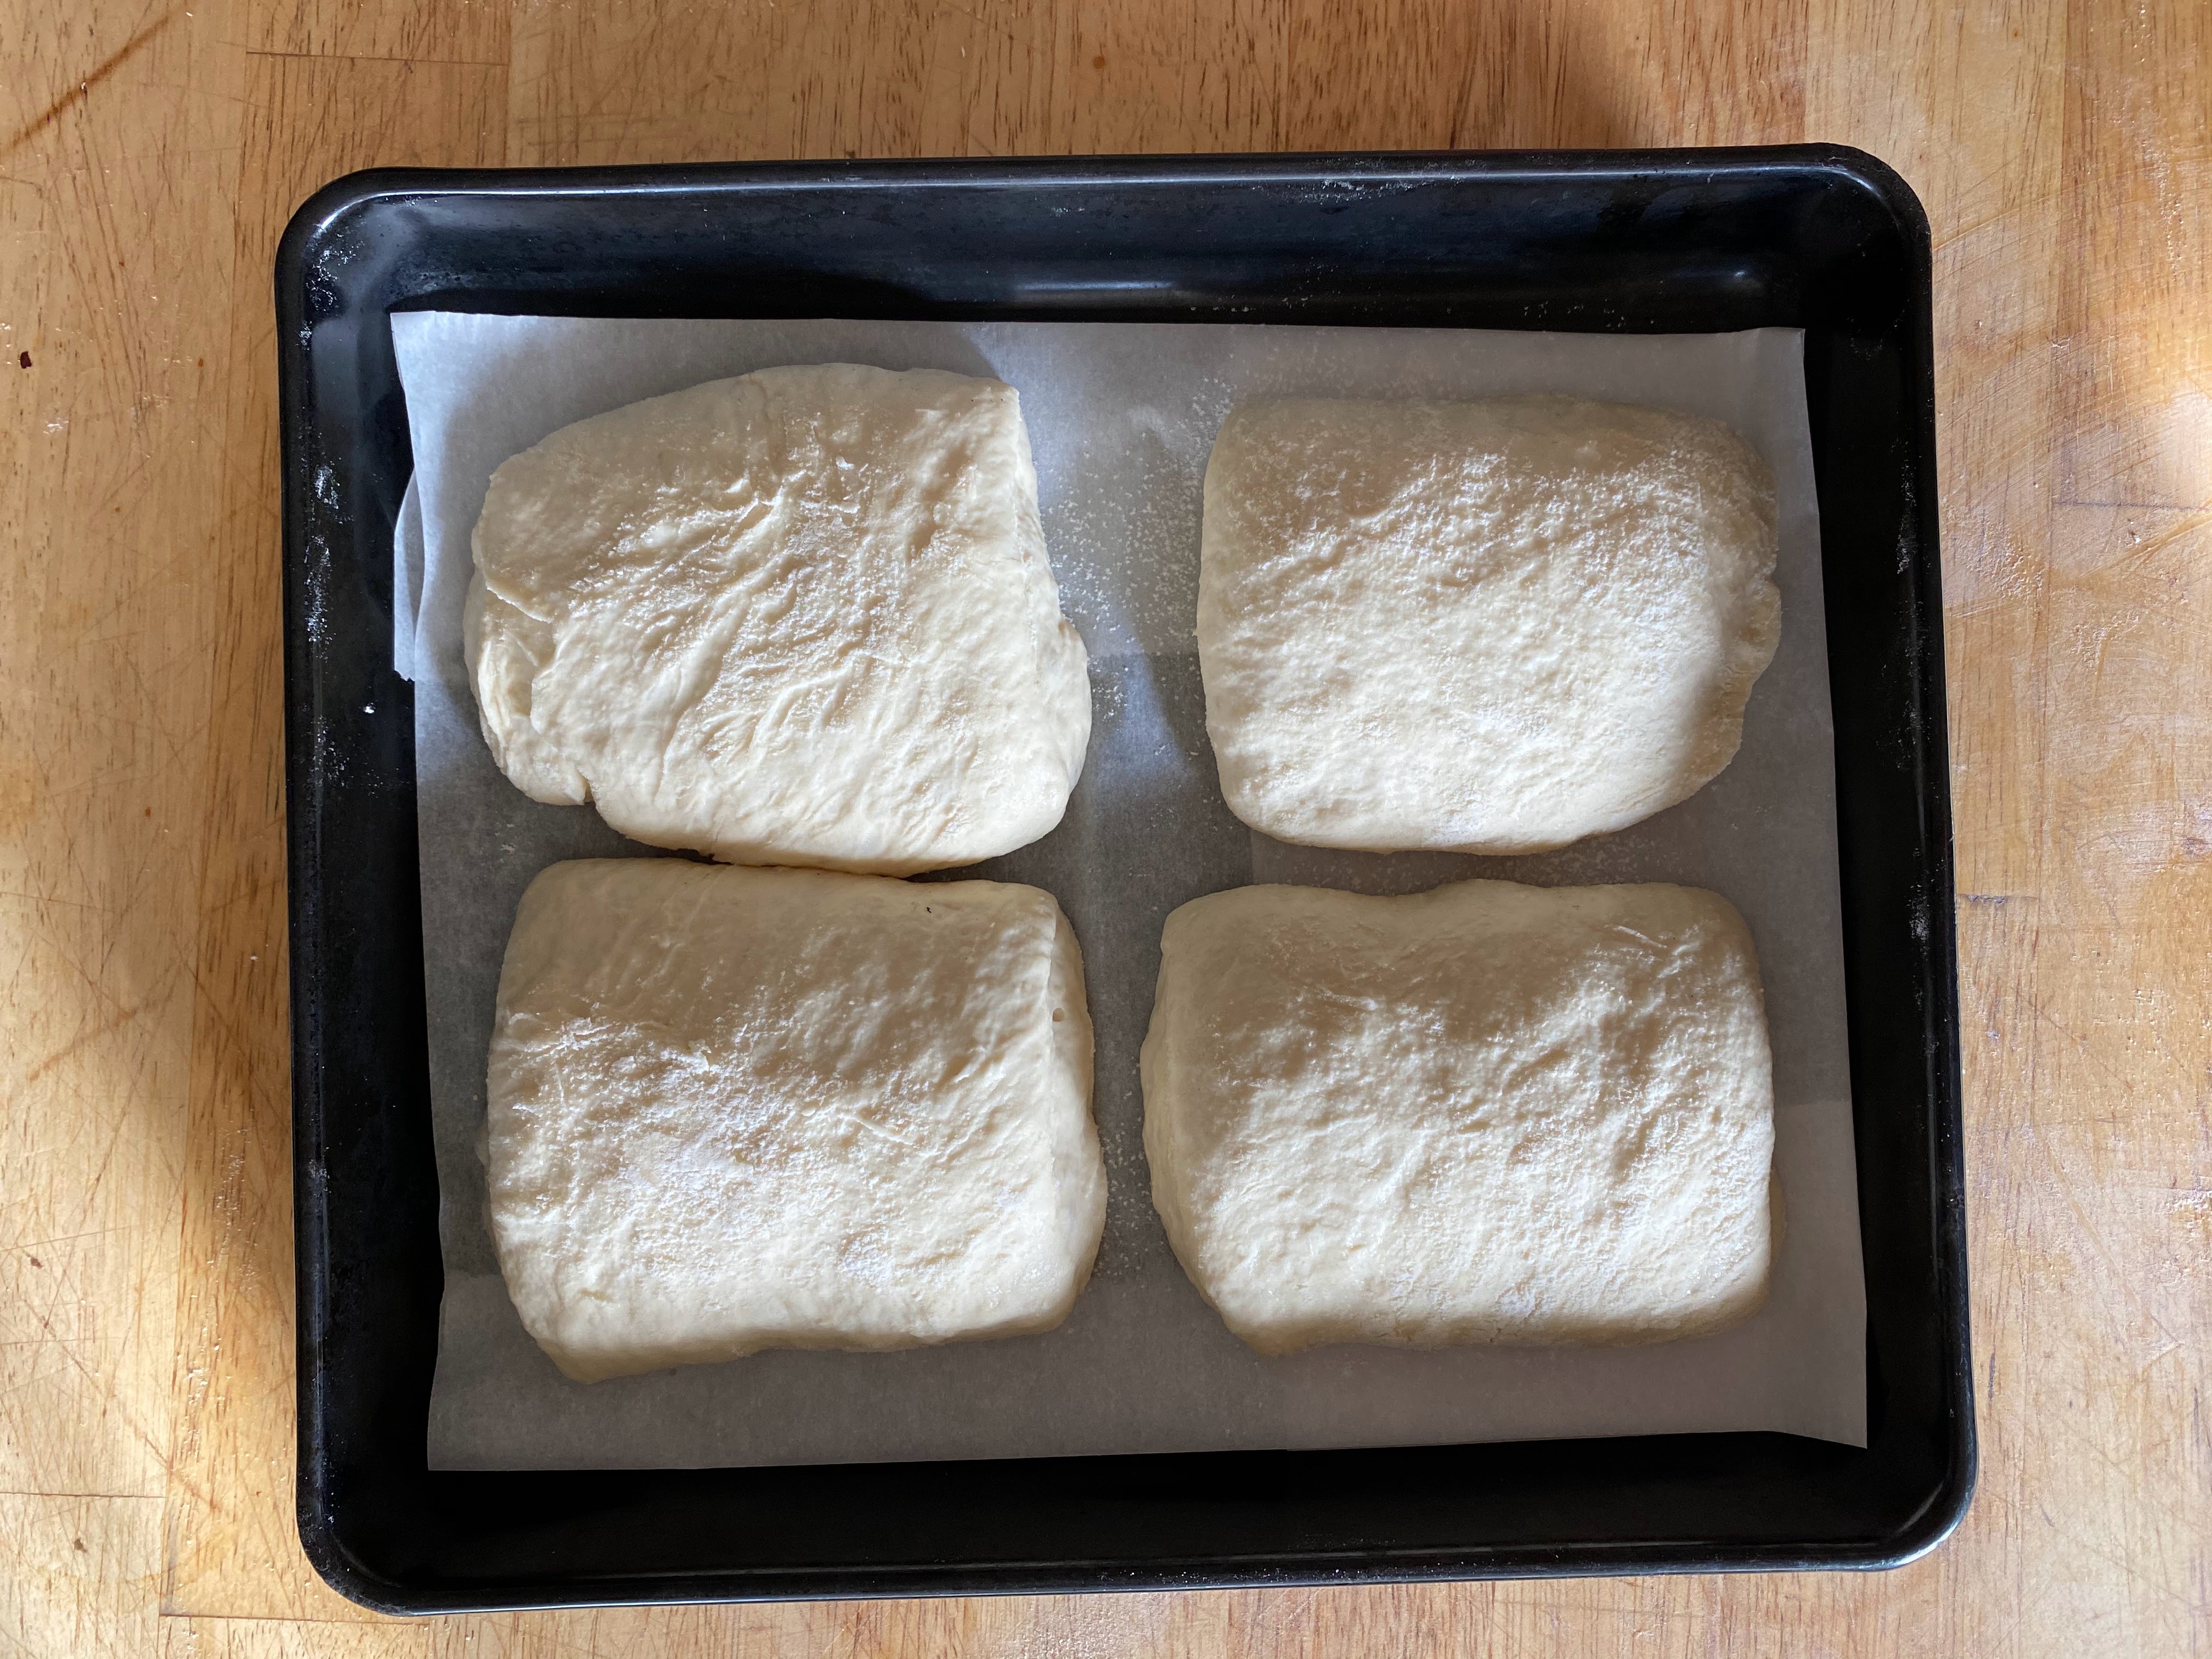
Year Two was the year of sourdough. I tested three methods of making a sourdough starter (ended up adopting the most straight forward method and it’s never let me down), and also learned a lot of baking techniques. I looked for easy, quick breads to make in between sourdough bakes because they can be very time consuming, and a bit tricky,

These are my top five breads from Year Two. If you haven’t already, give one of them a try!

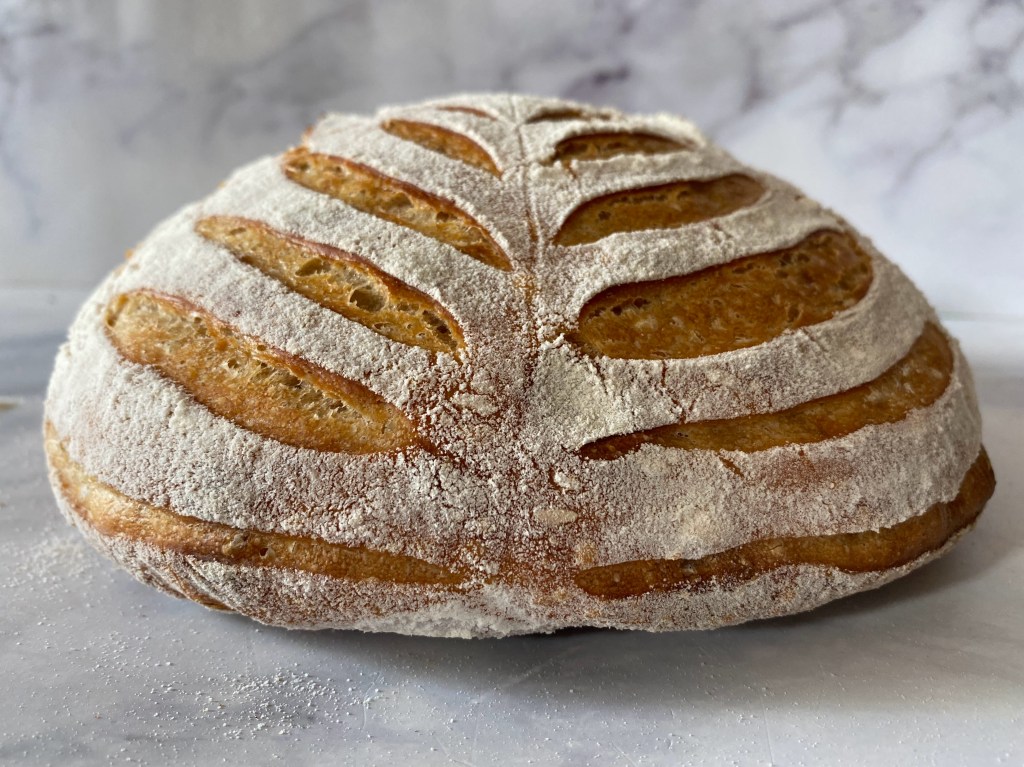
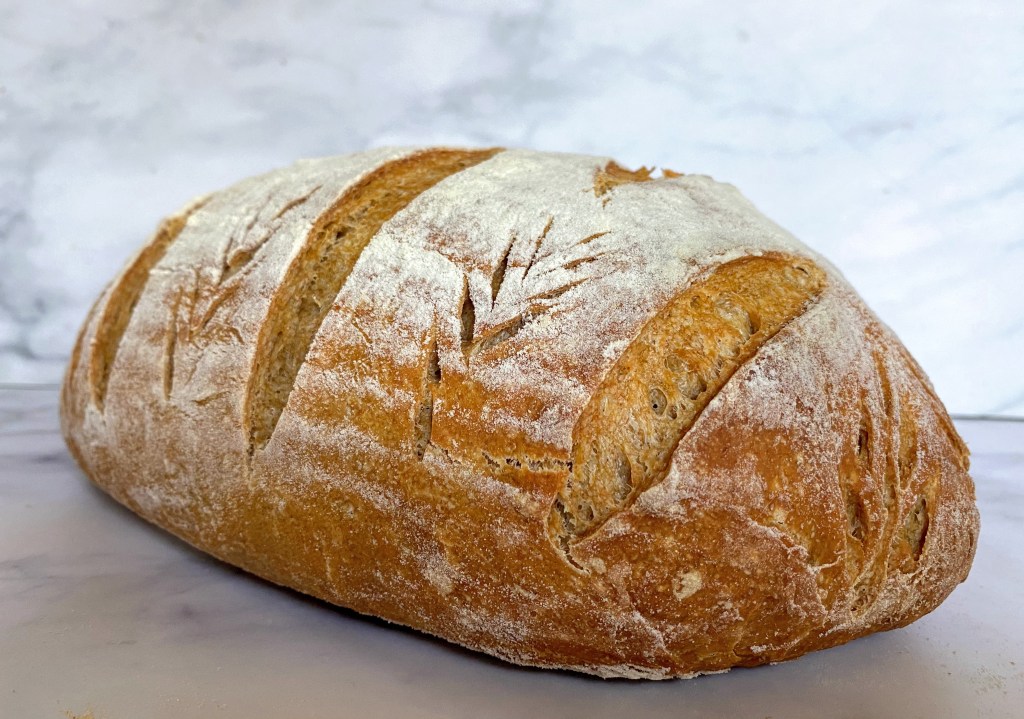
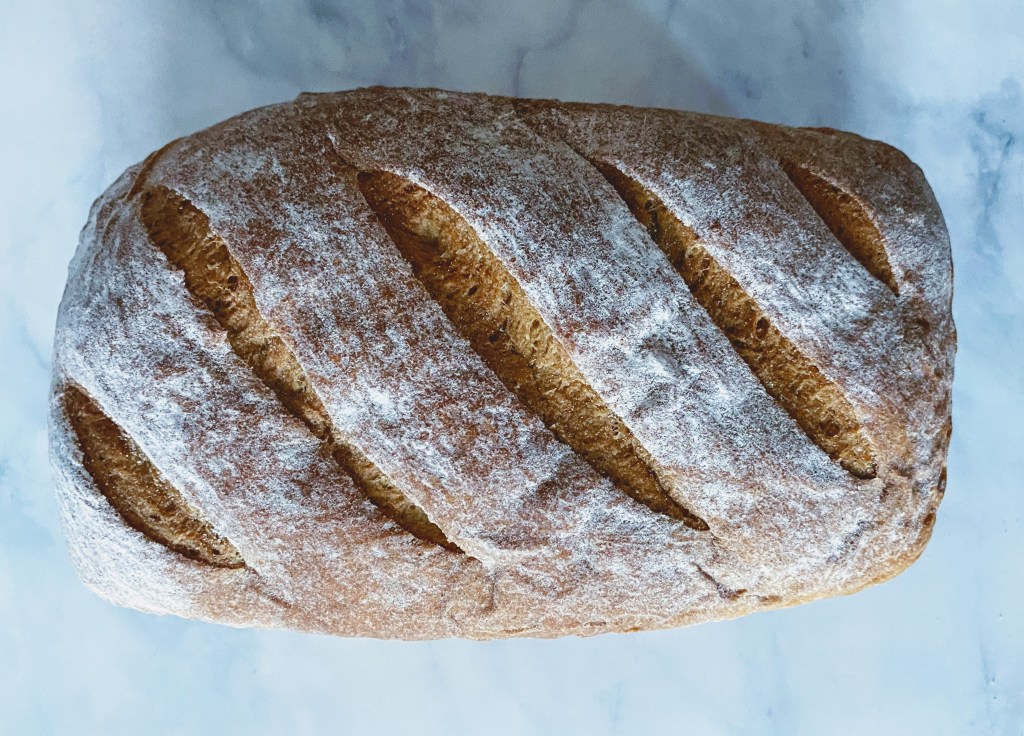
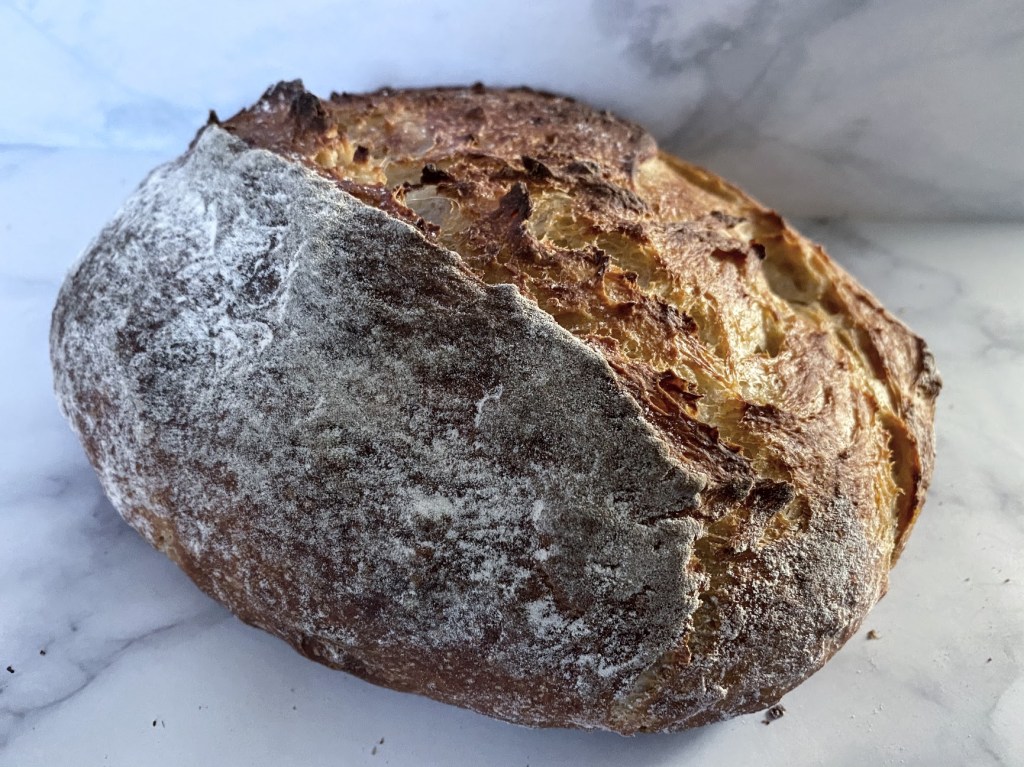
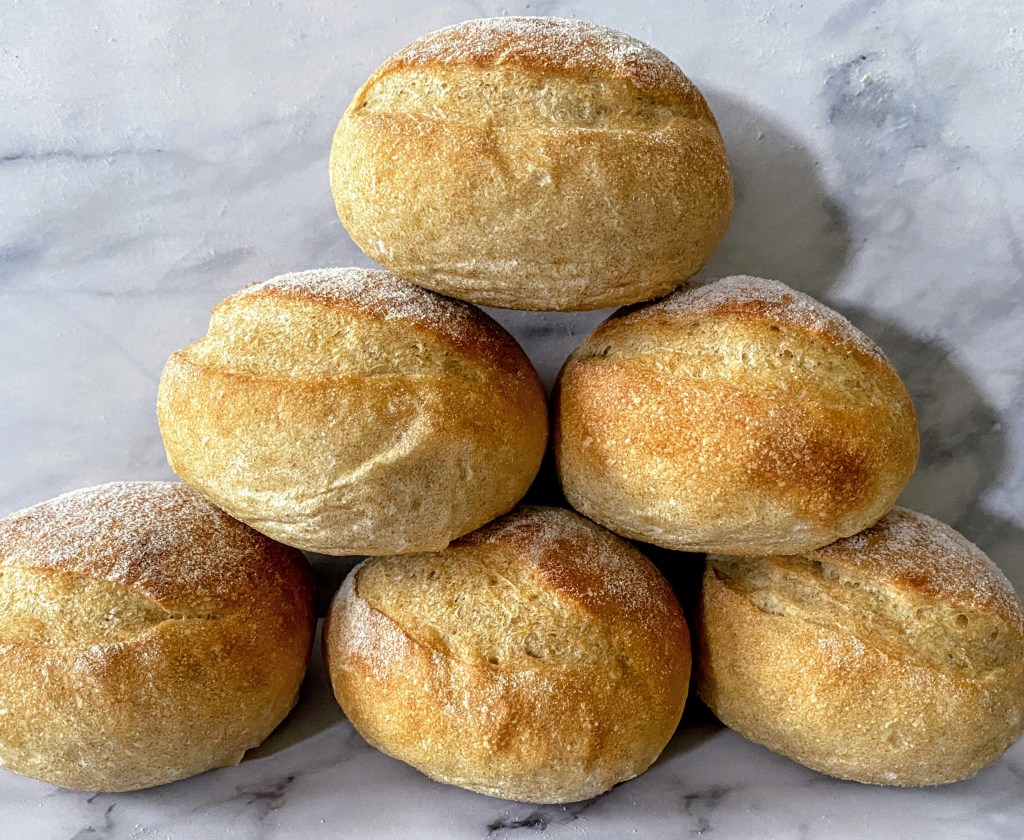
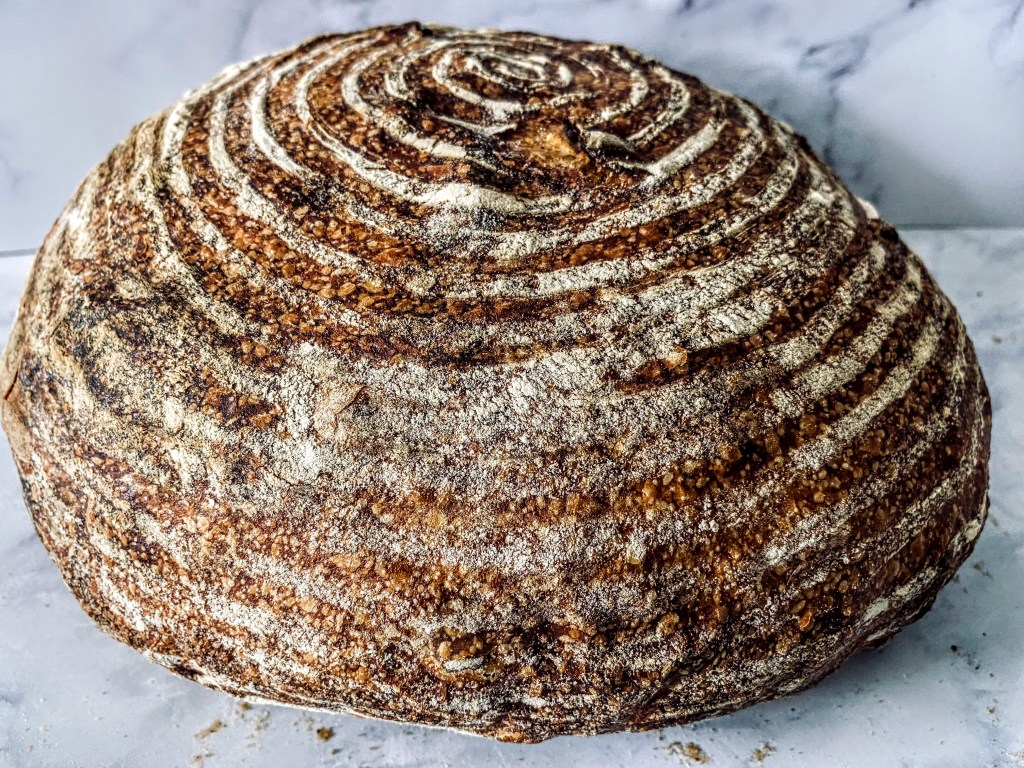
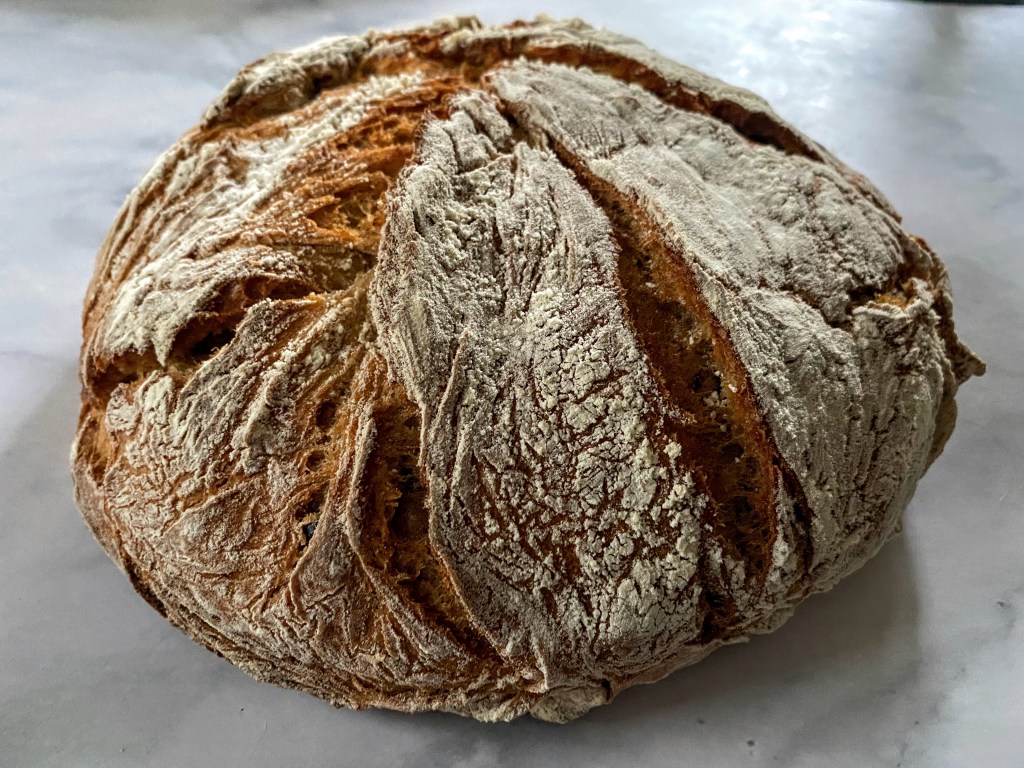
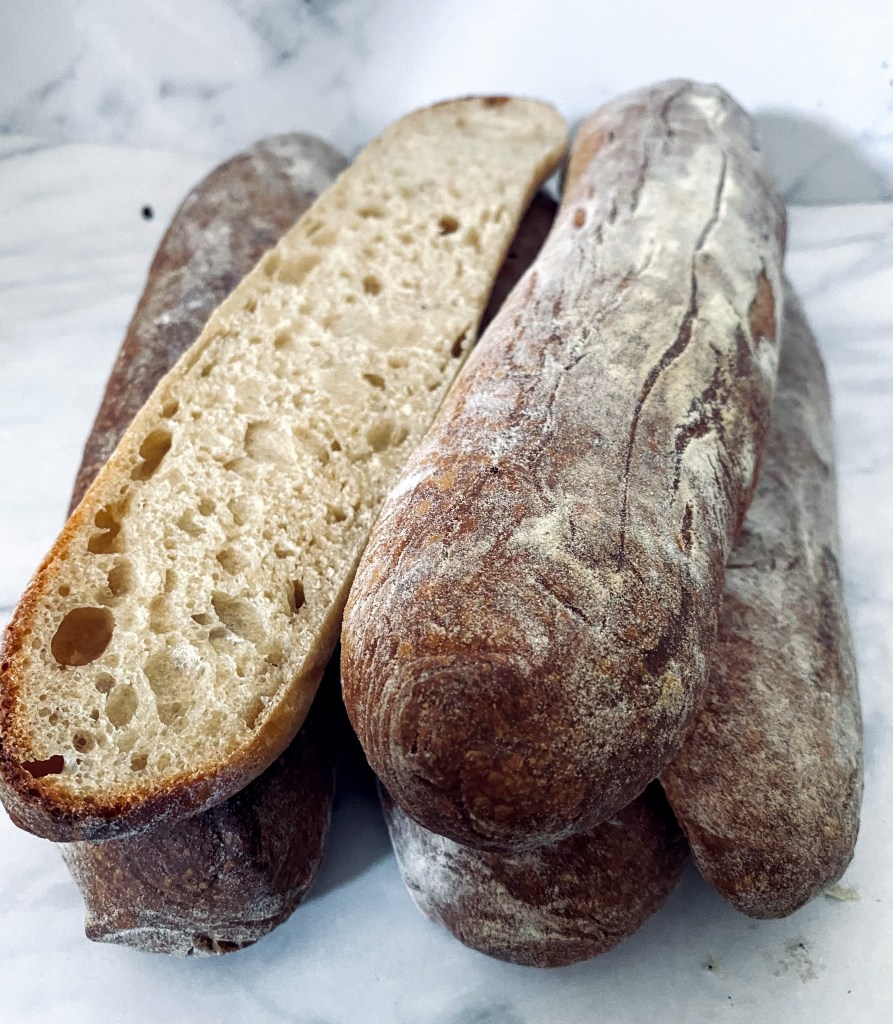
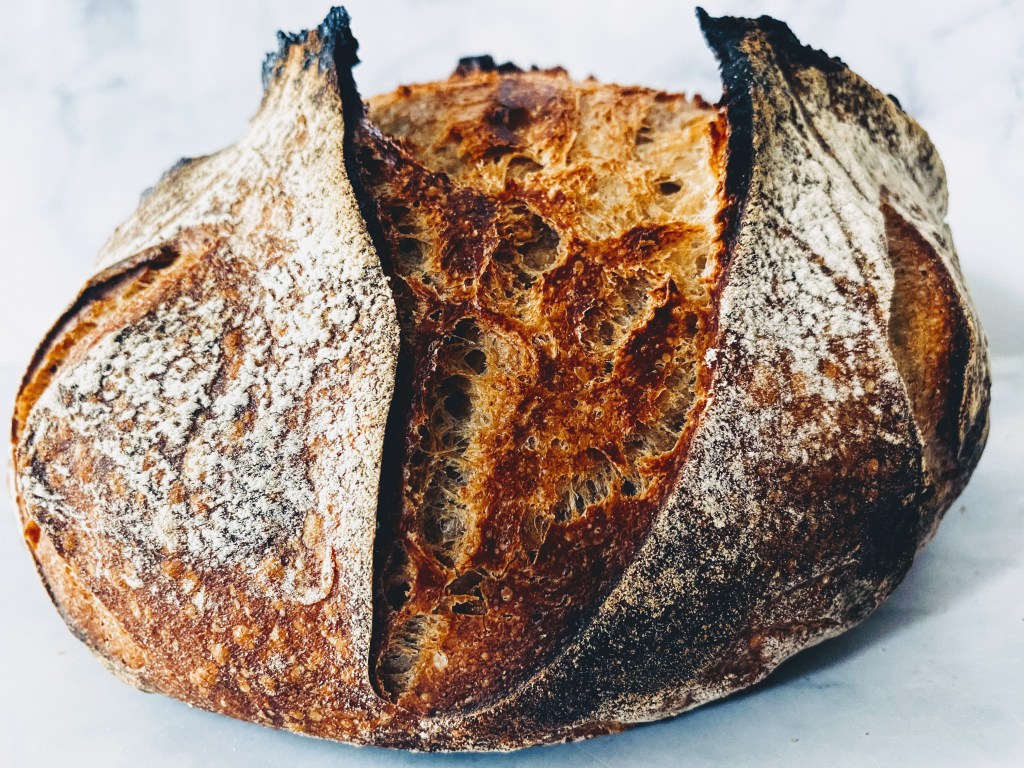
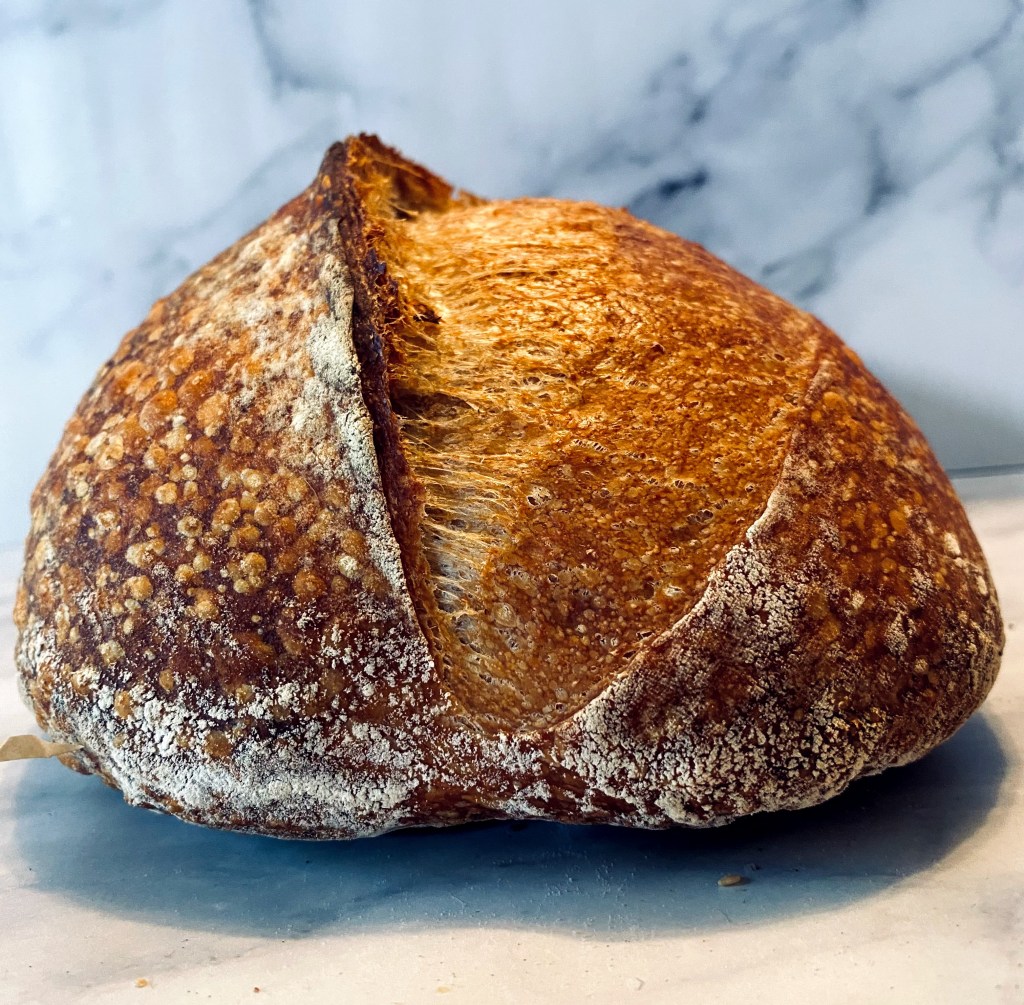
  • Week 56: Sourdough – This is the loaf to try if you’ve never made sourdough, but you really want to get involved with it. It is the most comprehensive recipe I found.
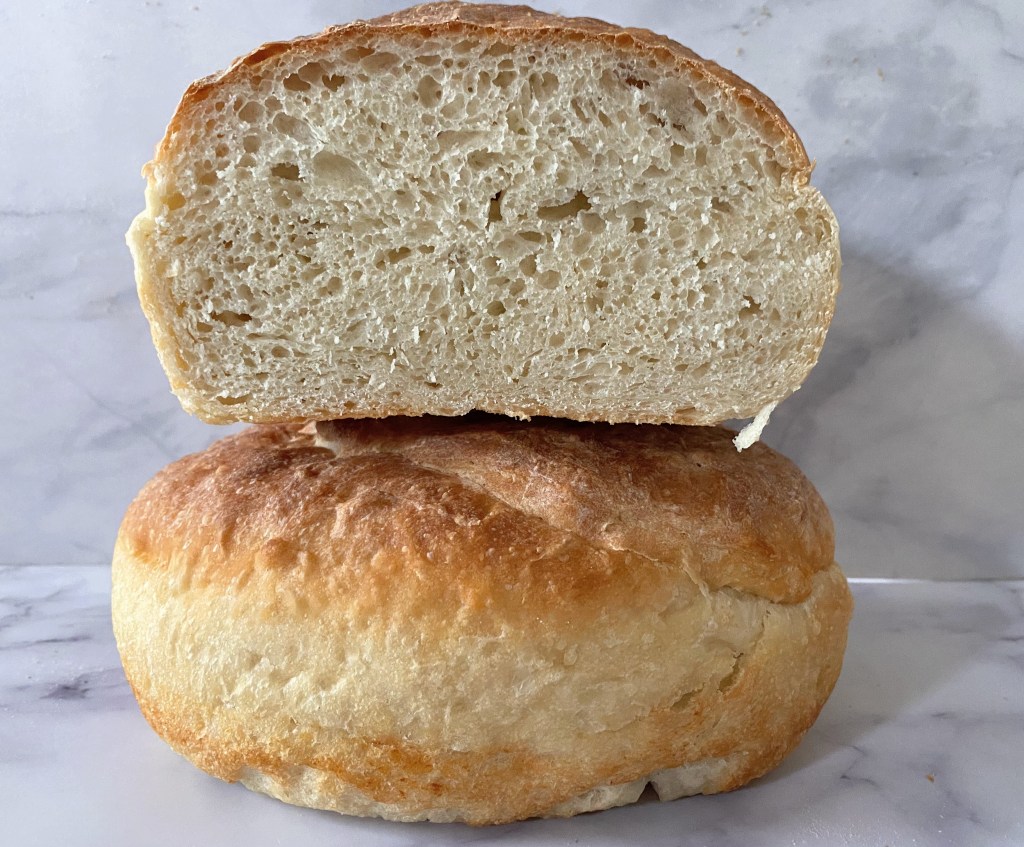
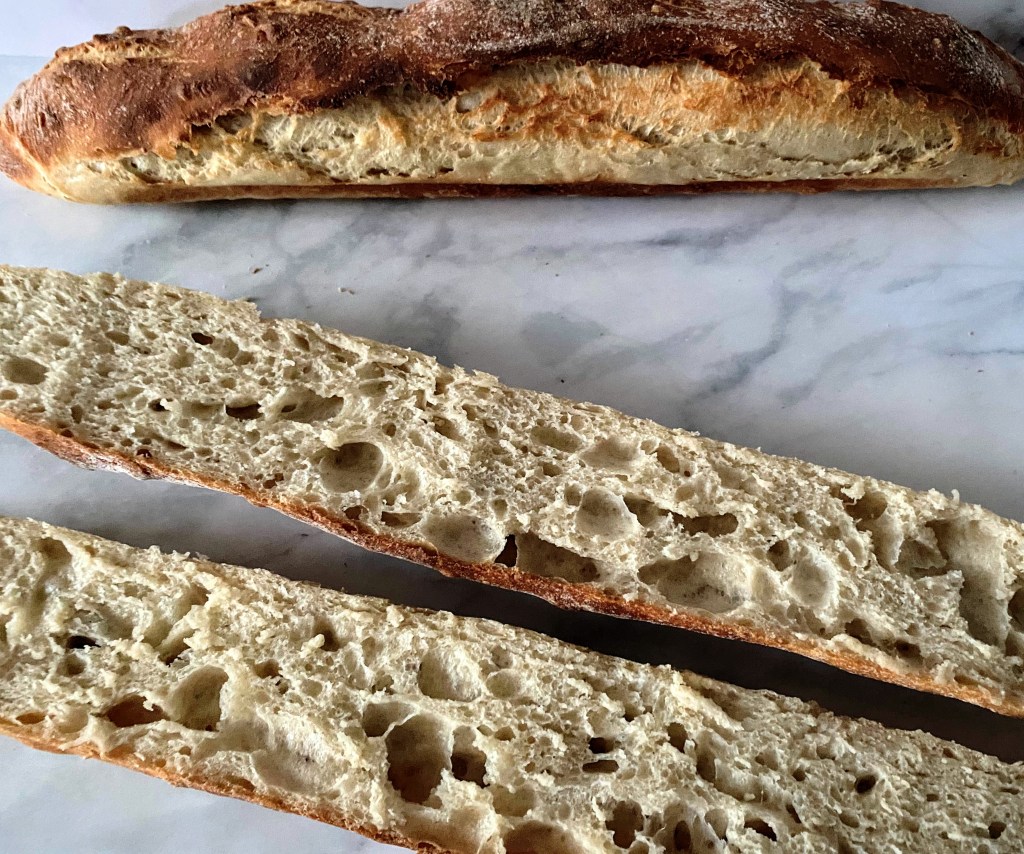
  • Week 59: French Sourdough – I like this one because you can use your starter straight from the fridge. That saves a lot of time, and gives you the ability to start making the bread as soon as you feel the urge.
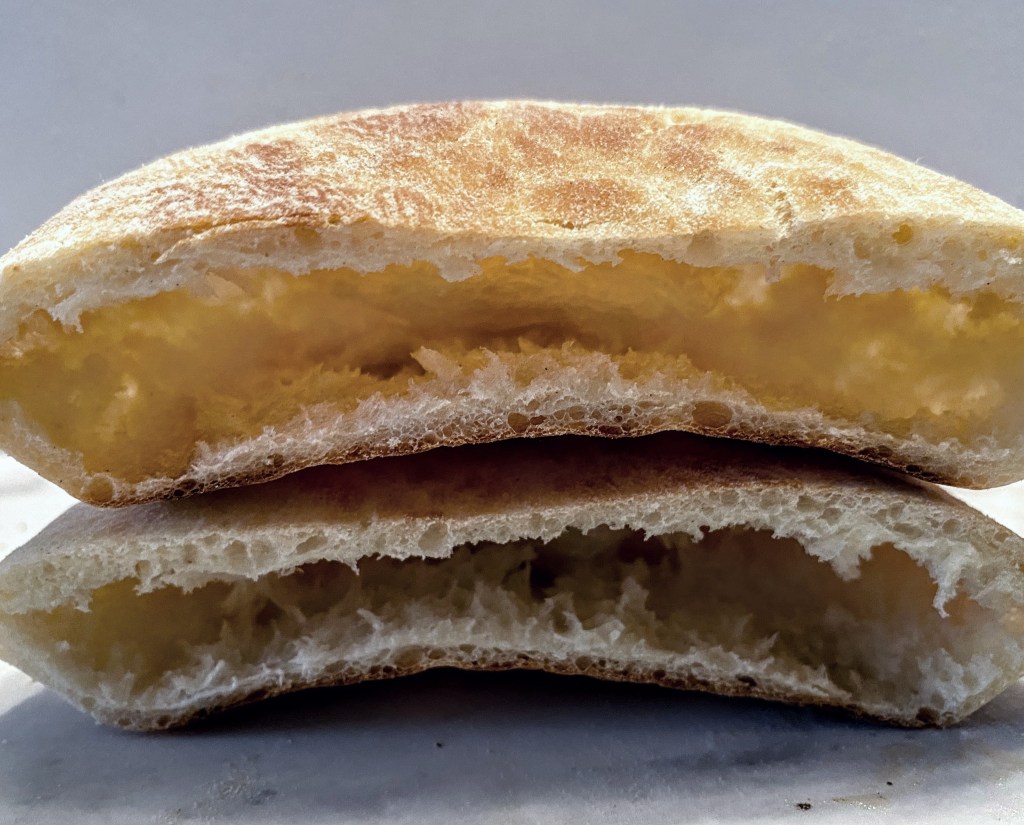
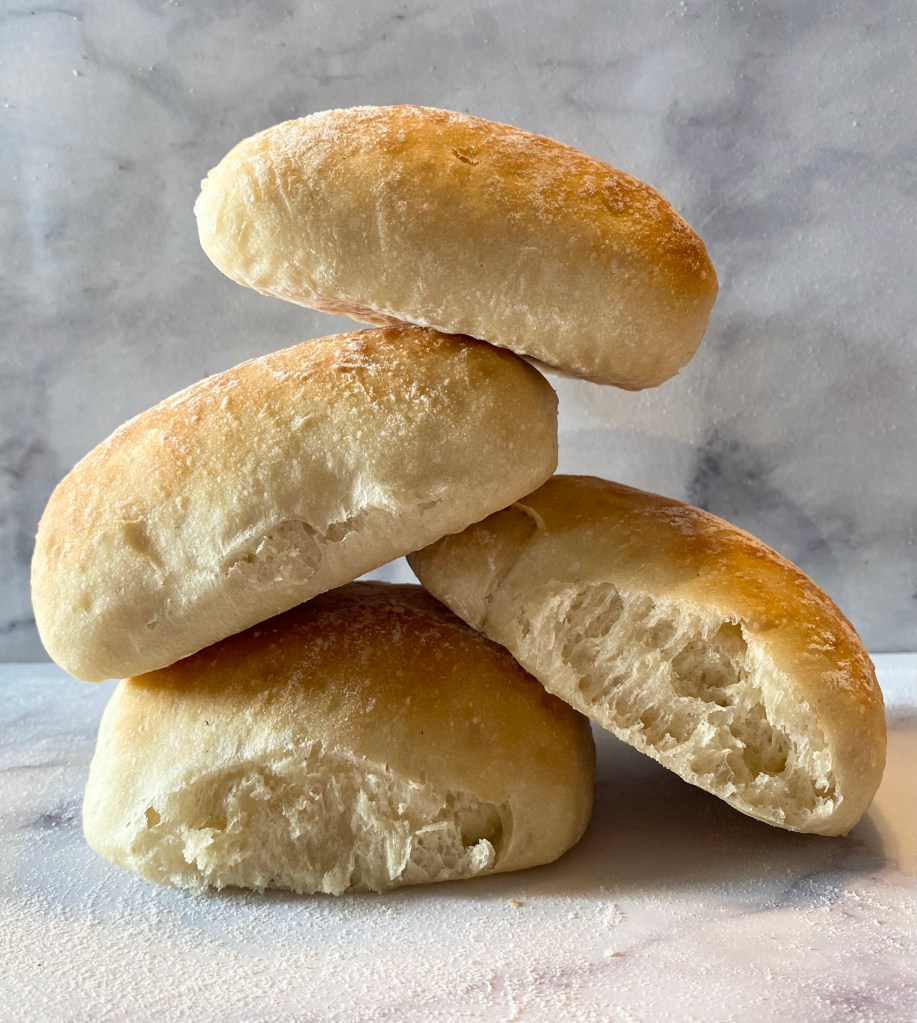
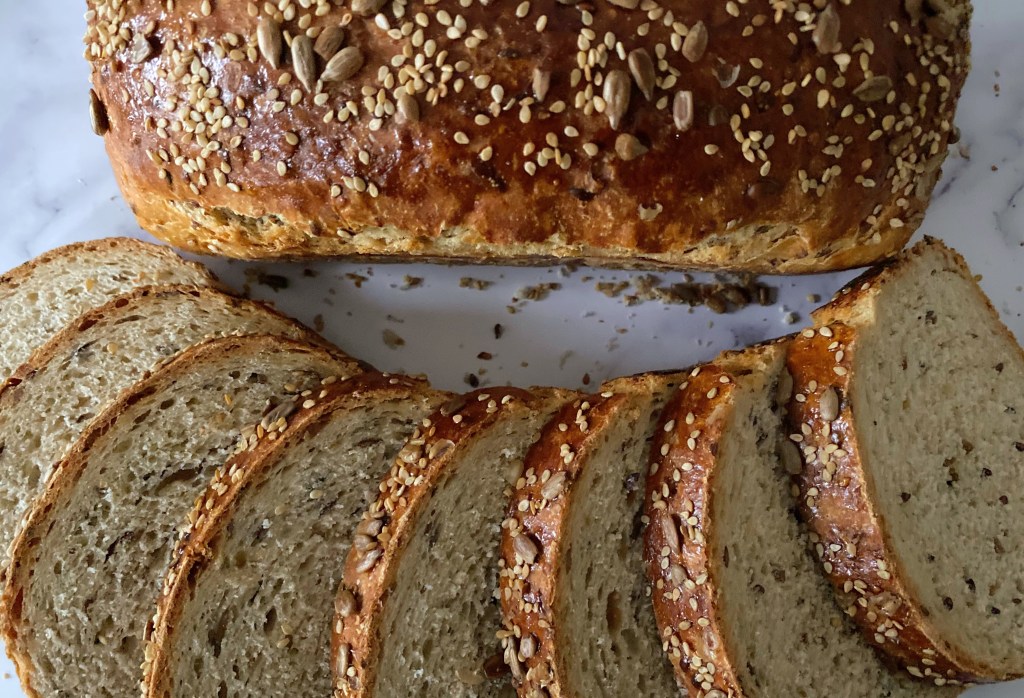
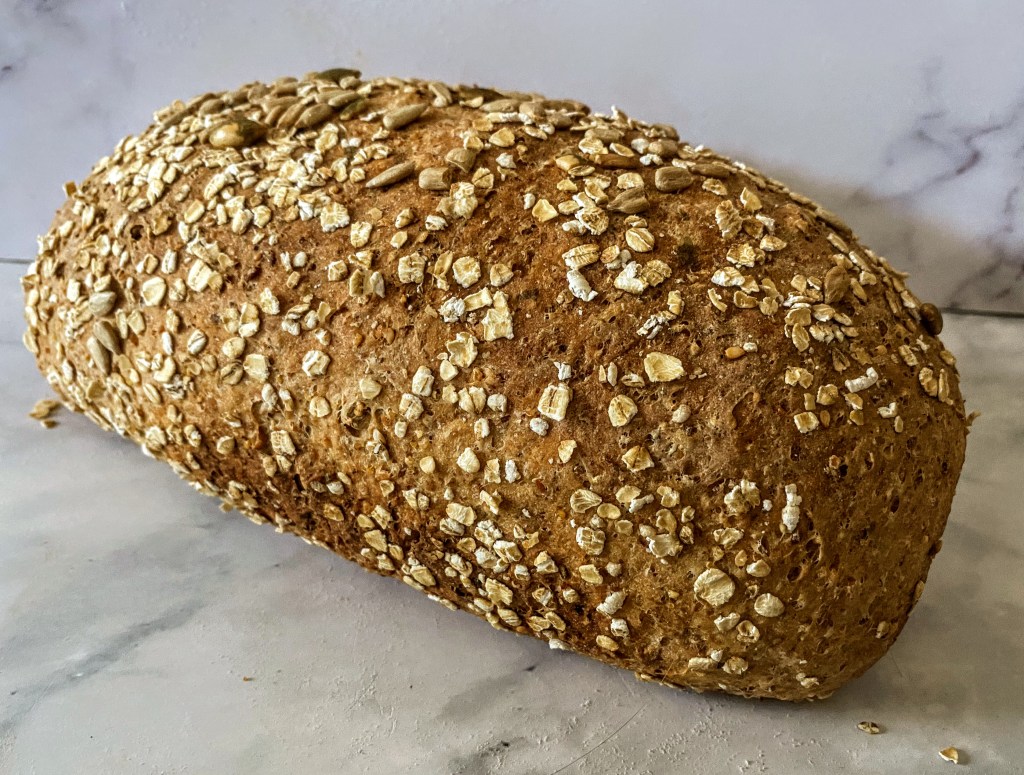
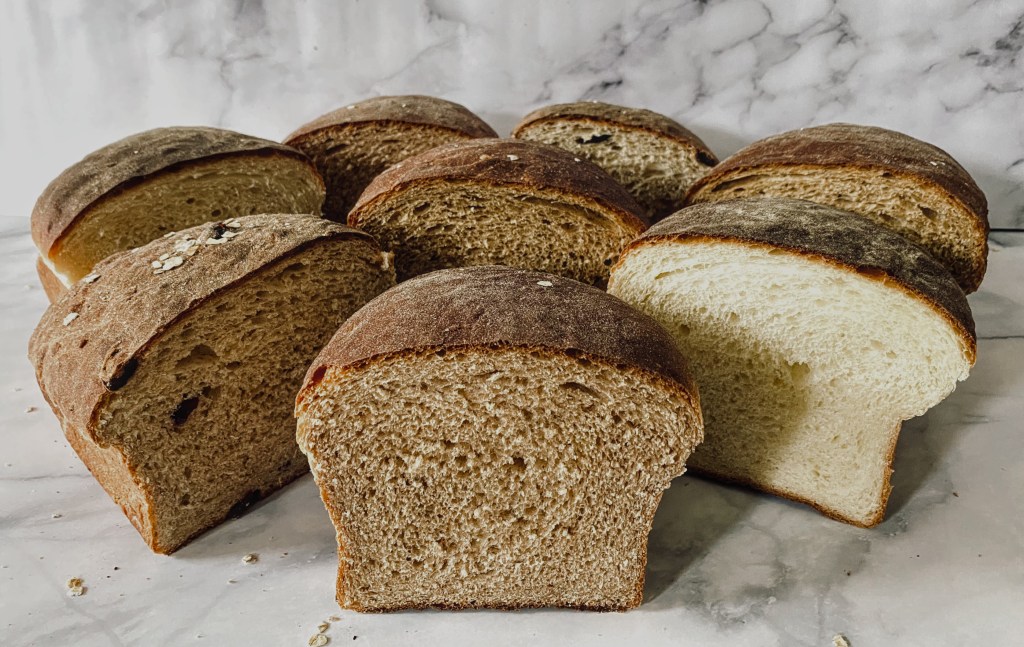
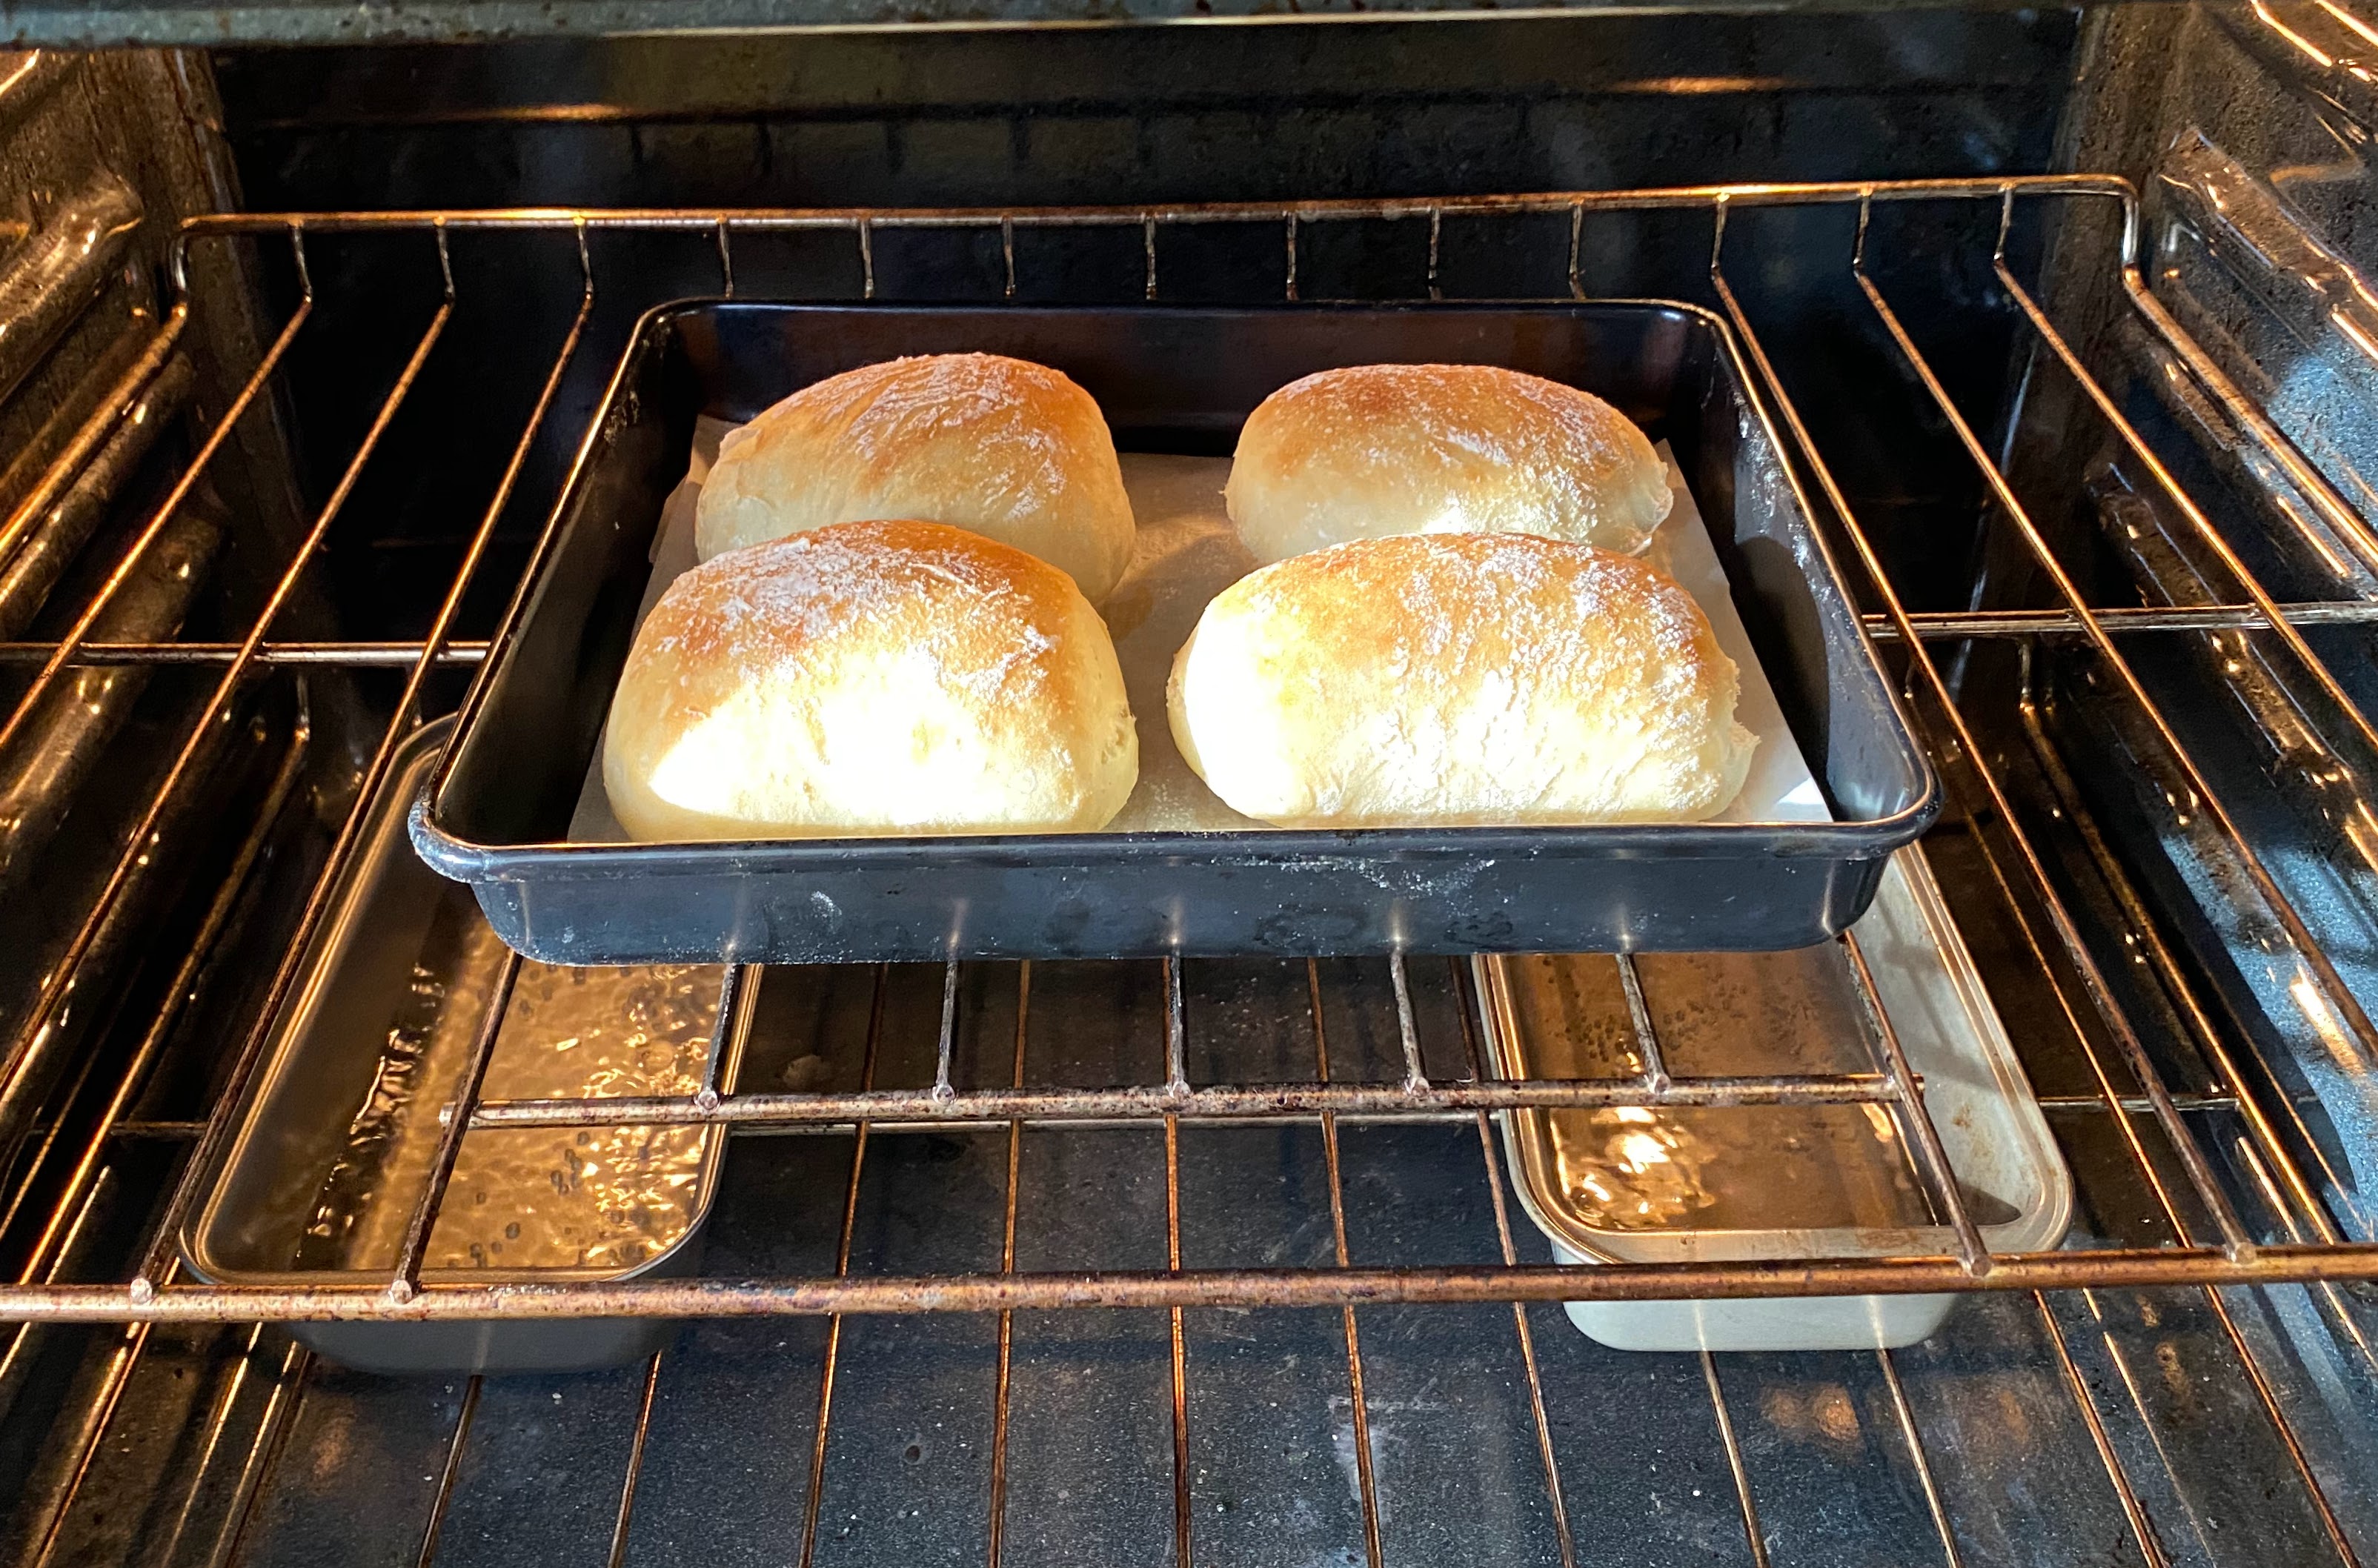
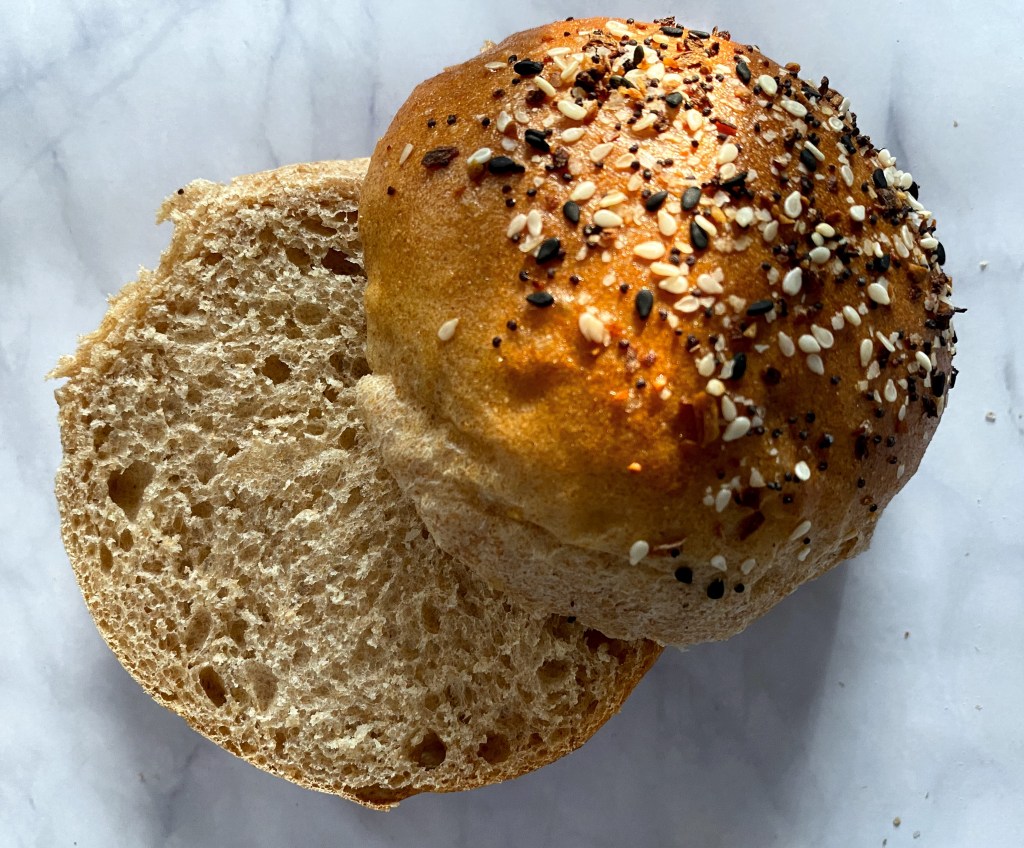
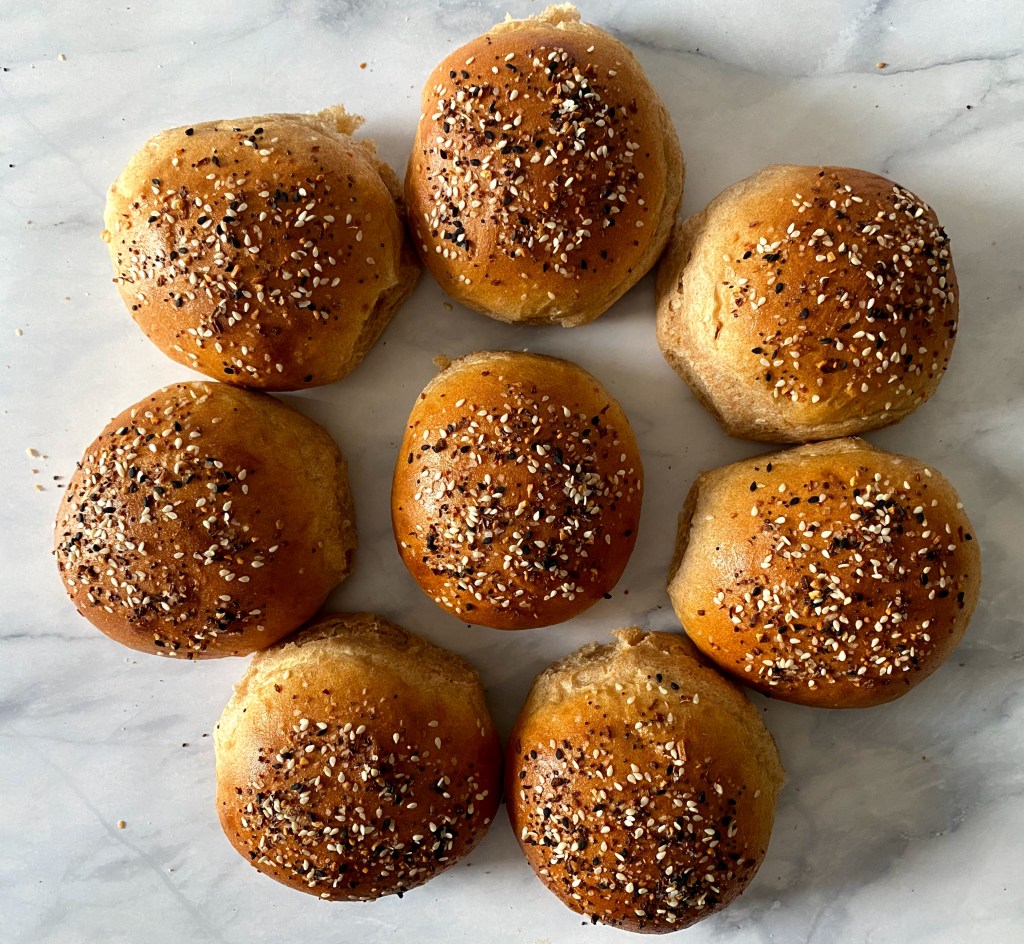
  • Week 64: Everything Bagel Bread – This no knead bread is easy and absolutely delicious. You’ll find yourself making it again and again.
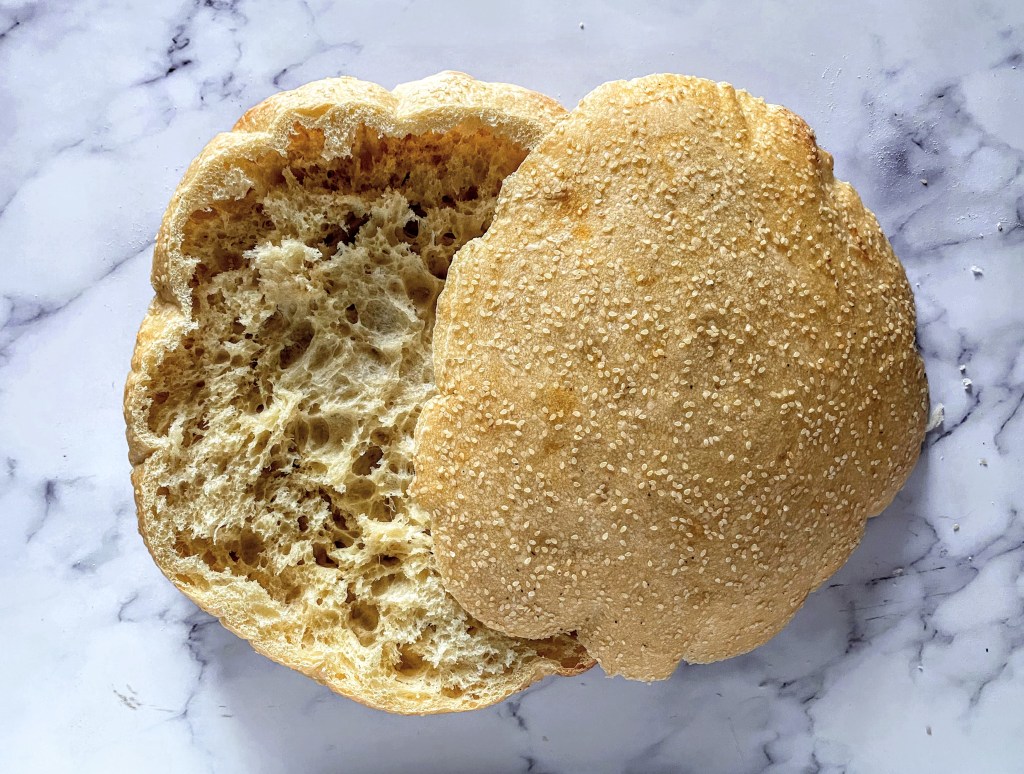
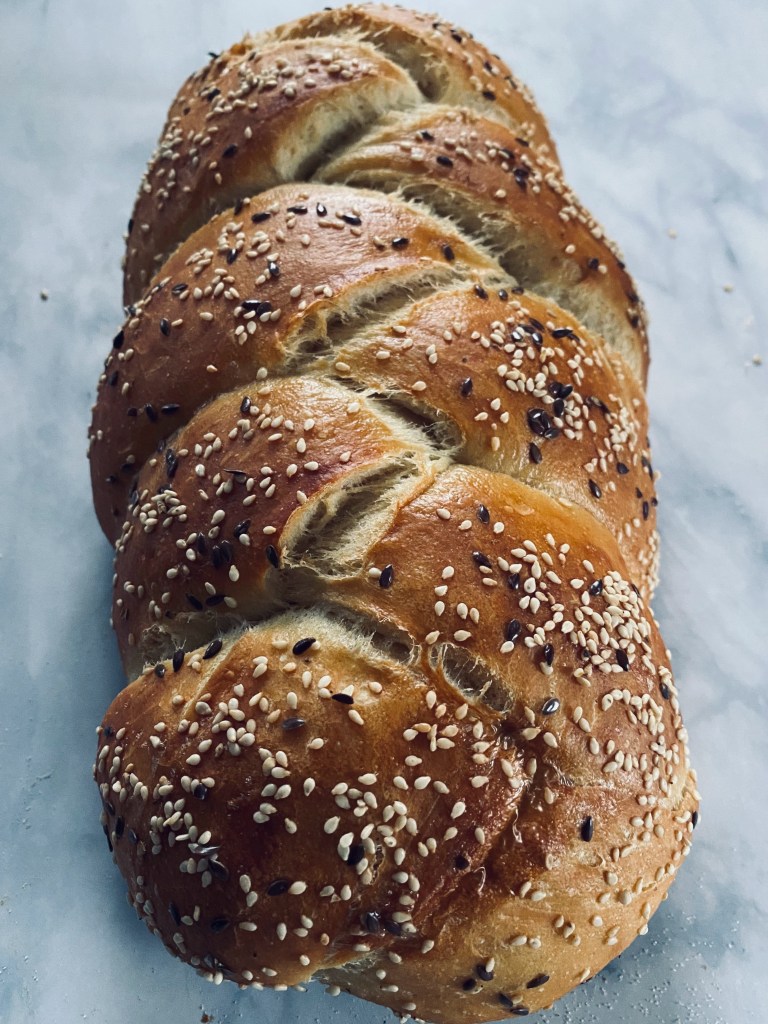
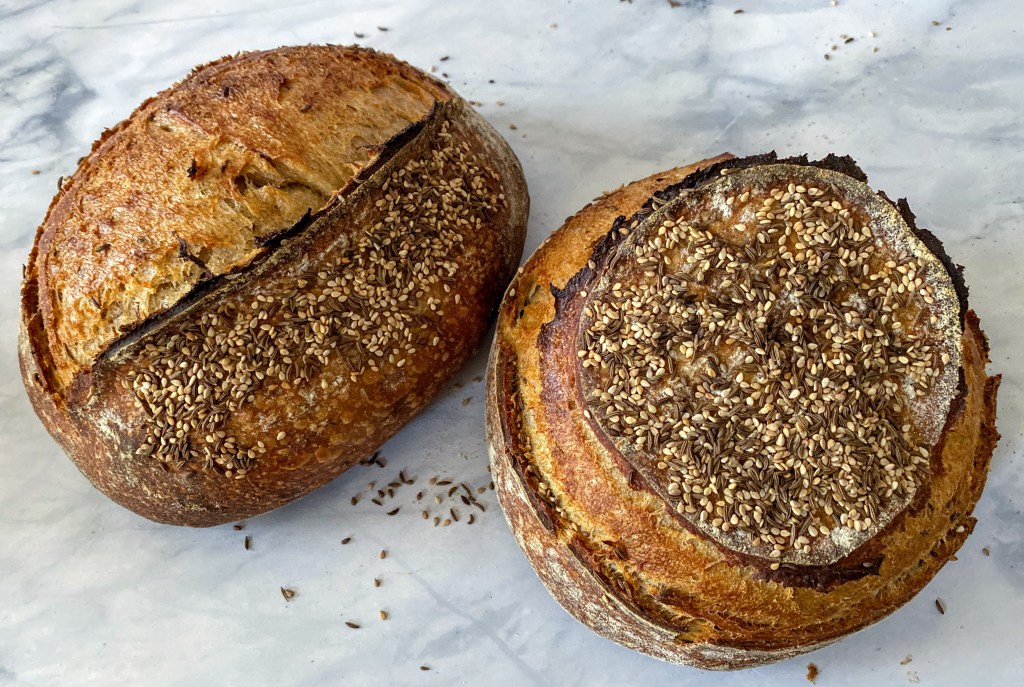
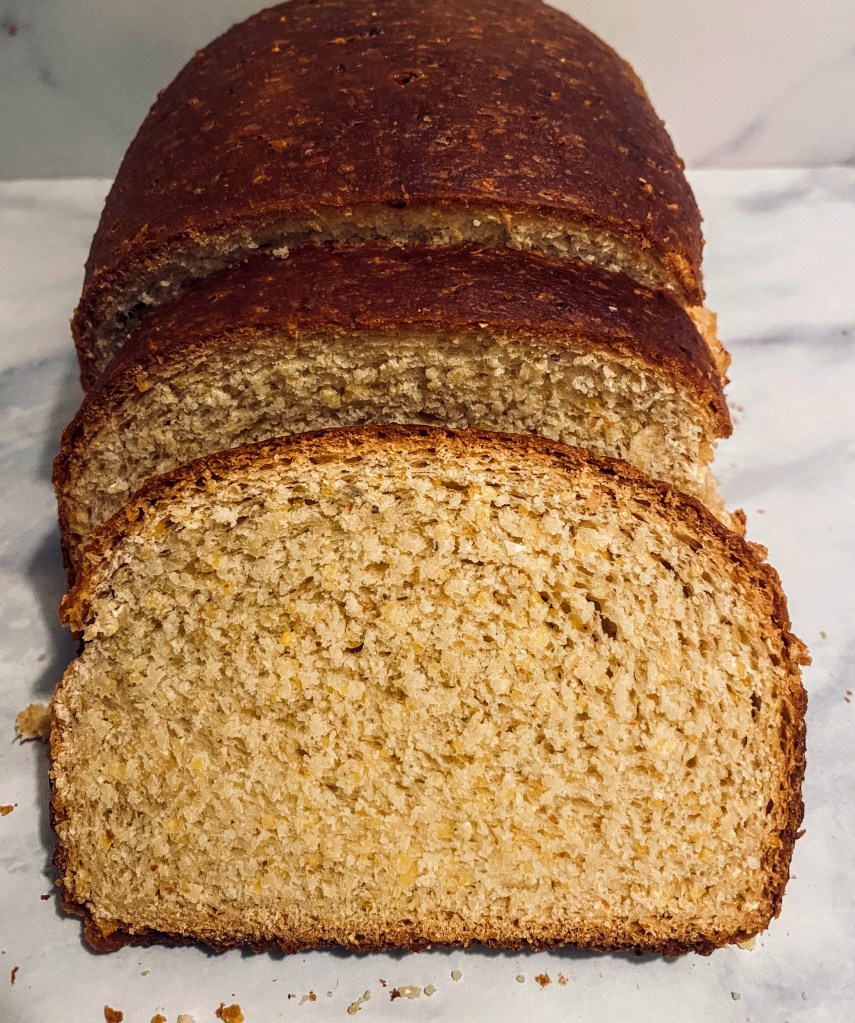
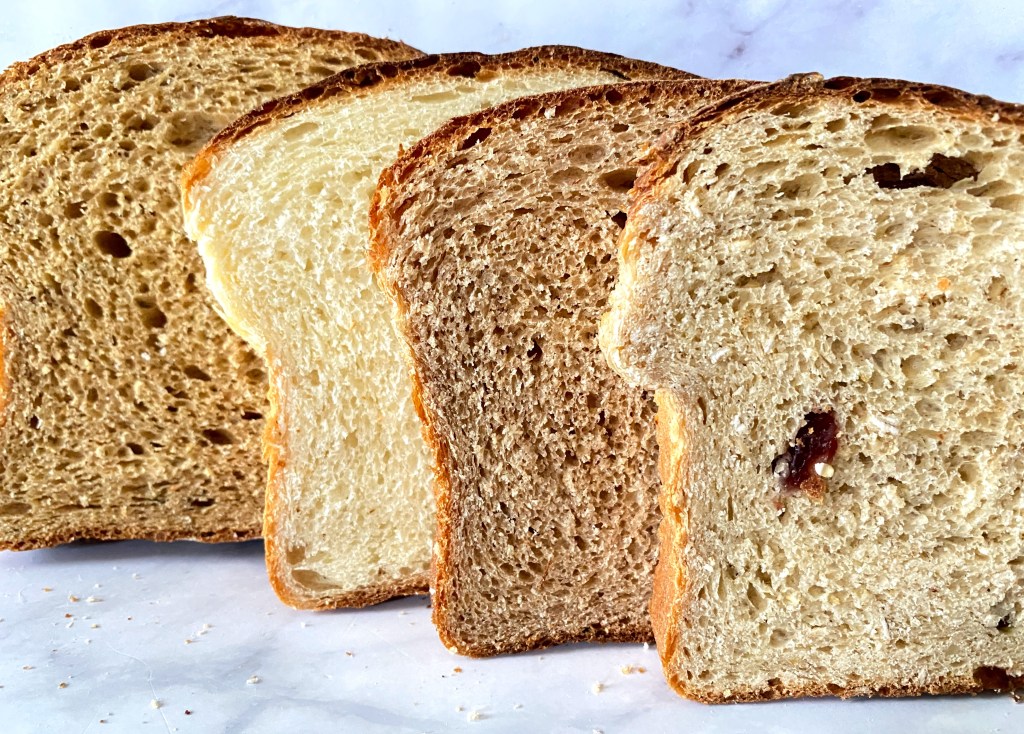
  • Week 70: No Knead Black Bread – This absolutely wonderful, complex loaf is a real crowd pleaser and should definitely be added to your repertoire.
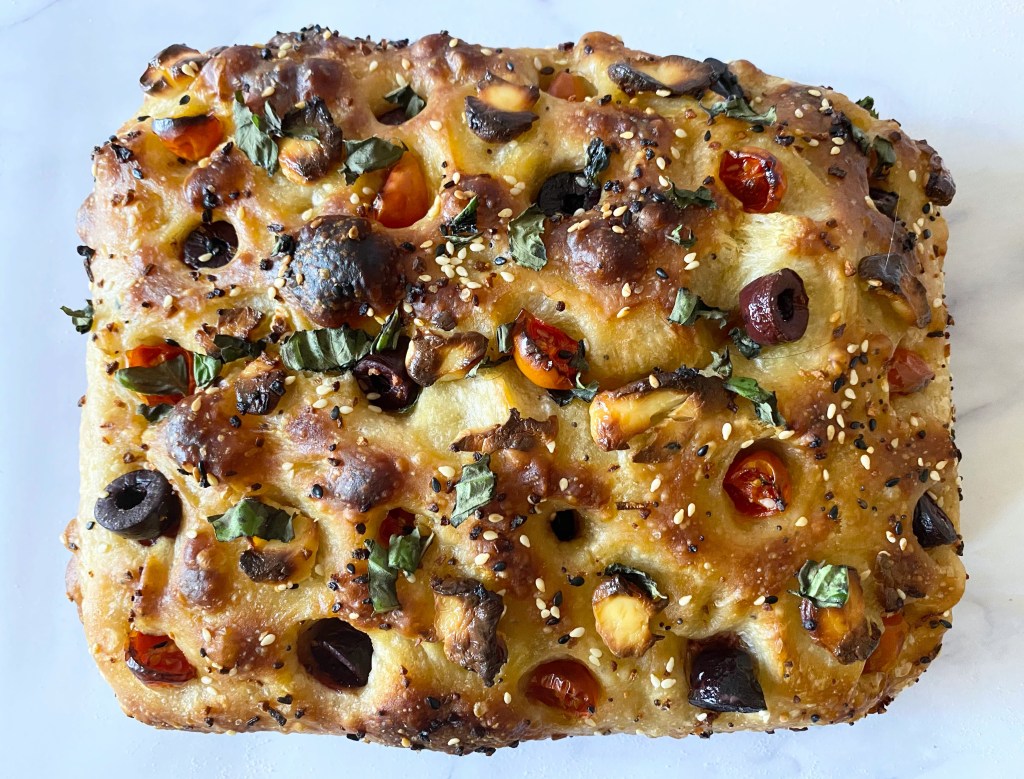
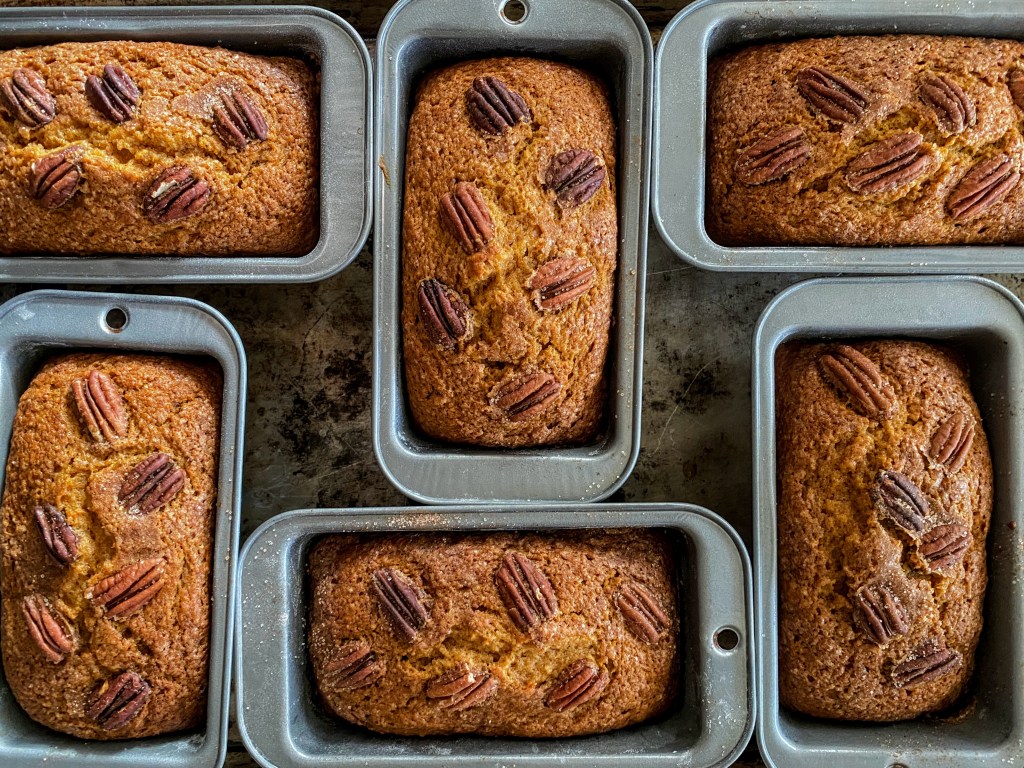
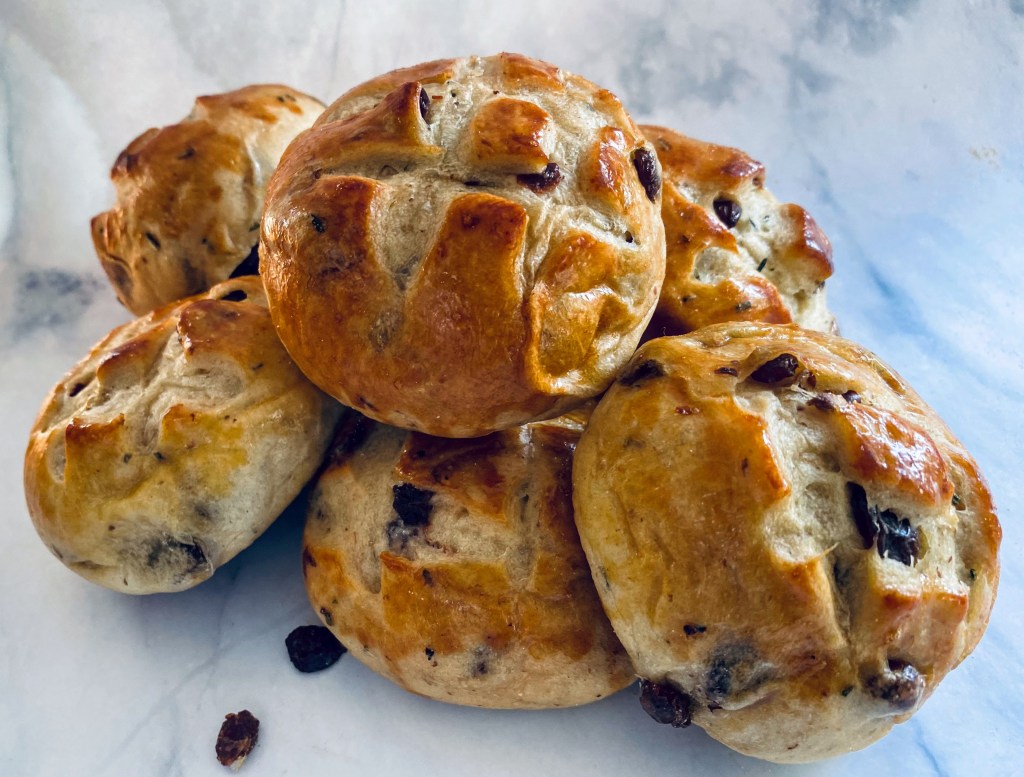
  • Week 97: Pan co’Santi – This is a great bread to make for gifting. It’s beautiful and full of flavor.

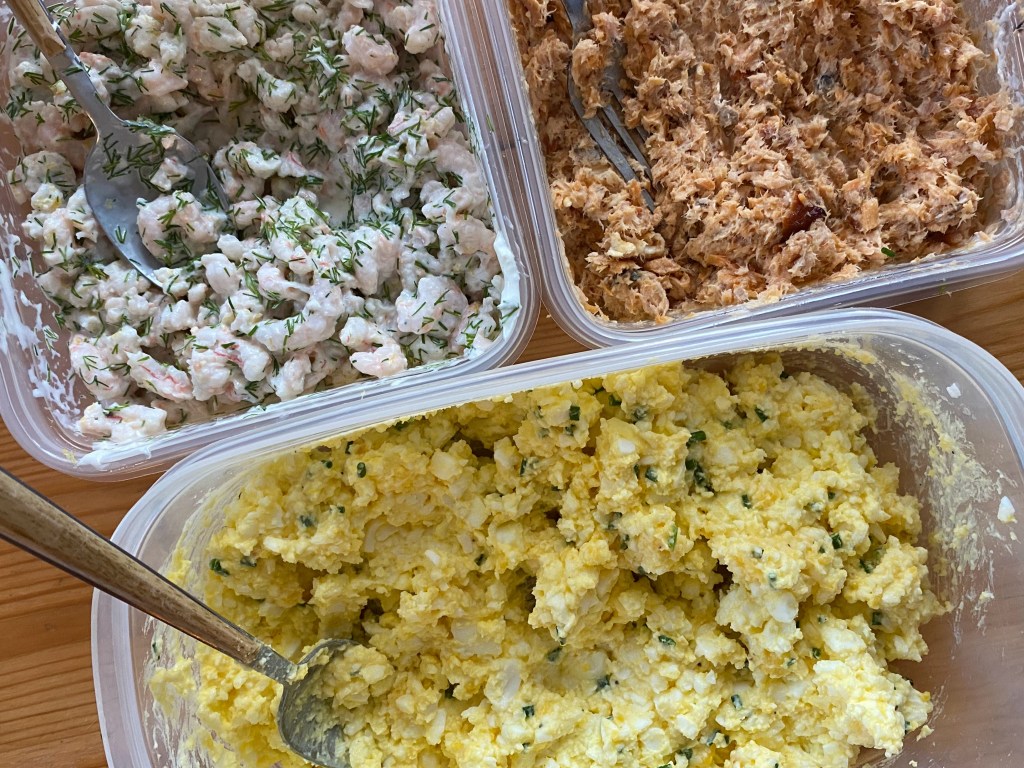
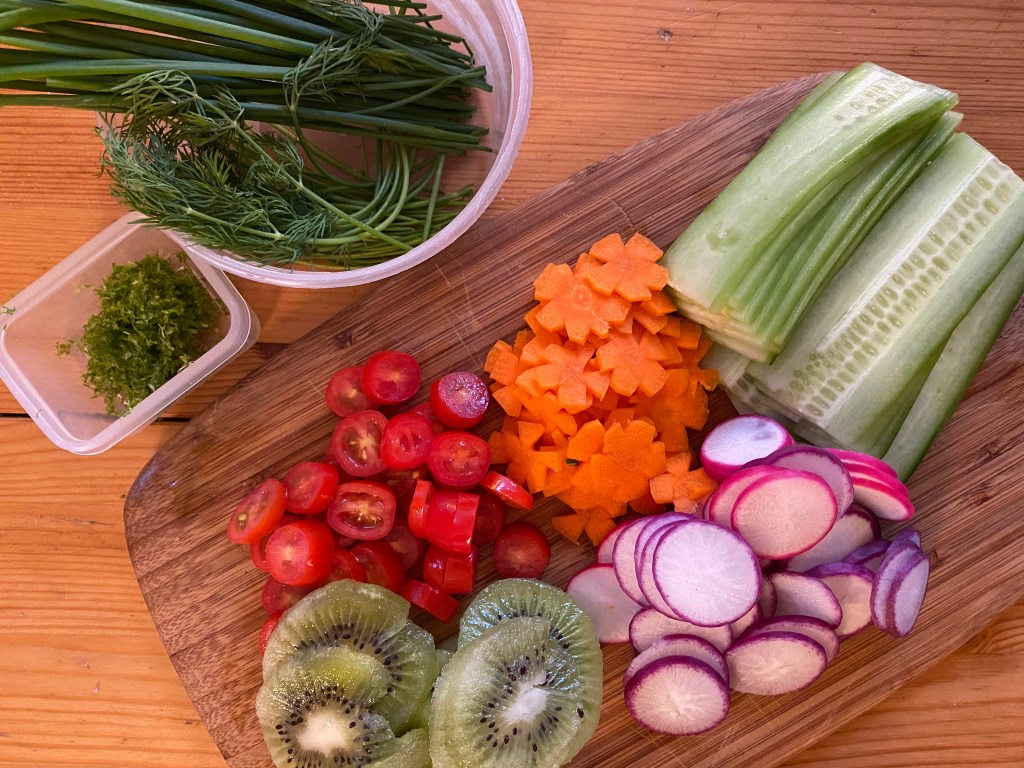
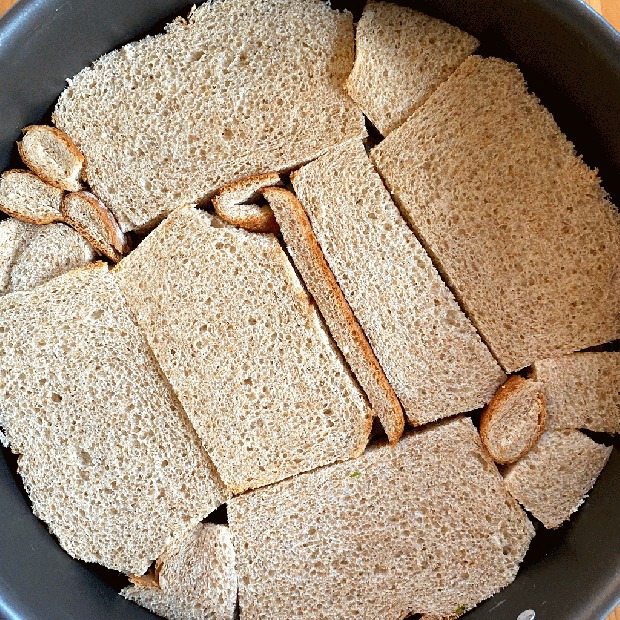
Smörgåstårta is a savory bread-layered cake, and you can use any fillings you like (we prefer egg salad, smoked salmon spread, and bay shrimp mixed with sour cream and fresh dill), cover it with a cream cheese/sour cream mixture and then decorate with fruits, vegetables and/or herbs.

Smörgåstårta: Swedish Sandwich Cake
How to make Smörgåstårta 

If you’re new to the site, make sure to check out all the breads from Year One and Year Two, read over the Tips page if you’re new to baking, and if you find yourself as enamoured of bread baking as I, visit the Library page to see what my favorite bread baking books are.

Stay tuned for Year Three, which will have as it’s focus gluten-free breads!

Year Two Breads

Week 98: Cheater’s Ciabatta

Here is a method for making crispy, airy individual sandwich buns in just a little over one hour. I kid you not! I discovered this by accident because I forgot to do the whole “stretch & fold, then rest 30 minutes” routine that you’re meant to do over a period of 2 hours. All I managed to do was mix the dough, let it rest an hour, then shape the rolls and bake. That’s it, and they came out great.

They are similar to ciabatta, but (obviously) not nearly as airy or flavorful, but they are delicious all the same. It is a wet dough, so a little tricky to work with, but if you keep your countertop and fingers well-floured, you’ll be fine. I made four, but you could cut into 8 pieces and serve as individual dinner rolls. If you want the crust to stay crisp, cool them in the turned off oven with the door ajar.

  • 1 tsp yeast
  • 300 g all-purpose flour
  • 1 tsp salt
  • 1/4 tsp sugar
  • 240 g water, warmed to 90 degrees

Step 1: Make dough

  1. Measure dry ingredients into a bowl and whisk to combine.
  2. Add water, then stir with the handle of a wooden spoon until well combined and there are not bits of dry flour lingering about.
  3. Clean sides of bowl with a dough scraper so all the dough is together.
  4. Cover and let rest in a warm place for 1 hour.

Step 2: Shape

  1. Gently scrape dough out onto a generously floured countertop.
  2. Dust the dough with a little flour
  3. Slip well floured fingers under an edge of the dough and gently pull out a bit.Go around the sides , to shape the dough into a rectangle, roughly 9″ x 12″. Don’t press it into a rectange, you don’t want to flatten the air bubbles.
  4. With floured fingers, gently roll the dough, from top to bottom, starting at the top of a long side. If it’s sticking a bit in places, use your dough scraper to push some flour at the sticky part, and then push it away from the countertop.
  5. With a bench scraper, divide into four pieces.
  6. With floured finger, gently lifteach roll onto the baking sheet.
  7. Cover and let reset for about 30-40 minutes.
  8. Meanwhile, preheat oven to 450°. Adjust racks so one is in the middle and one at the lowest.
  9. Fill two loaf pans with boiling water and place on the bottom rack.

Step 4: Bake

  1. Bake for 20 minutes at 425° (turn oven down).
  2. When ready, remove from oven and let cool on wire rack before slicing.

Week 88: 100% White Whole-Wheat

Do you have a whole-wheat bread hater in your life? Trick them with this bread made with white wheat, as opposed to the more common red. It’s as soft and squishy as Wonder Bread, but much more nutritious. Flour milled from white wheat looks and acts more like refined (all-purpose) flour, but still contains the bran, germ and endosperm. It’s got a milder flavor and softer texture than red wheat loaves, but is just as good for you.

  • 384g white whole wheat
  • 30g vital wheat gluten
  • 7g yeast
  • 10g salt
  • 36g brown sugar
  • 300g water
  • 3 Tbsp butter, cut in little cubes
  • 2 tsp apple cider vinegar (or lemon juice, or plain vinegar)
  1. Measure the dry ingredients into the bowl of a stand mixer.
  2. Whisk to combine.
  3. Heat water to 120°F.
  4. Cut butter into little cubes, then add to hot water and stir to melt.
  5. Add the vinegar.
  6. Place bowl in mixer and knead on lowest speed with the dough hook while slowly add the water.
  7. Scrape the sides with a rubber spatula to help encourage total incorporation.
  8. Once it’s all mixed together, increase to speed #2 and knead for 10 – 20 minutes, scraping sides occasionally with a rubber spatula. You want the dough to be coming away from the sides on it’s own. . If you knead on speed #2 you’re not in danger of over kneading, so be patient – it’ll happen.
  9. Cover and let rest in a warm place for 30 – 60 minutes, until doubled in size.
  10. Lightly oil your work surface, and scrape the dough out from the bowl.
  11. Shape into a rectangle about 8″ wide, so it fits into a 8″ x 4″ loaf pan.
  12. Roll into a loaf using the head and shoulders method.
  13. Please in an oiled loaf pan, seam side down. Or line with parchment paper.
  14. Cover and let rest in a warm place for about 30 minutes, so that it is puffed up enough to be a little over the rim of the loaf pan. You don’t want it to puff up too much, because you want some of the rising to take place in the oven.
  15. Meanwhile, preheat oven to 375 degrees.
  16. Just before baking, dust with a little flour, and make 3~5 diagonal slashes
  17. Turn oven down to 350 and bake 30 minutes, until golden brown and internal temperature is 190 degrees.
  18. Let cool on a wire rack.

Week 82: Lyon Bakery’s Multigrain

This bread flies in the face of everything I’ve learned about bread baking over the last two years. It’s not a super wet dough, yet you don’t have to knead it, and it has only one proofing stage. After stirring the mixture of grains and seeds for 10 minutes (with a fork!), you then shape it, and drop it in a loaf pan to rise. With seven grains (oats, semolina, millet, white, whole wheat, rye and spelt) and three seeds (flax, sesame, sunflower), this is an even healthier version of the only commercial bread we still buy: Silver Hill’s Squirrely Bread. That’s a sprouted wheat bread, something I doubt I’ll ever get around to baking.

The recipe comes from an article in The Washington Post’s Lifestyle Magazine, “How to make a superior multigrain bread, without kneading” from July, 2016. The amounts are in Imperial units (US ounces) which is a crazy way to measure, so I’ve listed the ingredients below in grams, AND halved them, to make two small loaves, using 8″ x 4.5″ loaf pans. I also made an egg wash of one egg yolk and a splash of milk. This makes a nice dark, shiny crust. I don’t roll the dough in the seeds, but rather wait until they’ve risen, then paint it on the loaves and sprinkle on the seeds. Here’s the listing of the bread on the bakery’s website.

  • .5 oz rolled oats (not quickk-cooking or instant)
  • .75 oz flaxseed
  • .75 oz sesame seeds
  • .75 oz sunflower seeds (I prefer roasted, salted)
  • .75 oz semolina flour
  • .50 oz millet or bulgar
  • 1/2 cup 95 degree water
  1. Combine the oats, seeds, semolina, millet (or bulgar) in a small bowl. Stir in the hot and thoroughly combine.
  2. Cover and let sit at room temperature for at least two hours.
  • 340g flour
  • 85g whole wheat
  • 45g rye
  • 25g spelt
  • 42g honey
  • 1-1/2 tsp yeast
  • 8 g salt
  • 2 cups room temperature water
  1. Measure the flours in a large bowl and wisk to combine.
  2. Add the soaked-grain mixture, and then add the honey and yeast on one side, and the salt on the other.
  3. Add the water, then begin stirring with a large, sturdy fork. Don’t try to skip this step by mixing in your stand mixer, it is too dense to use a machine.
  4. Keep mixing for 10 minutes to form a fairly smooth, firm dough. The temperature should be between 76 to 80 degrees on an instant-read thermometer.
  5. Transfer the dough to a lightly oiled contertop.
  6. Divide it in half, then pat it into a rectangle.
  7. Use the head and sholders method to shape into a log.
  8. Tuck the sides under, then place in very lightly buttered loaf pans.
  1. Cover and let proof for about 2 hours, or until doubled.
  2. Meanwhile, preheat oven to 475 degrees.
  3. Once risen, brush loaves with egg yolk mixture, then sprinkle with sesame and sunflower seeds.
  4. When ready to bake, throw some ice cubes into the oven before placing the pans in.
  5. Reduce temperature to 400 and bake for 35-45 minutes, tenting tops with foil if they get too brown.
  6. Cool loves on a wire rack l for 1 hour before removing from the pans.
  7. Let cool completely before slicing.
Dough has risen to about 1″ about rim.

Week 76: Yeasted Honey Corn Bread

This is a close second to Anadama Bread (Week 38). It’s not as complex, but that can be a good thing: the ingredients list is shorter and it doesn’t take as much time. I found the recipe on the Red Star Yeast website, which is a reliable source for bread recipes, and also has a great Resources page for all sorts of tips on bread baking. If you’re new to baking, it’s worth taking a look at it before you get started — and you should also check out Breademic’s Tips and Video pages, as well!

I made a few adjustments to the method, and included a couple of optional ingredients. My updated version is below; the original recipe is here. And, in case you’re wondering what the difference is between cornmeal, corn flour, polenta, and grits, this article from Epicurious has the answers!

  • 3 tablespoons (42g) unsalted butter
  • 1/4 cup (85g) honey
  • 1 cup (237ml) whole milk
  • 1 cup (140g) yellow cornmeal
  • 2 1/2 to 3 cups (300-360g) all-purpose flour
  • 1 1/2 teaspoons table salt
  • 1 (0.25oz) package (7g) or 2-1/4 teaspoons yeast
  • OPTIONAL
    • 2 Tbsp orange zest
    • 1 cup dried cranberries
  • Butter for the top
  1. Warm the milk with butter until butter melts. You can do this on the stovetop, or microwave.
  2. Add the honey, and stir until combined.
  3. Pour into the bowl of a stand mixer, or a large mixing bowl.
  4. Add cornmeal and whisk to combine.
  5. Let rest until temperature reaches120-130°F.
  6. Measure in 300g of flour, and the salt and yeast.
  7. Place bowl in the mixer which is fitted with the paddle attachment.
  8. Knead on medium-low speed for 5-7 minutes. If you need to add more flour, just add 1 Tbsp at a time — no more than 4, tops. Dough should be coming away from the sides, and be sticky, but not wet.
  9. Place dough in a greased bowl and cover with plastic wrap. Let rise in a warm place until doubled, about 1 – 2 hours.
  10. Remove dough onto a lightly oiled surface, and flatten out to an 8″ rectangle.
  11. Starting on a short side, roll up the dough and place seam-side down in a greased 9×5-inch loaf pan.
  12. Cover with plastic wrap and let rise until doubled again, about 30 minutes to an hour. Meanwhile, preheat oven to 375°F.
  13. Bake until the top is golden, about 40-45 minutes.
  14. Remove from tin, and brush with butter (it’ll melt as it touches the hot loaf).
  15. Let cool before slicing.

Week 74: 10-Grain Cereal Bread

This healthy loaf is easy to put together, and doesn’t take a lot of time. You can get in the habit of making it on a weekly basis so you’ve always got some bread on hand for either breakfast, lunch or dinner. It makes great toast, is sturdy enough for sandwiches, and can also be made into dinner rolls.

  • 1/2 cup multi-grain hot cereal mix
  • 1-3/4 cups boiling water
  1. Measure cereal mix into the bowl of stand mixer and add boiling water.
  2. Mix, then let stand, stirring occasionally, until it cools to 110 degrees.
  • 333g bread flour
  • 100g whole wheat flour
  • 2 Tbsp sugar
  • 1-1/2 tsp salt
  • 7g yeast (2-1/4 tsp)
  1. Meanwhile, whisk flours, sugar, salt and yeast together in a medium bowl.
  2. Once grain mixture has cooled, attach the bowl to the stand mixer fitted with the dough hook attachment.
  3. With mixer running on low speed, add the flour mixture, about a 1/2 cup at a time, and mix until combined.
  • 3 Tbsp butter, softened
  • Optional
    • 2 Tbsp sunflower seeds
    • 2 Tbsp sesame seeds
  1. Add butter, about one tablespoon at a time, and continue mixing, then add seeds if using.
  2. Knead on medium-low speed until dough begins to come away from the sides of the bowl. If that’s not happening, add some flour – just one tablespoon at a time. You can use a rubber spatula and scrape down the sides to help it along. But you want it to be in a big ball around the dough hook.
  3. Continue to knead dough for 5 more minutes.
  4. Transfer dough to a very lightly floured work surface and shape it into a smooth, taut ball.
  5. Place dough in an oiled bowl, cover and let rest until doubled, 45 to 60 minutes.
  6. Preheat oven to 375 degrees.
  7. Lightly oil a 9″ x 5″ loaf pan.
  8. Transfer dough to lightly floured work surface and pat into a rectangle
  9. Shape into a loaf as shown below:
  1. Place loaf in tin, cover, and let rise until it’s about 1″ above the rim of the tin.
  2. Meanwhile, preheat oven to 350 degrees
  • 1 egg white
  • 1 ~ 2 Tbsp rolled oats
  1. Mix the egg white with 1 Tbsp water and lightly brush the top of the loaf and top with oats.
  2. Sprinkle the top of the loaf with oats.
  3. Bake until lightly browned, and the internal temperature registers 200 degrees 35 to 40 minutes. Tent wtih foil if the top starts to brown too much before it’s thoroughly baked.
  4. Remove loaf and cool on wire rack before slicing, about 3 hours.

Dinner Rolls: Follow video on Tips page for how to shape rolls. This recipe makes about 15, and they’ll fit in a 9″ x 13″ baking dish.

Week 73: Shake Shack Buns

According to eater.com, one of the reasons Shake Shack’s burgers are so popular is their soft, squishy buns. They’ve been using Martin’s Famous Potato Rolls since Shake Shack opened their first location in NYC in 2004. The buns are not readily available here in the PNW, so I did a little digging and came up with a version you can make at home. I’ve never had the burger, but you could give J. Kenji López-Alt’s Fake Shake a try – everything he does is fantastic.

STEP 1: Prep potatoes

  • 1 russet potato (at least 300 grams)
  • 2 Tbsp butter, softened
  • 1 egg, beaten
  • 1 Tbsp sugar
  1. Peel and then roughly chop the potato
  2. Place them in a small pot, add water to cover, and boil until tender.
  3. Reserve 5 Tbsp of the boiling liquid into a small bowl, then drain the potatoes, returning them back to the pot.
  4. Heat on low to evaporate as much of the moisture from the potatoes as you can.
  5. Mash well, then put 1 cup of the mashed potatoes in a bowl.
  6. Add butter to potatoes and mix in until melted.
  7. Add the egg and sugar to the potato water and mix.
  8. Let potatoes water cool.

Step 2: Make dough

  • 350g bread flour
  • 6g yeast
  • 6g salt
  • Mashed potatoes and butter
  • Potato water/egg/sugar mixture
  1. Measure out the flour, yeast and salt into the bowl of a stand mixer and whisk to combine.
  2. Add the mashed potatoes and mix with the handle of a wooden spoon to loosely combine.
  3. Place bowl in mixer, and with the dough hook on low speed, slowly add the water mixture.
  4. Mix until the dough starts to form and there are no dry bits left.
  5. Increase speed to medium-low, and knead until it’s smooth and elastic, and comes away from the sides of the bowl.

Step 3: Proof

  1. Empty dough out until a very lightly floured countertop.
  2. Give it a few kneads and form into a ball.
  3. Place, seam side down, into a greased bowl, cover and let rise 30~60 minutes.

Step 4: Shape

  1. Remove dough from bowl, and shape into a log.
  2. Cut into 8 pieces, weighing about 85g each.
  3. Follow “How to shape up perfect bread rolls” instructions on the Tips page to shape the pieces into rolls.
  4. Arrange the dough balls, seam side down on baking sheet evenly spaced apart.
  5. Press dough balls down to form uniform disks.
  6. Cover, and let rise for 30~60 minutes.
  7. Meanwhile, preheat over to 425 degrees.

Step 5: Bake

  • 1 egg yolk
  • 1 Tbsp water
  1. Lightly beat egg yolk with the water.
  2. Brush tops with a beaten egg yolk.
  3. Bake for 15-18 minutes, until golden brown.

Week 70: No Knead Black Bread

This is an absolutley delicious bread, and easy to make. Even though it’s got a long list of ingredients, and is best made a couple of days prior to consuming it, don’t let that stop you from adding this to your repertoire! We serve this on Christmas Day because it it makes for an easy breakfast that blurs into lunch. It’s delicious with sweet or savory toppings: grava lax, smoked trout, egg salad, and fruit jams. And what at treat it is to watch Nigella Lawson, England’s very own domestic goddess, bake bread!

I’ve listed the ingredients below so that you can measure everything out ahead of time, and then follow along with the video. (I didn’t include the acitvated charcol, or the nigella seeds because I can’t find them). Also, the 2-lb pan she references is the same as a 9″x5″ loaf pan.

  • 400ml stout (14oz)
  • 1 egg white (save yolk for brushing on top just before baking)
  • 30g brown sugar
  • 2 Tbsp extra virgin olive oil
  • 2 Tbsp molasses
  • 300g dark rye flour
  • 300g bread flour
  • 25g cocoa powder
  • 4 tsp caraway seeds
  • 4 tsp fennel seeds
  • ¼ tsp yeast
  • 1¼ tsp salt
  • oil to grease pan

You can mix the dough, in the evening, then let it rest overnight, shape it the next day, then bake after the 2-hr rest. Or, mix it in the morning, let it rest all day, then shape it and refrigerate overnight. Pop it into the oven first thing in the morning (directly from the fridge, no need to do the 2-hr rise). Either way, it would benefit from not being cut open for another day, but it’s hard to wait for this one!

I would also score the top so that it splits evenly as it bakes.

Here’s a link to the written recipe, and below is the video. If you’re not familiar with Nigella Lawson, go ahead and open the link and read the recipe through, and be prepared to fall in love with the language she uses to describe and instruct. I also want to highlight this tip that she adds at the end: “Any leftover bread can be blitzed in the processor into fabulous black breadcrumbs. I keep them in the freezer to use whenever I want to add an aniseed crunch. They are particularly good sprinkled over a tomato salad.”

Week 63: Whole Wheat Burger Buns

Hamburgers originated in Hamburg, Germany, with the meat patty typically served between two slices of toast. The use of a soft bun was popularized by a fry cook named Walter Anderson, who in 1921 founded the White Castle hamburger chain, home of the “slider”.

These soft buns are made with 80% whole wheat flour, enriched with whole milk and butter, and topped with an Everything Bagel seasoning mix. You can make them vegan by using any non-dairy milk, and substituting a plant based oil for the butter. If you’re looking to make an all-white flour version, try the brioche-style Burger Buns from Week 10.

STEP 1: Make dough

  • 240ml warm milk (120°)
  • 2 eggs (1 for dough + 1 to used as an egg wash)
  • 240g whole wheat flour
  • 60g bread flour or all-purpose flour
  • 7g yeast
  • 27g sugar
  • 13g salt
  • 28g softened butter
  • Everything Bagel seasoning
  1. Mix one of the eggs in with the warm milk and whisk to combine
  2. Measure out flours, yeast, sugar, salt into the bowl of a stand mixer, and whisk by hand to combine
  3. Place bowl in stand mixer, and with the paddle attachment, mix on low while slowly addingthe milk/egg until combined
  4. Add the butter in bits and continue to mix on low until combined
  5. Beat on high for 2 minutes
  6. On low speed, add 3 Tbsp bread flour until dough is more sturdy and comes away from the sides of the bowl

STEP 2: Rest dough

  1. Put 1 Tbsp flour on countertop, then empty dough on top.
  2. Gently knead flour into the dough so it is less sticky, using a dough scrapper if it sticks to the counter
  3. Place in oiled bowl, cover, and let rest 30 minutes.

STEP 3: Shape buns

  1. Scrape the flour off the countertop, then lighly coat in oil
  2. Empty dough onto the counter
  3. Cut dough into 8 pieces, about 80 – 90g each
  4. Flatten each piece, pull sides up and over, turn over and shape into a ball with a tight surface. (Check out this video on the Tips page)
  5. Place on a parchment lined cookie sheet about a finger width apart
  6. Cover and and let rise about 30-35 minutes.
  7. Preheat oven to 400

STEP 4: Bake

  1. Just before baking, mix second egg with 1 Tbsp water and brush on top of buns, then sprinkle with the Everything Bagel seasoning
  2. Turn oven down to 375, and bake for 12-15 minutes
  3. Cool on wire rack.
  4. Don’t cut until just before serving!

Week 61: Easiest Bread Ever

I’ve spent the last year and a half learning how to bake bread. It’s been fun, not always easy, and to be honest, not always successful. There are so many nuances to it: proper kneading techniques, making sure you don’t over-proof or under-proof the dough, getting the flour-to-water ratios just right, understanding the gluten structure of different types of flour, and having all the right tools — not to mention enough time — for all the steps.

When I came across this method I was very skeptical because it kind of goes against everything I’d learned so far. For one thing, it only takes about 15 minutes to throw together, if that. After a 10-minute rest, a bit of shaping, then a 30-minute rise, it’s ready to bake. You “knead” it in a stand mixer with the paddle attachment (!) on high (!!) for just two minutes. It doesn’t compare to an artisan loaf with it’s overnight ferment and beautiful open crumb, but it makes a perfectly acceptable sandwich loaf and best of all, it’s something you can make on the fly.

I’ve listed the ingredients (in grams) so you can make your loaf along with the video instruction linked below. I also made four different versions so you have the option to make either a whole wheat, white, oatmeal raisin or ryre.

  • 300g bread or all pupose flour < OR >
    • Whole wheat: 240g whole wheat flour+ 60g bread or all purpose flour
    • Oatmeal raisin: 300g bread or all purpose flour + 50g oats
    • Rye: 125g rye flour + 175g bread or all purpose flour
  • 7g (2 tsp) yeast
  • 1 tsp salt
  • 1 cup milk (any kind: dairy, oat, almond, soy, etc.) at 120 degrees
  • 2 Tbsp honey < OR >
    • Whole wheat: 2 Tbsp brown sugar
    • Oatmeal raisin: 2 Tbsp maple syrup + 1 tsp cinammon
    • Rye: 1 Tbsp sugar + 2 tsp caraway seeds + 1 tsp dill seeds
  • 1 egg (if you want to omit the egg, use 1 Tbsp oil in its place)
  • 2 Tbsp oil or melted butter (I use butter for the white and oat versions)

Notes:

  1. The video is for the whole wheat version. I translated the cup measurements into grams because it’s so much more accurate. If you don’t have a scale, it’s 1-2/3 cups whole wheat flour + 1/3 cup all-purpose or bread flour.
  2. She uses 1/4 cup of flour once the batter is mixed to stiffen it up a bit. I add it in one tablespoon at a time, because you might not need that much, and if you dump it all in at once, you can’t take it back.
  3. You can use 8 x 4 loaf pan if that’s all you have, but 9 x 5 is better
  4. She doesn’t grease her pan, but I went ahead and greased mine just in case
  5. If you let it rise for too long, and it gets too high, you’ll over-proof it, and it’ll collapse in the oven. So no highter than 1″ for sure. It’s always better to underproof a little than over proof!
  6. Mine definitely got too dark on the top, so do cover with foil

If you want all whole wheat try Week 21: 100% Whole Wheat from Year 2020. It’s a bit more complicated (a lot, really), but well worth the effort for such a healthy, delicious result!