Week 106: Couronne Bordelaise

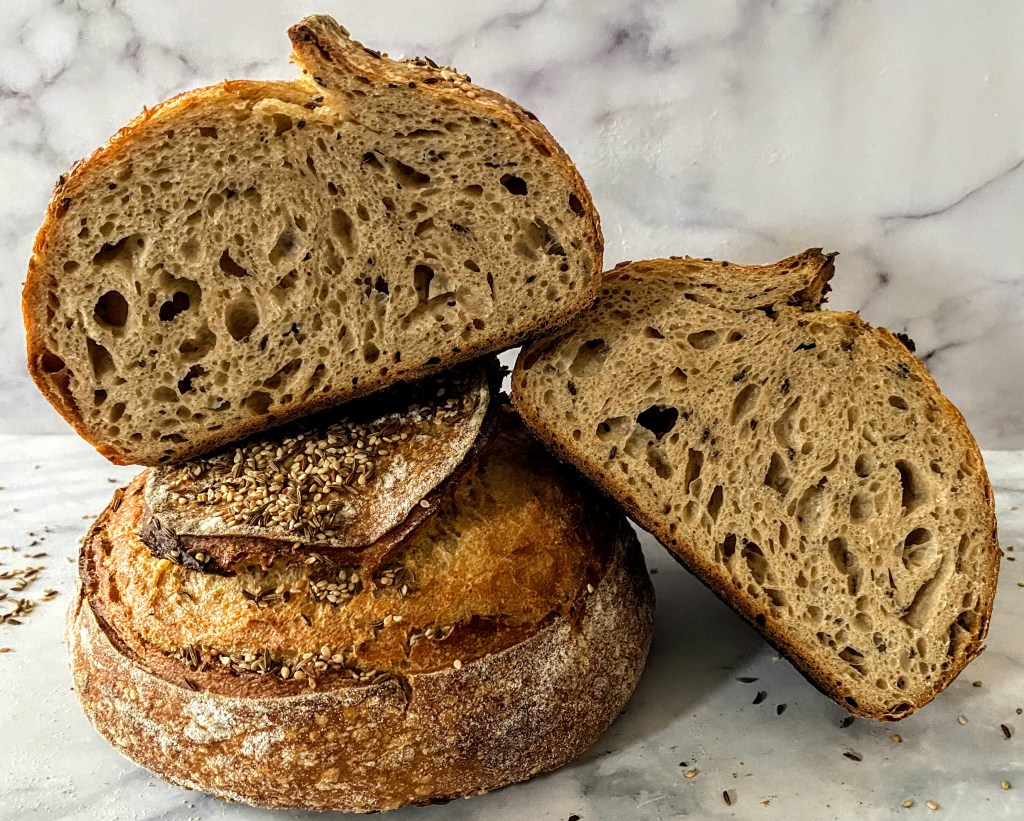
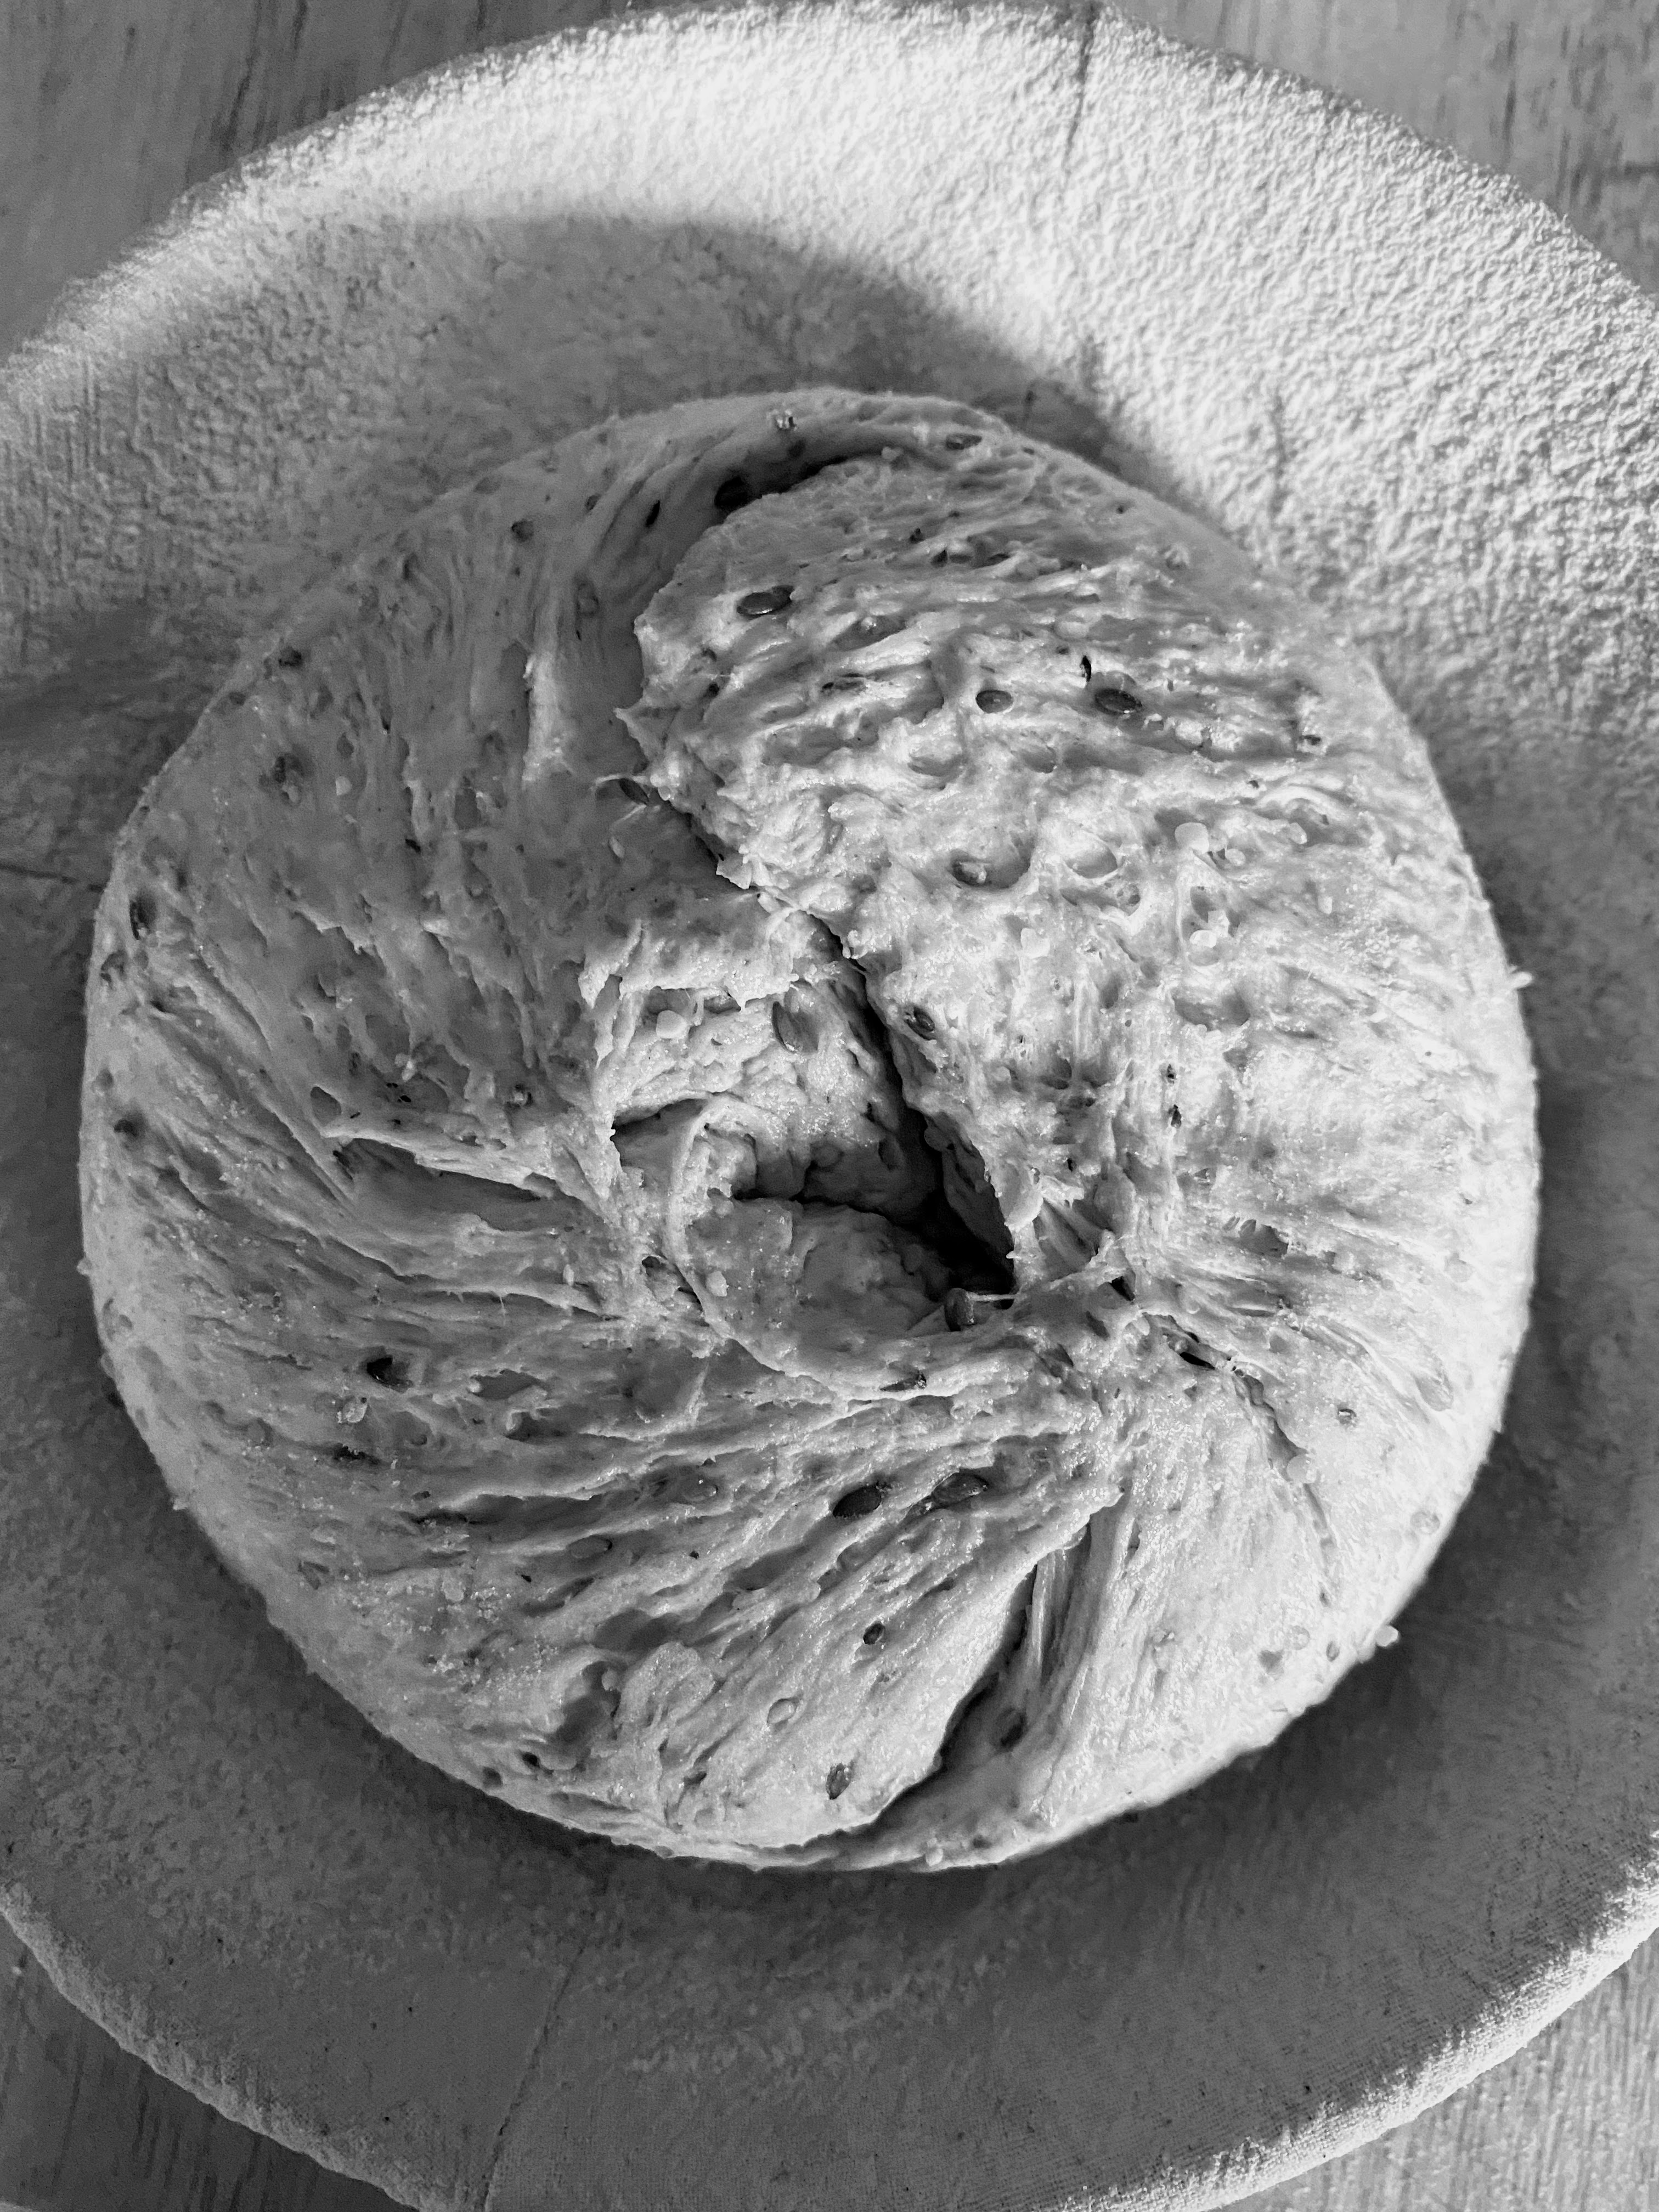
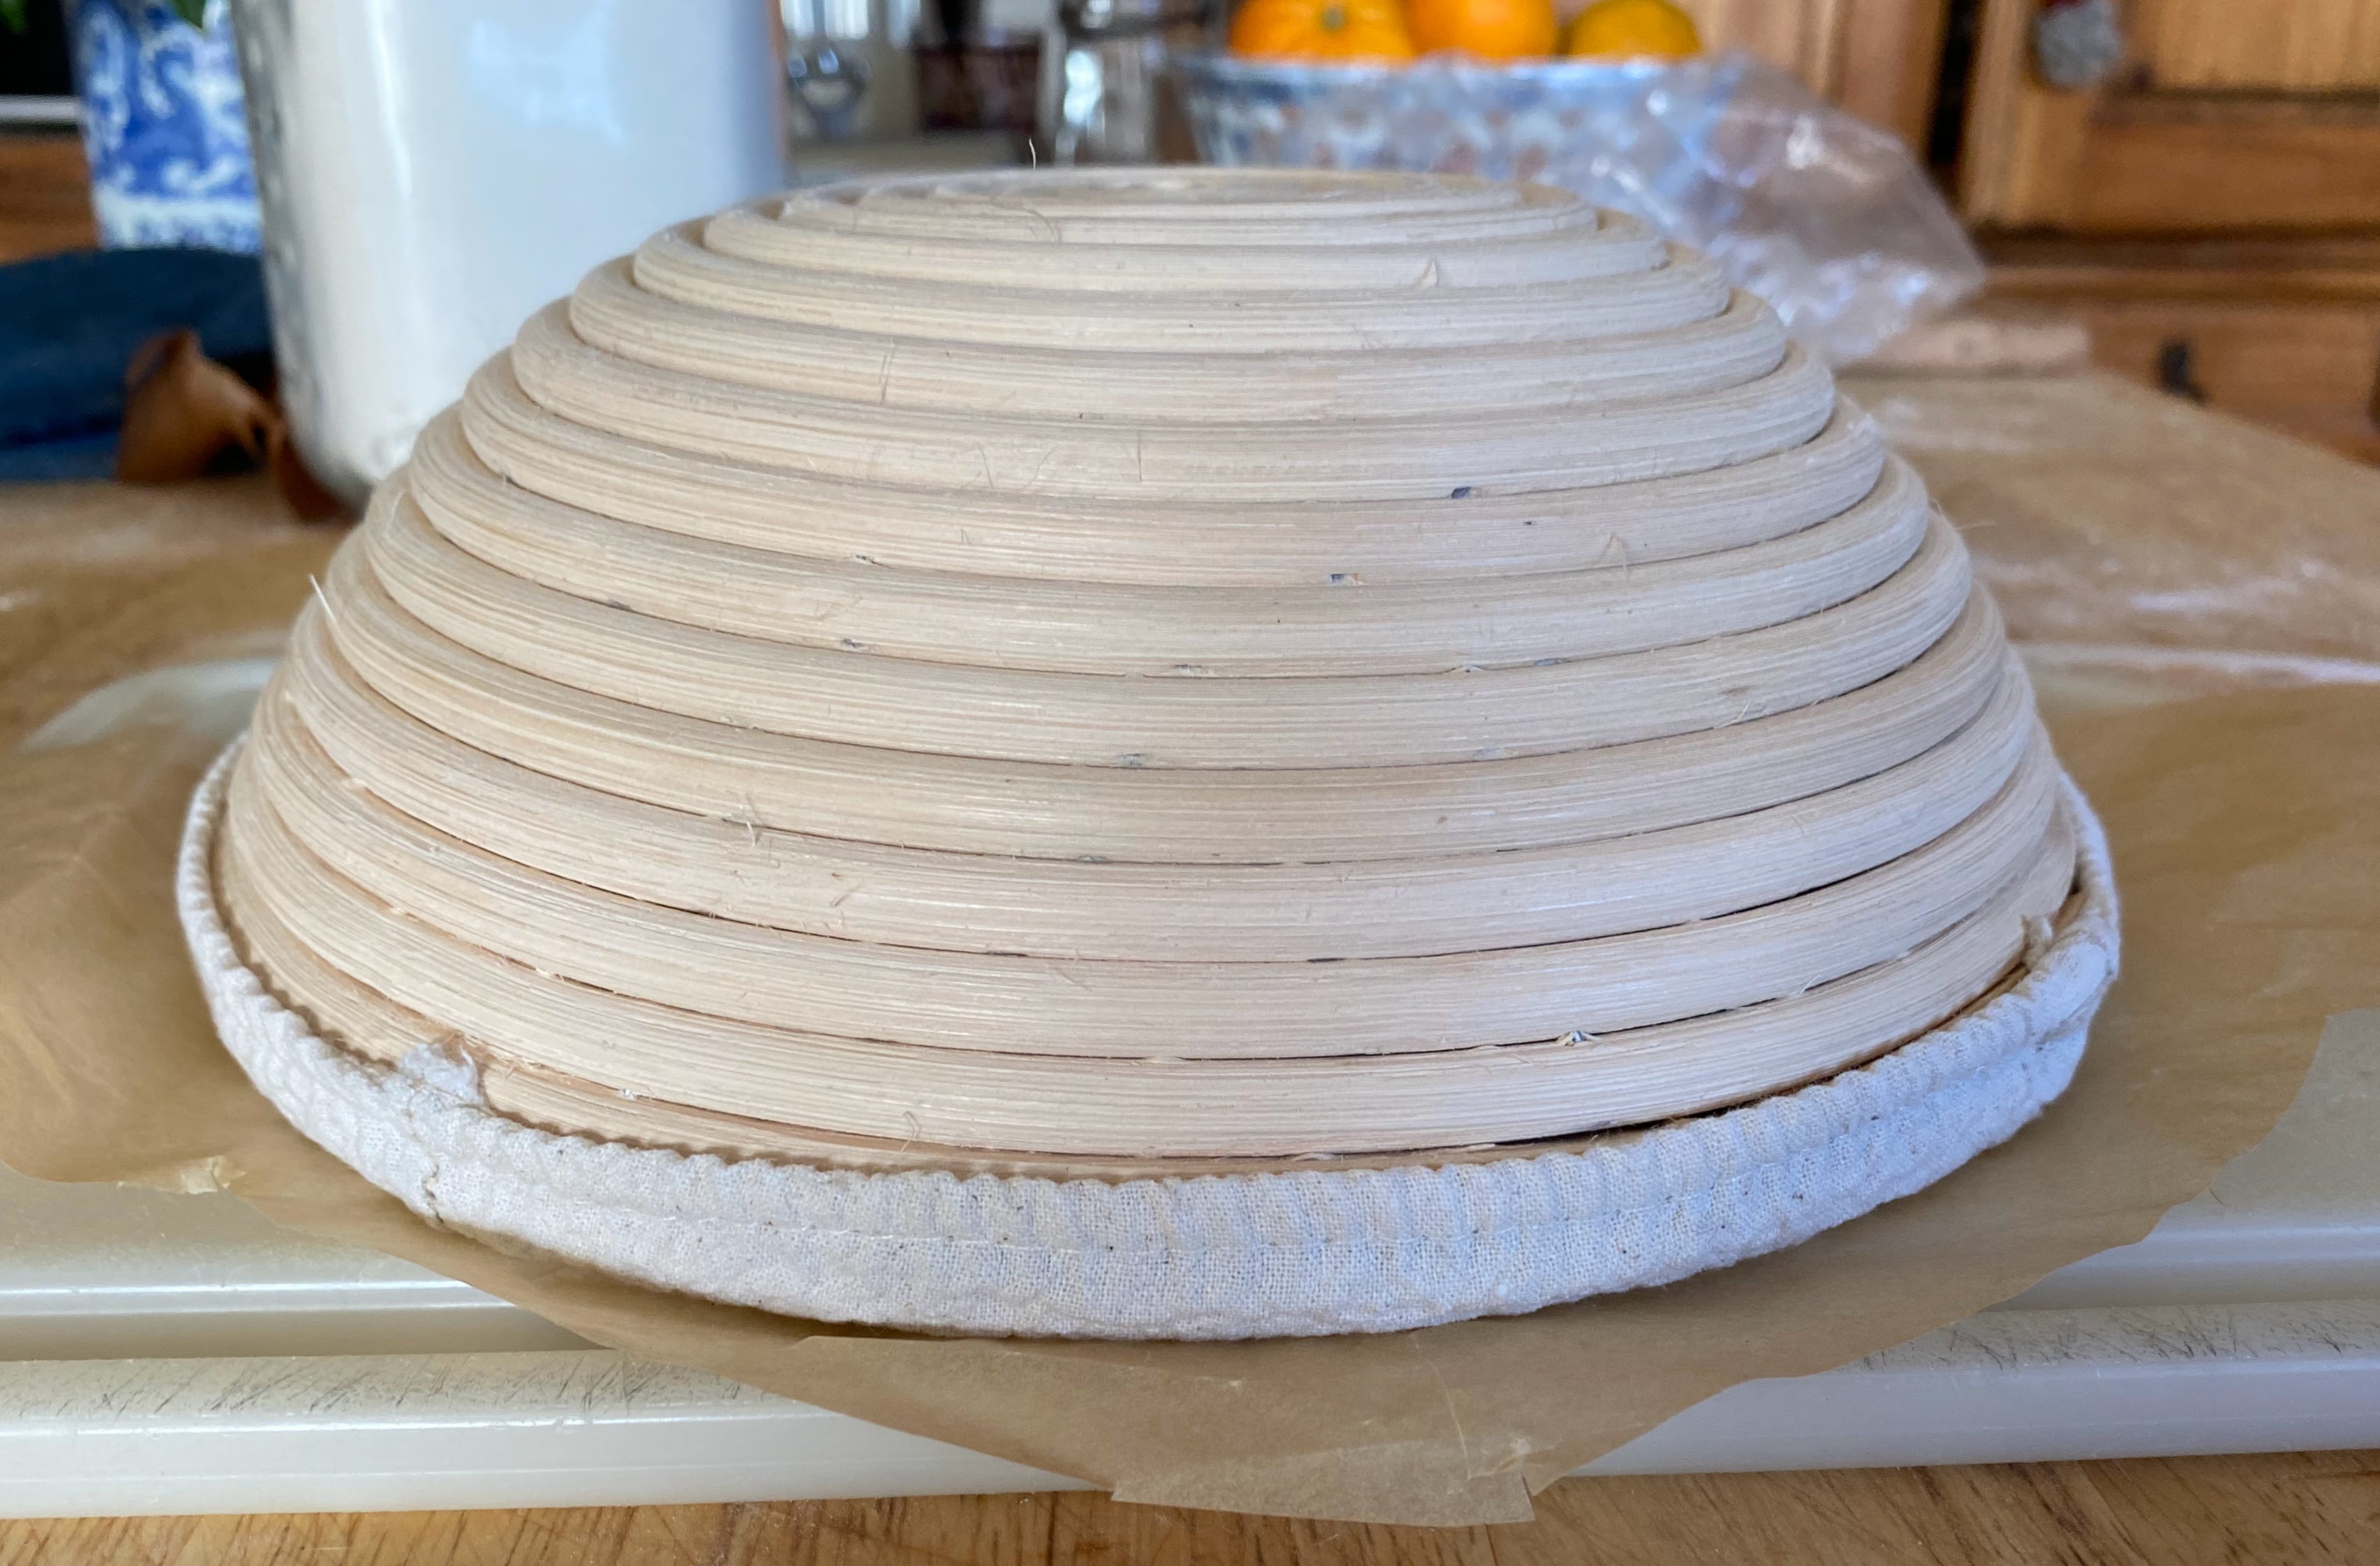
If Pain de Campaigne (Week 59) is the king of breads, then the Couronne Bordelaise is most definitely the queen. It’s easier to make than it looks so give it a try! Professionals use a special basket to shape the crown, but you can make one at home with a 9″ cake pan and very small heat-proof bowl/ramekin.

Day 1: Make dough

  • 340g bread flour
  • 40g whole wheat flour
  • 4g sugar
  • 7g salt
  • 1/4 tsp yeast
  • 300g room temperature water
  • 15g olive oil
  • (additional ingredients below)
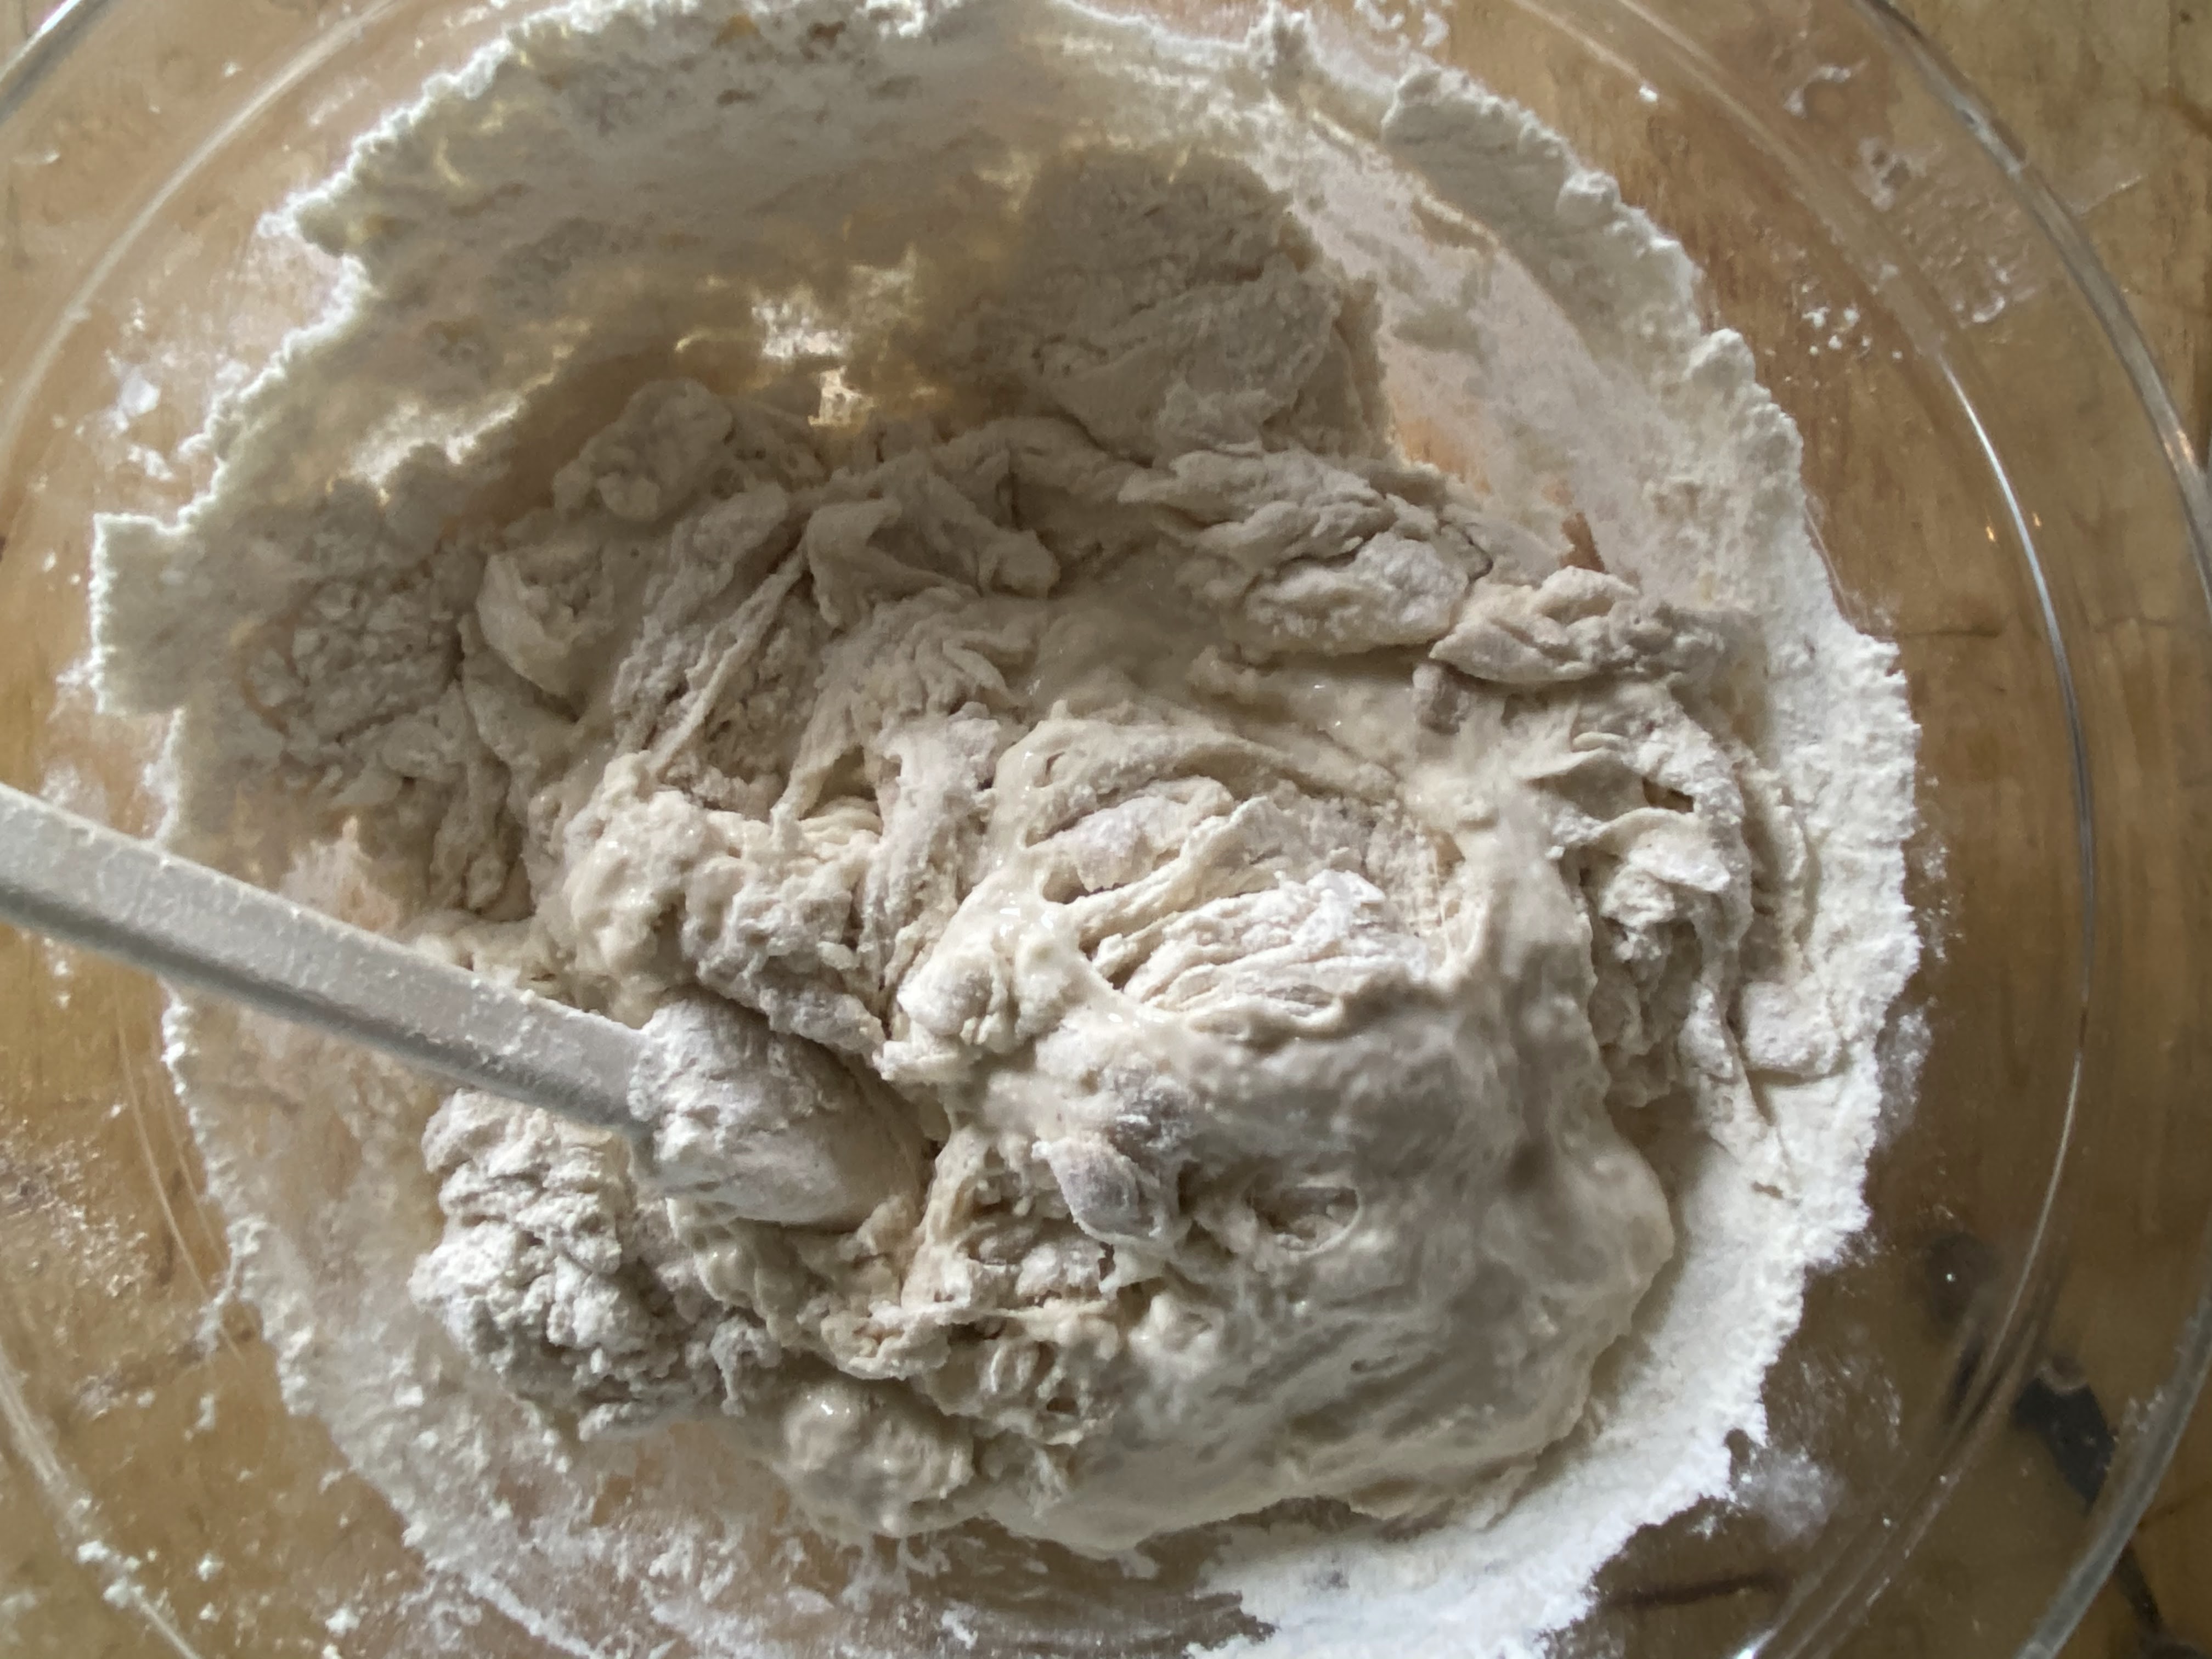
  1. In a large bowl, whisk flours with sugar, salt and yeast to combine.
  2. Add water and olive oil and mix thouroughly, so there are no dry bits left. You can use your hands, a dough whisk, or the handle of a wooden spoon.
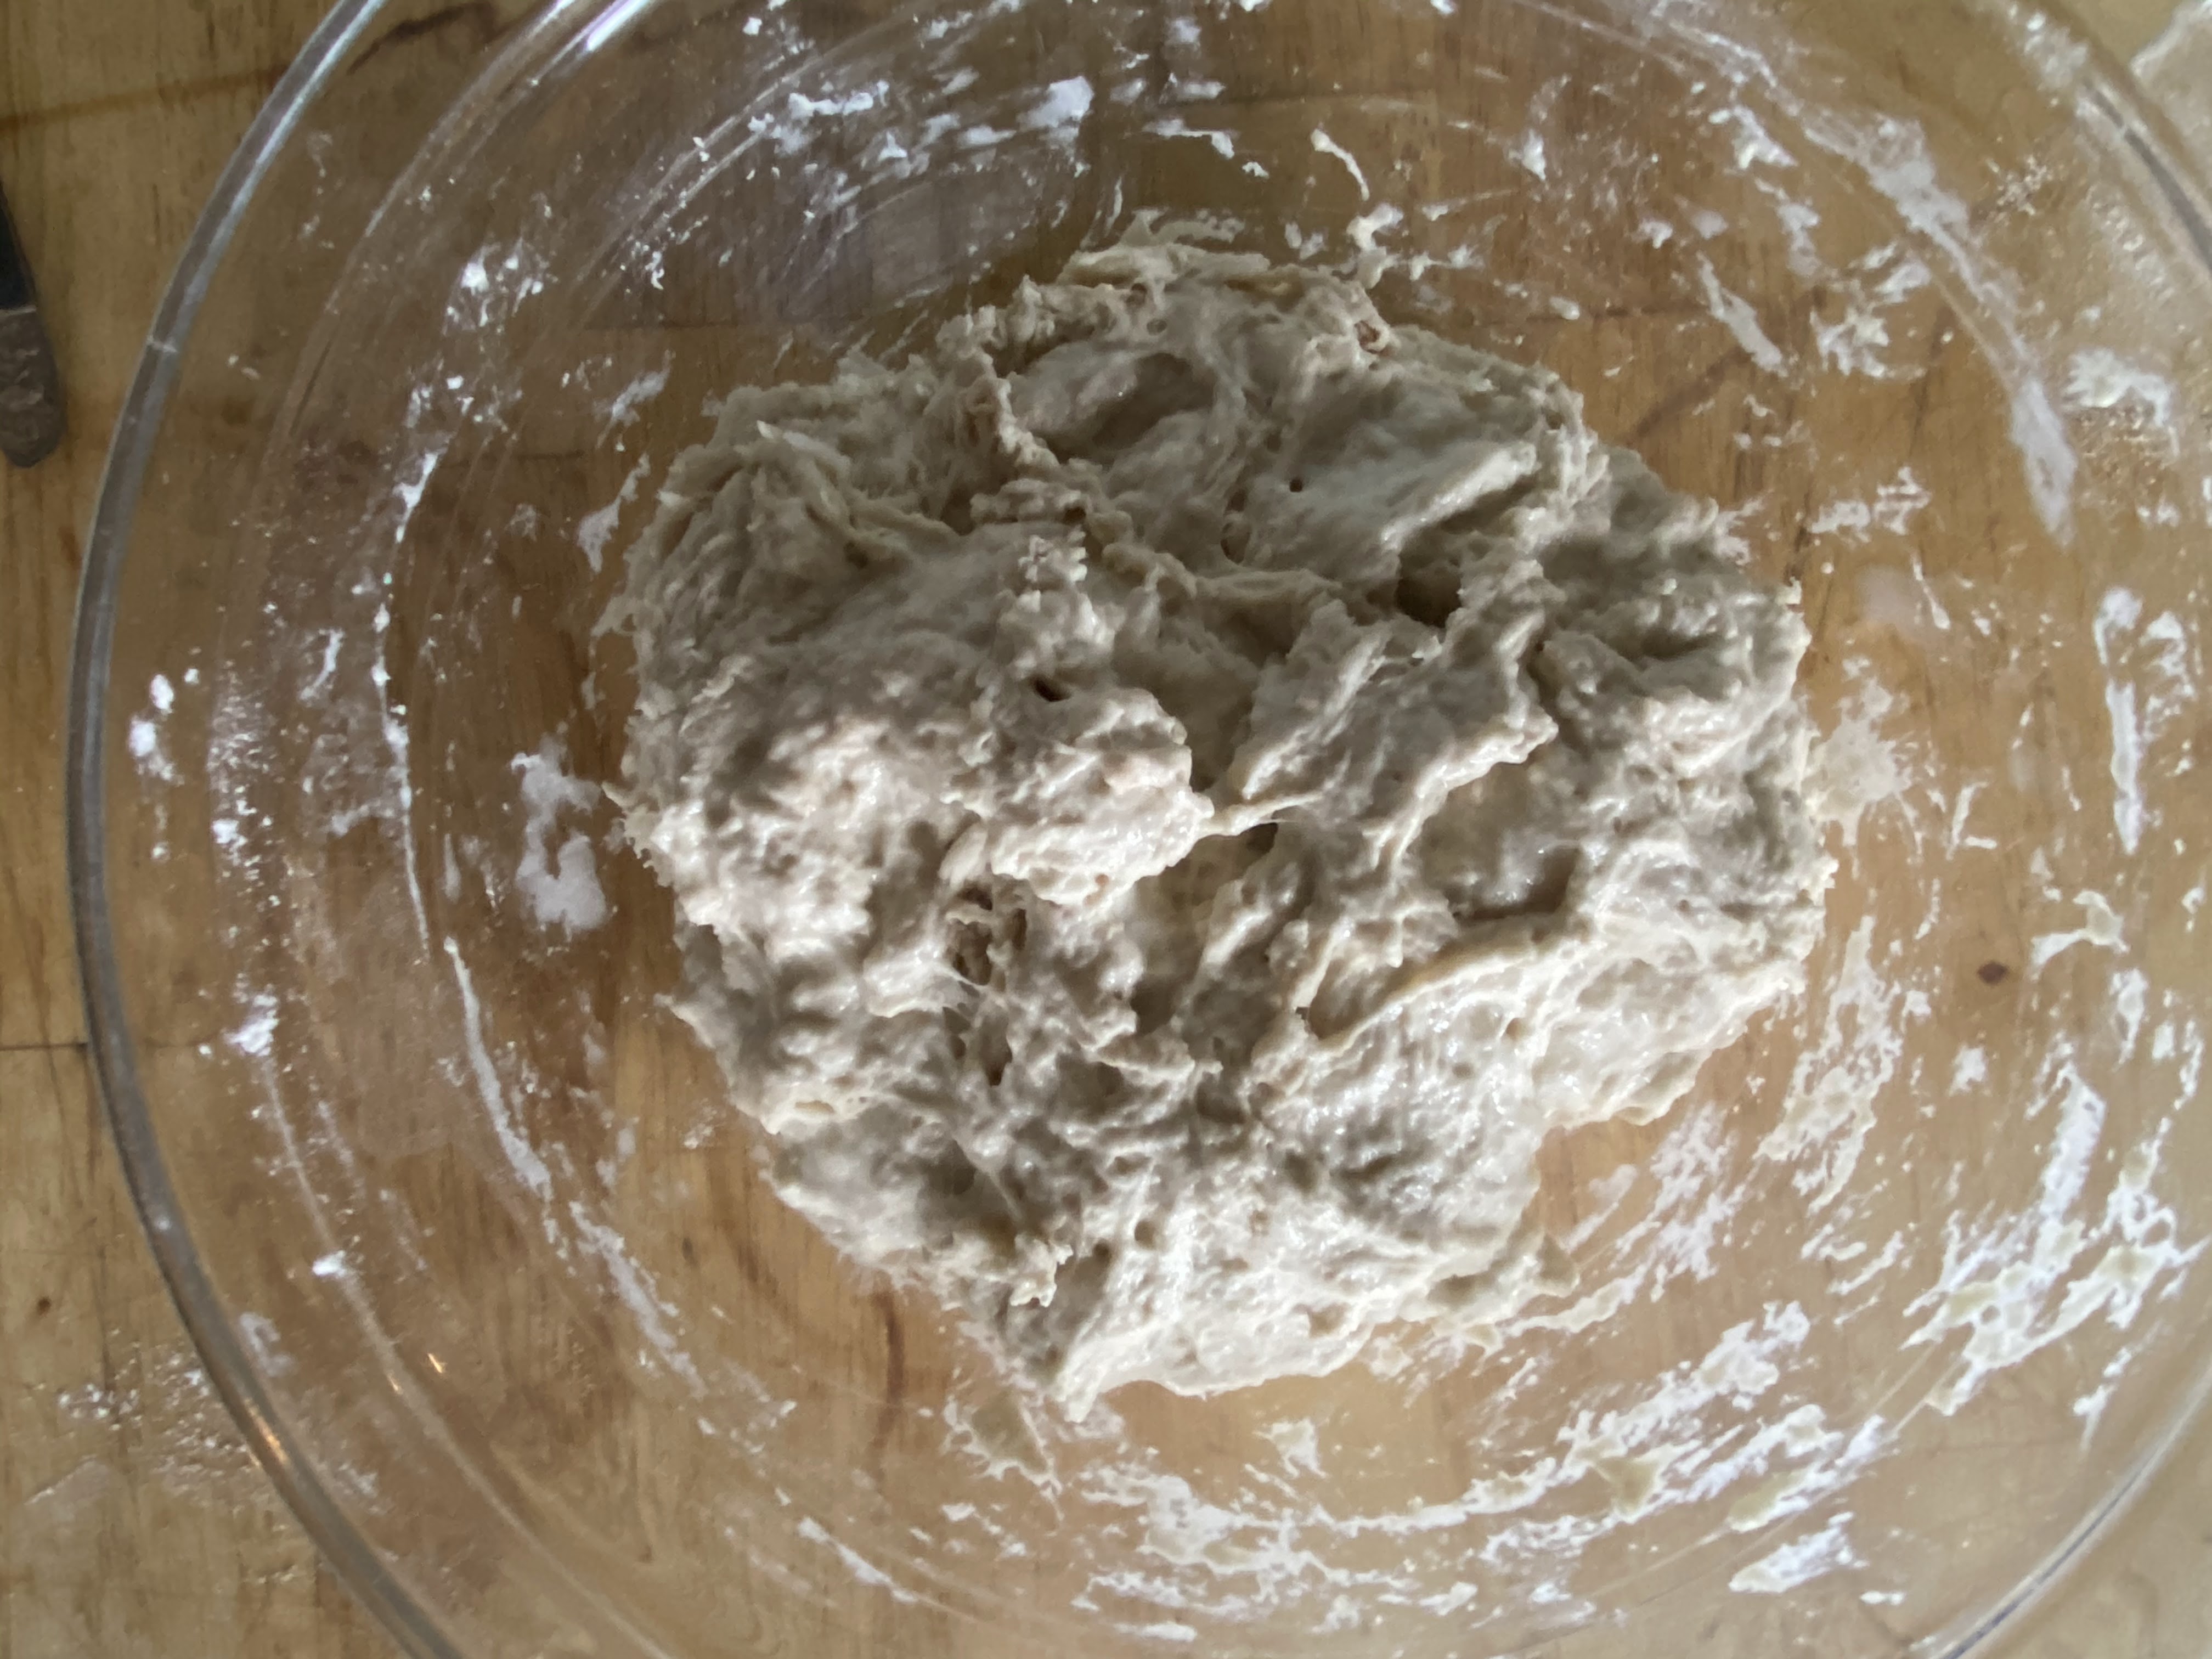
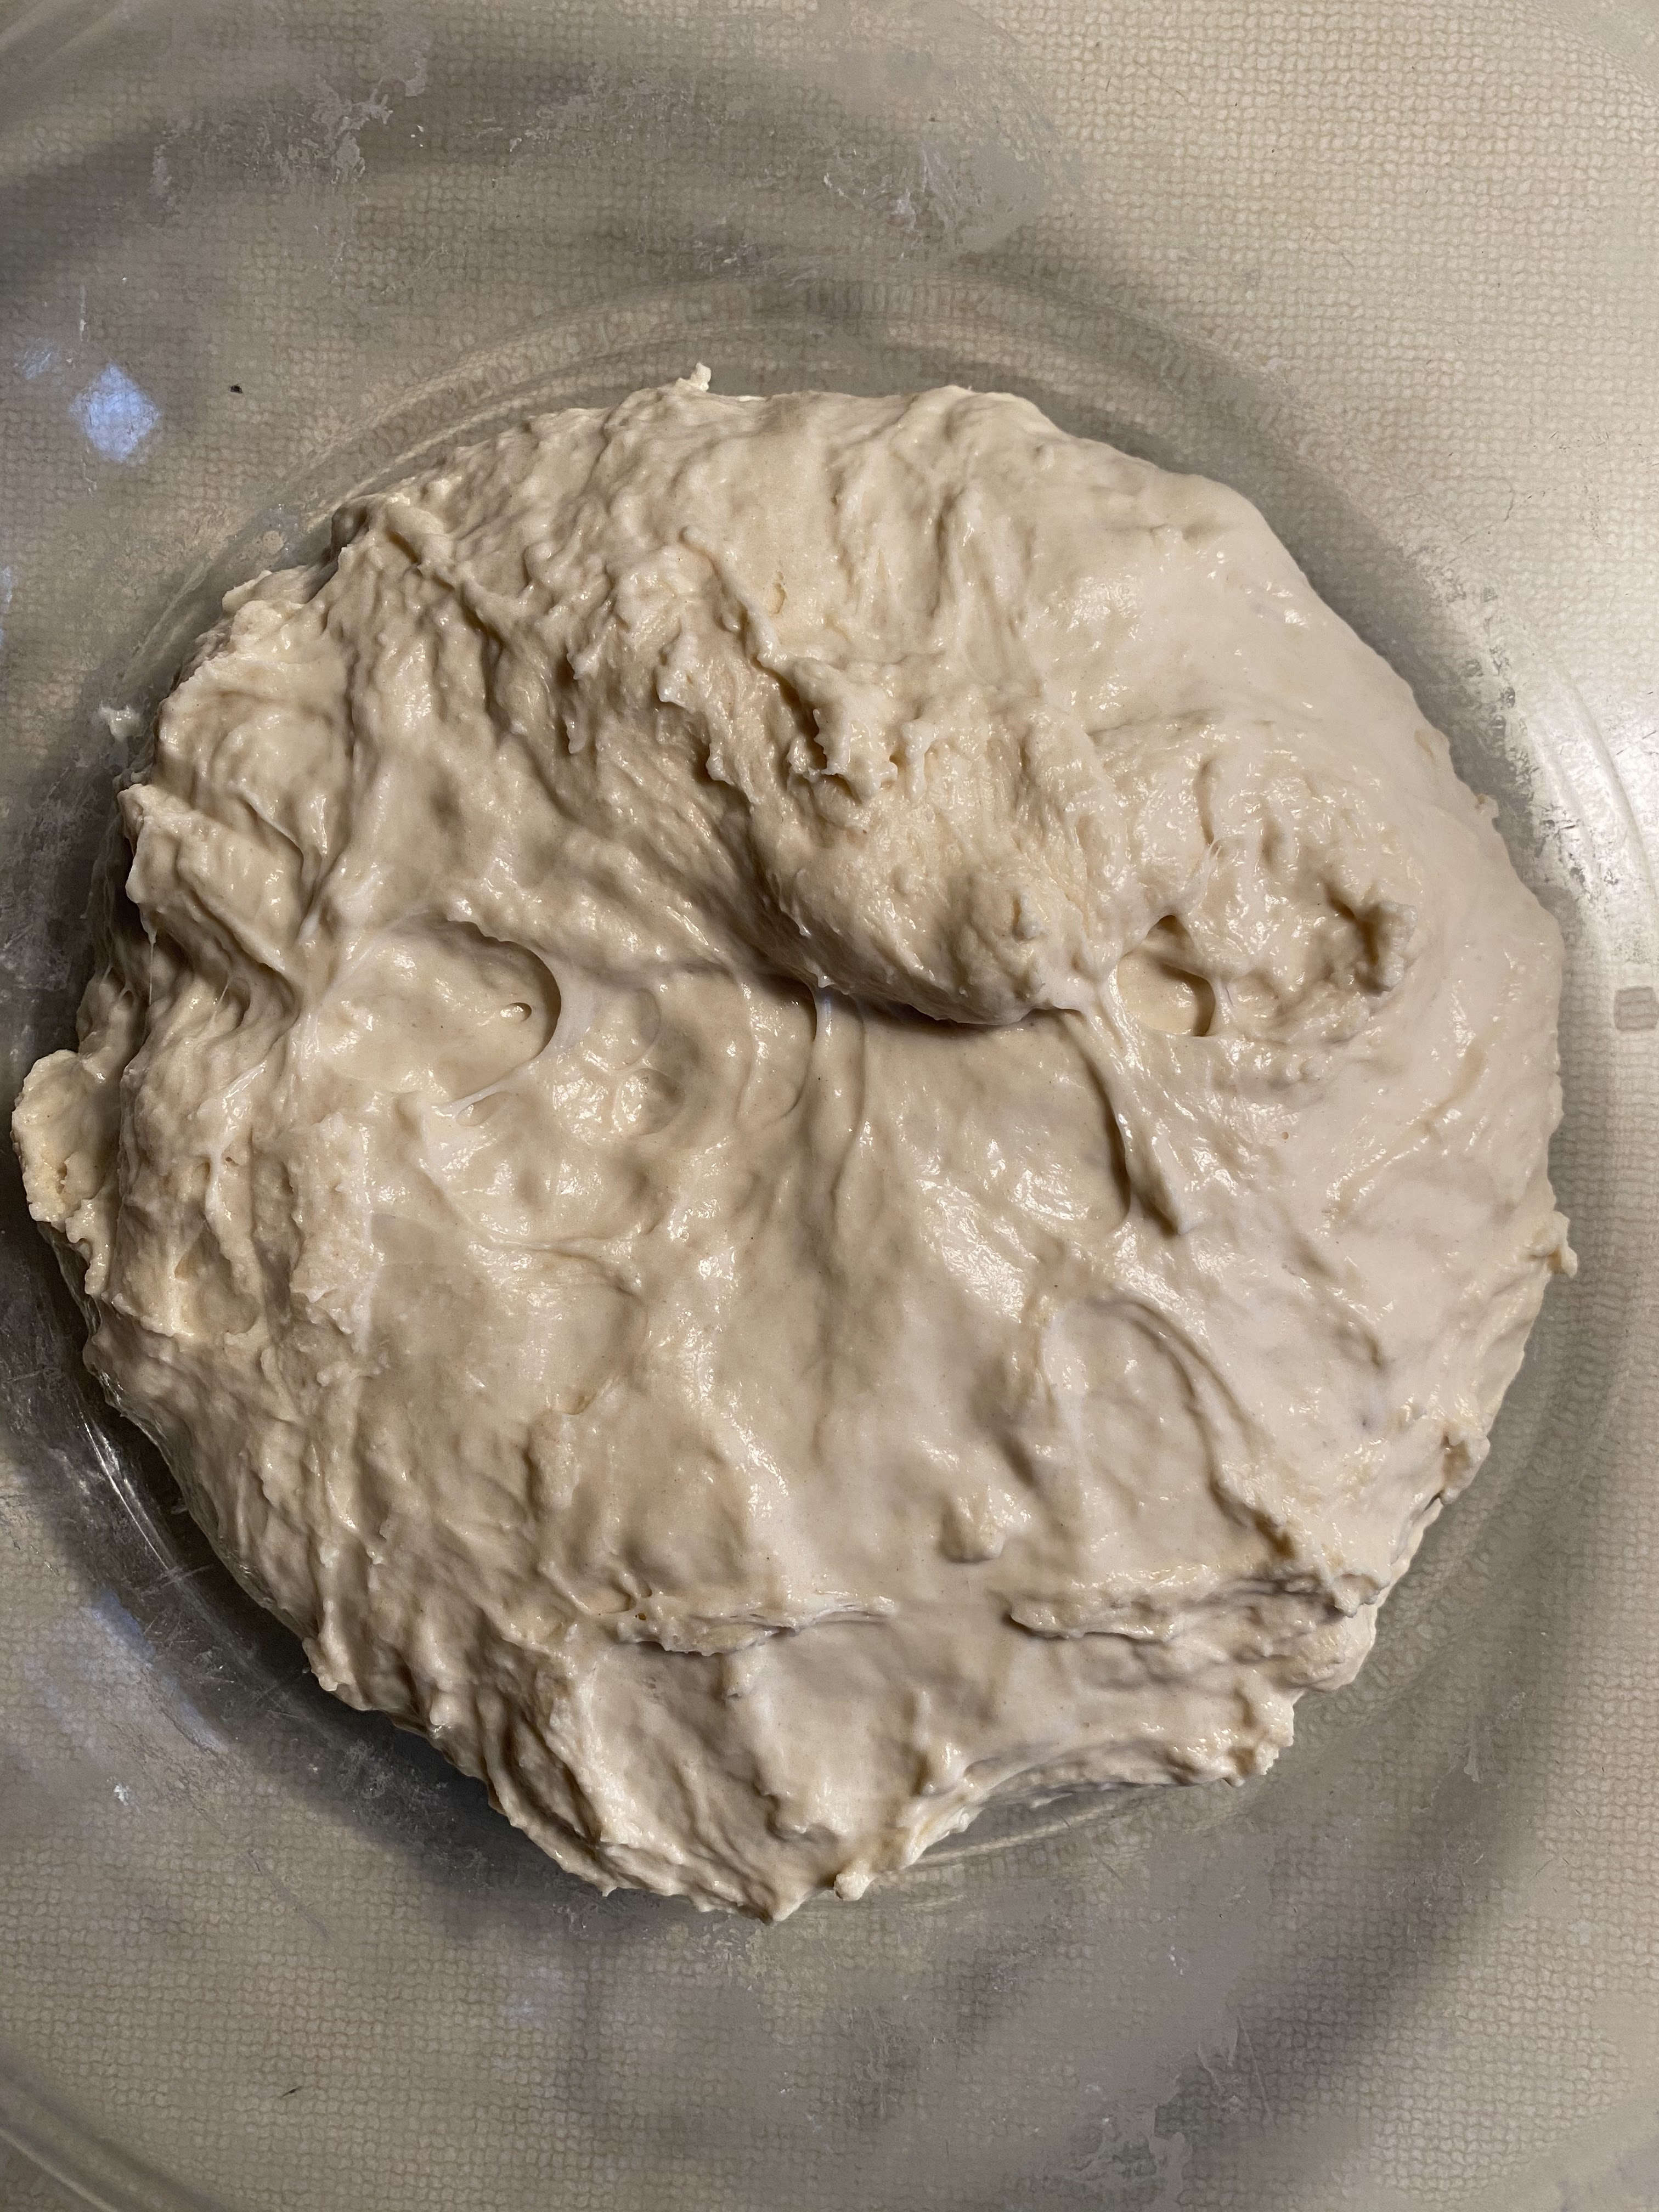
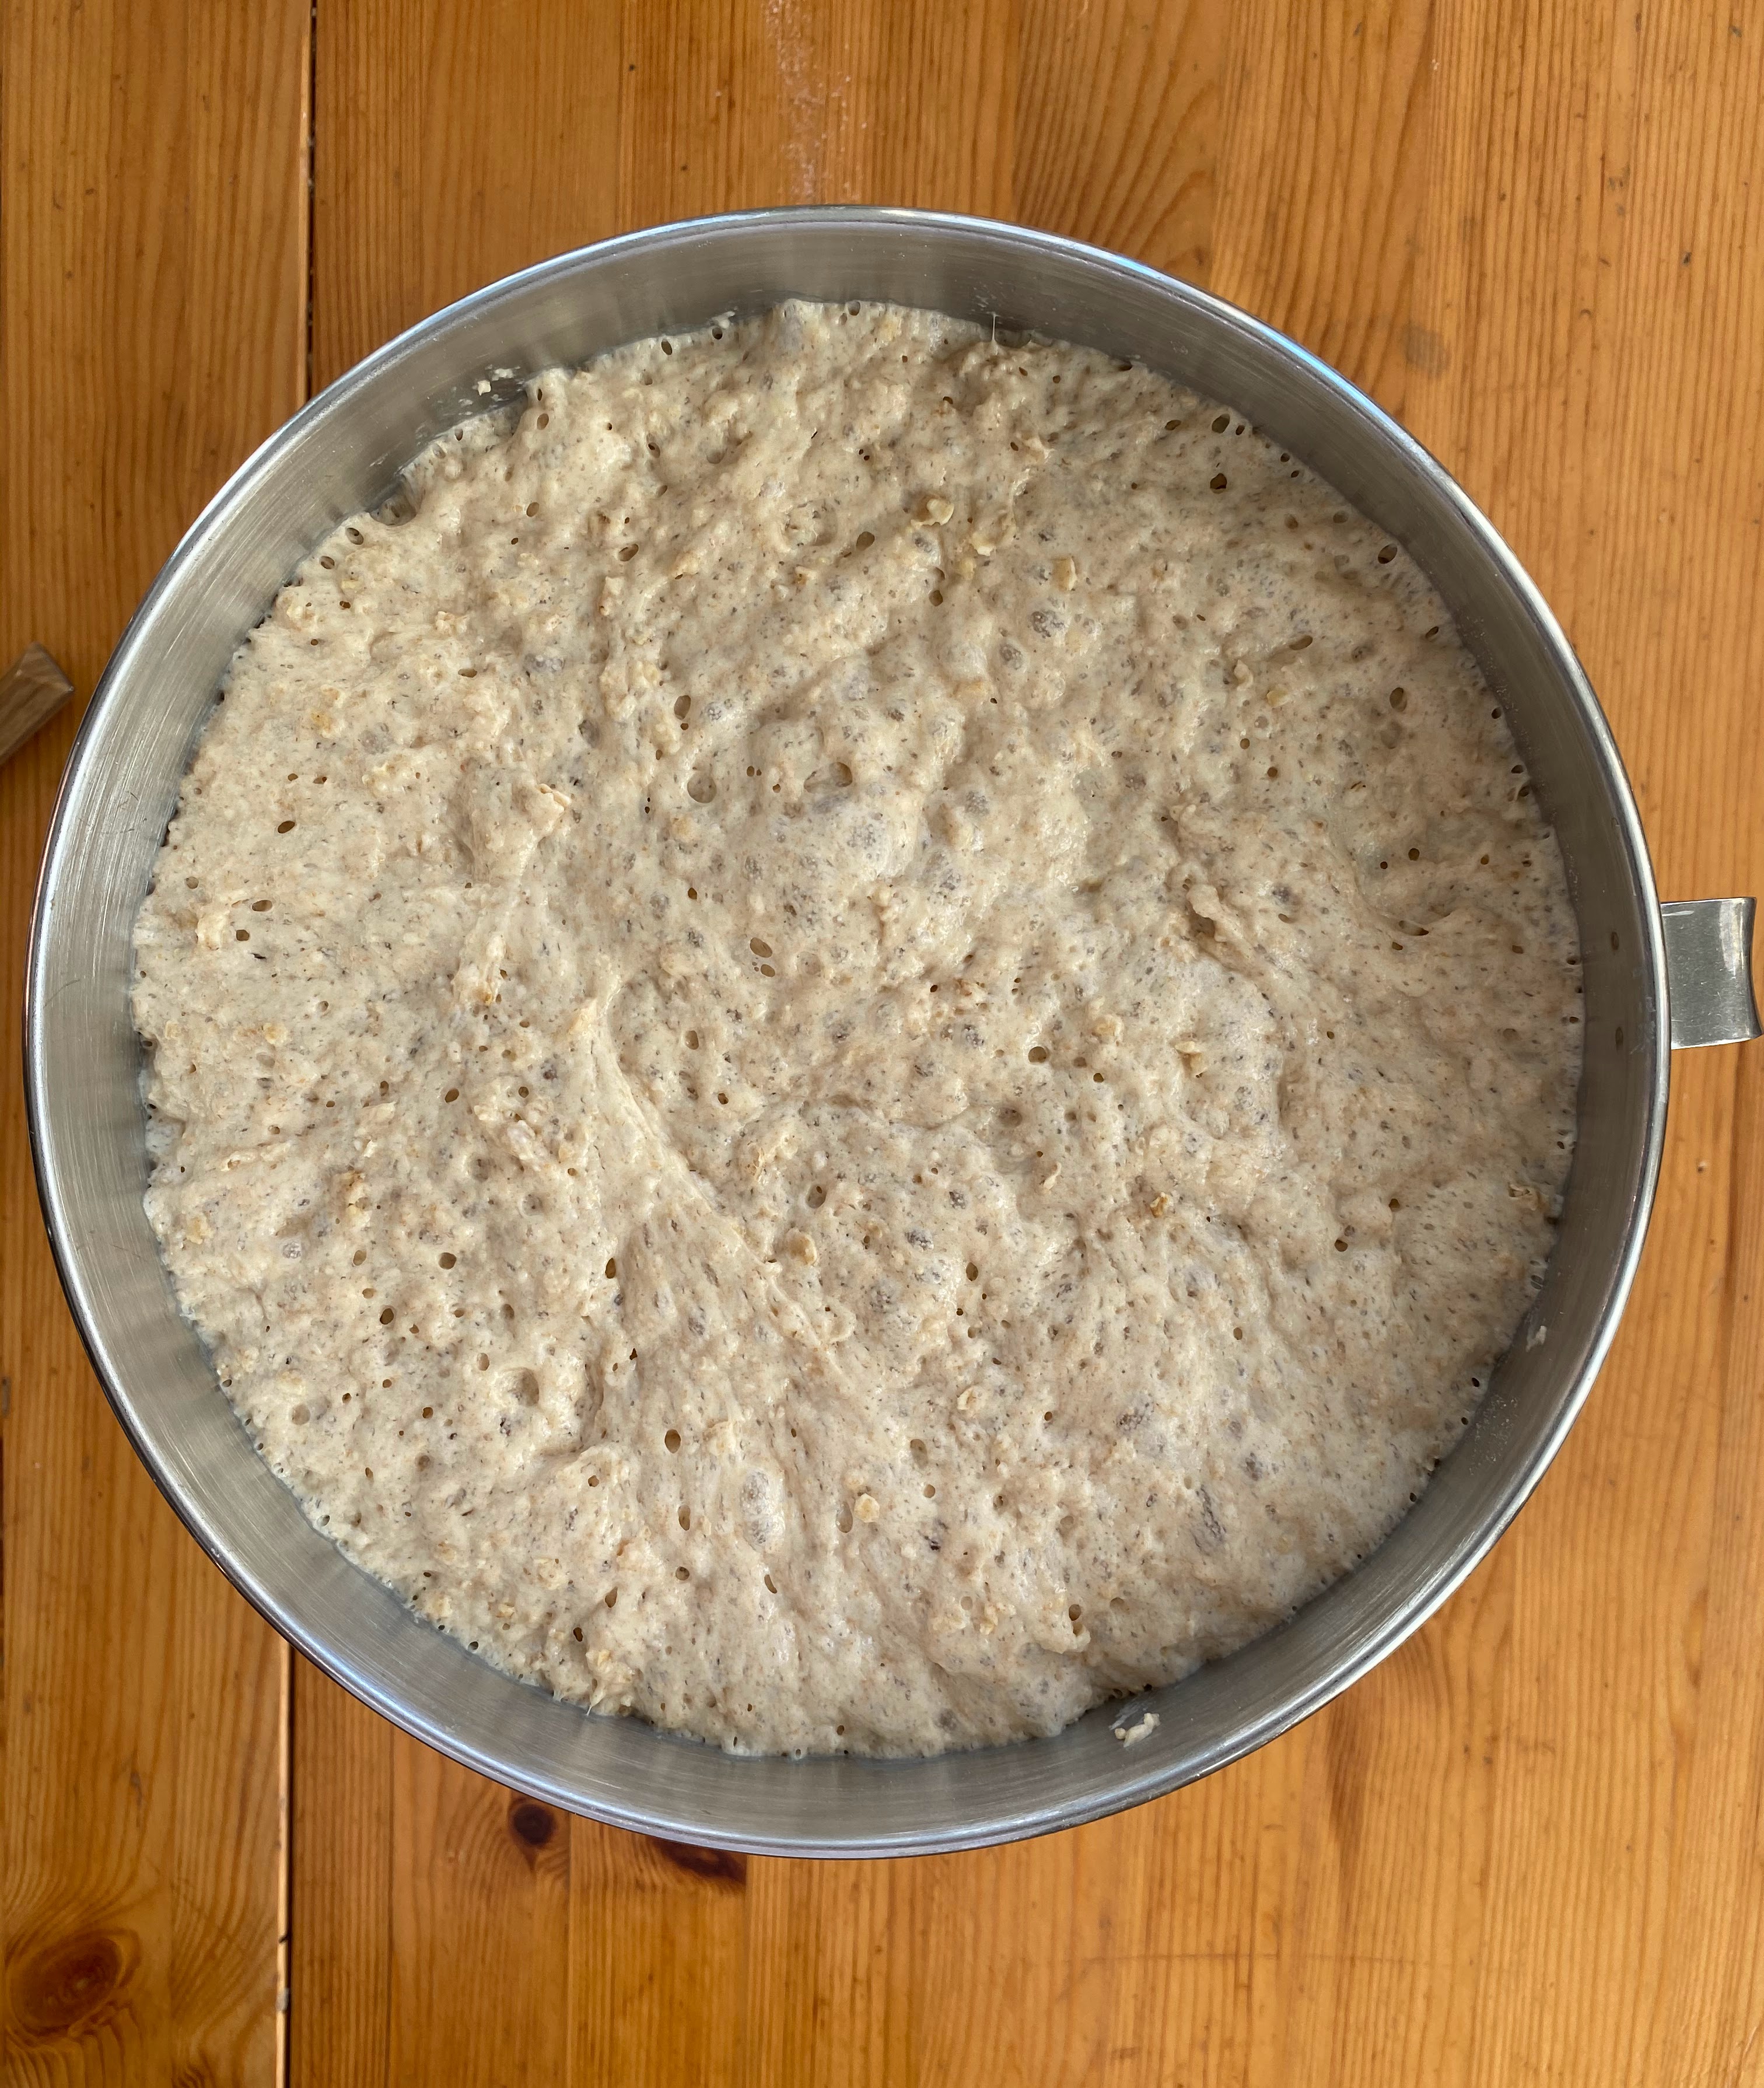
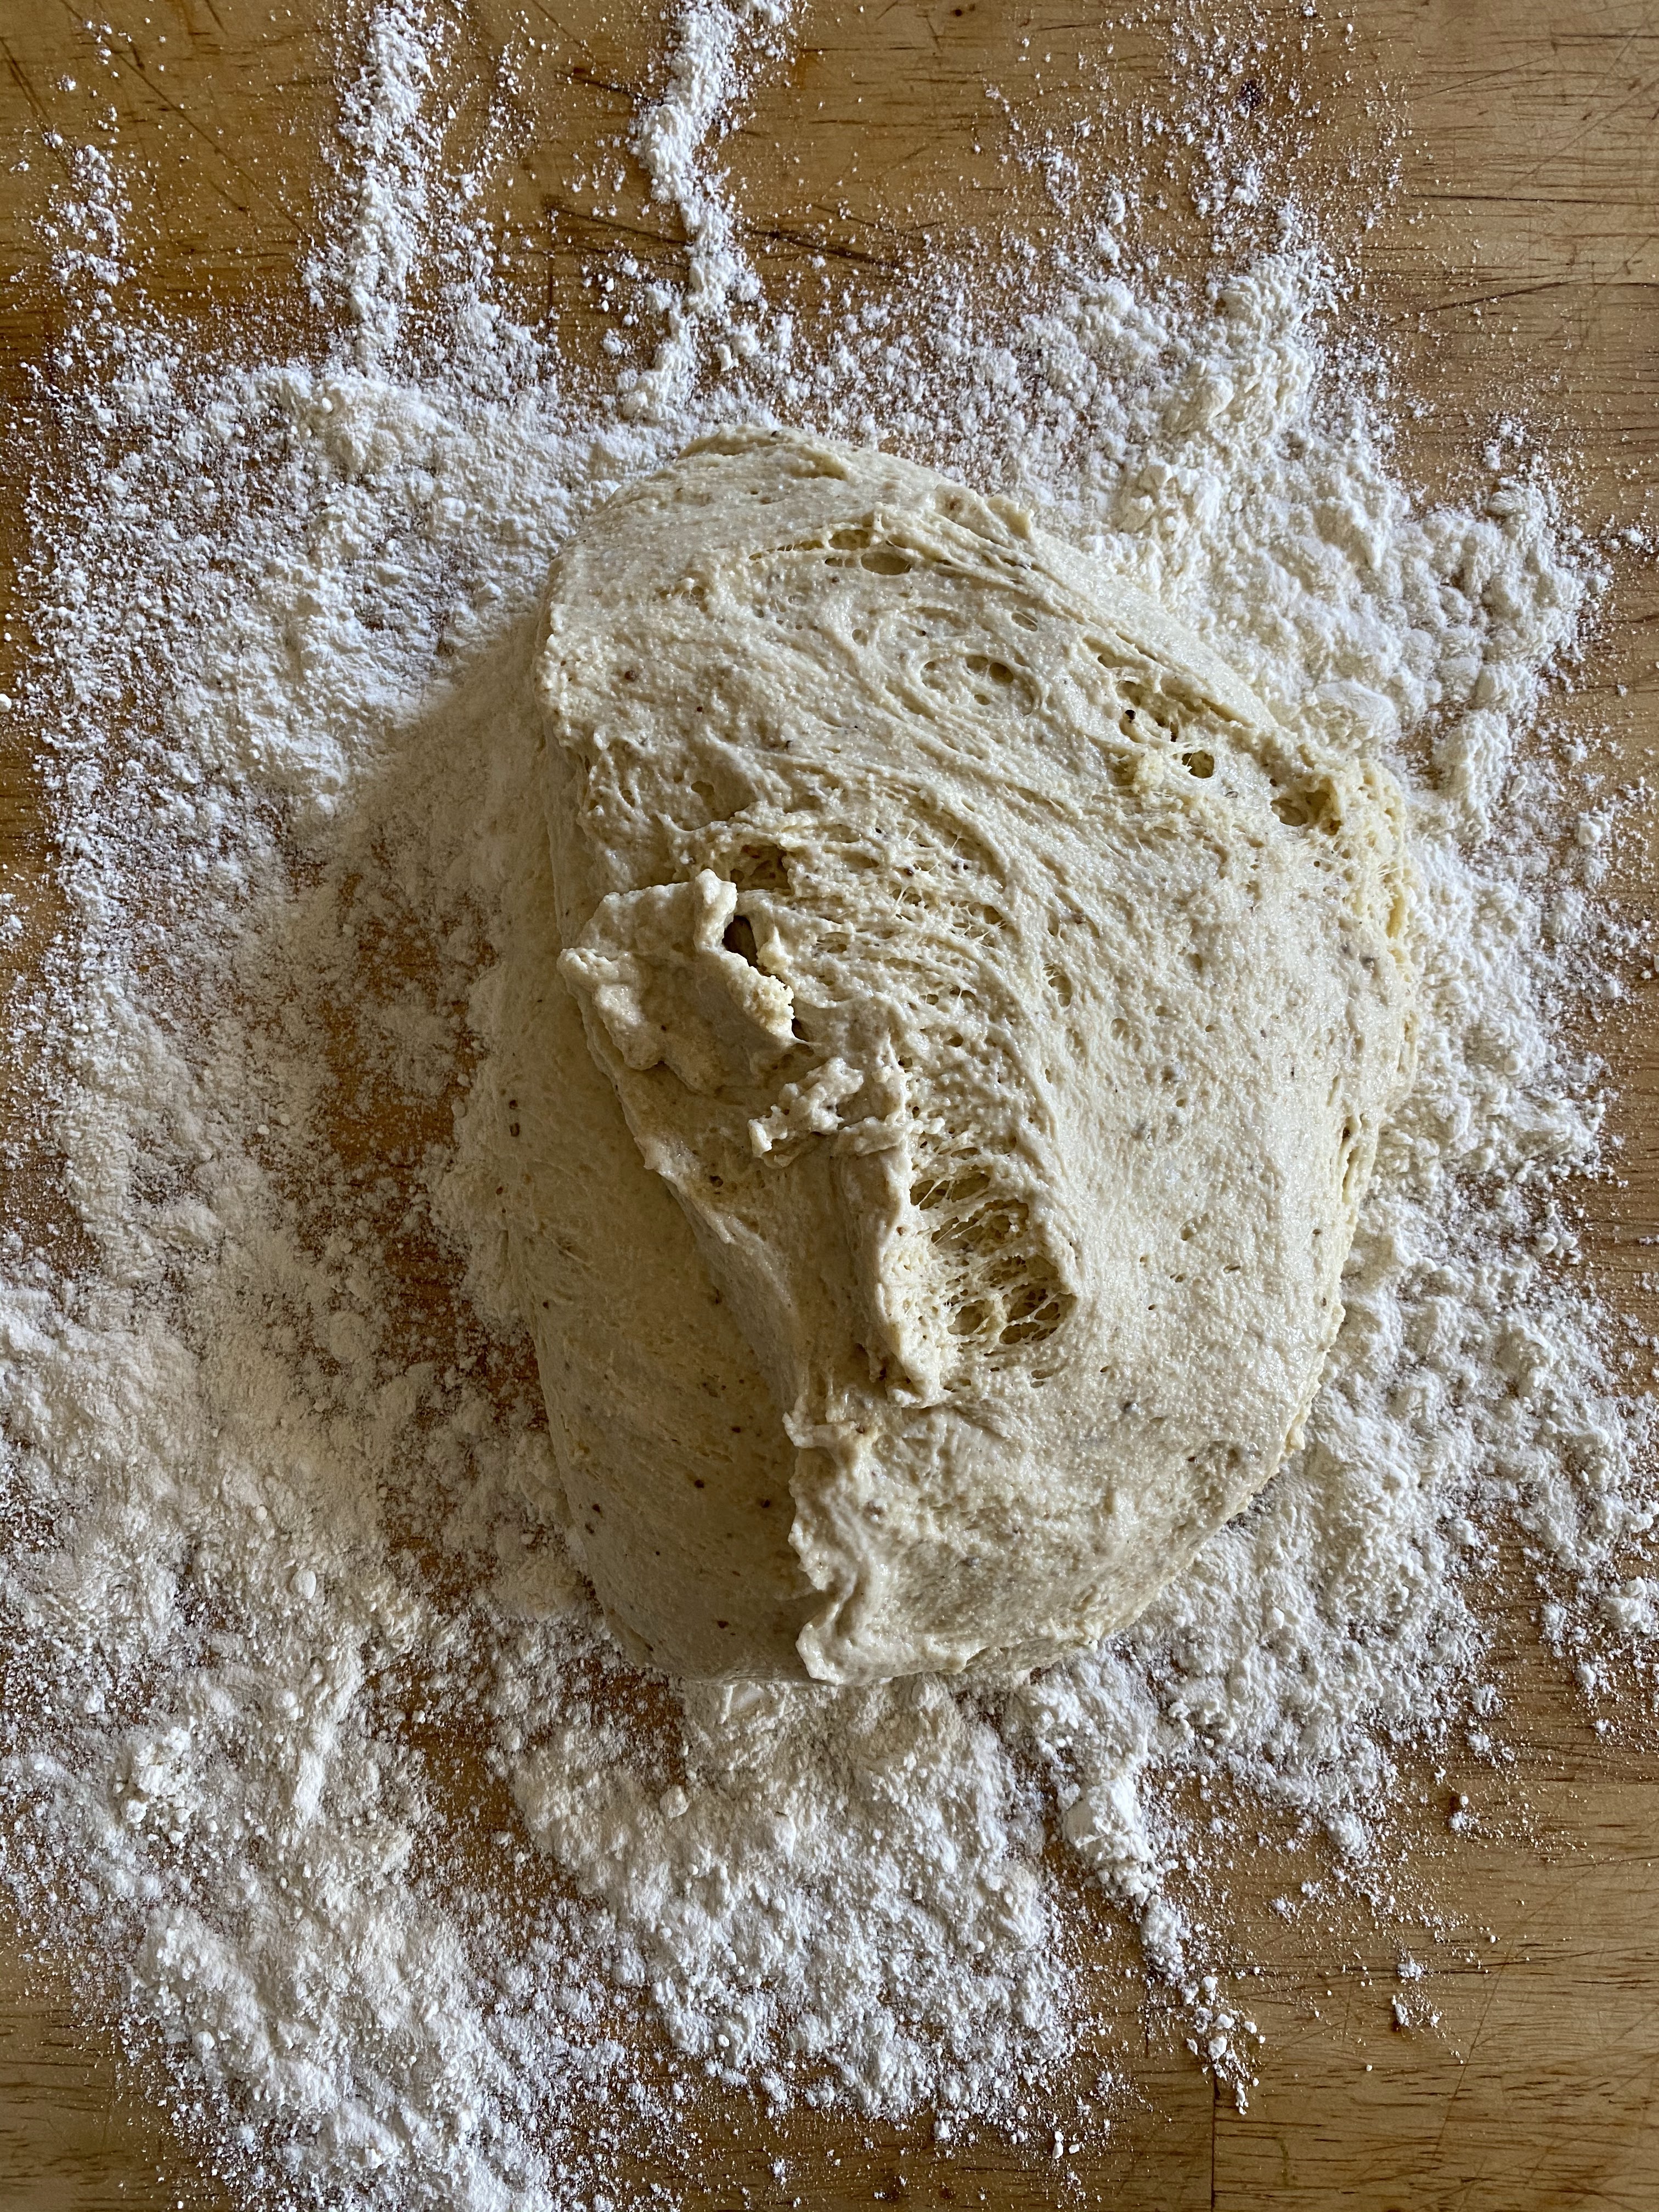
  3. Scrape sides down to clean it off and incorporate all the dough into one place. It’s very wet and sticky, so that’s fine.
  4. Cover, and let rest overnight.
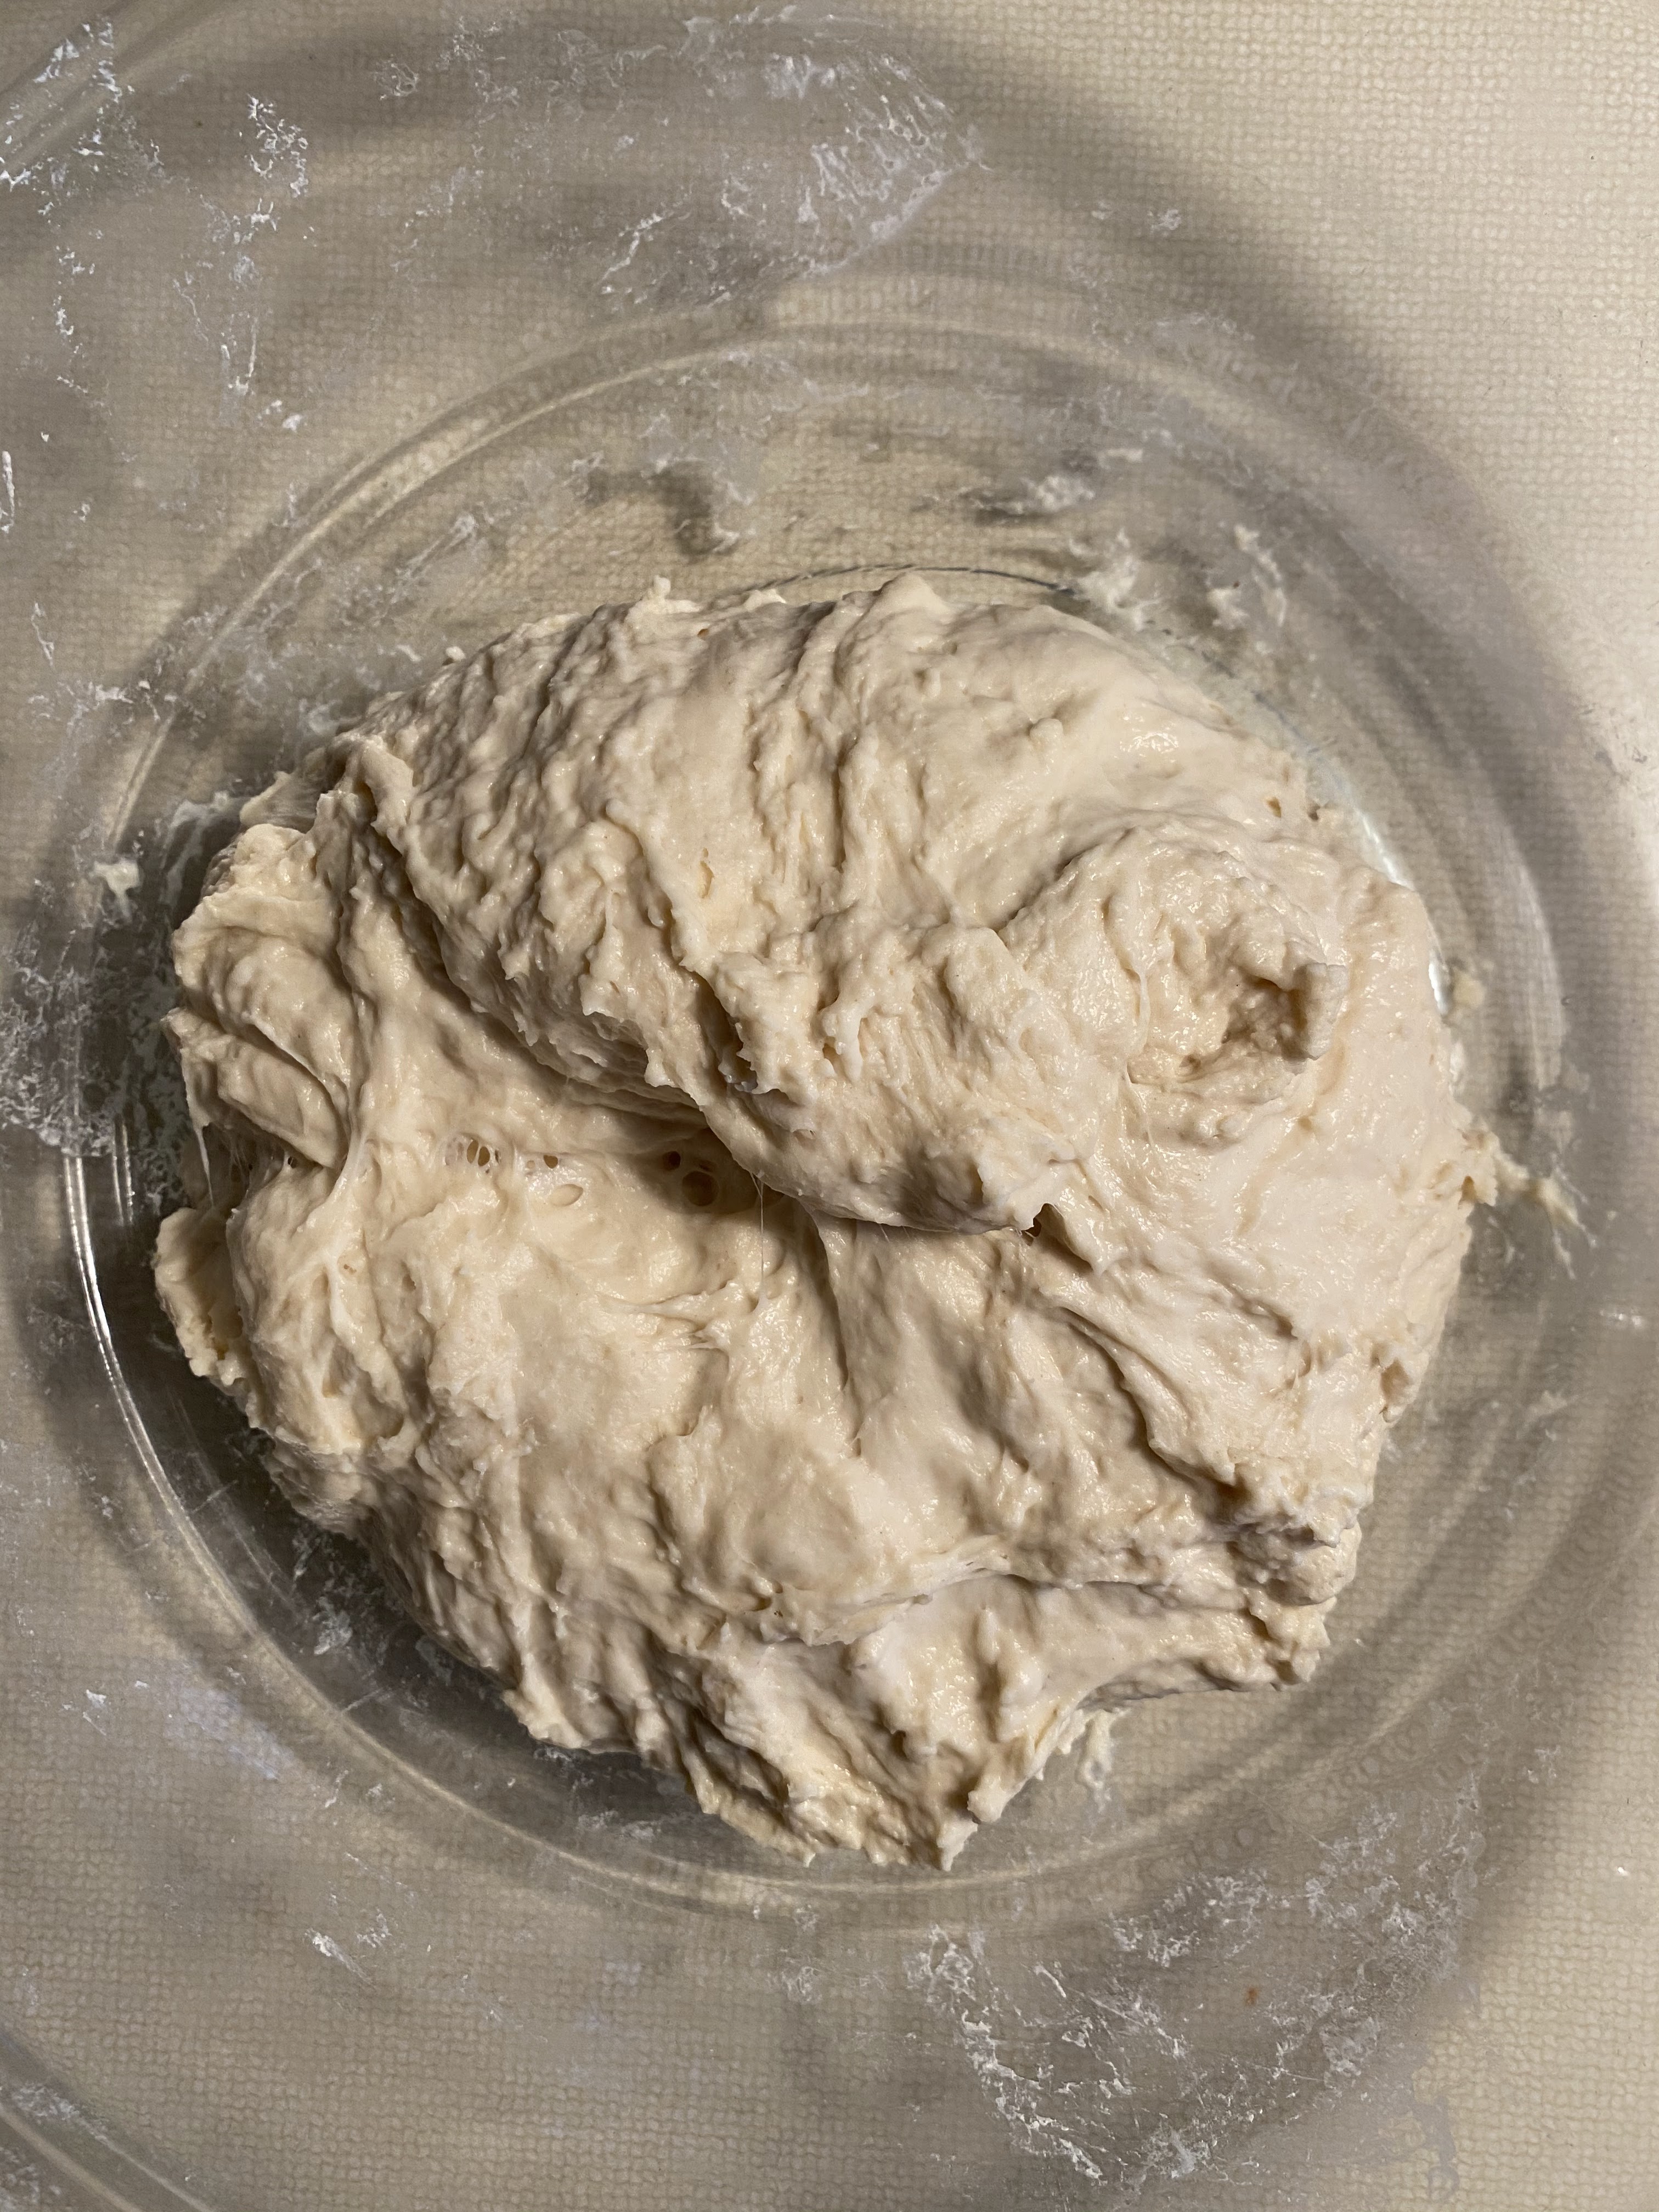
Next Day

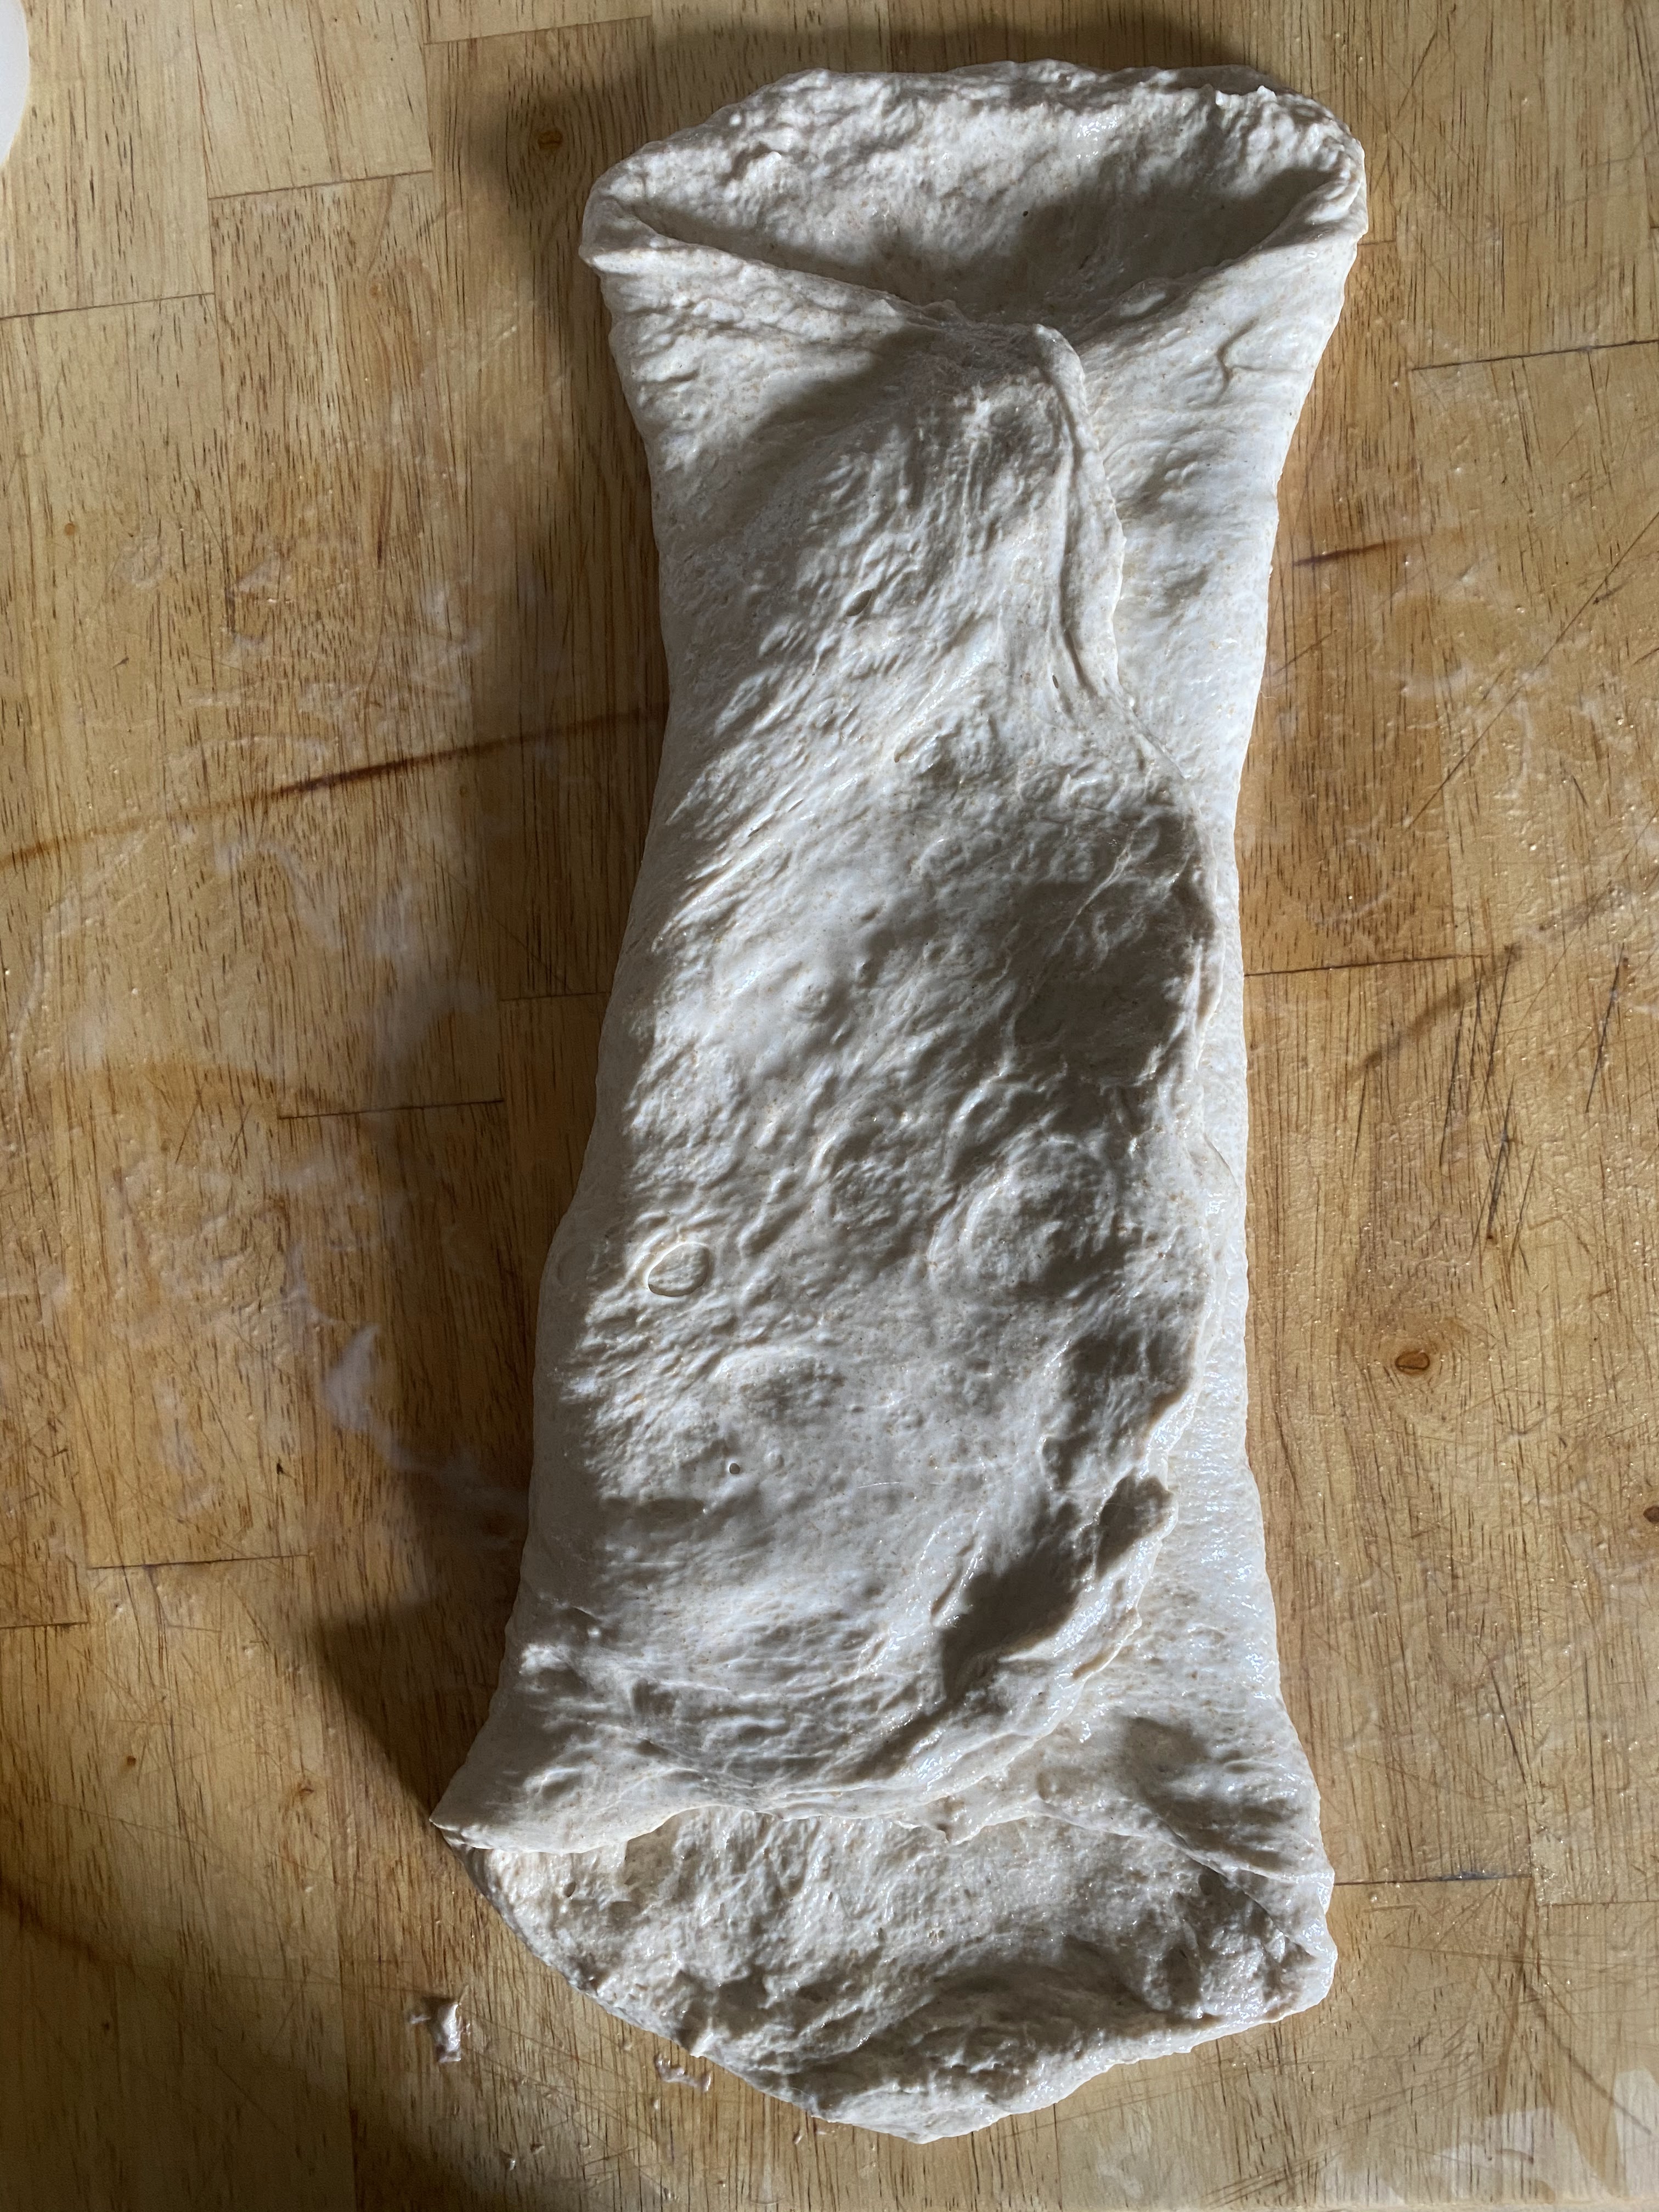
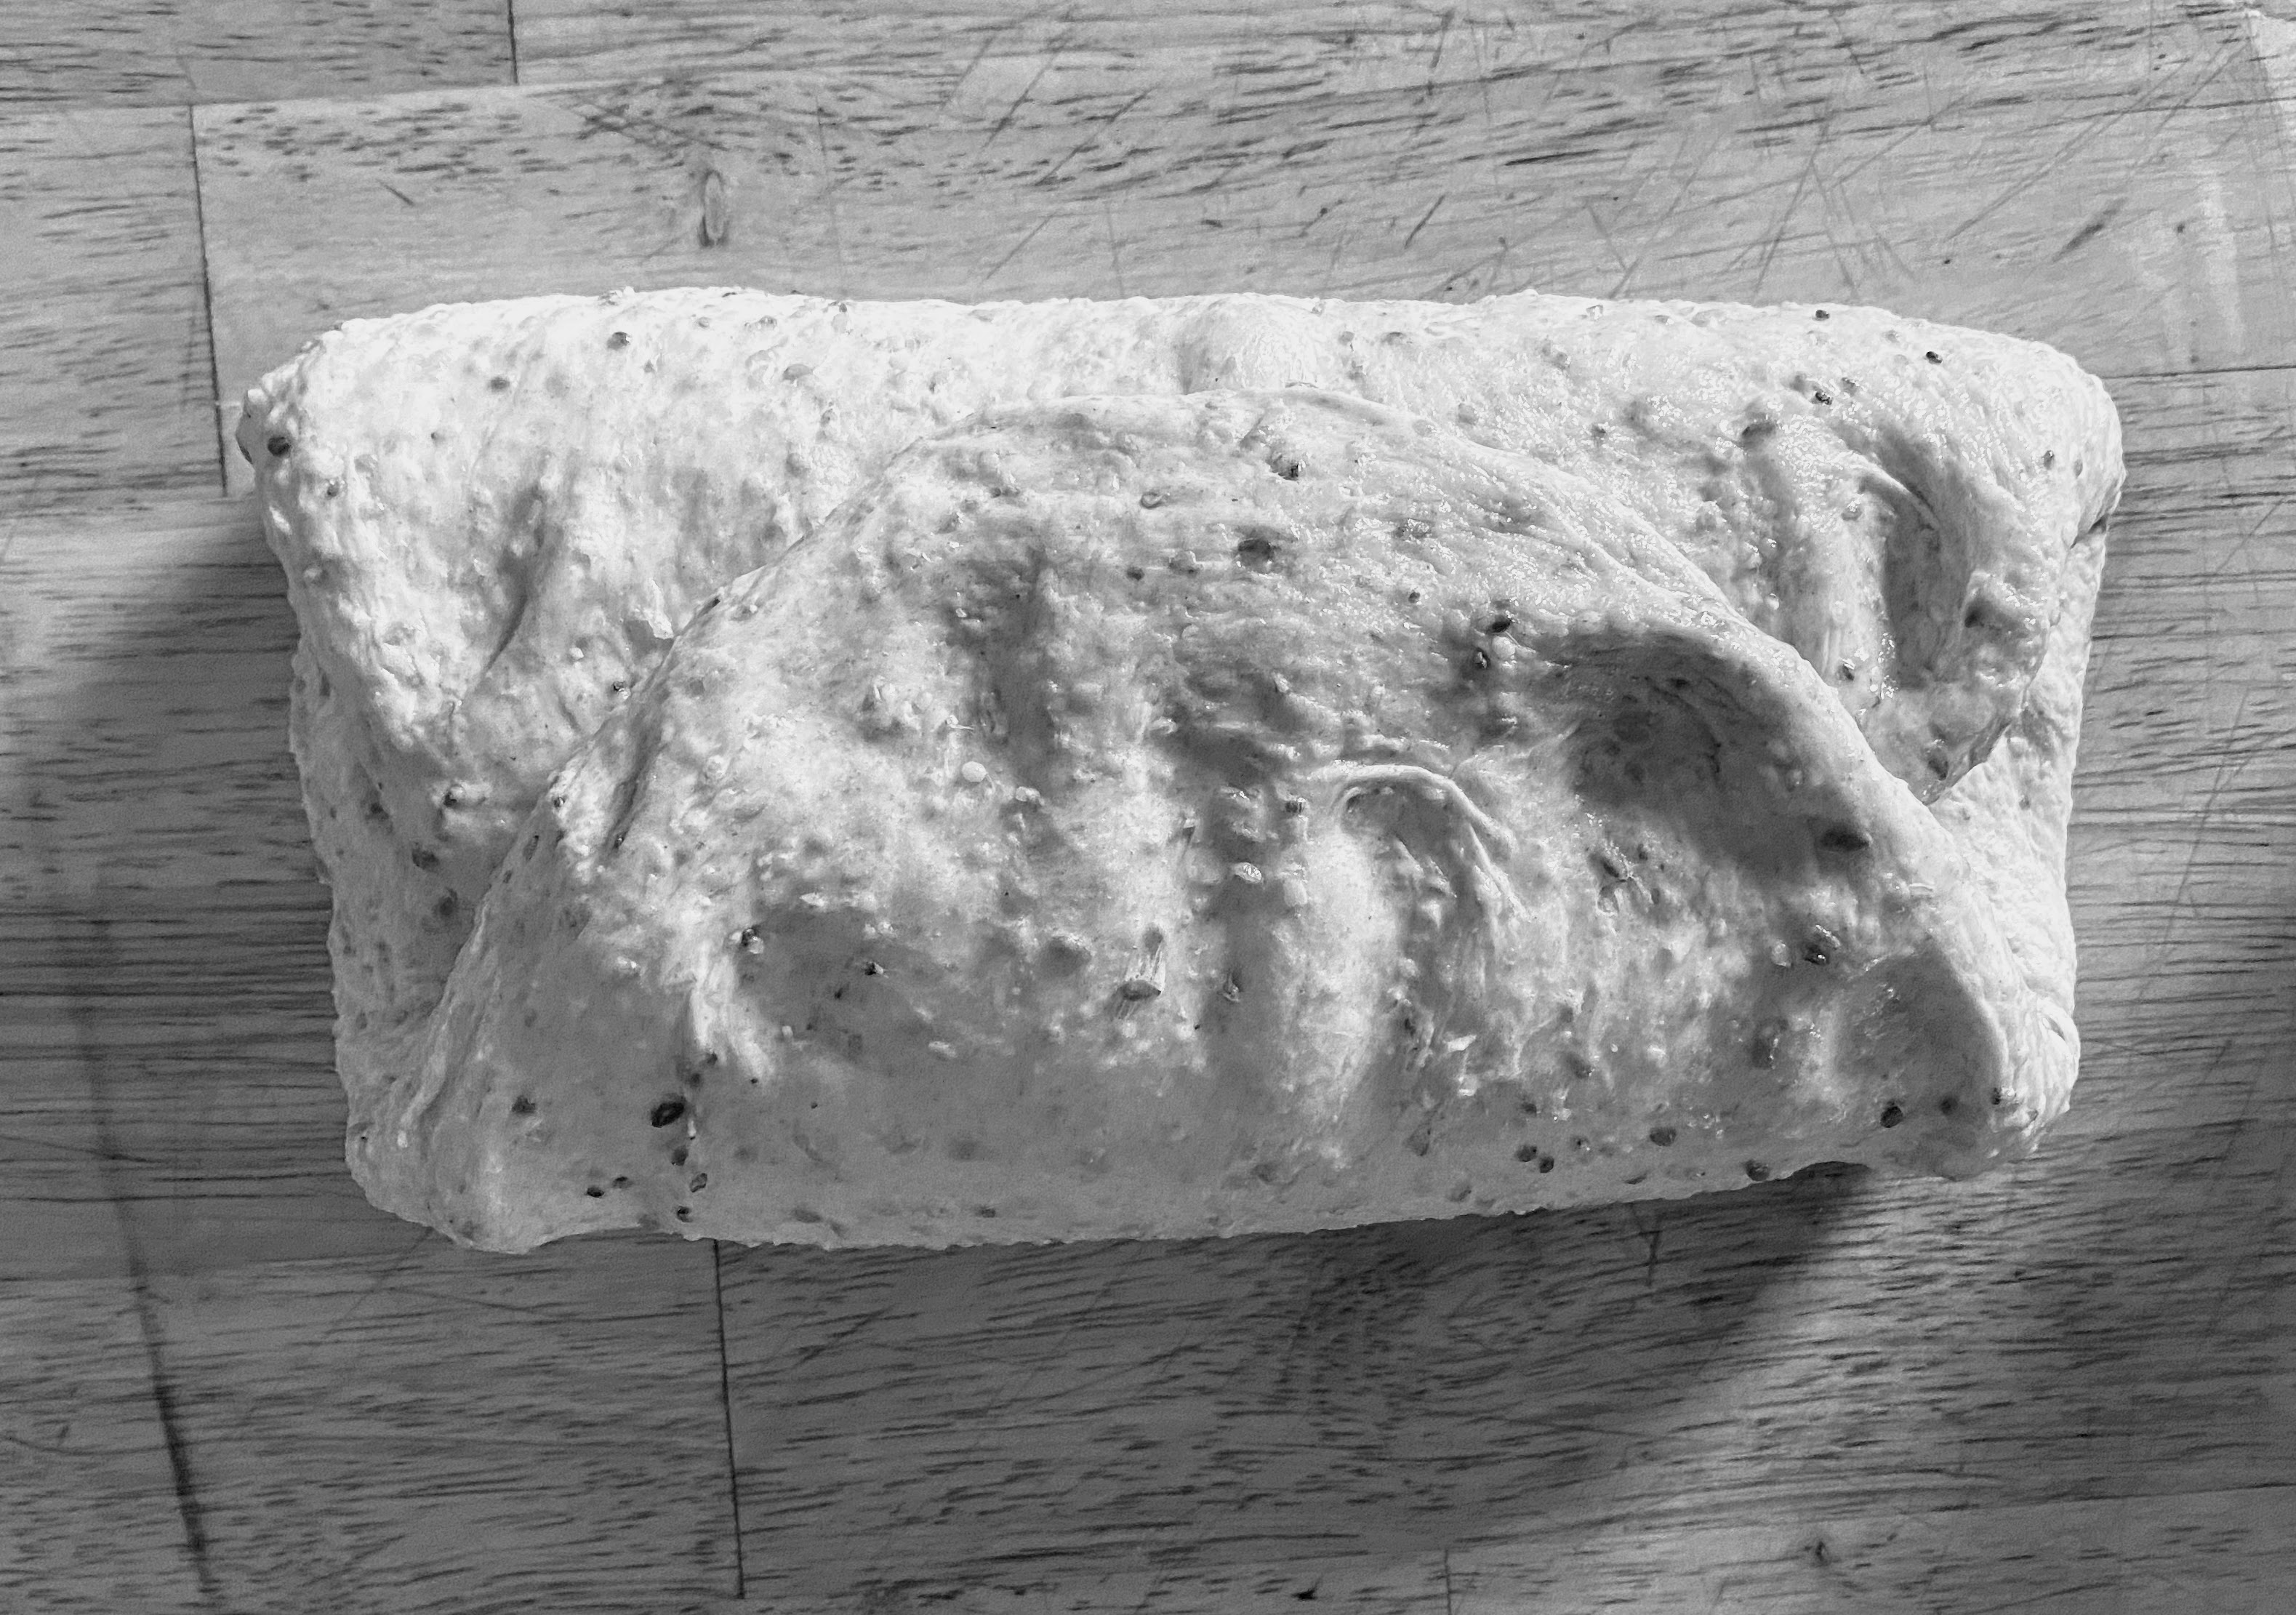
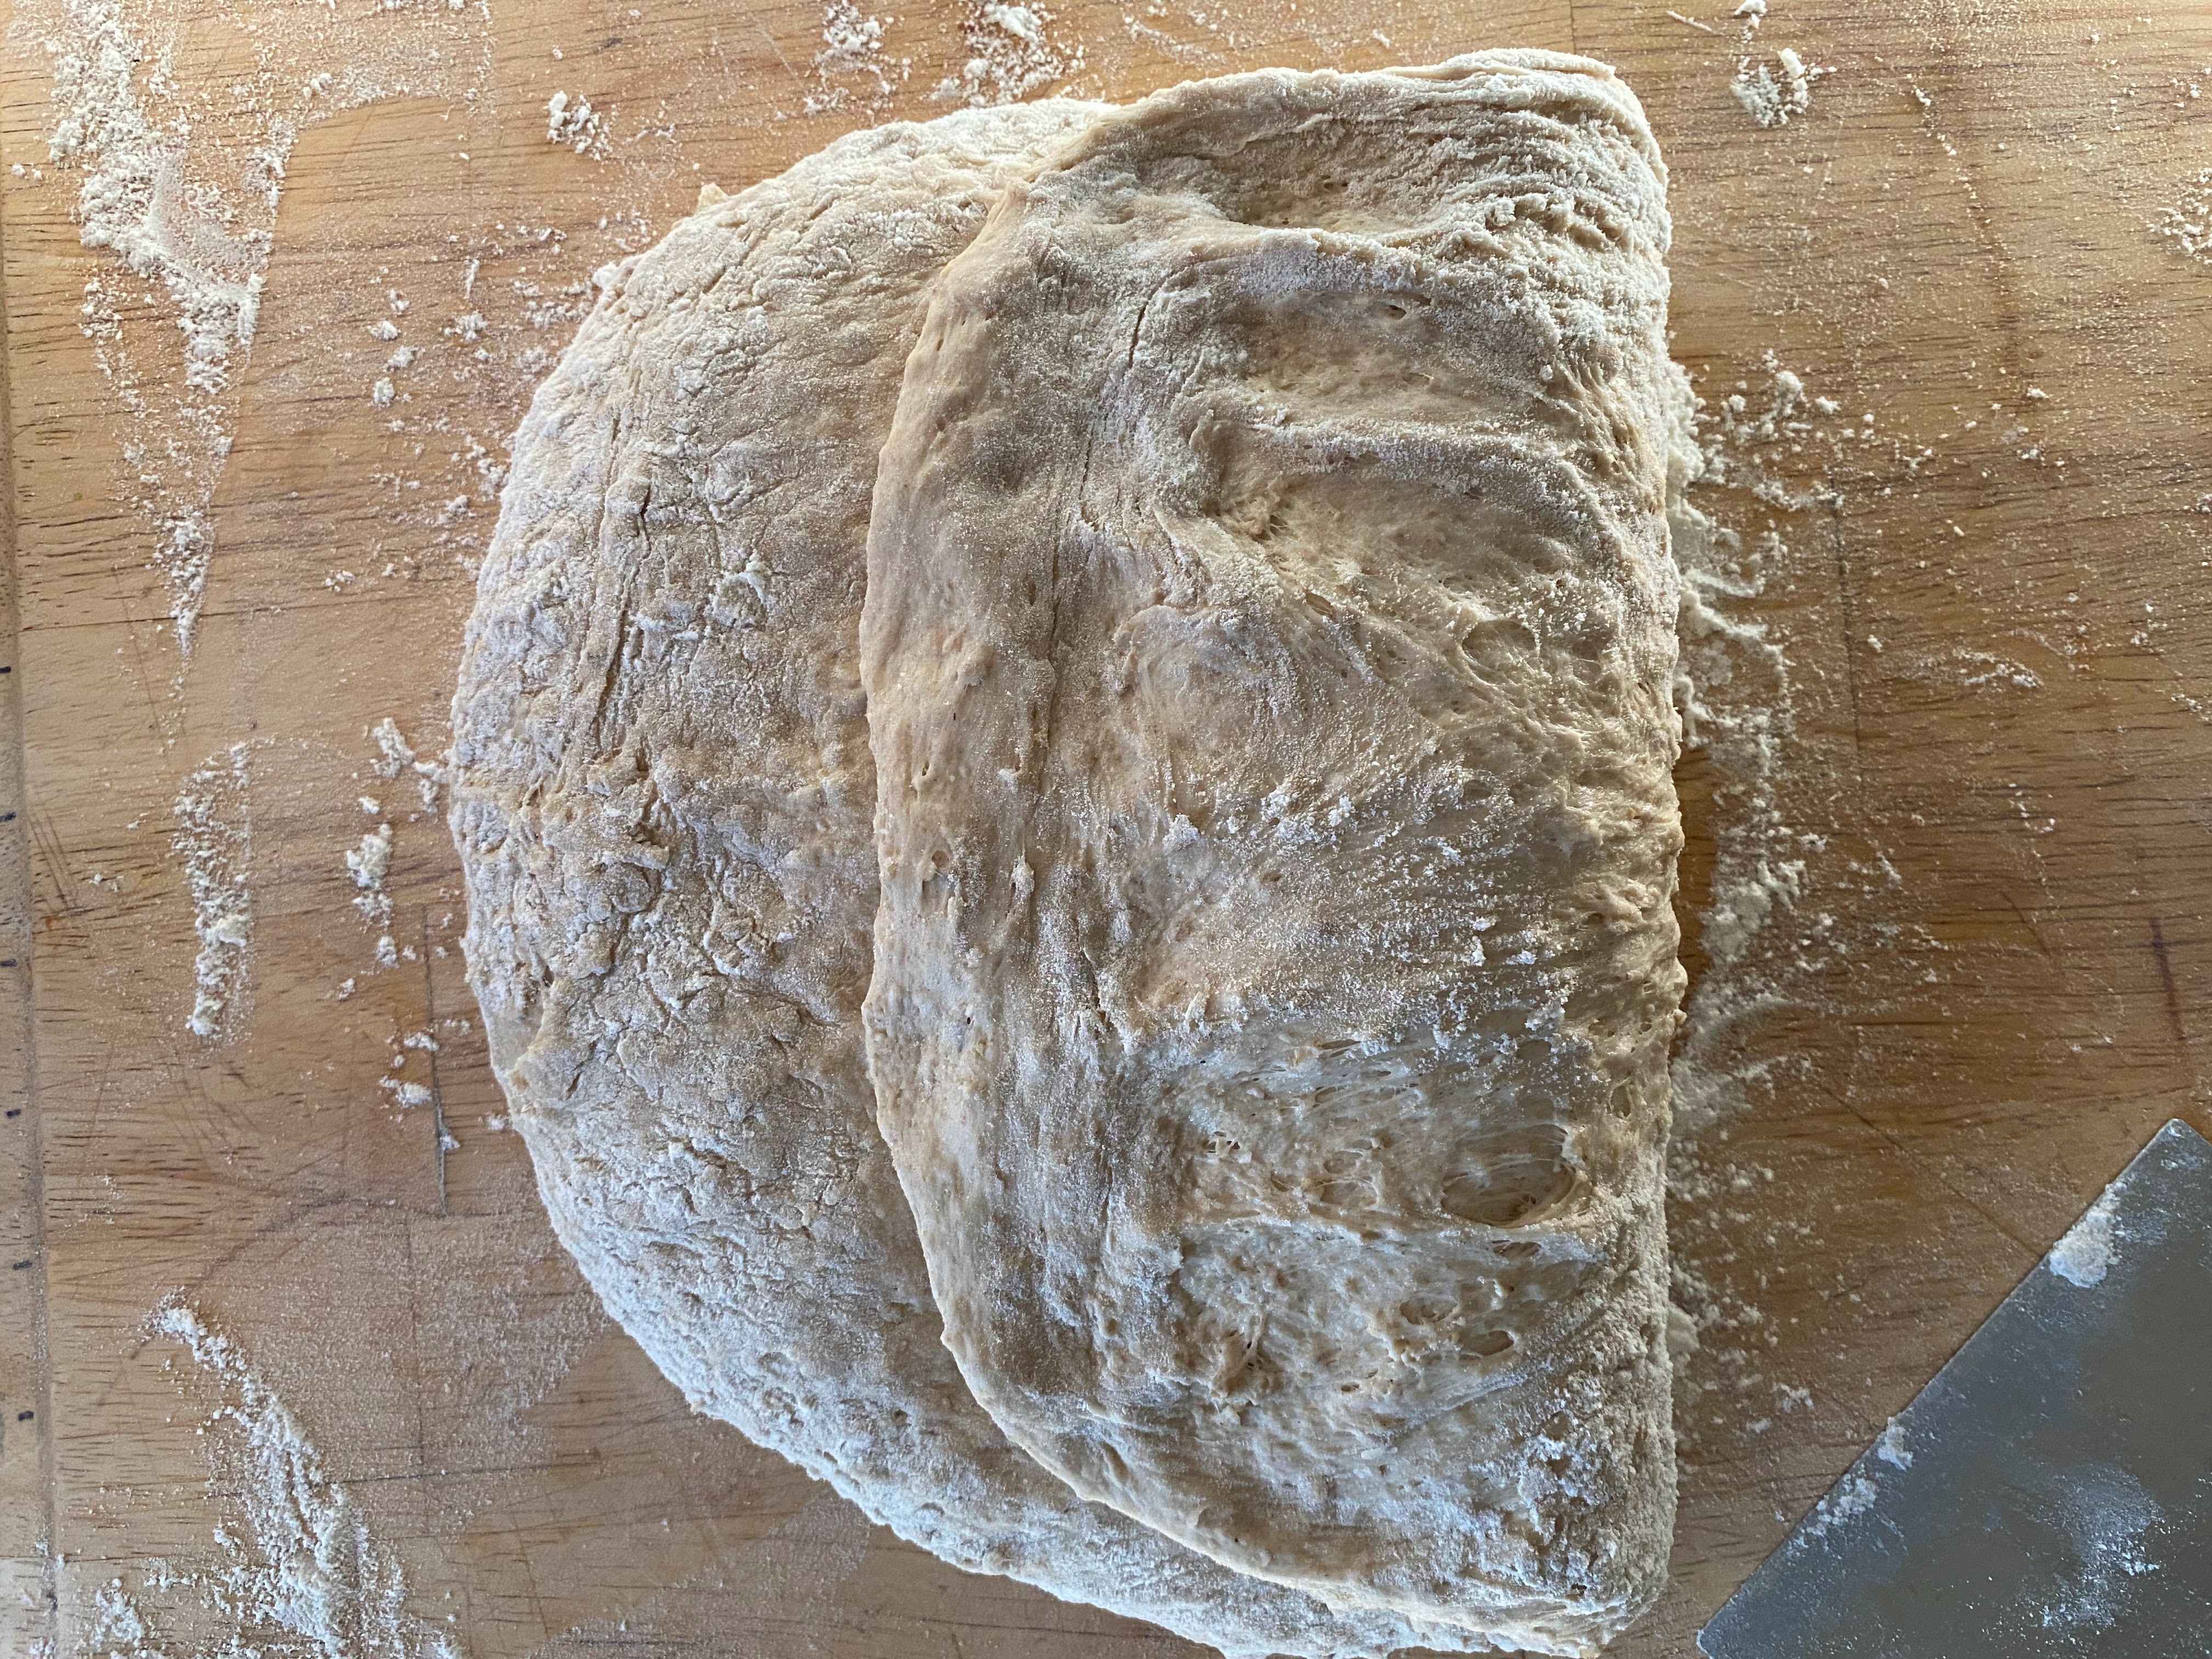
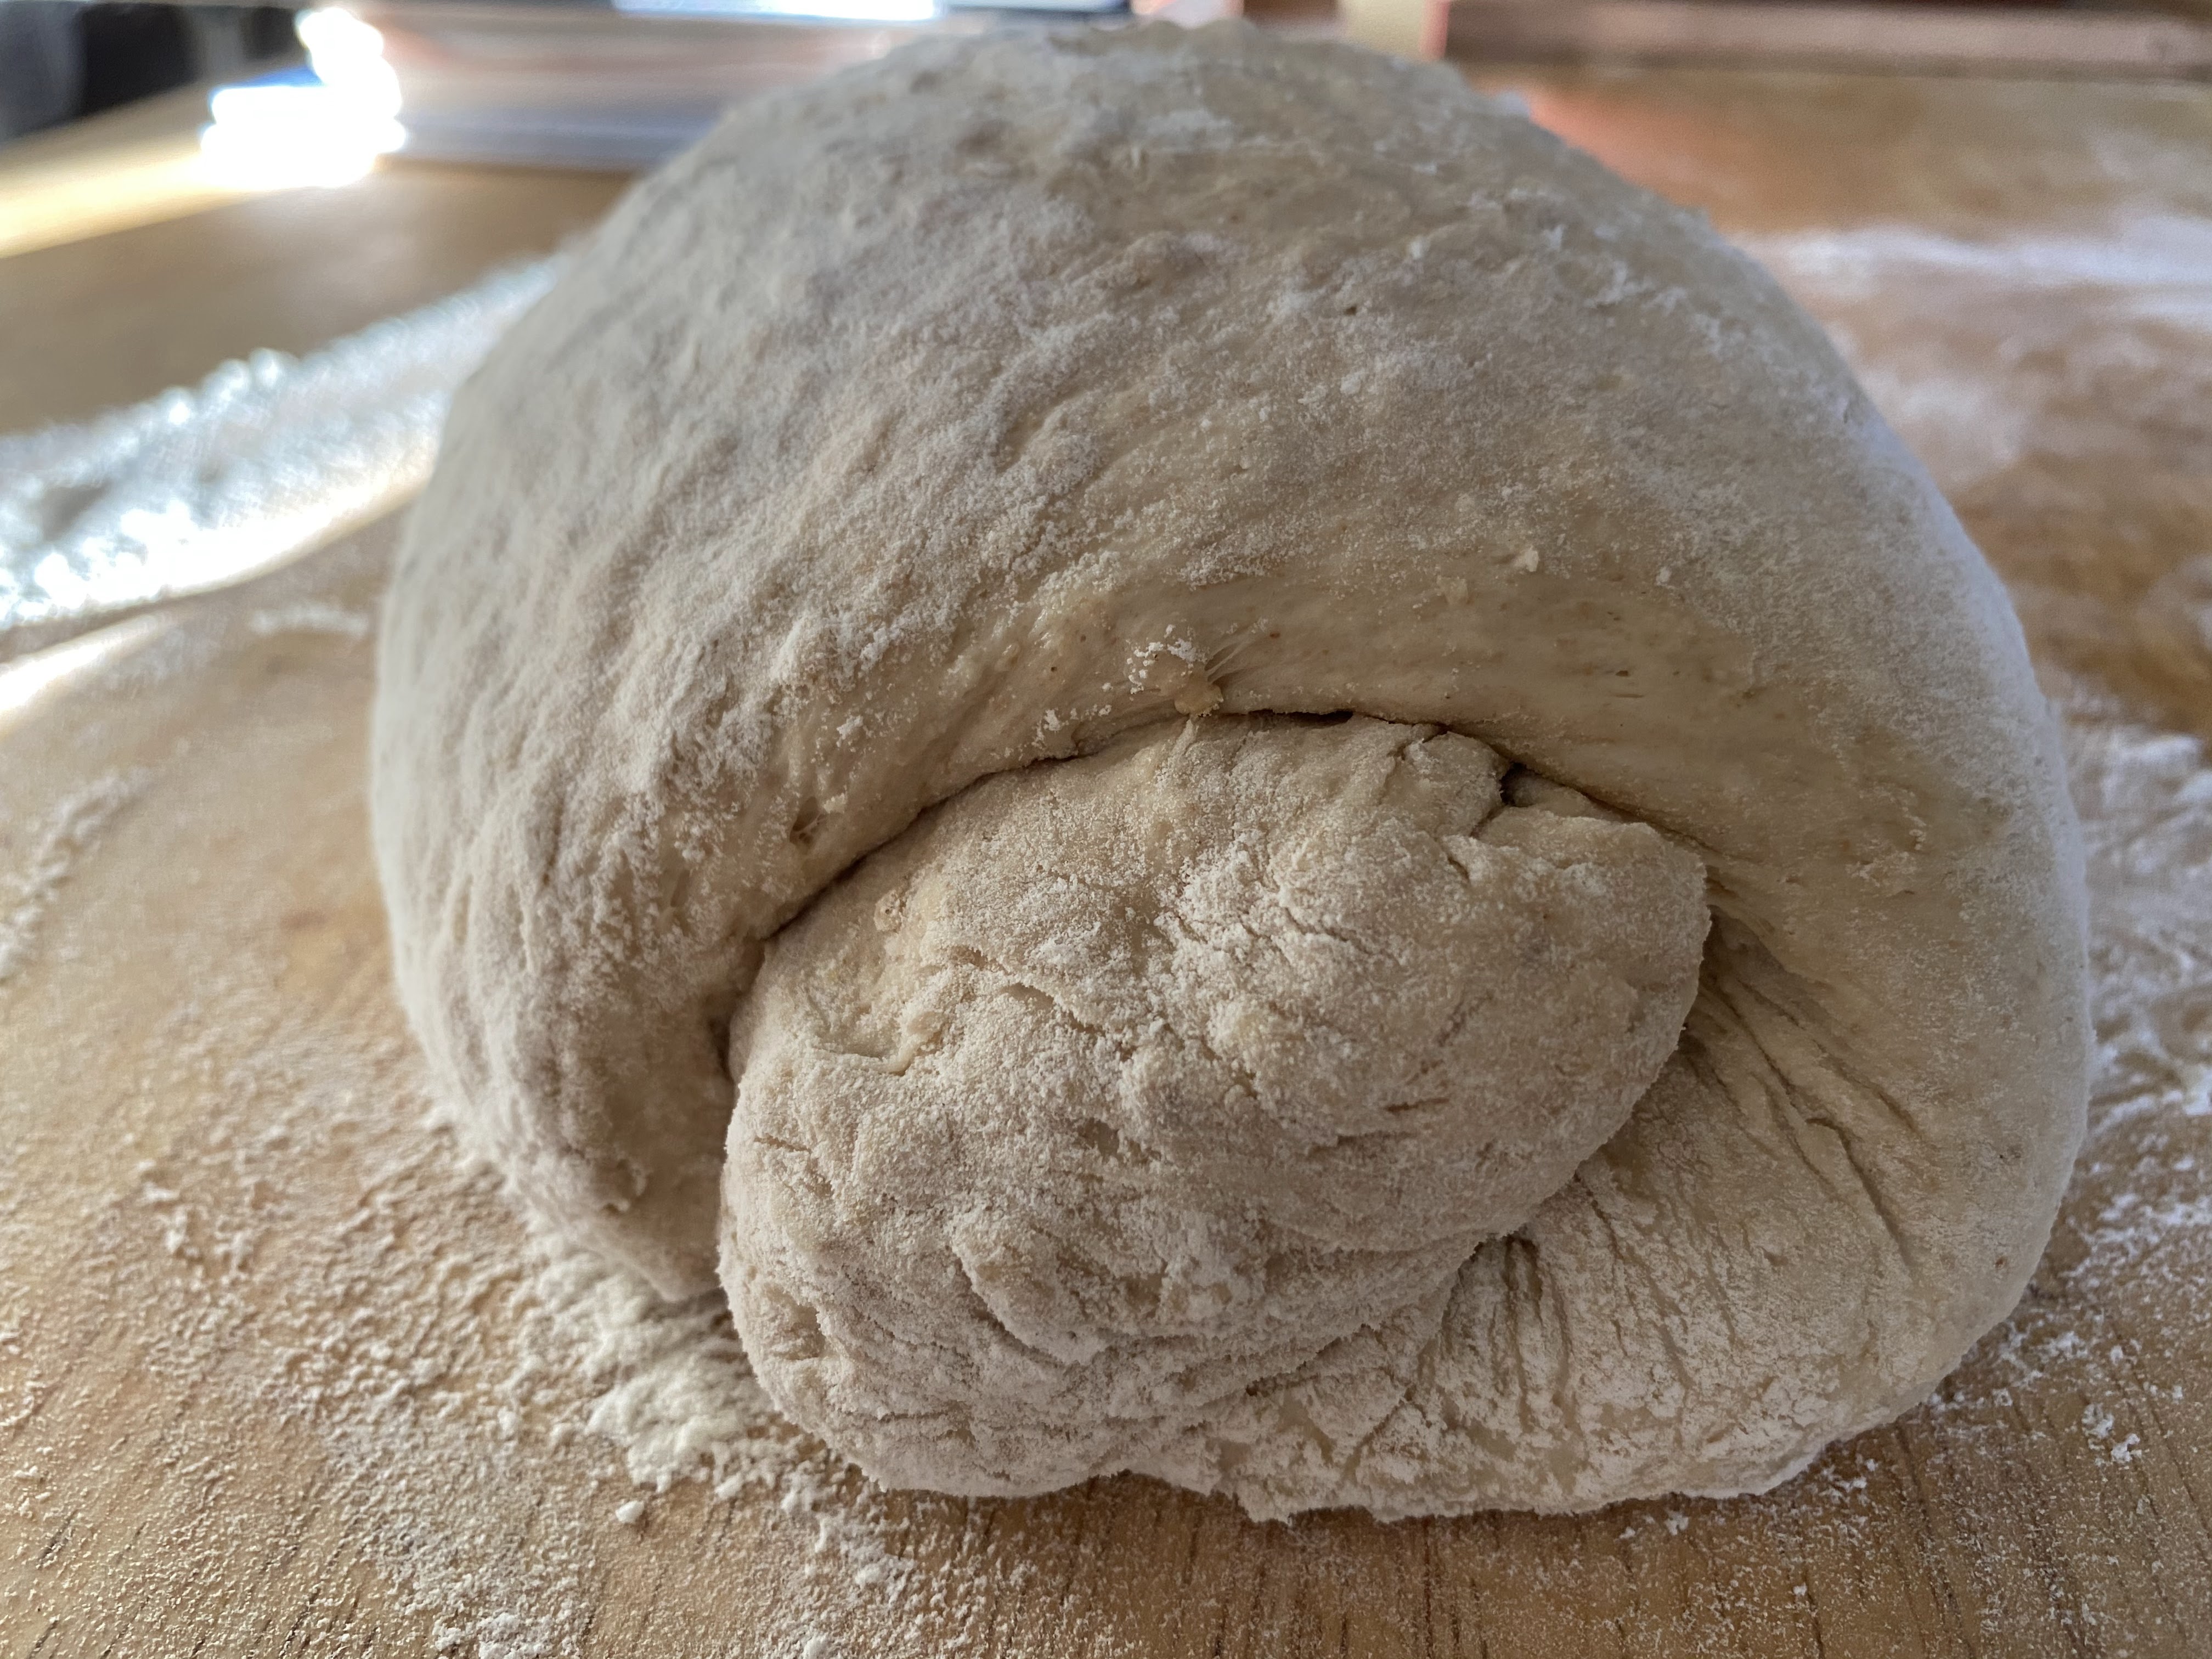
  1. Scrape dough out of bowl into a very well floured surface, about 2 level tablespoons worth.
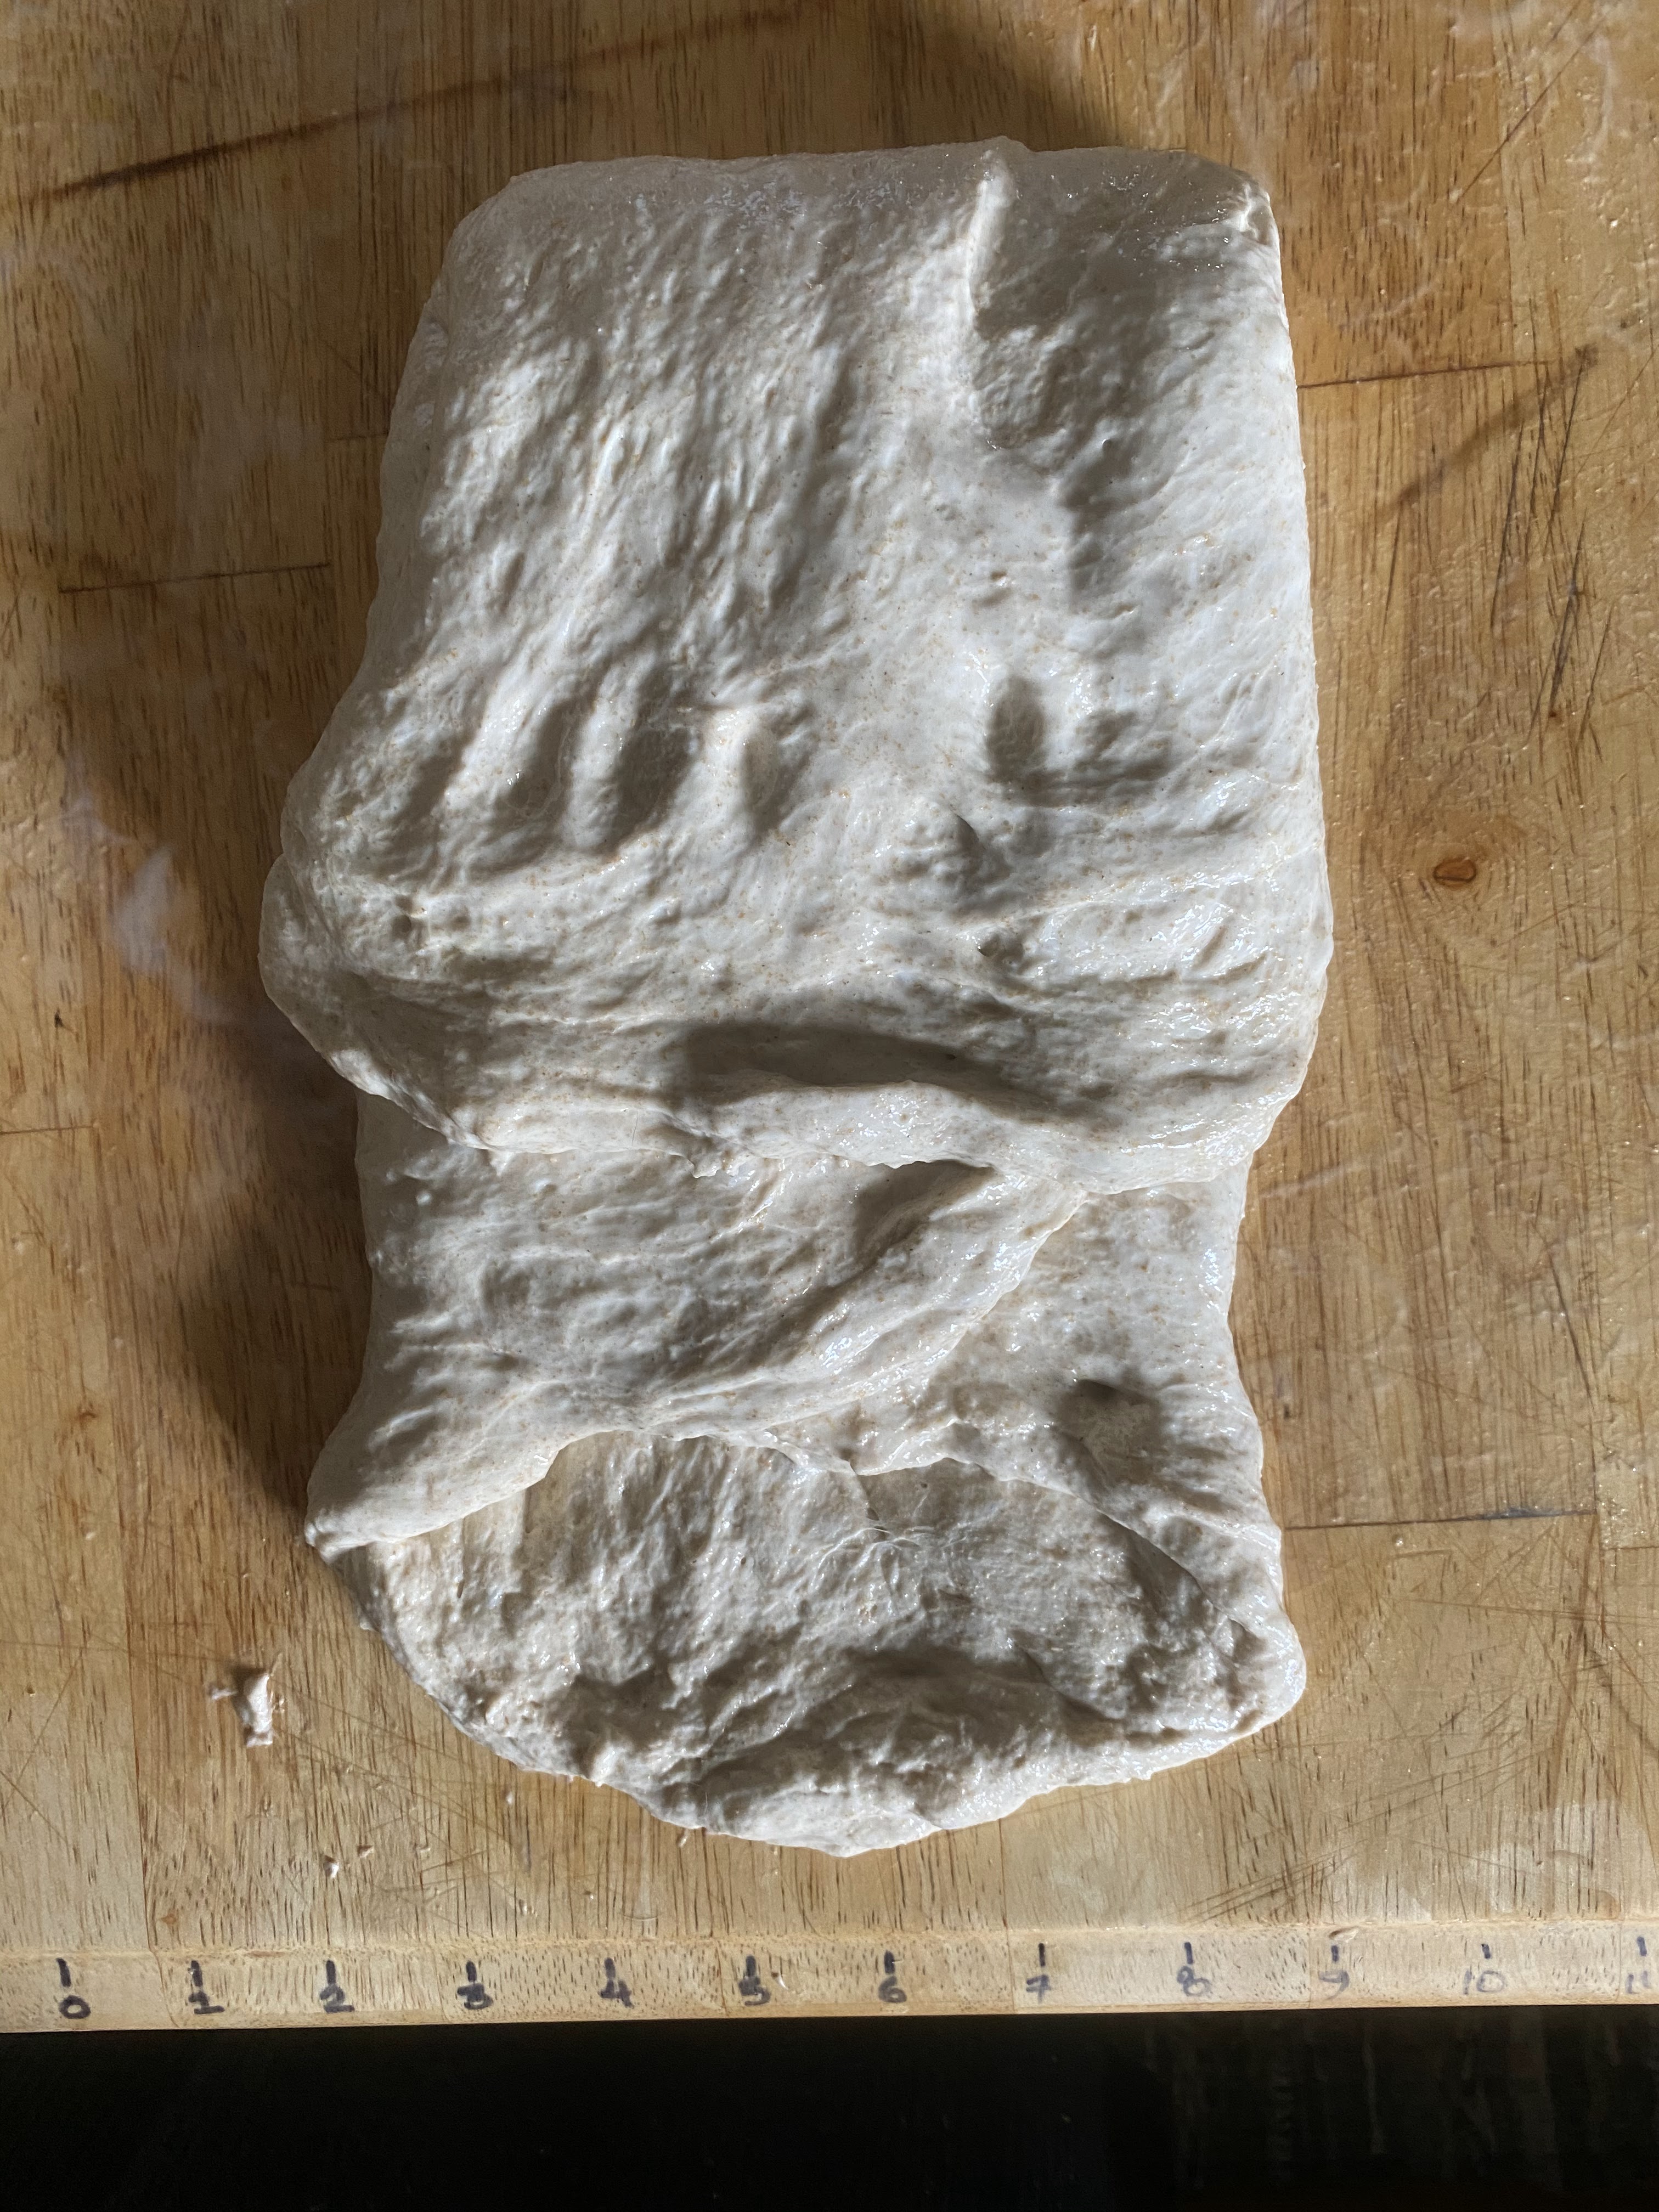
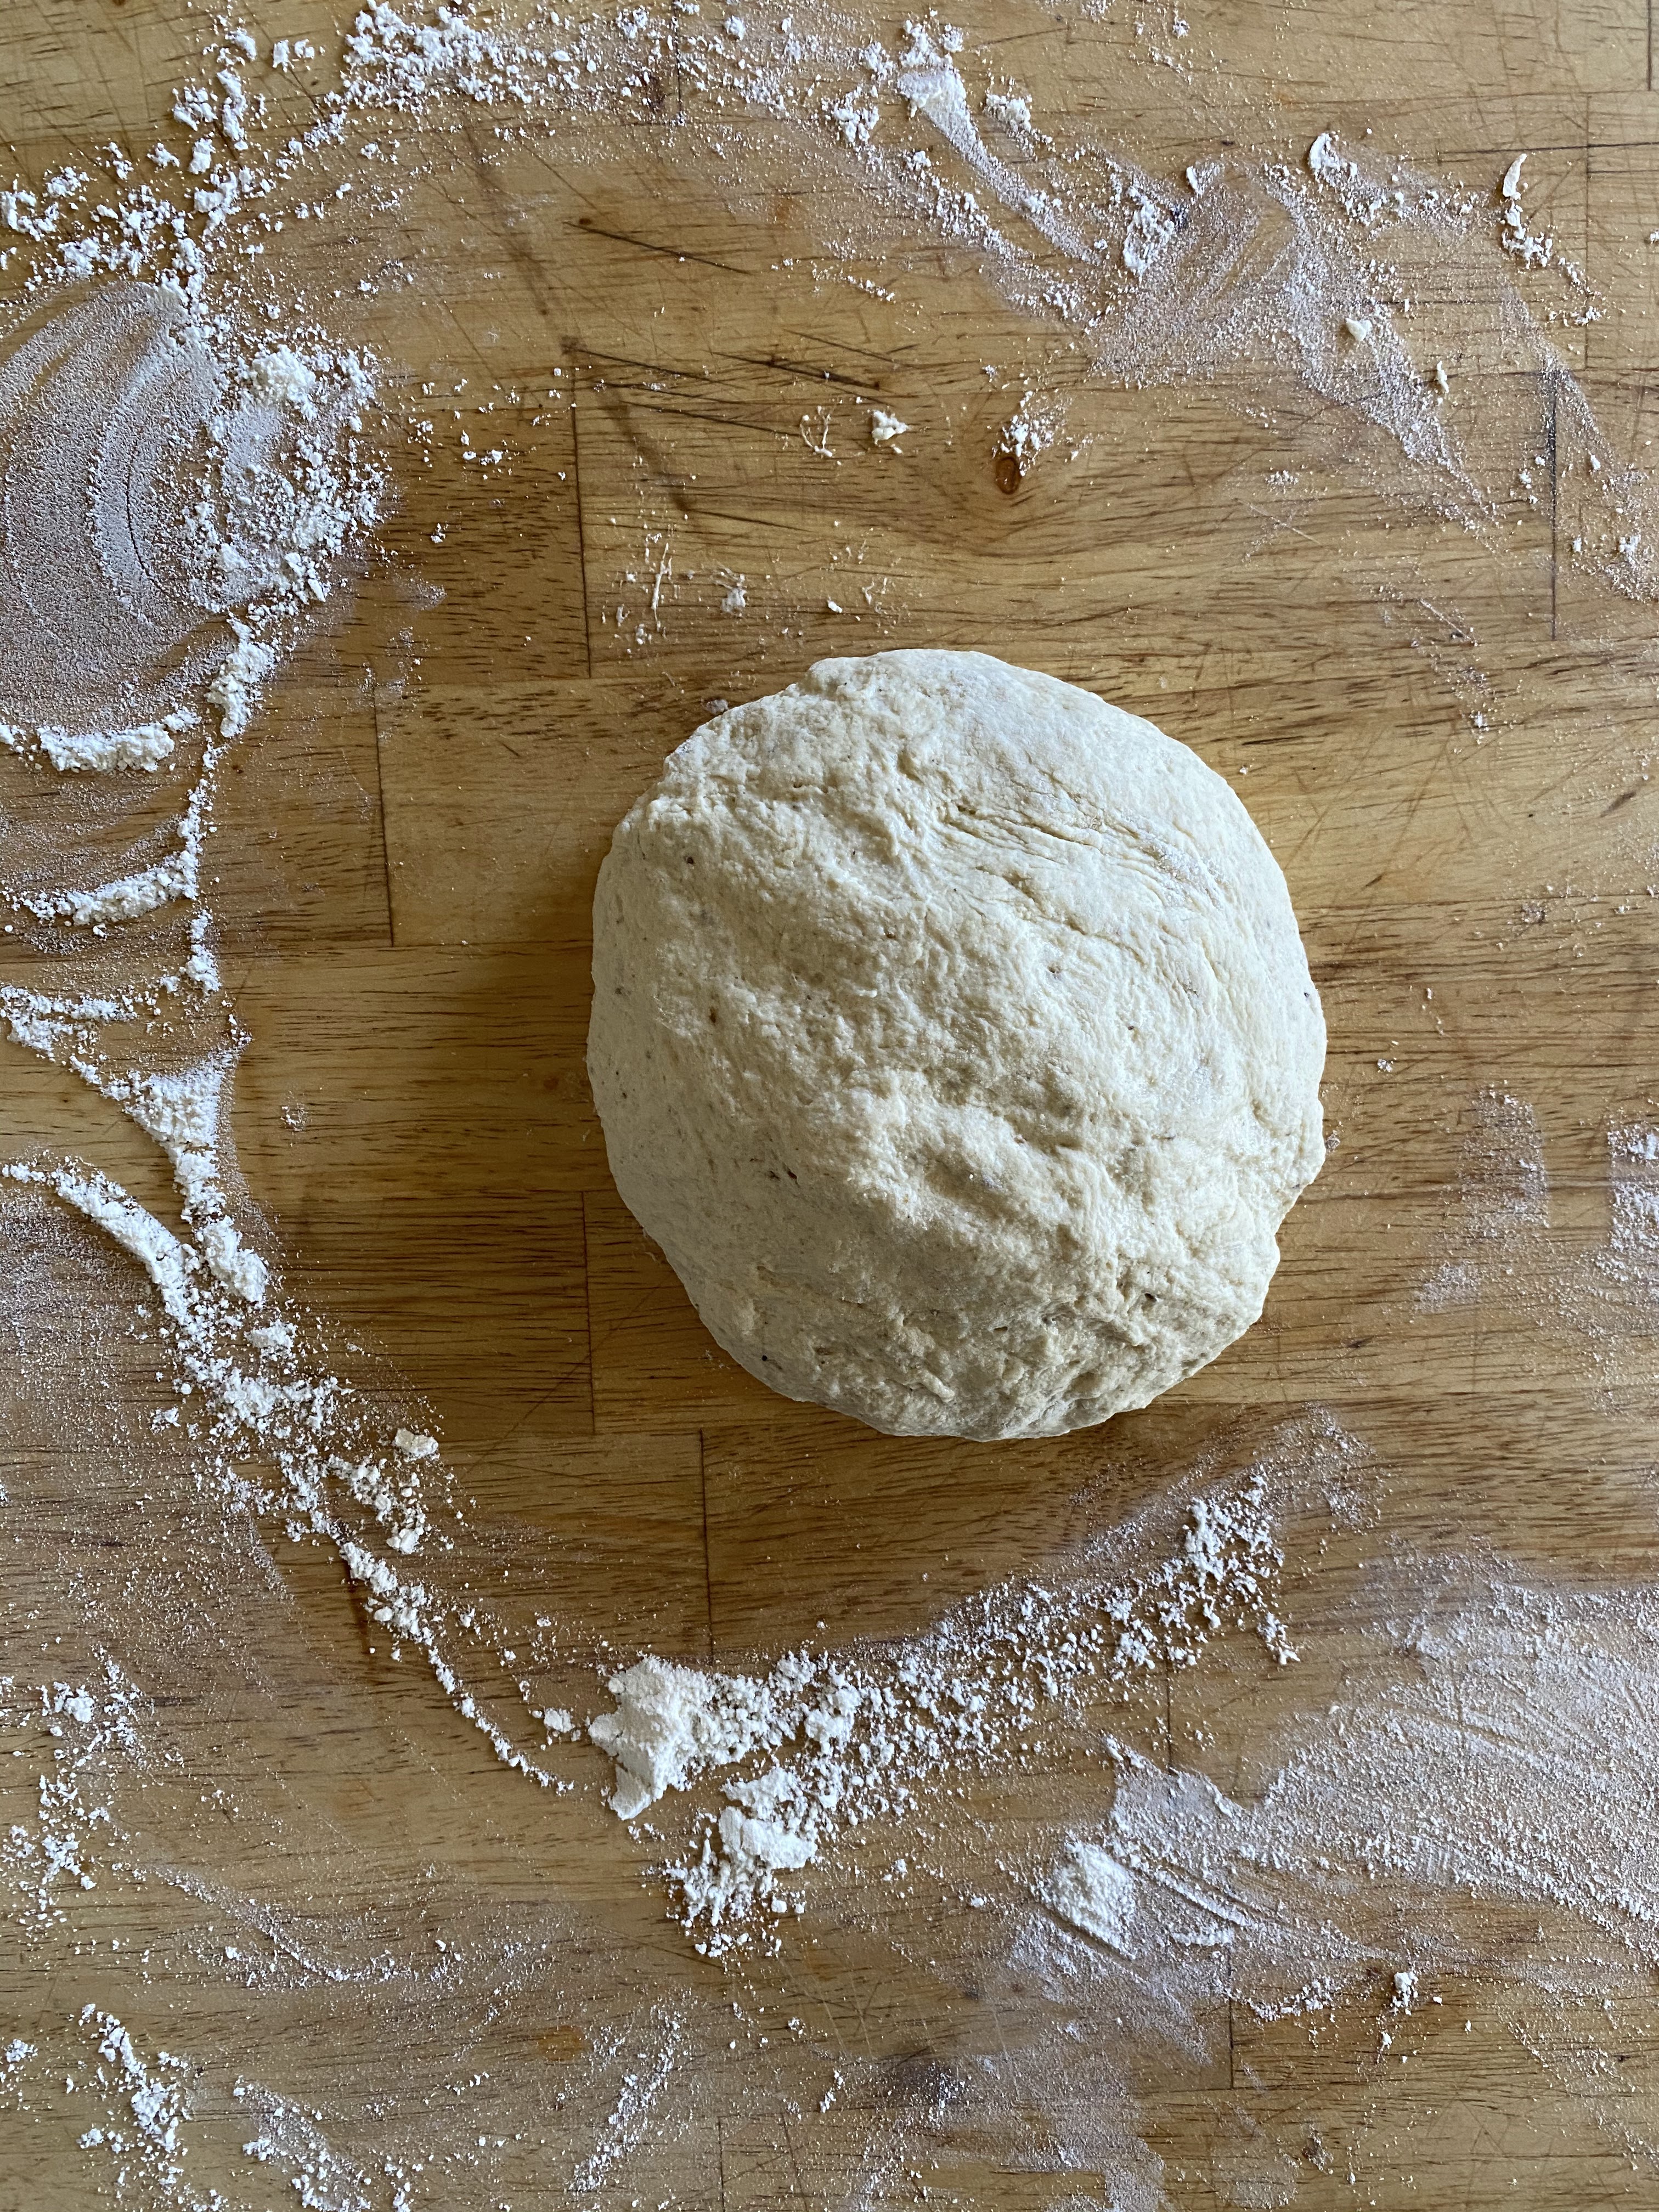
  2. Knead to incorporate flour into the dough so that it’s not as sticky and easier to work with, using a bench scraper if it starts sticking to the counter.
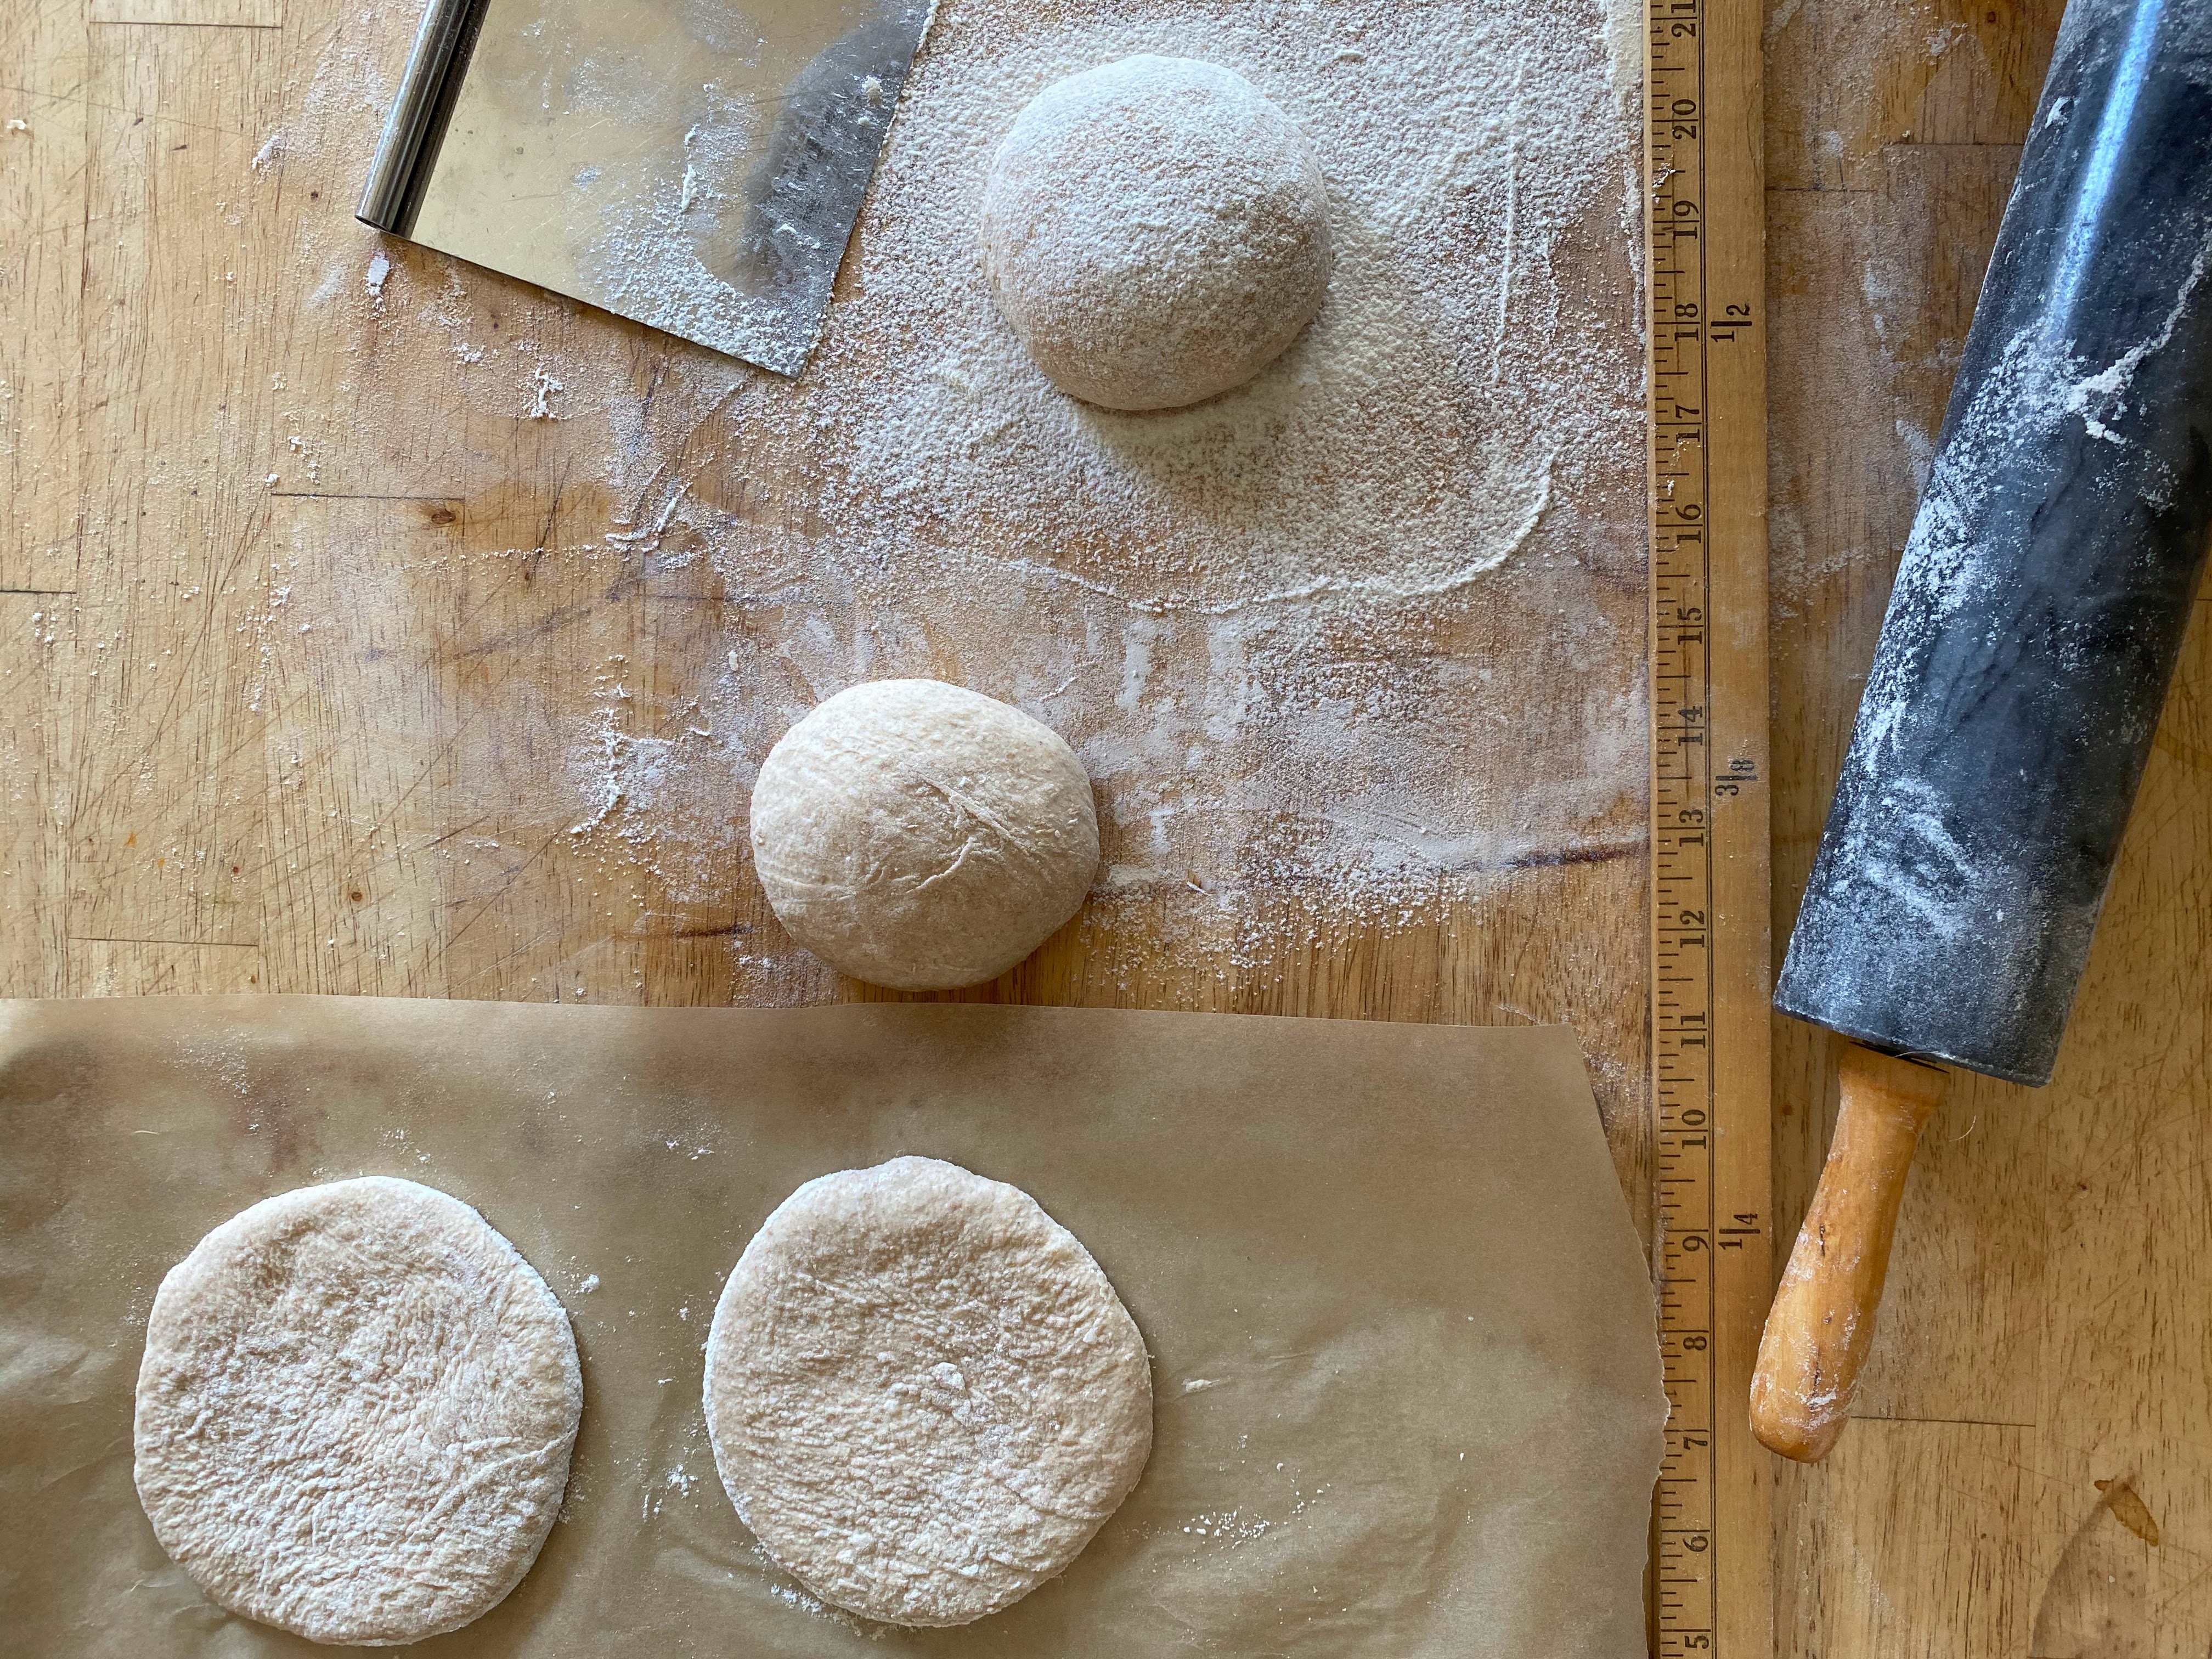
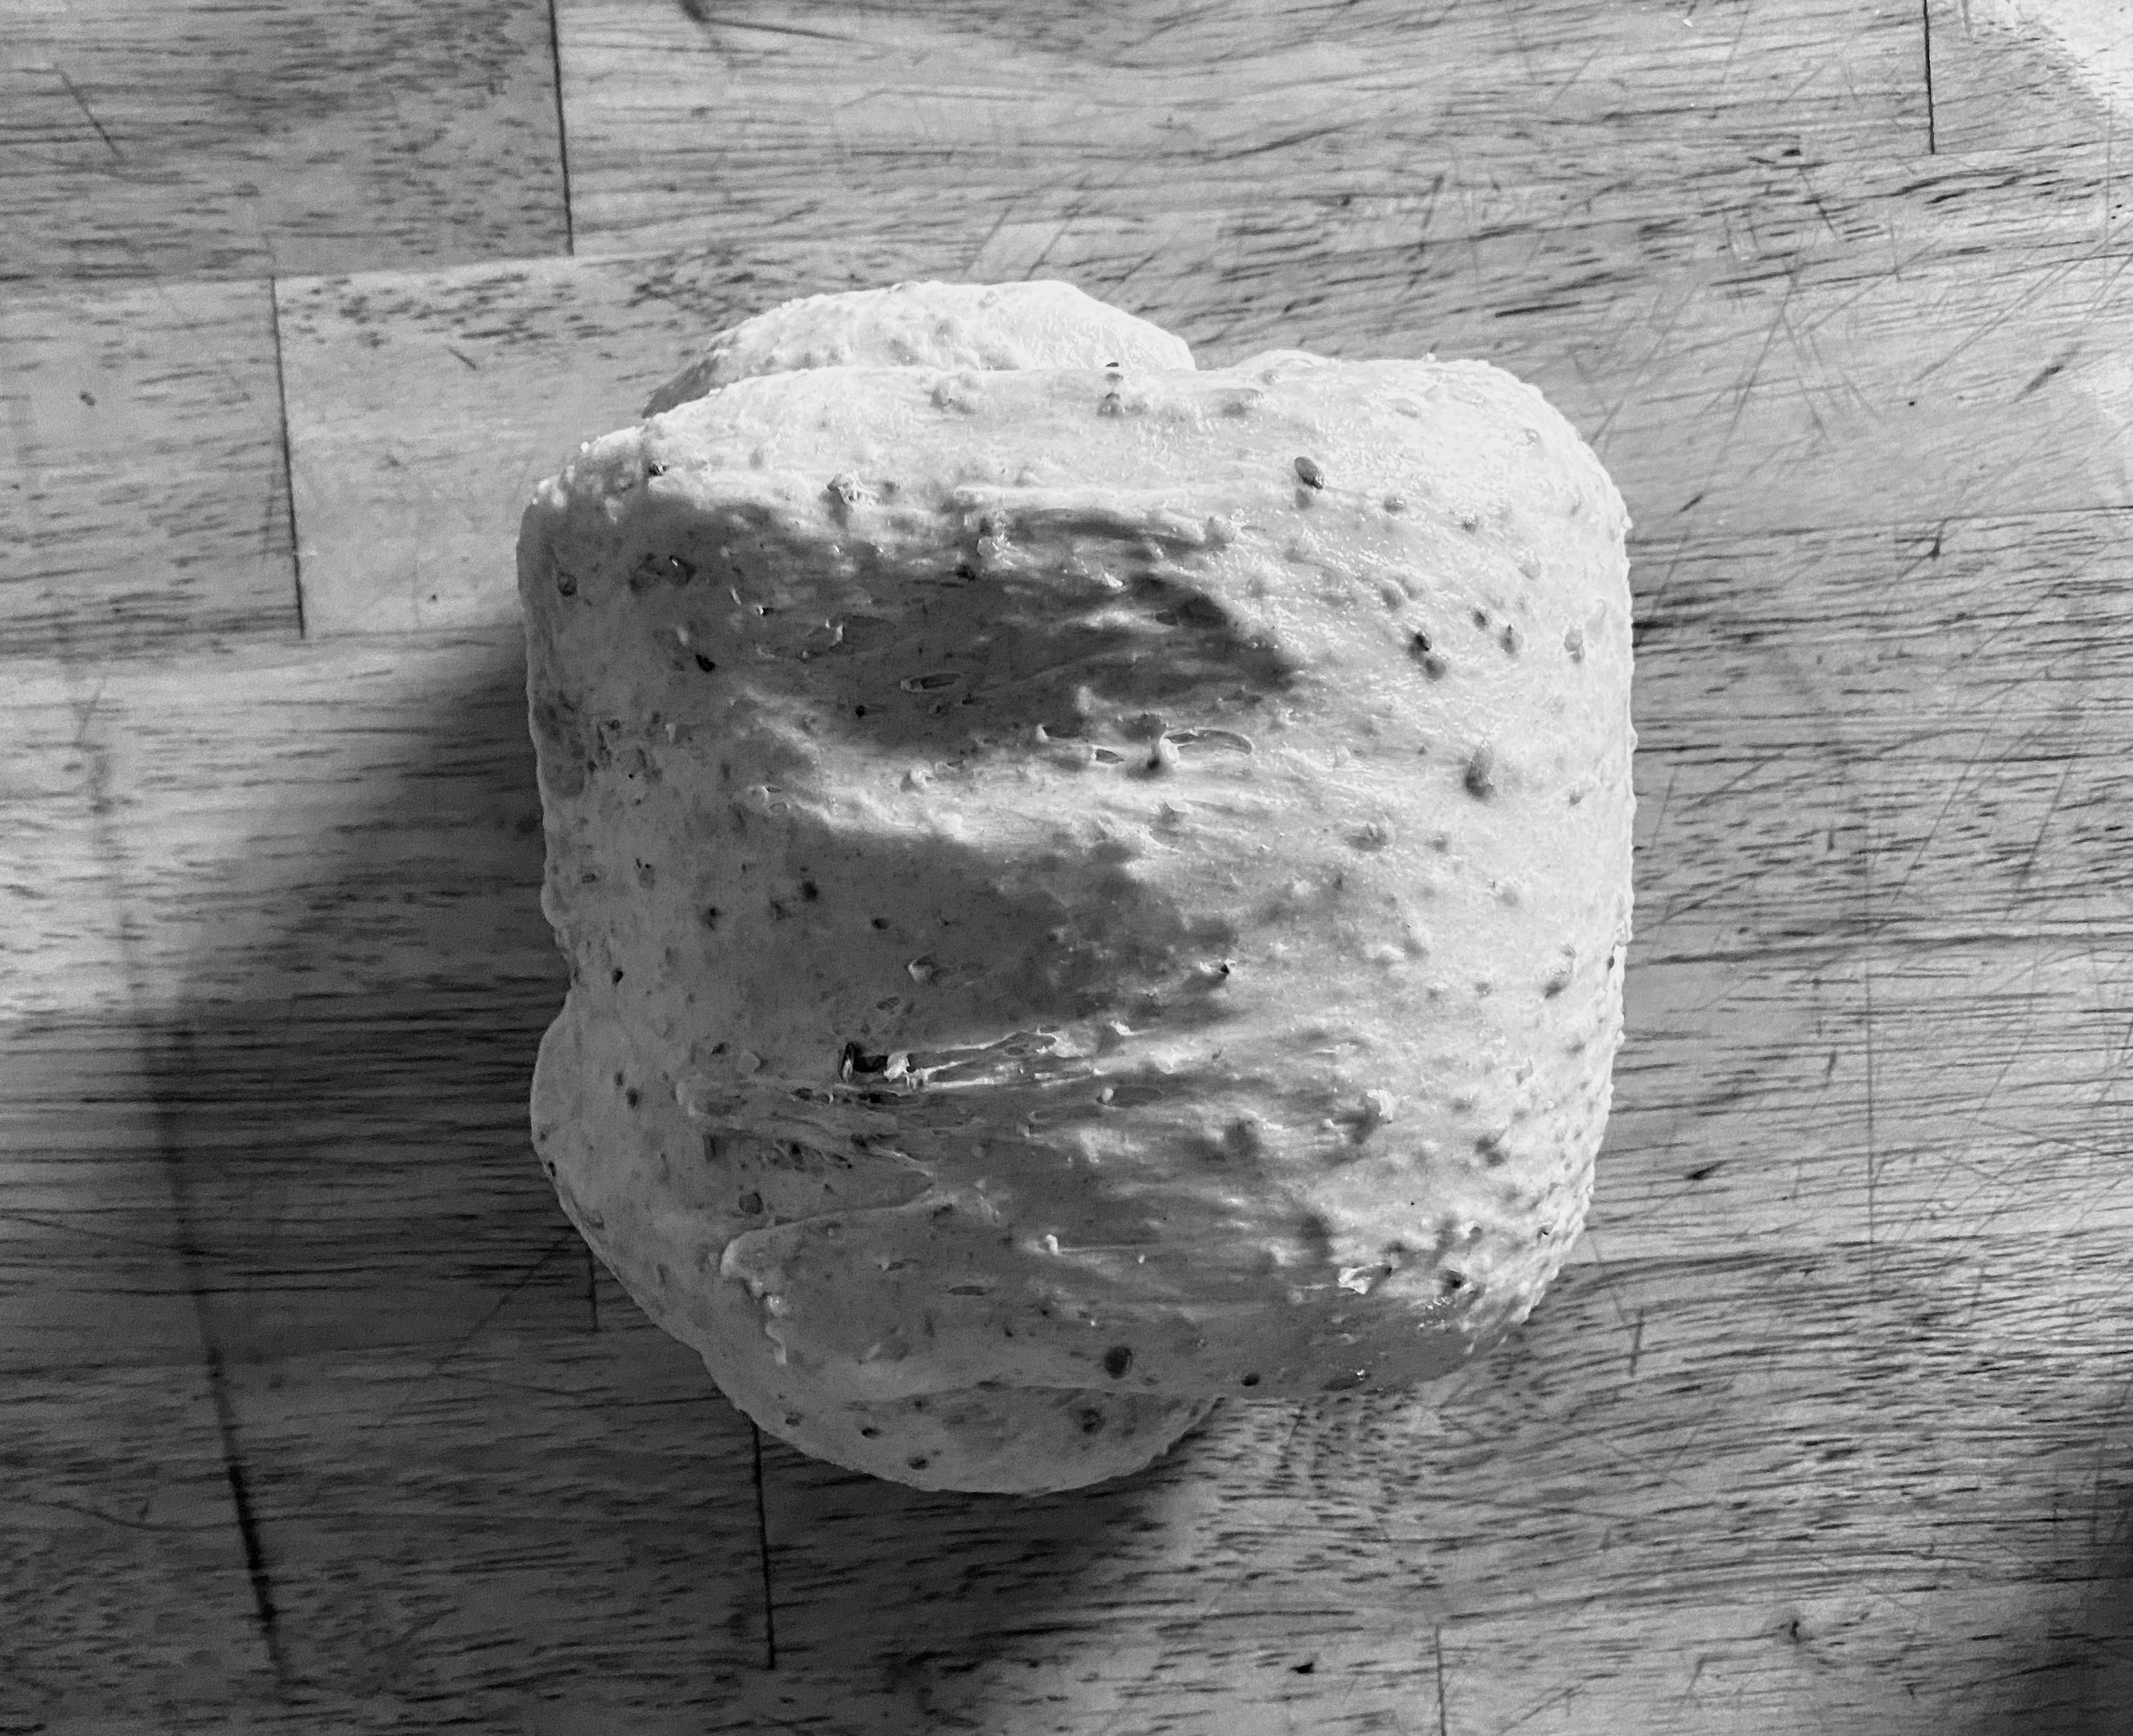
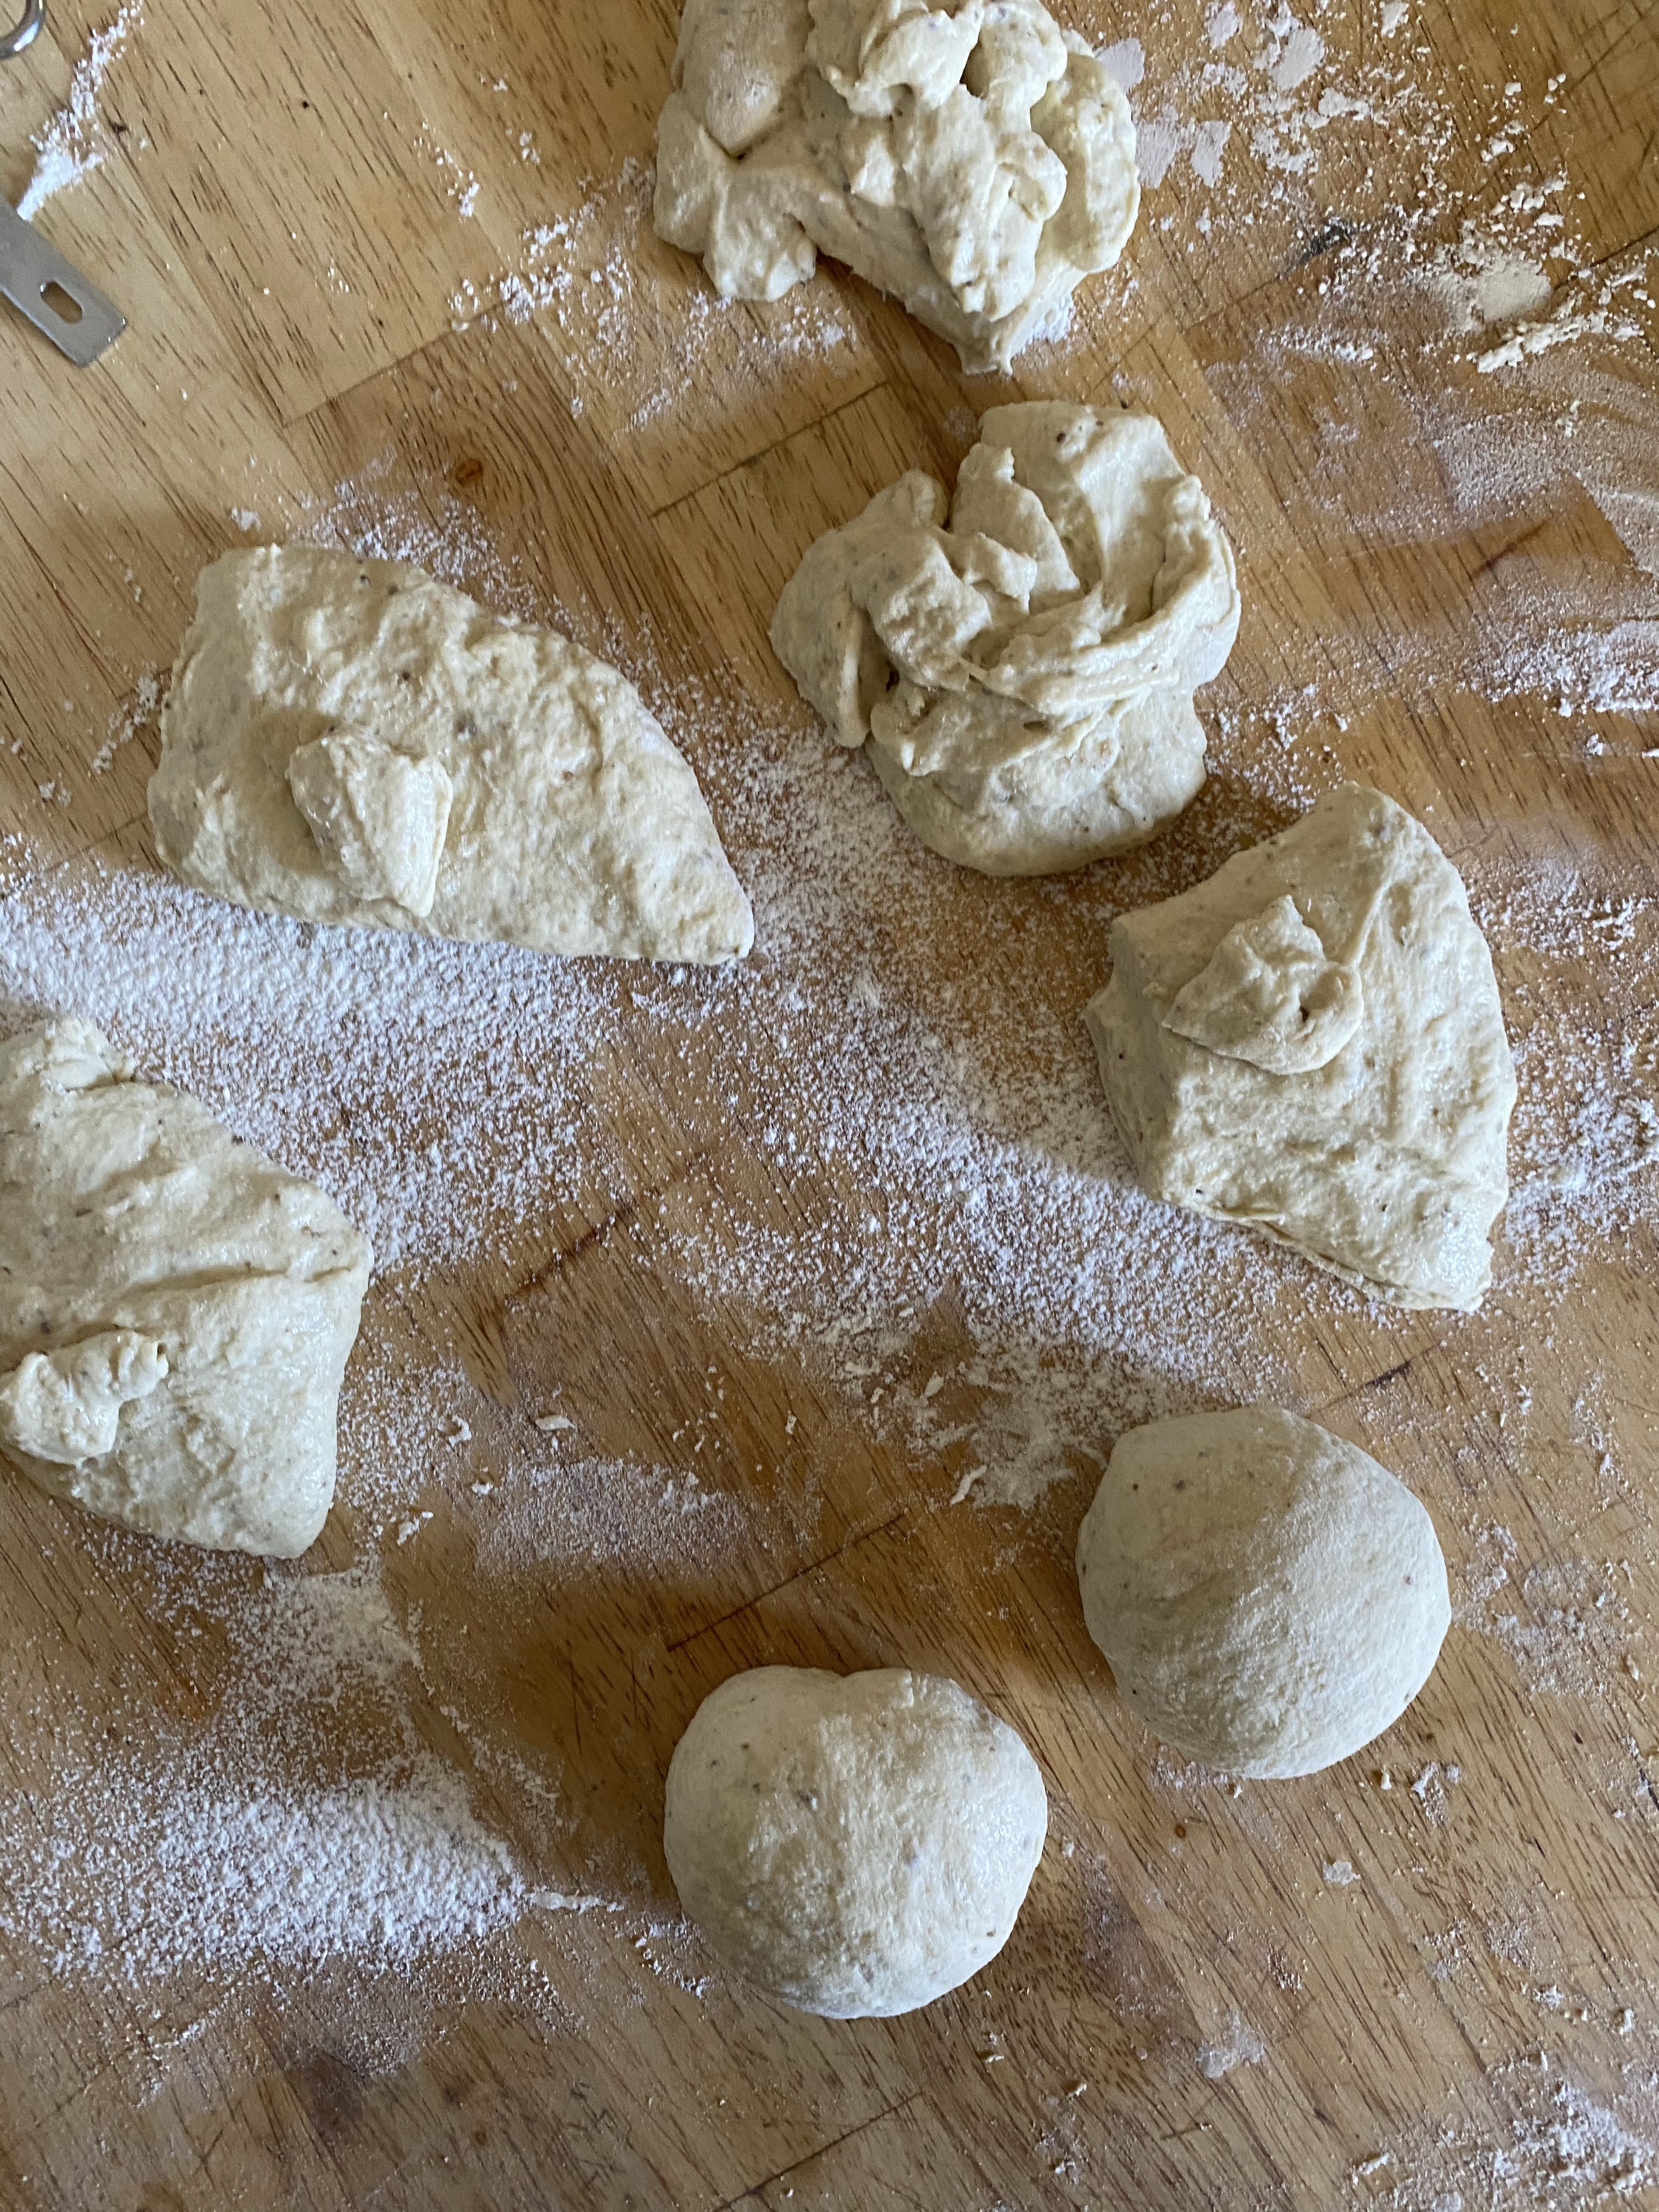
  3. Seperate dough into into seven pieces, six weighing 110g and one a bit larger, weighing 124. (Total weight should be around 784g.)
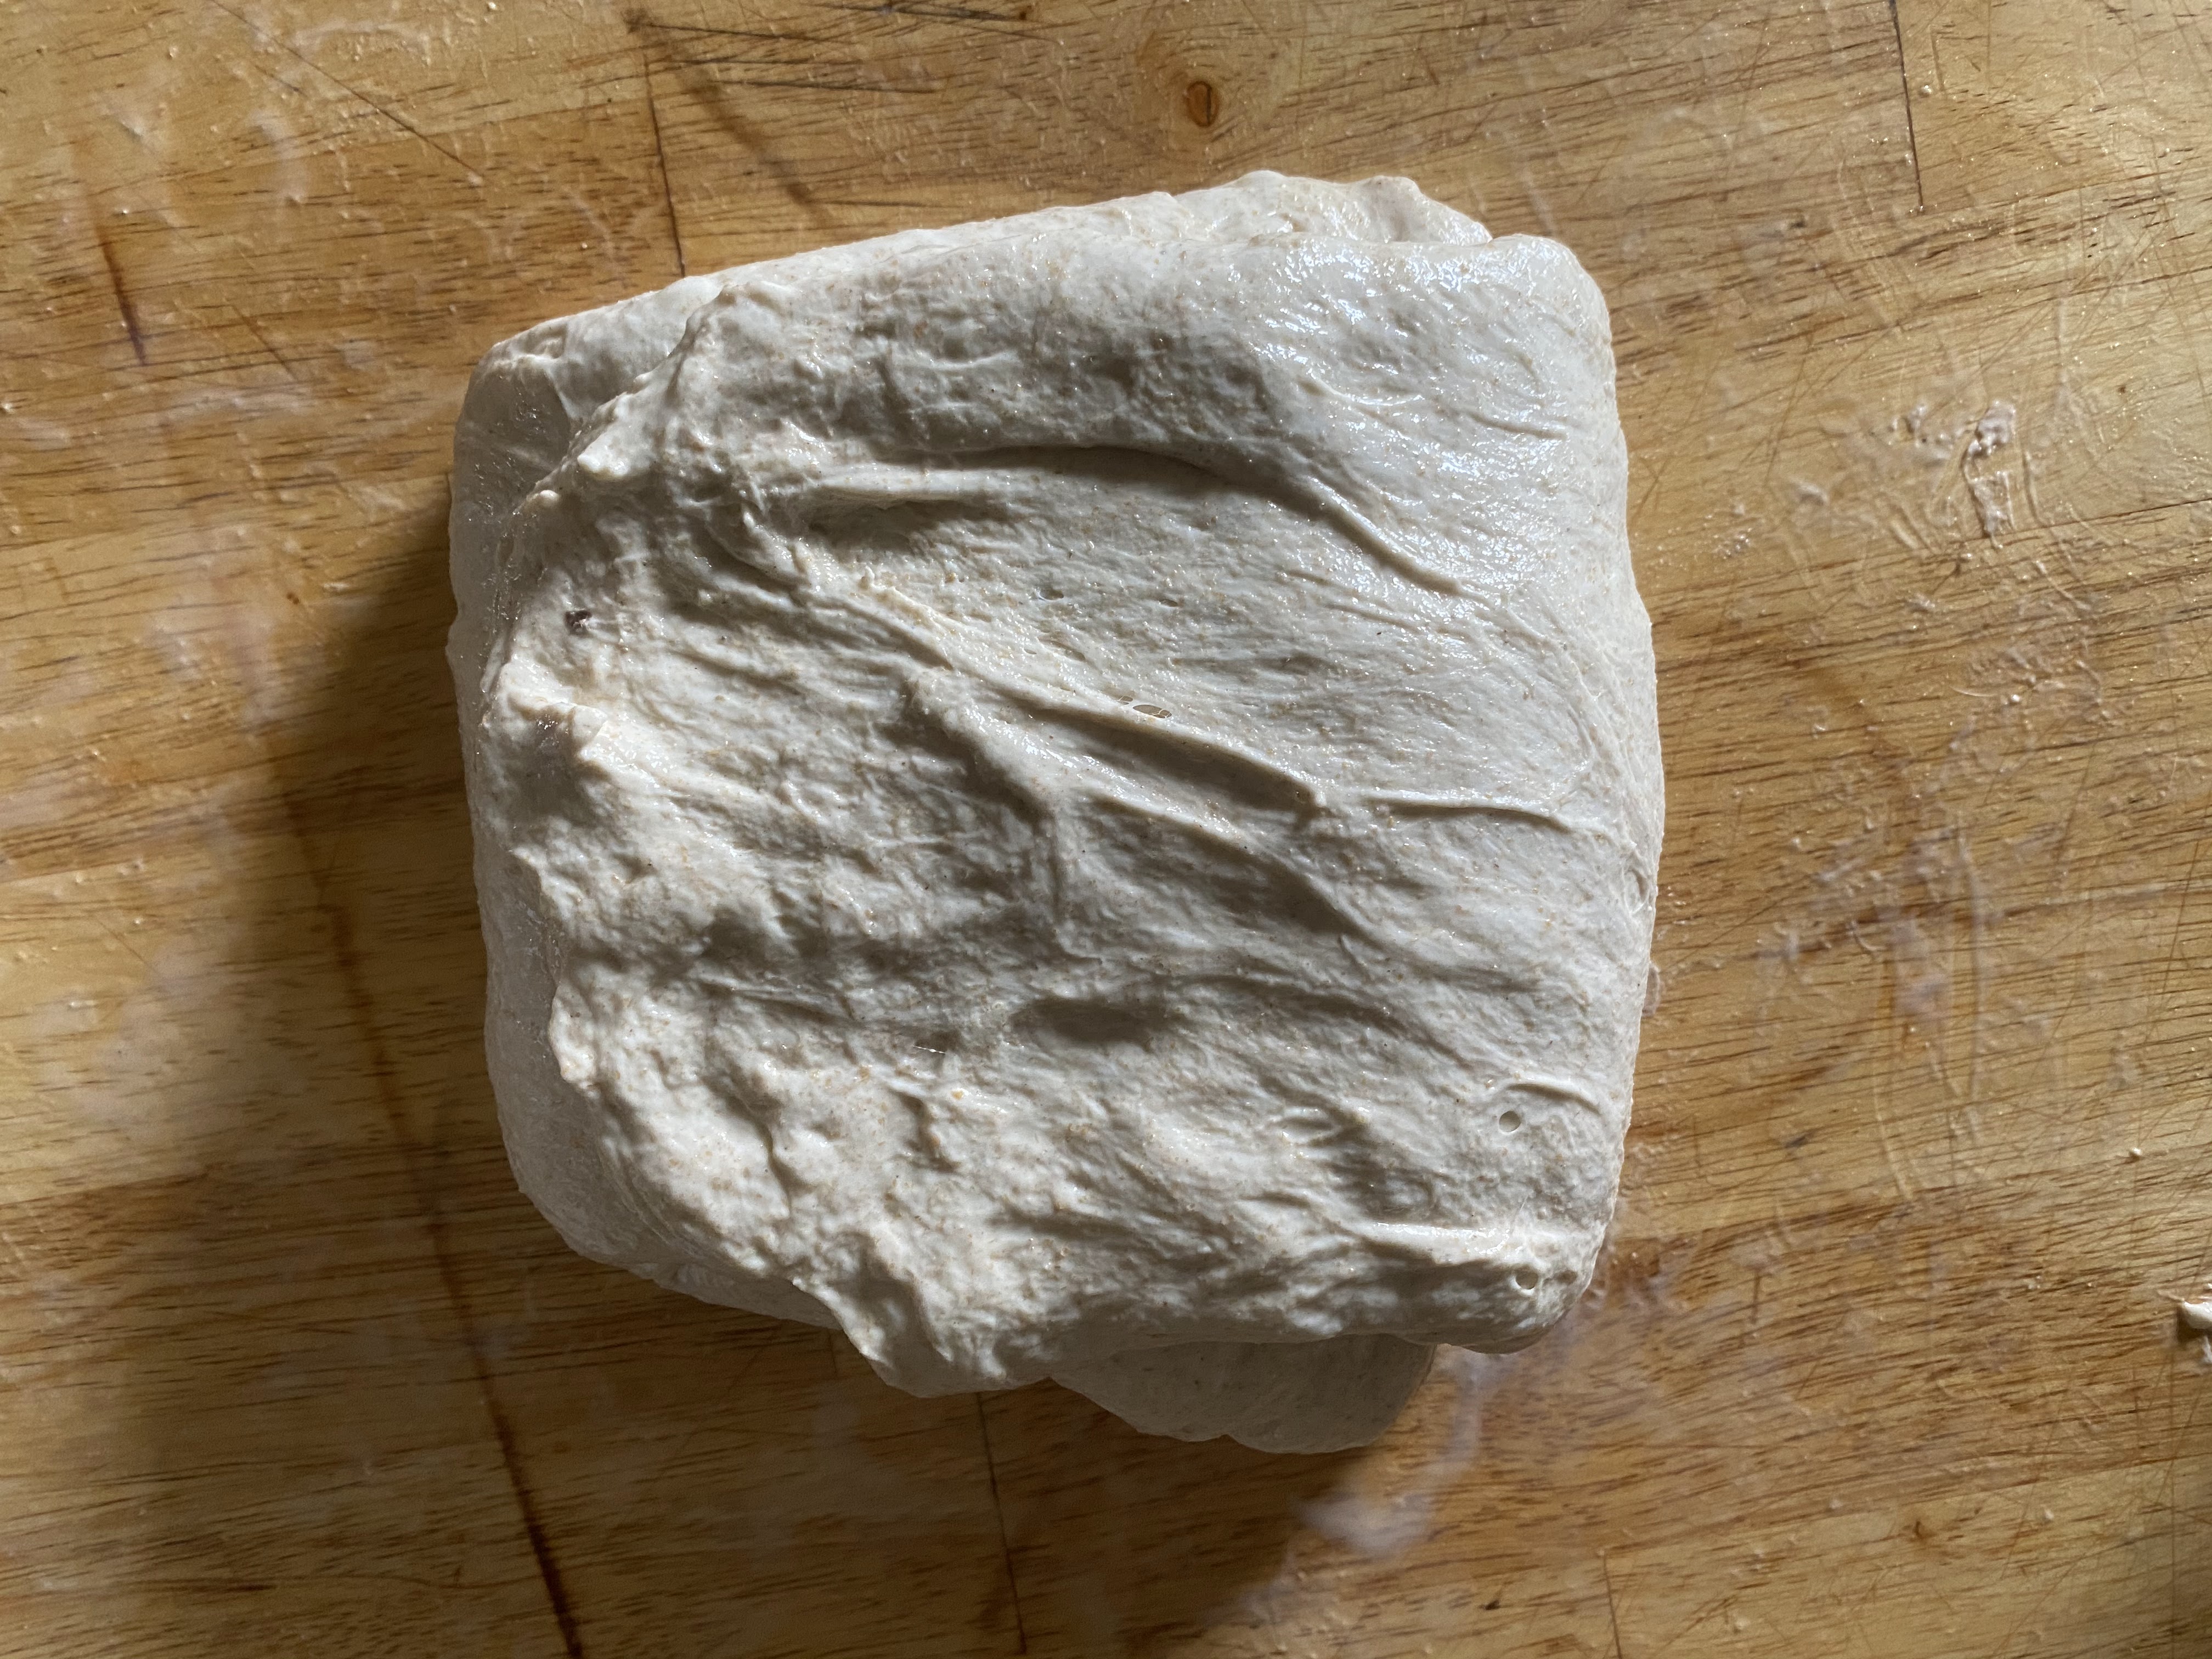
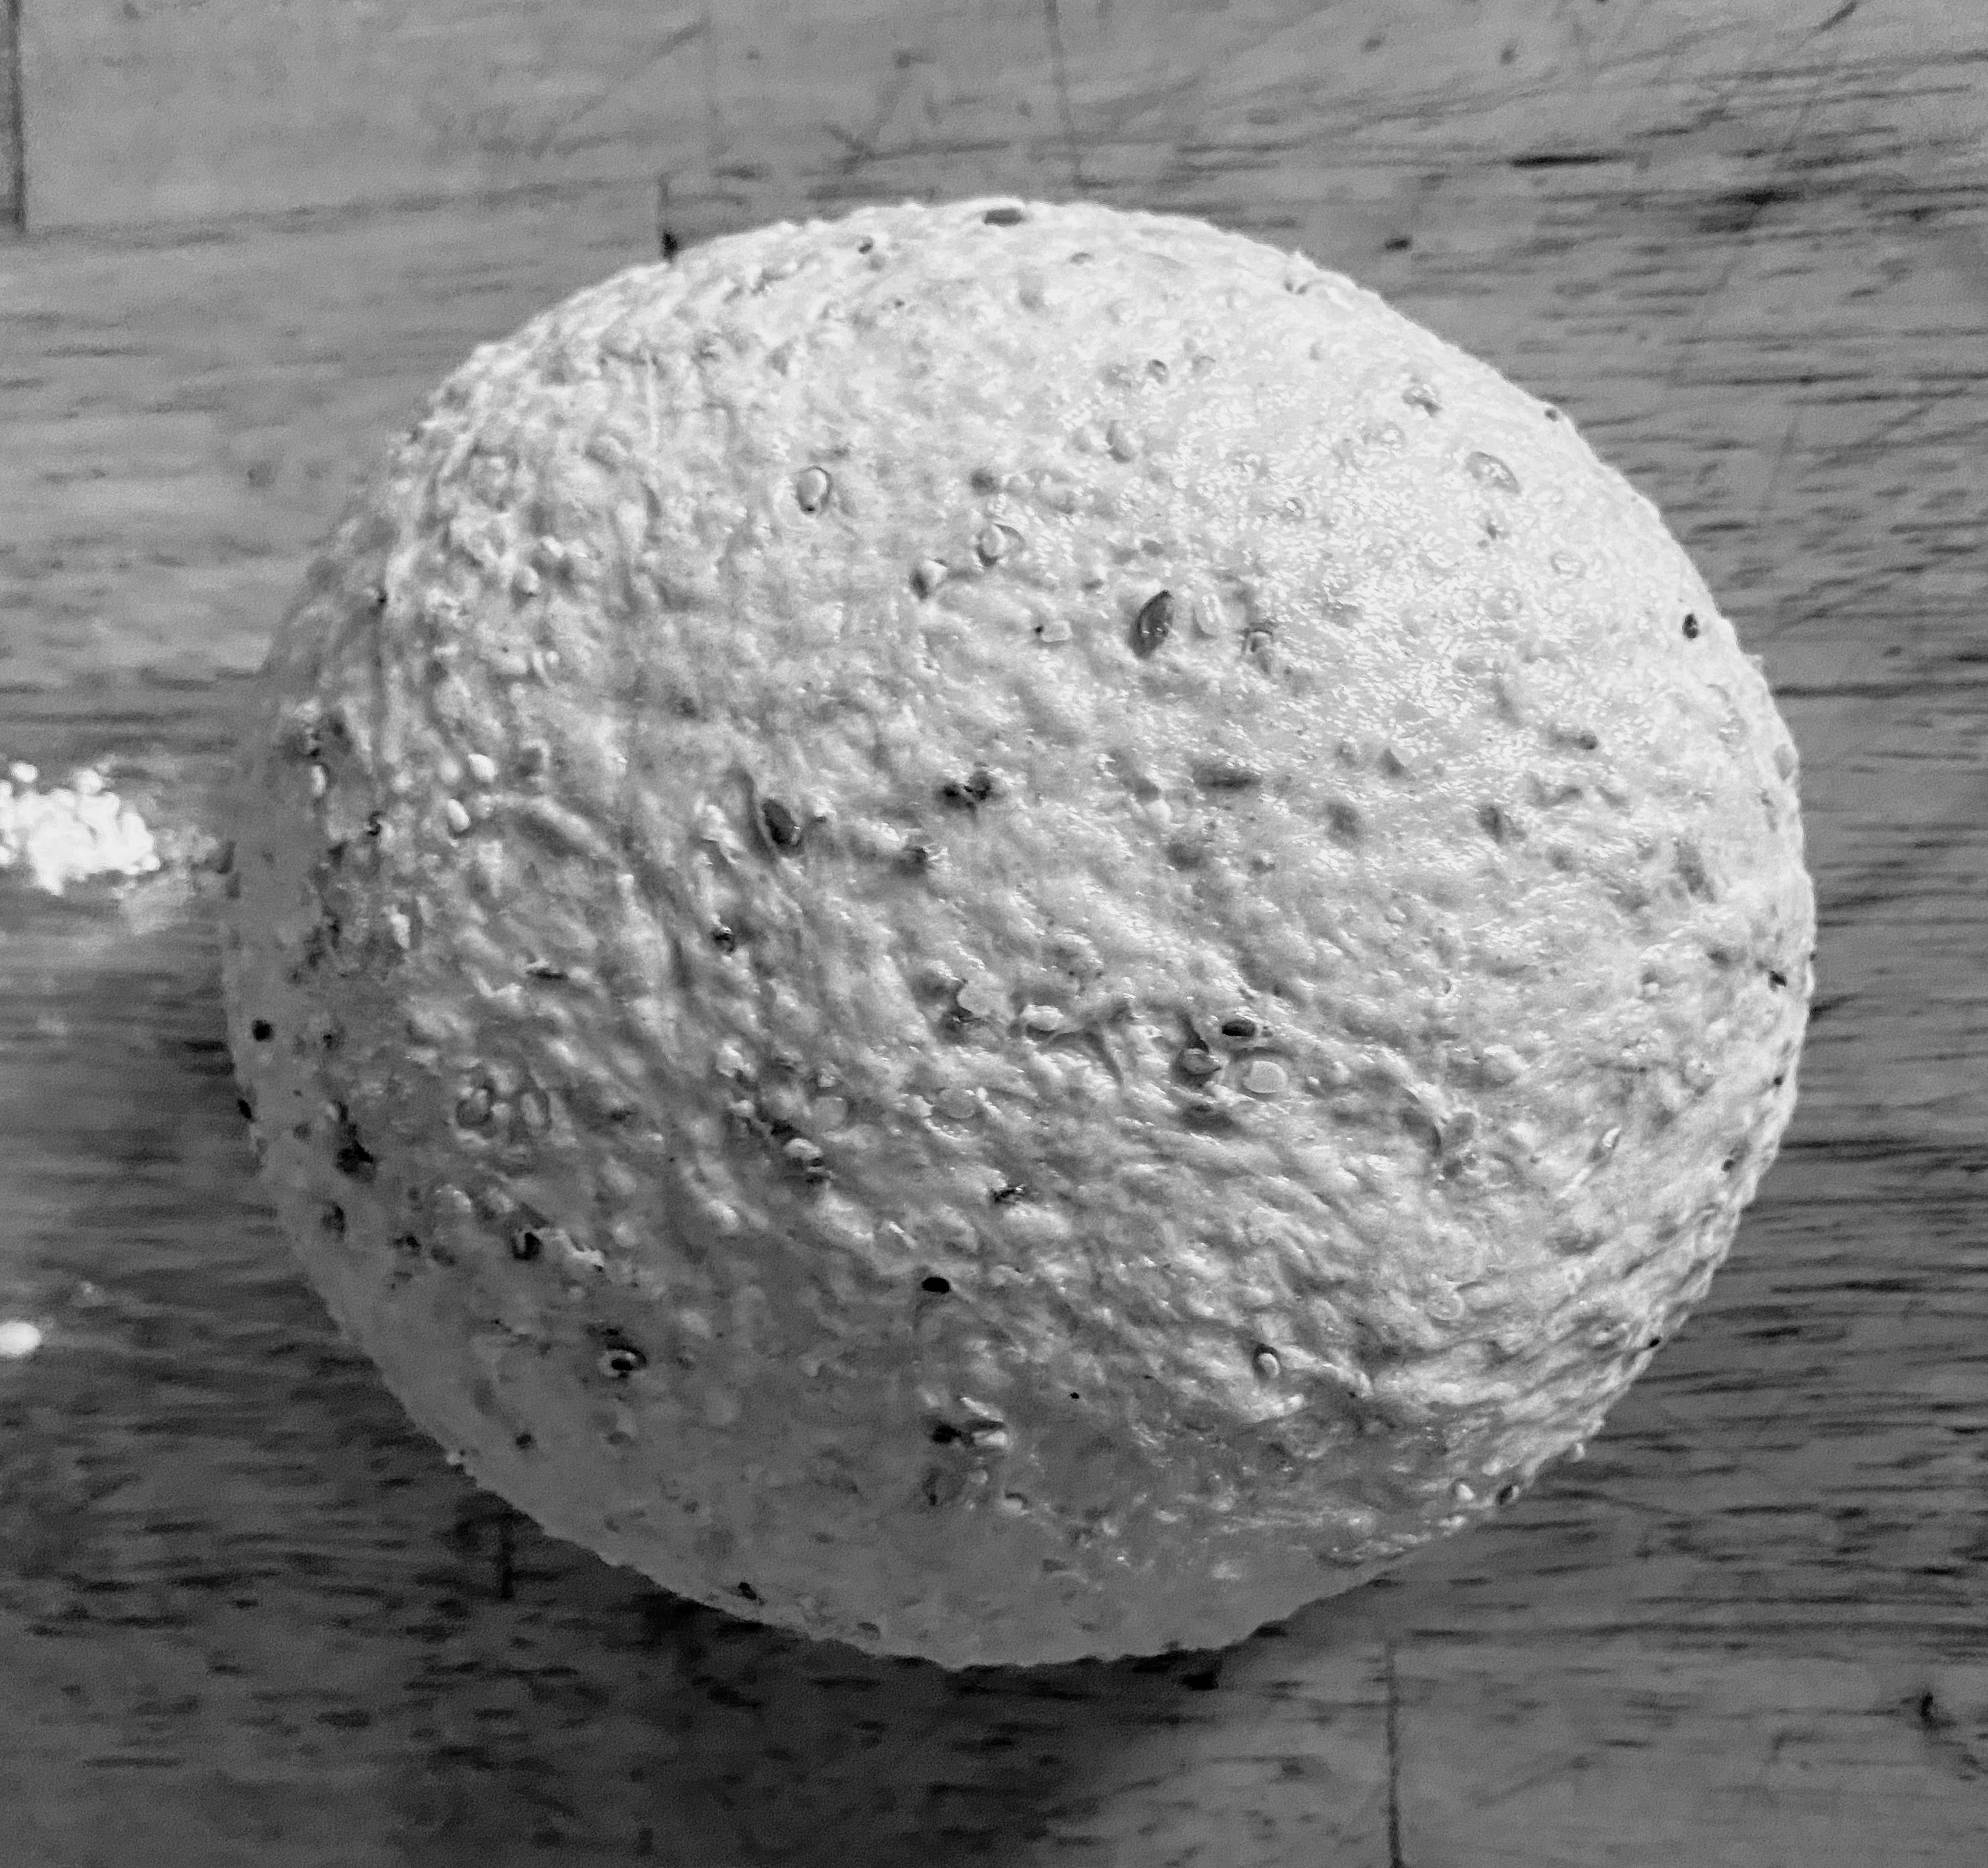
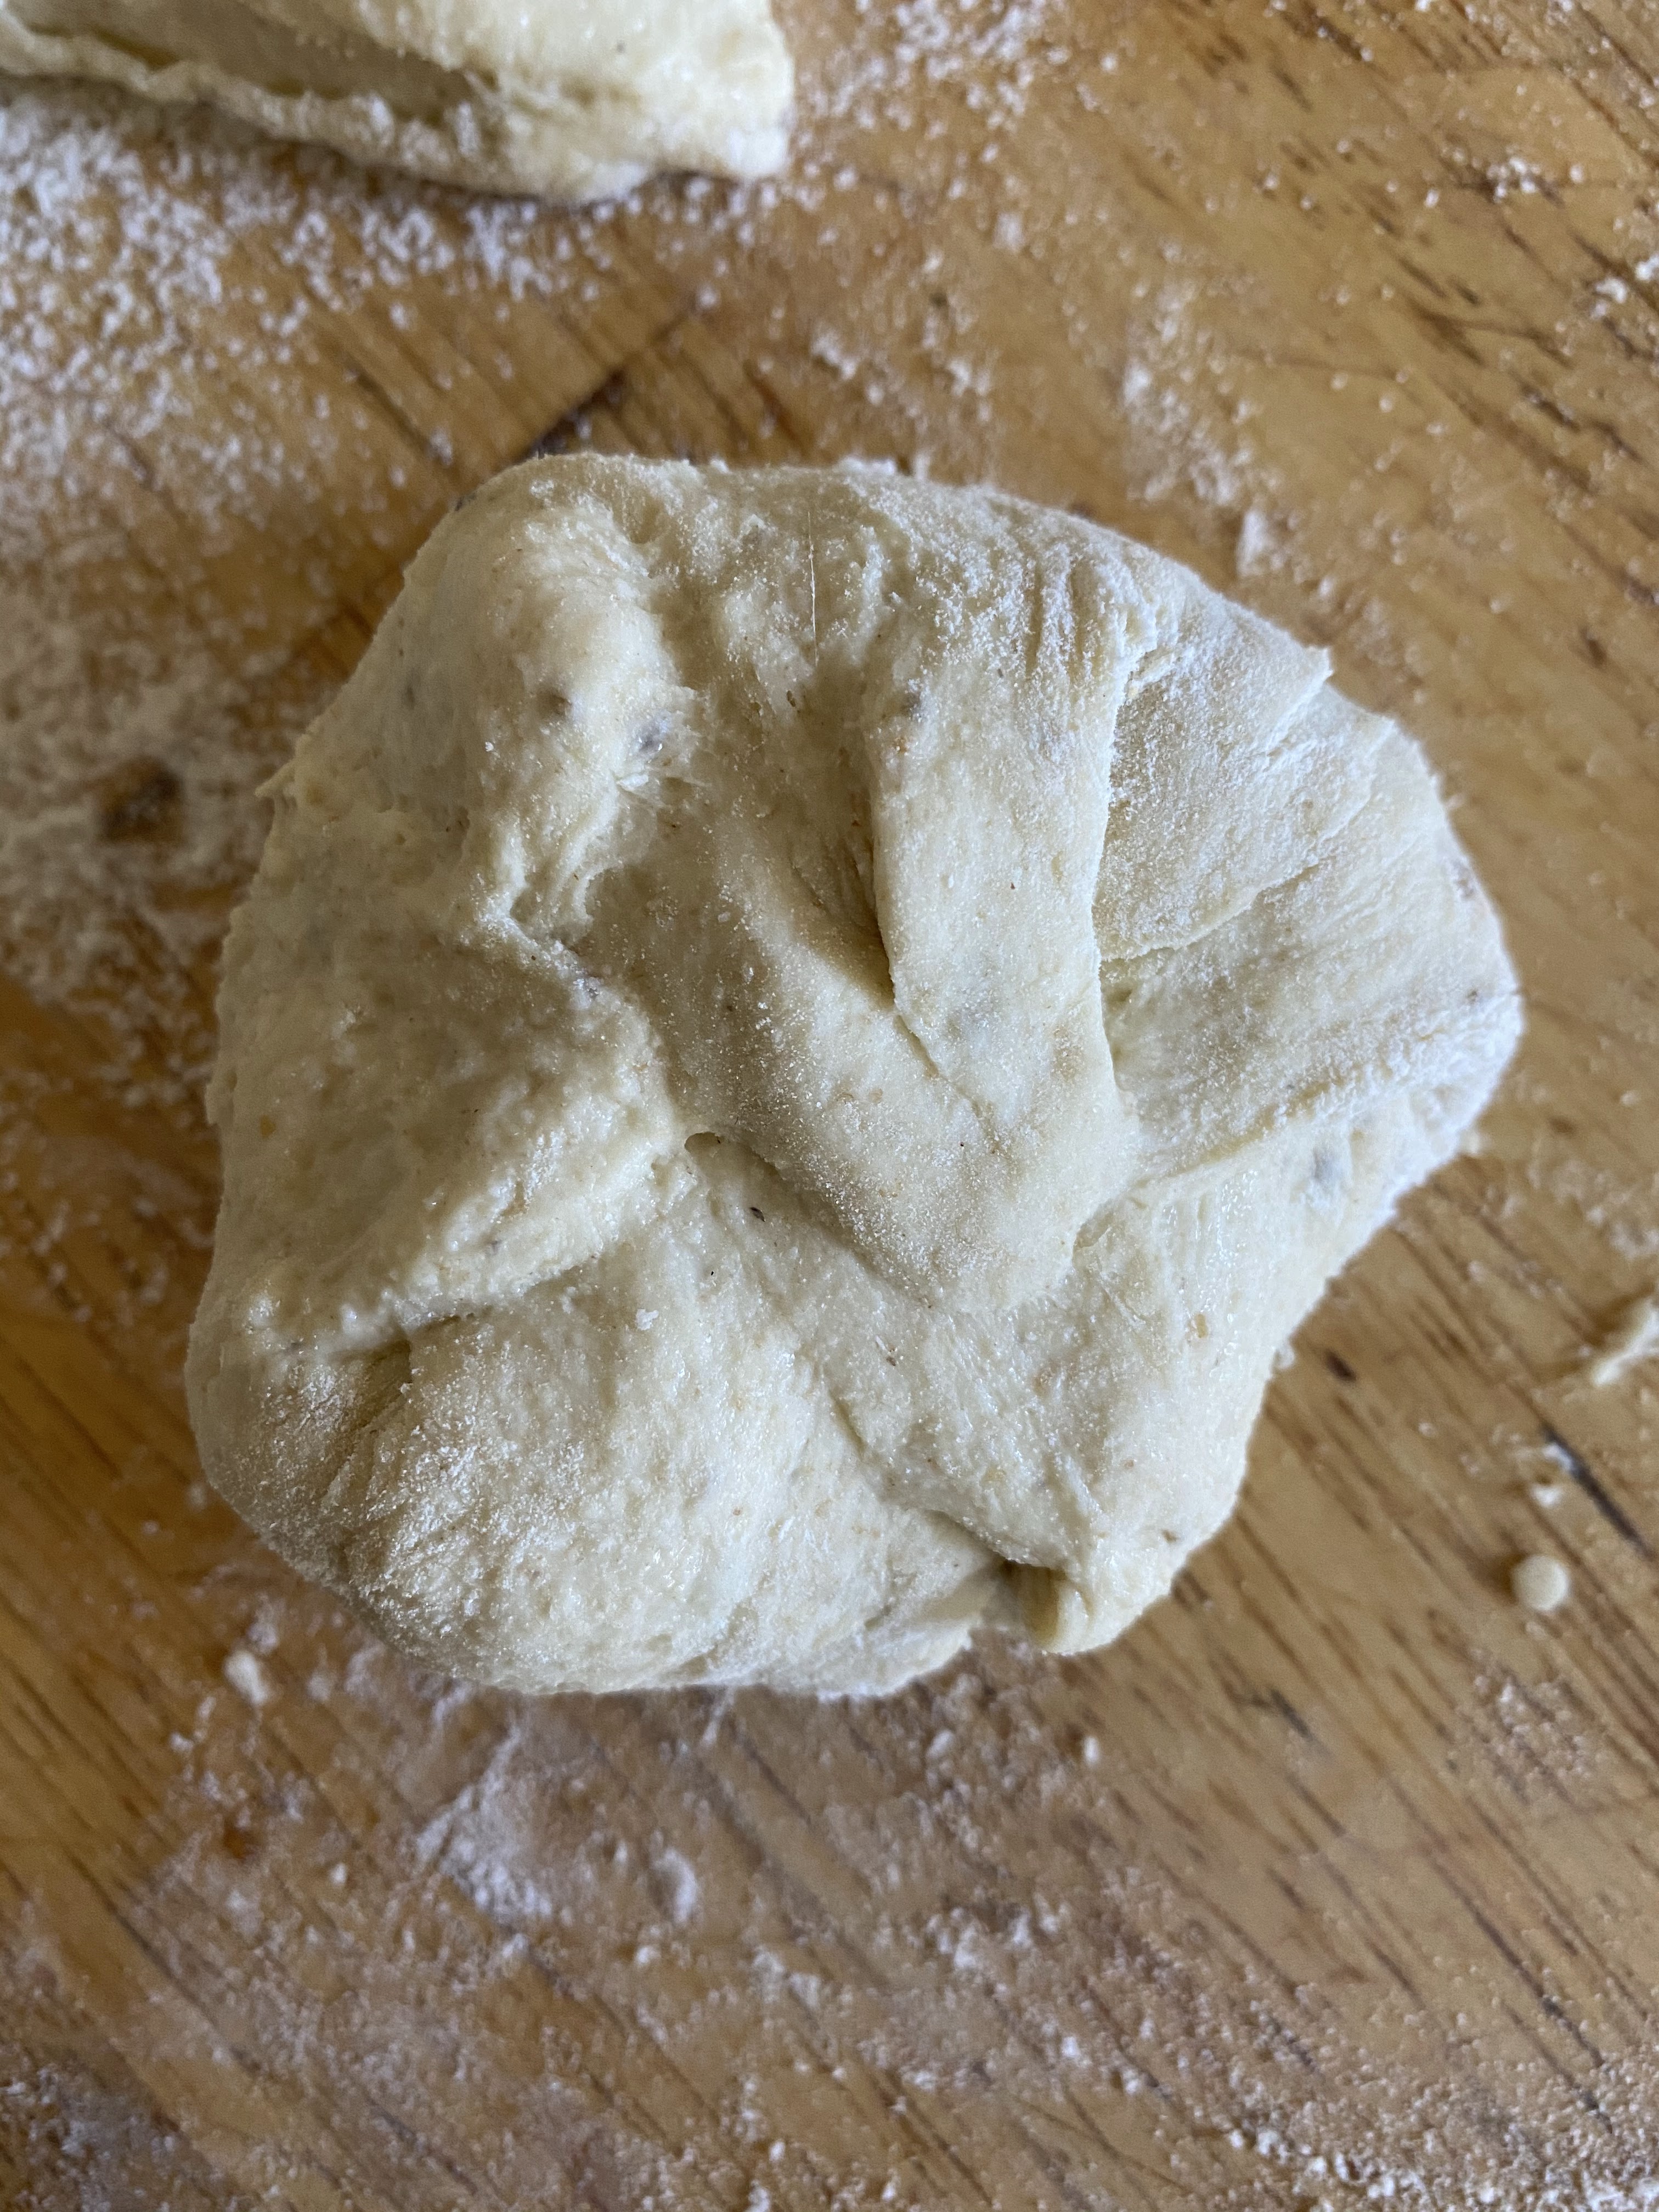
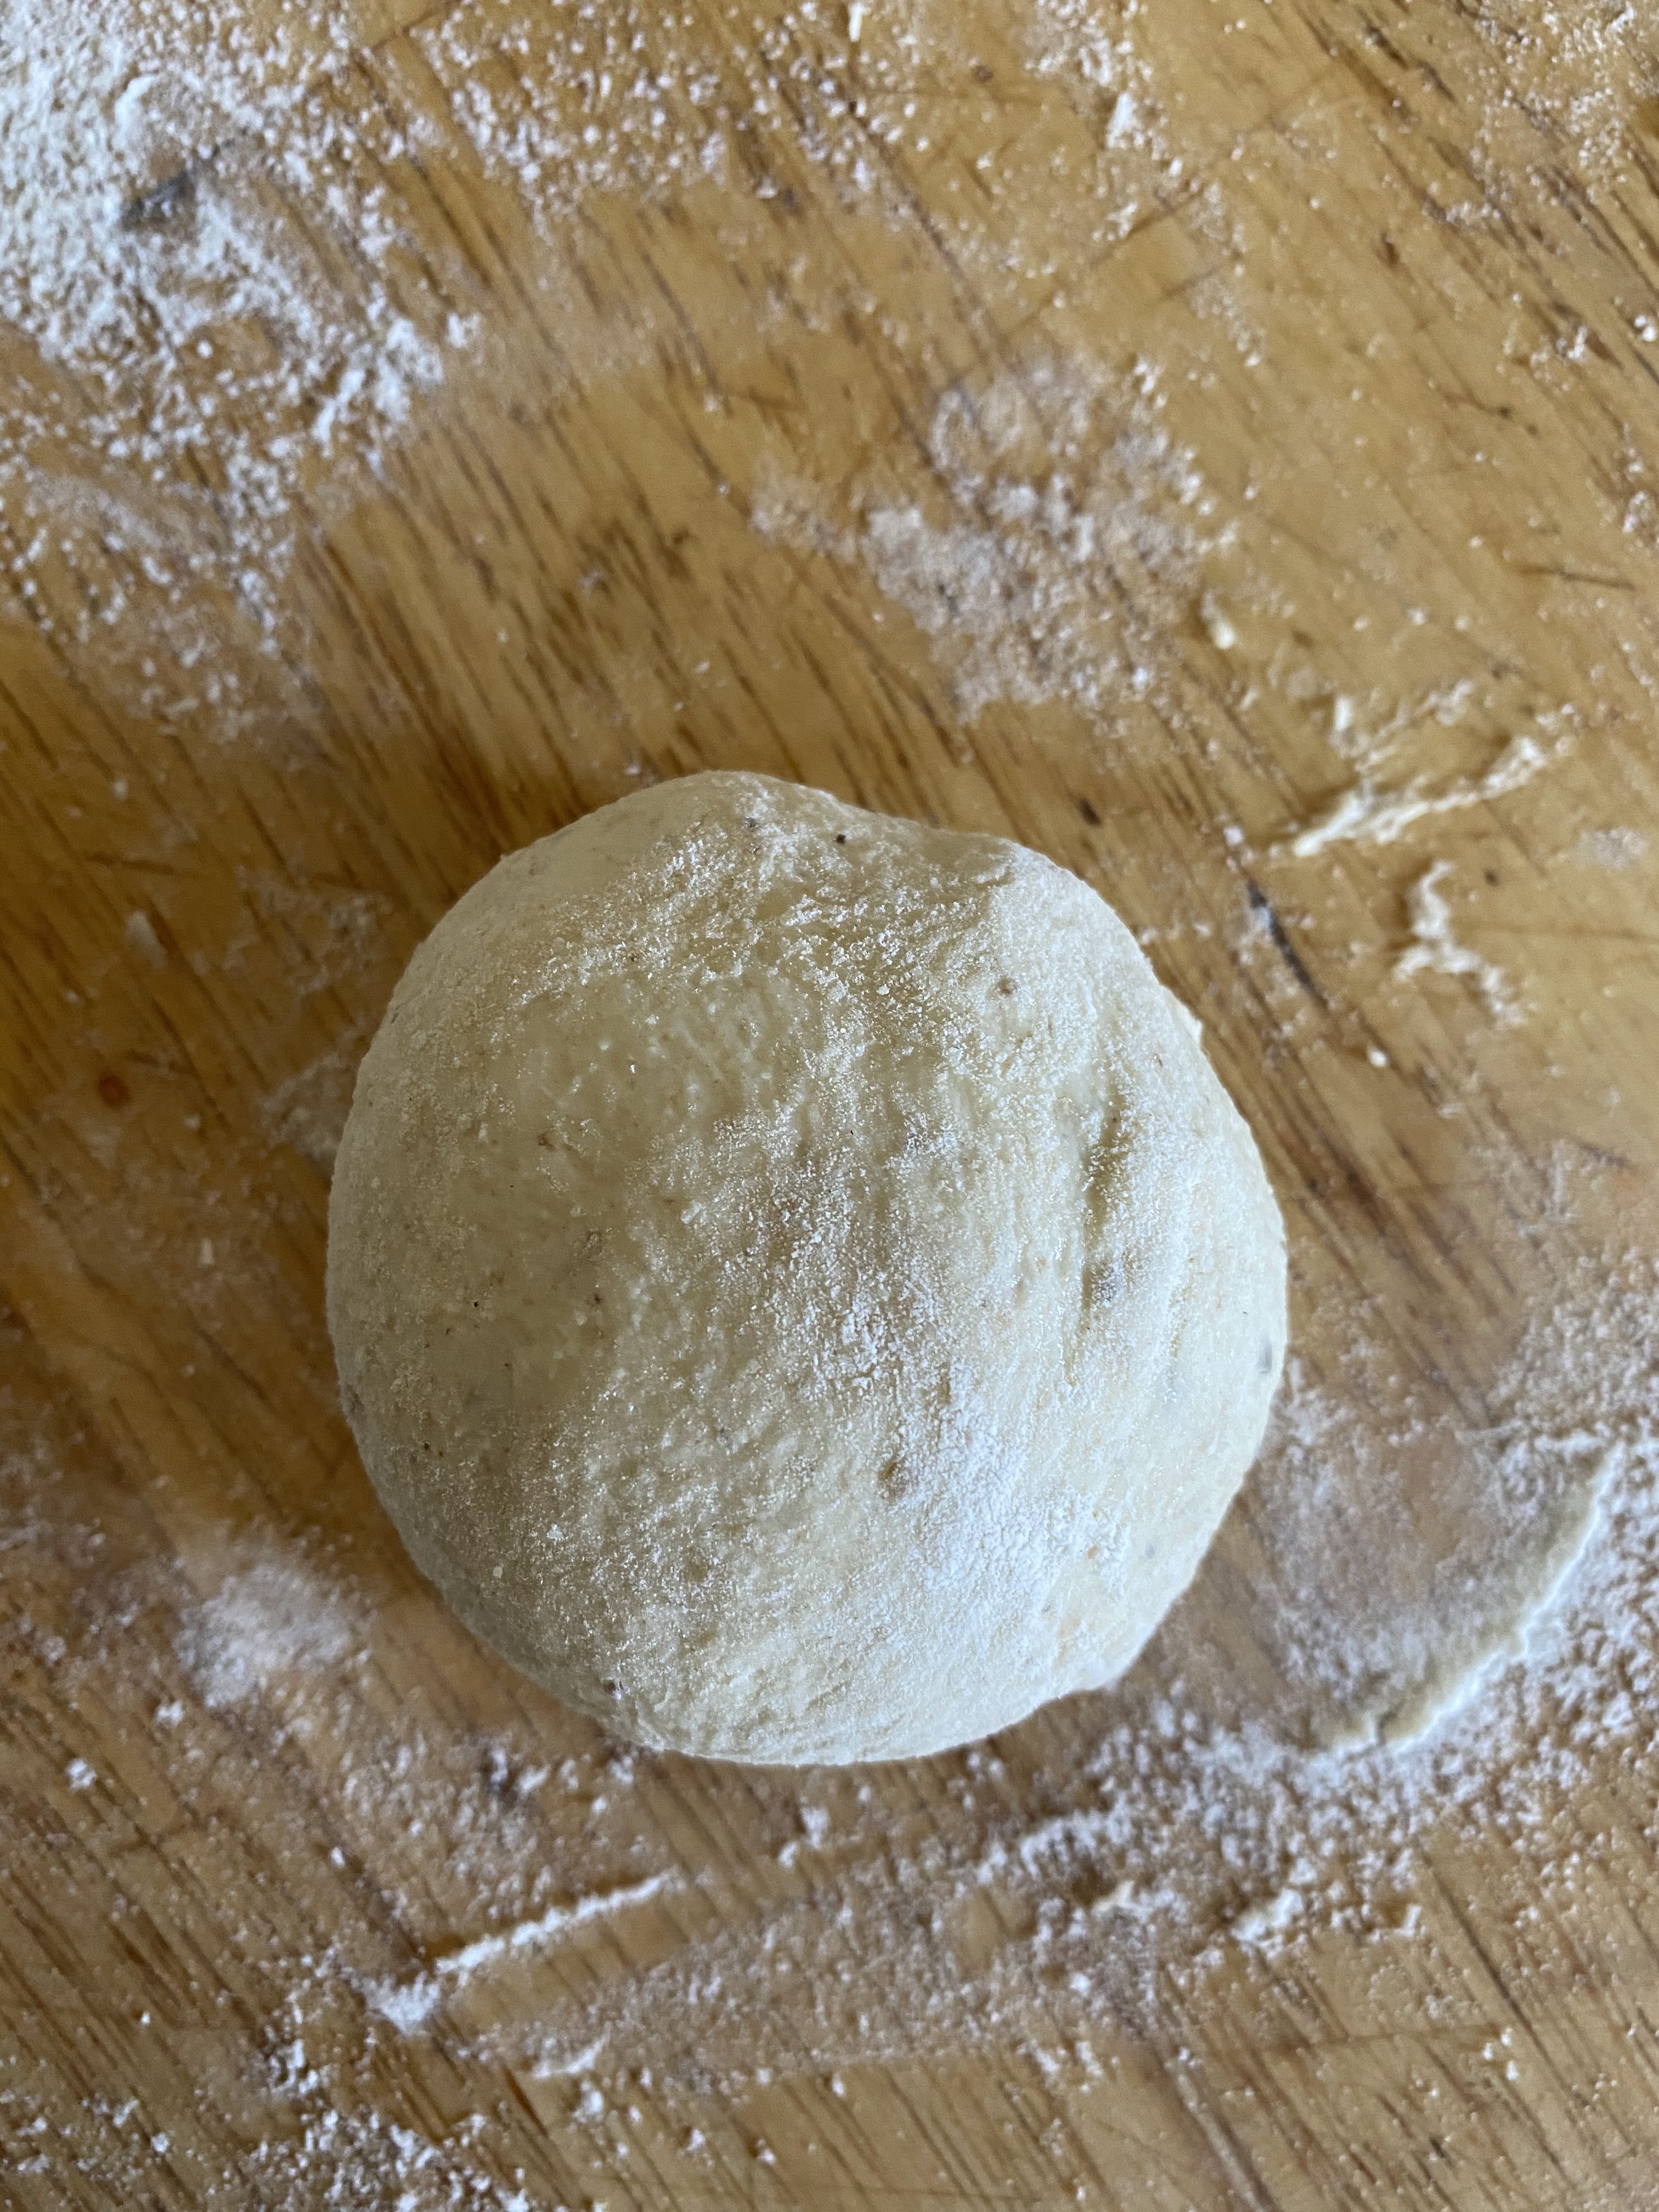
  4. Shape pieces into a ball by flattening them out, then folding the edges up over towards the middle. Turn over and shape into a ball. (See video page for a visual)
  5. Cover the six smaller ones so they don’t dry out.
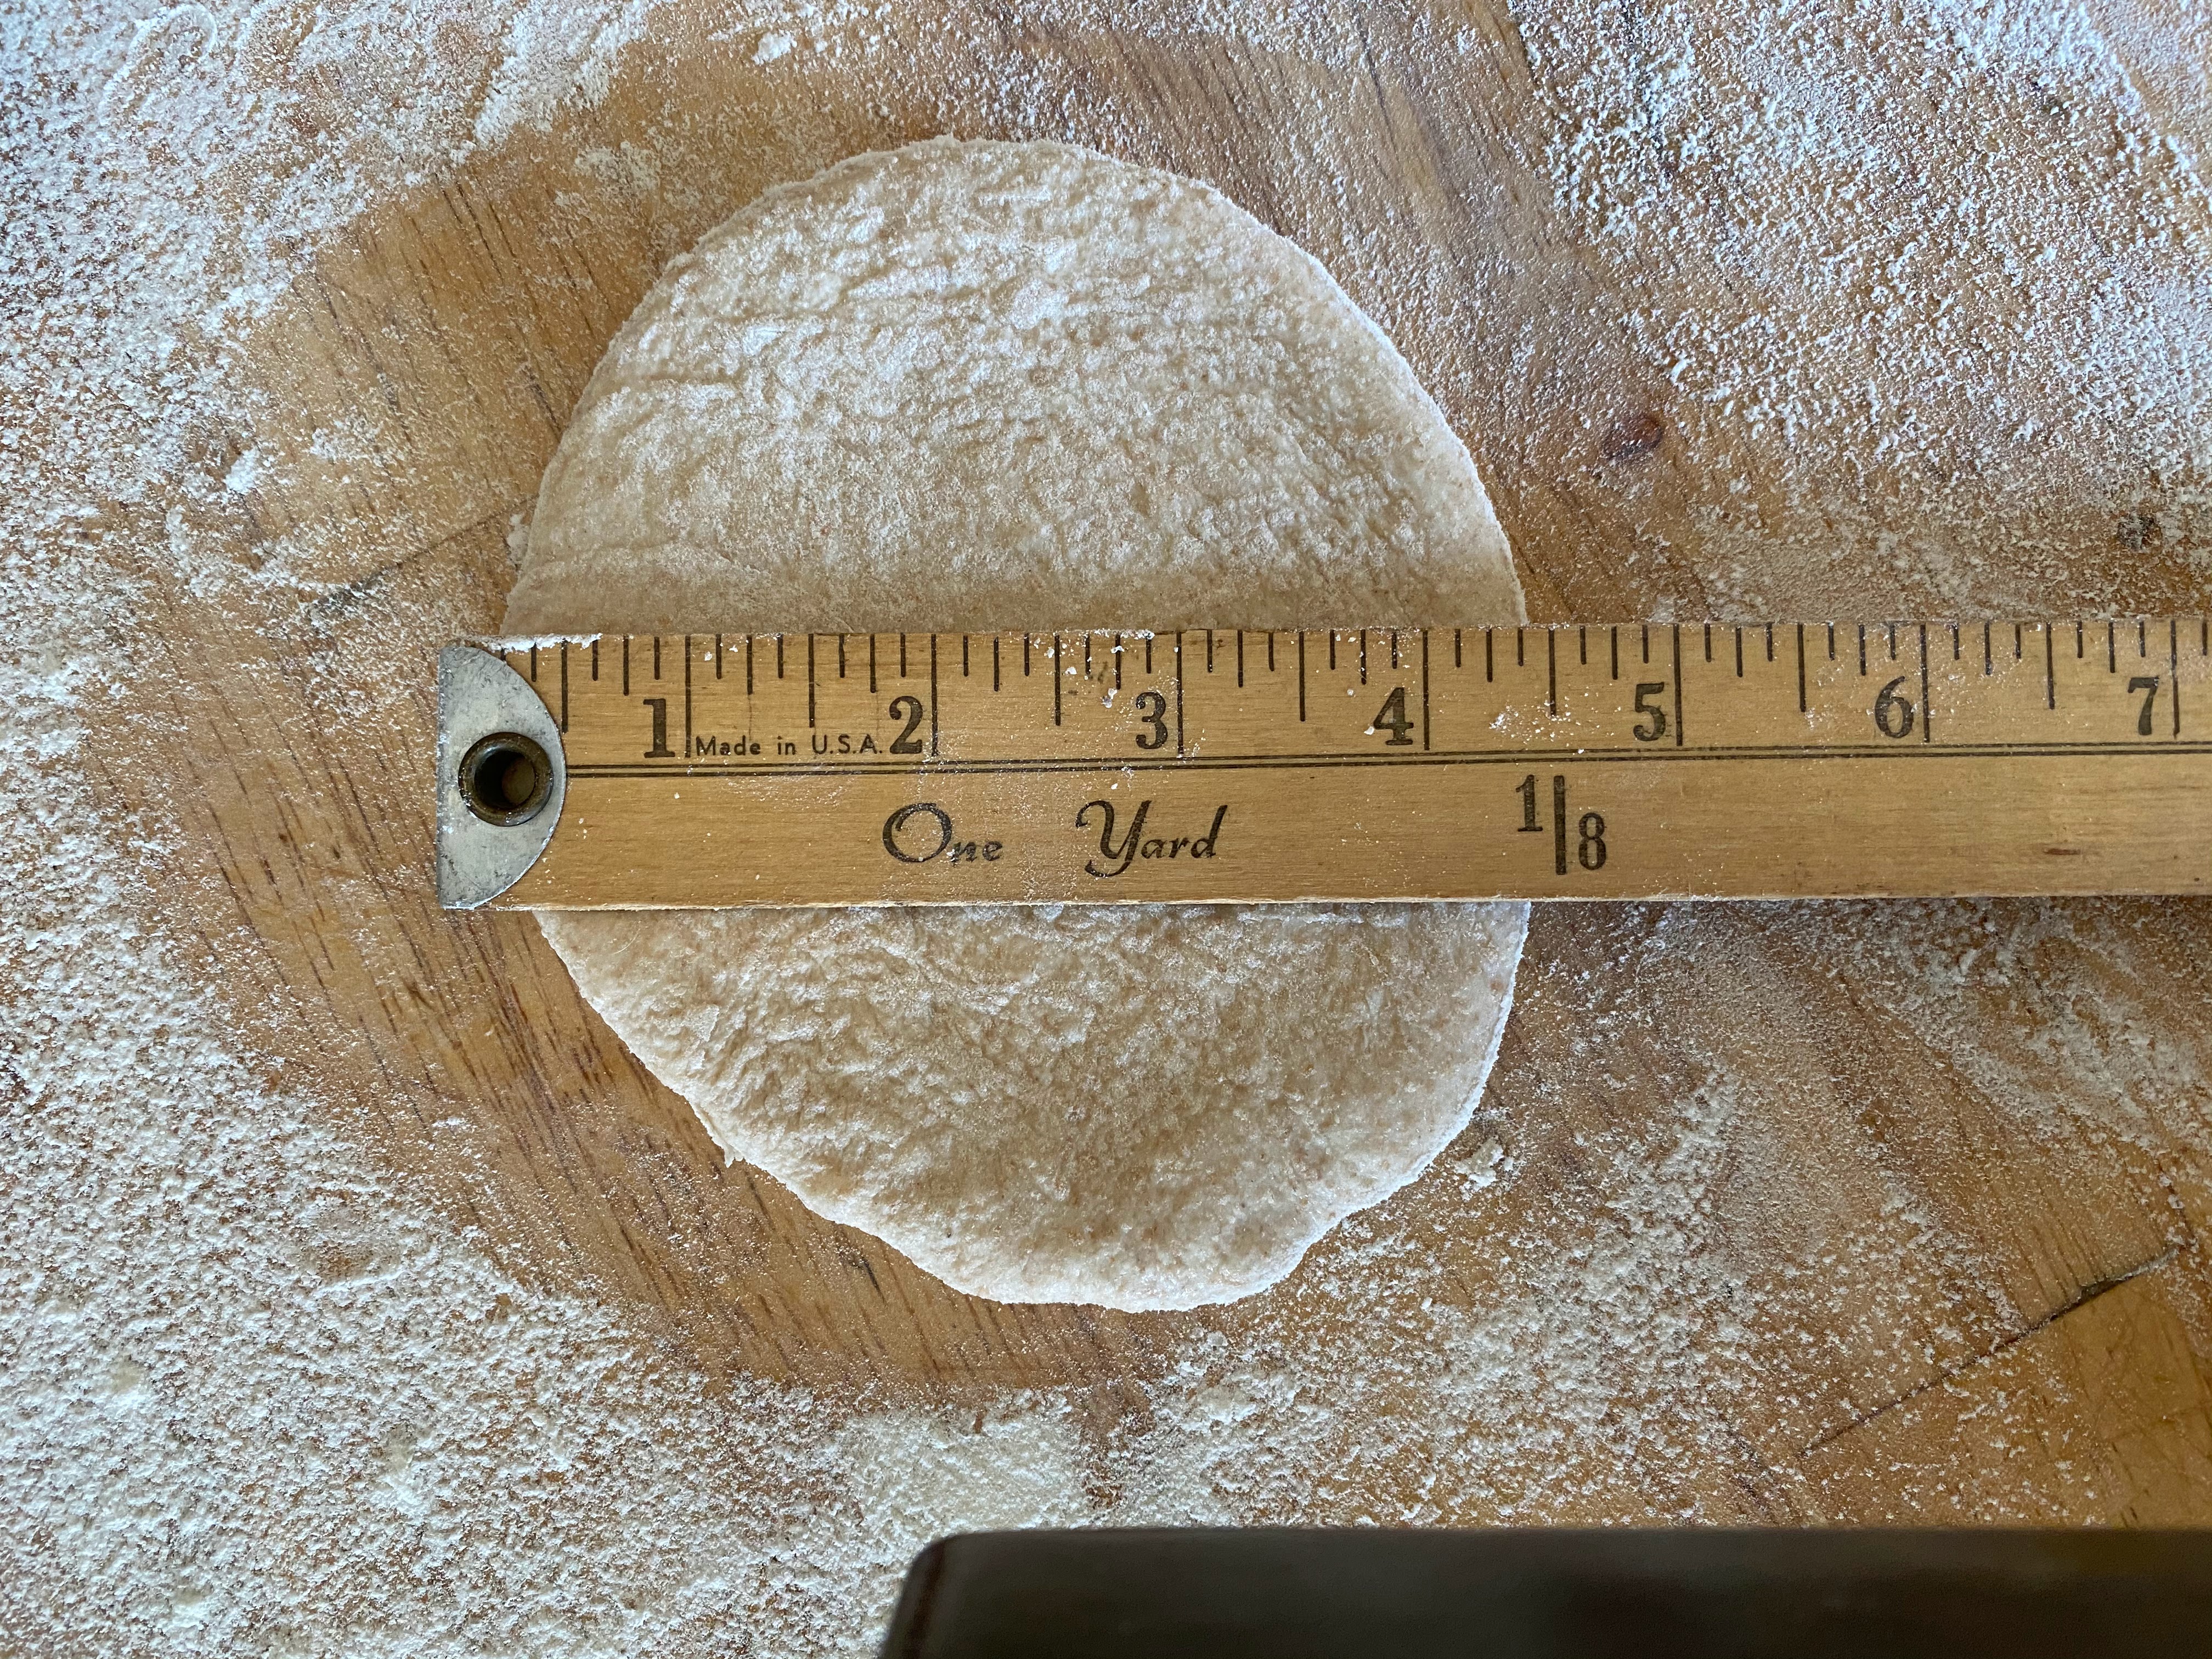
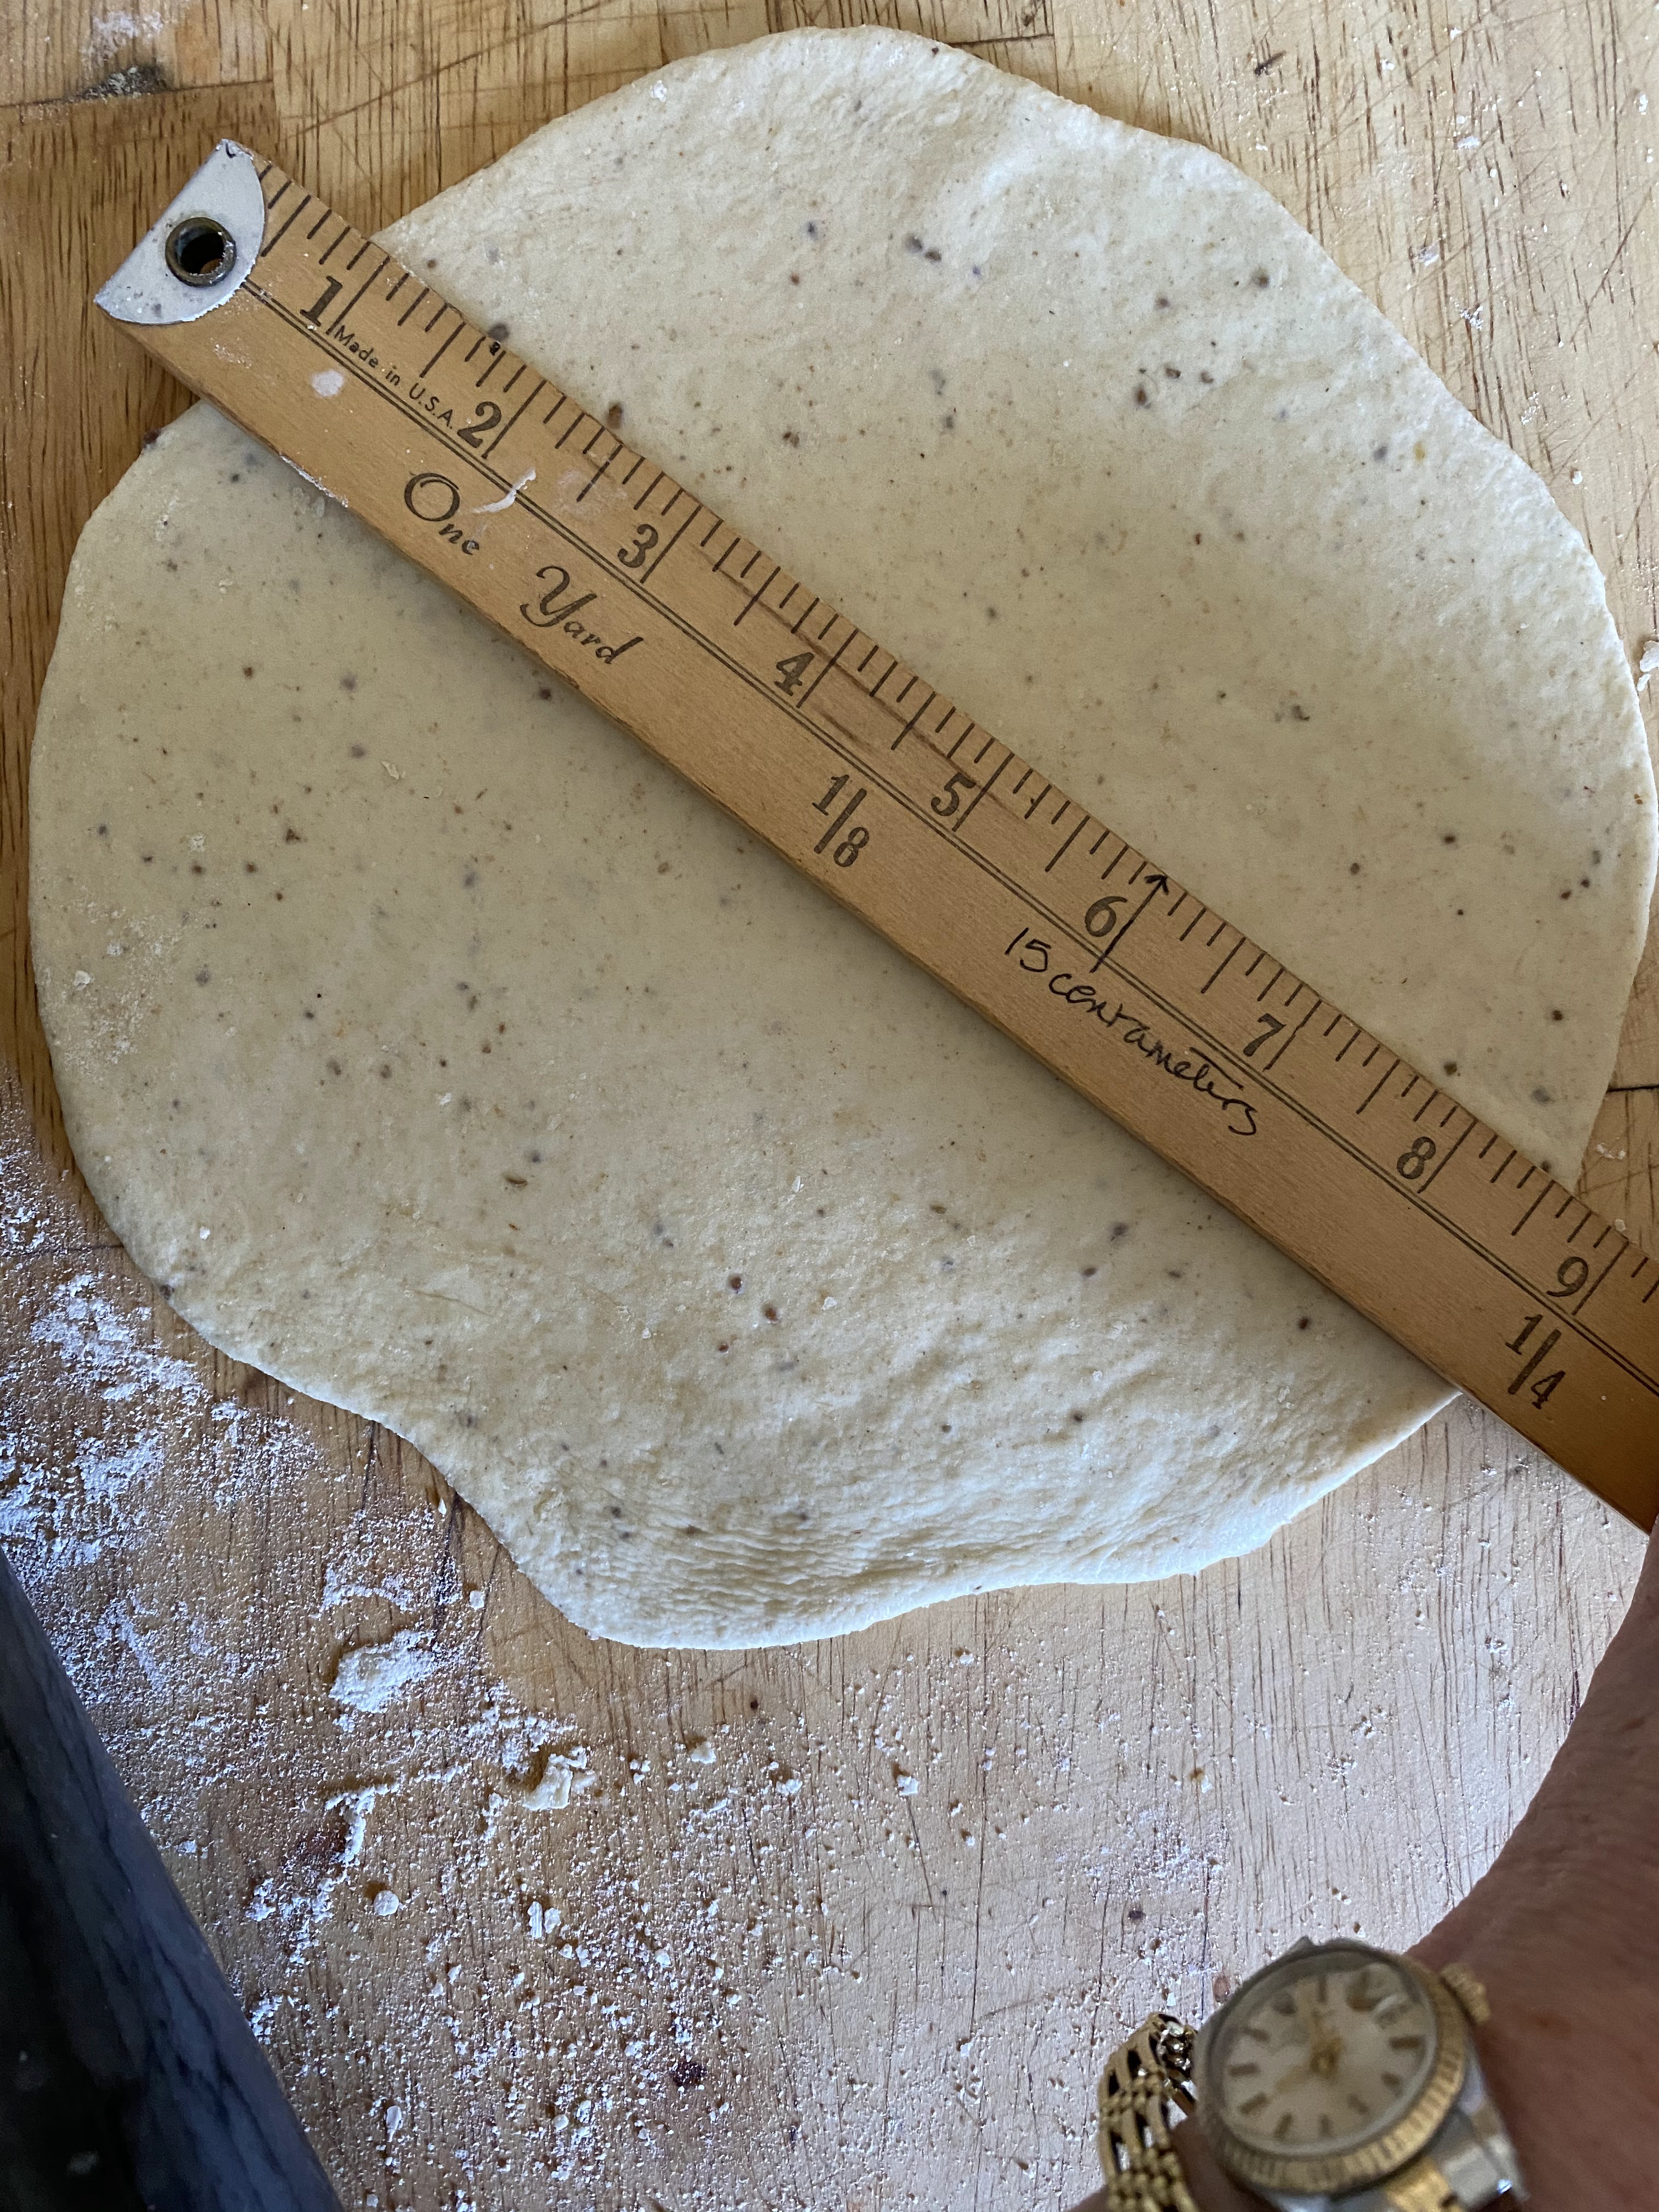
  6. Flatten the larger ball and roll out to an 9″ disc. Dust with flour if necessary if it is sticking to the countertop.
  7. Brush outer edge with oil so that it won’t stick to the dough balls
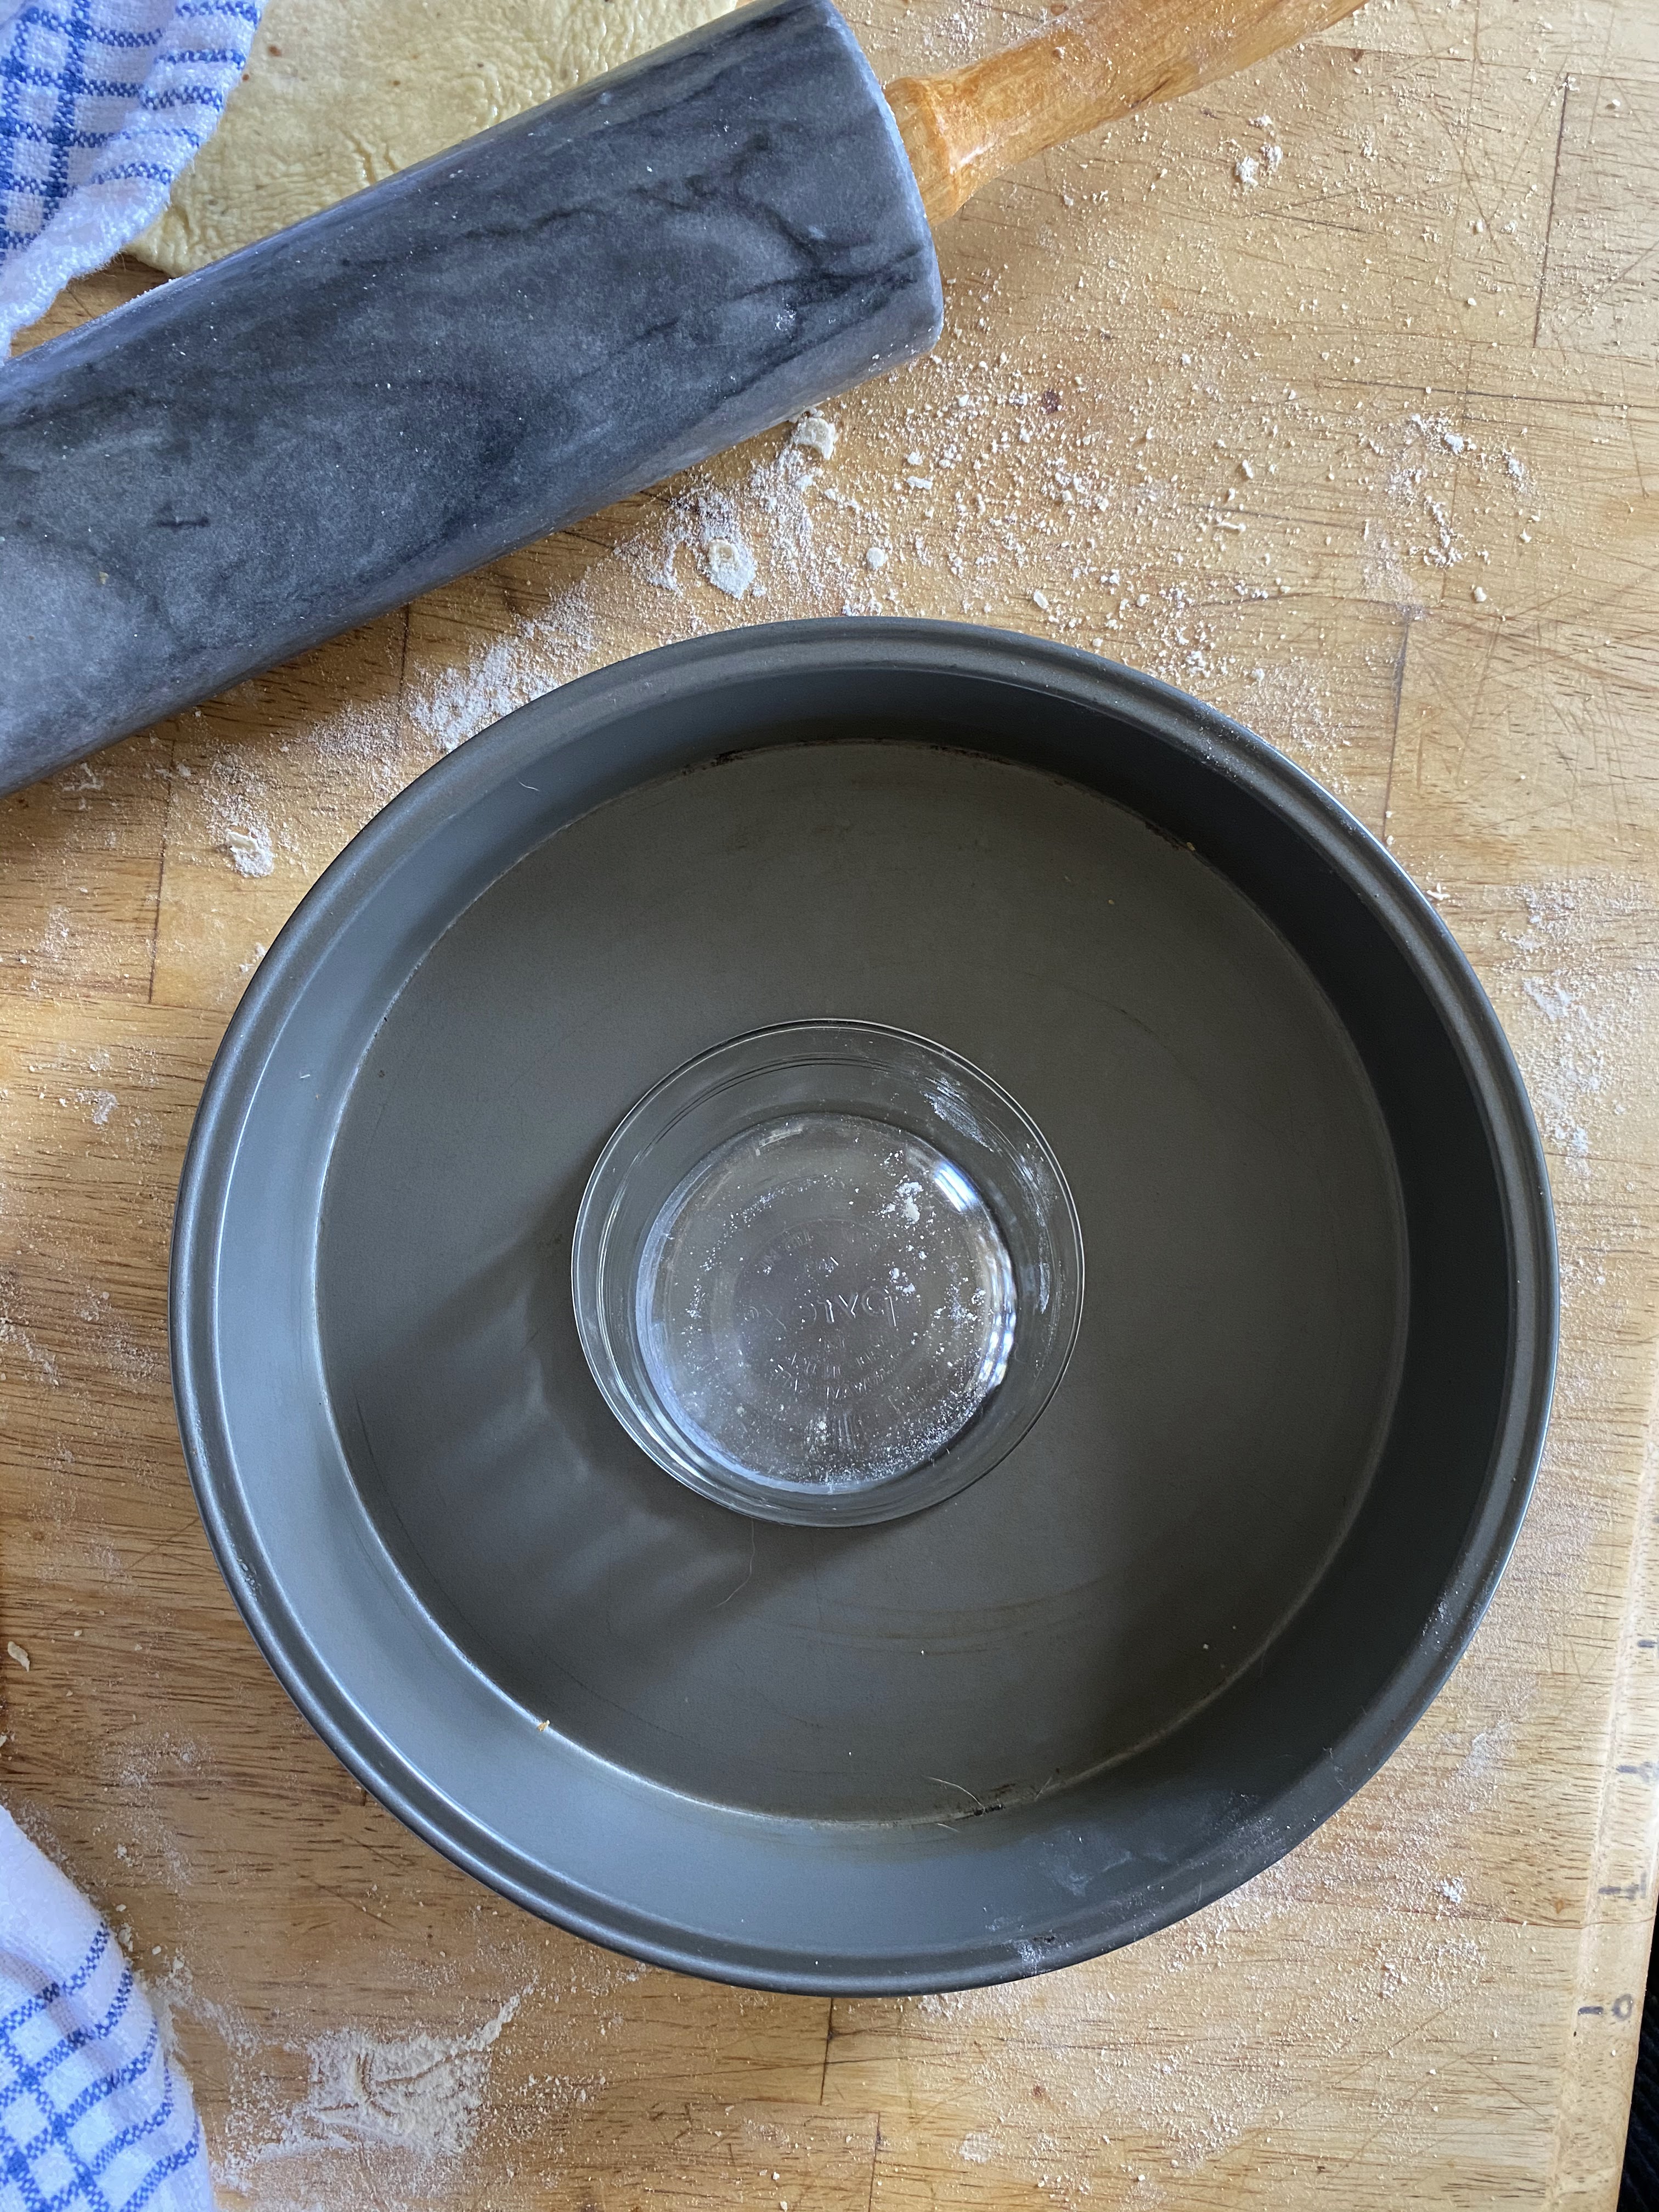
  1. Prepare the cake pan:
    • Place a heat proof glass bowl/small ramekin in the center of the cake pan.
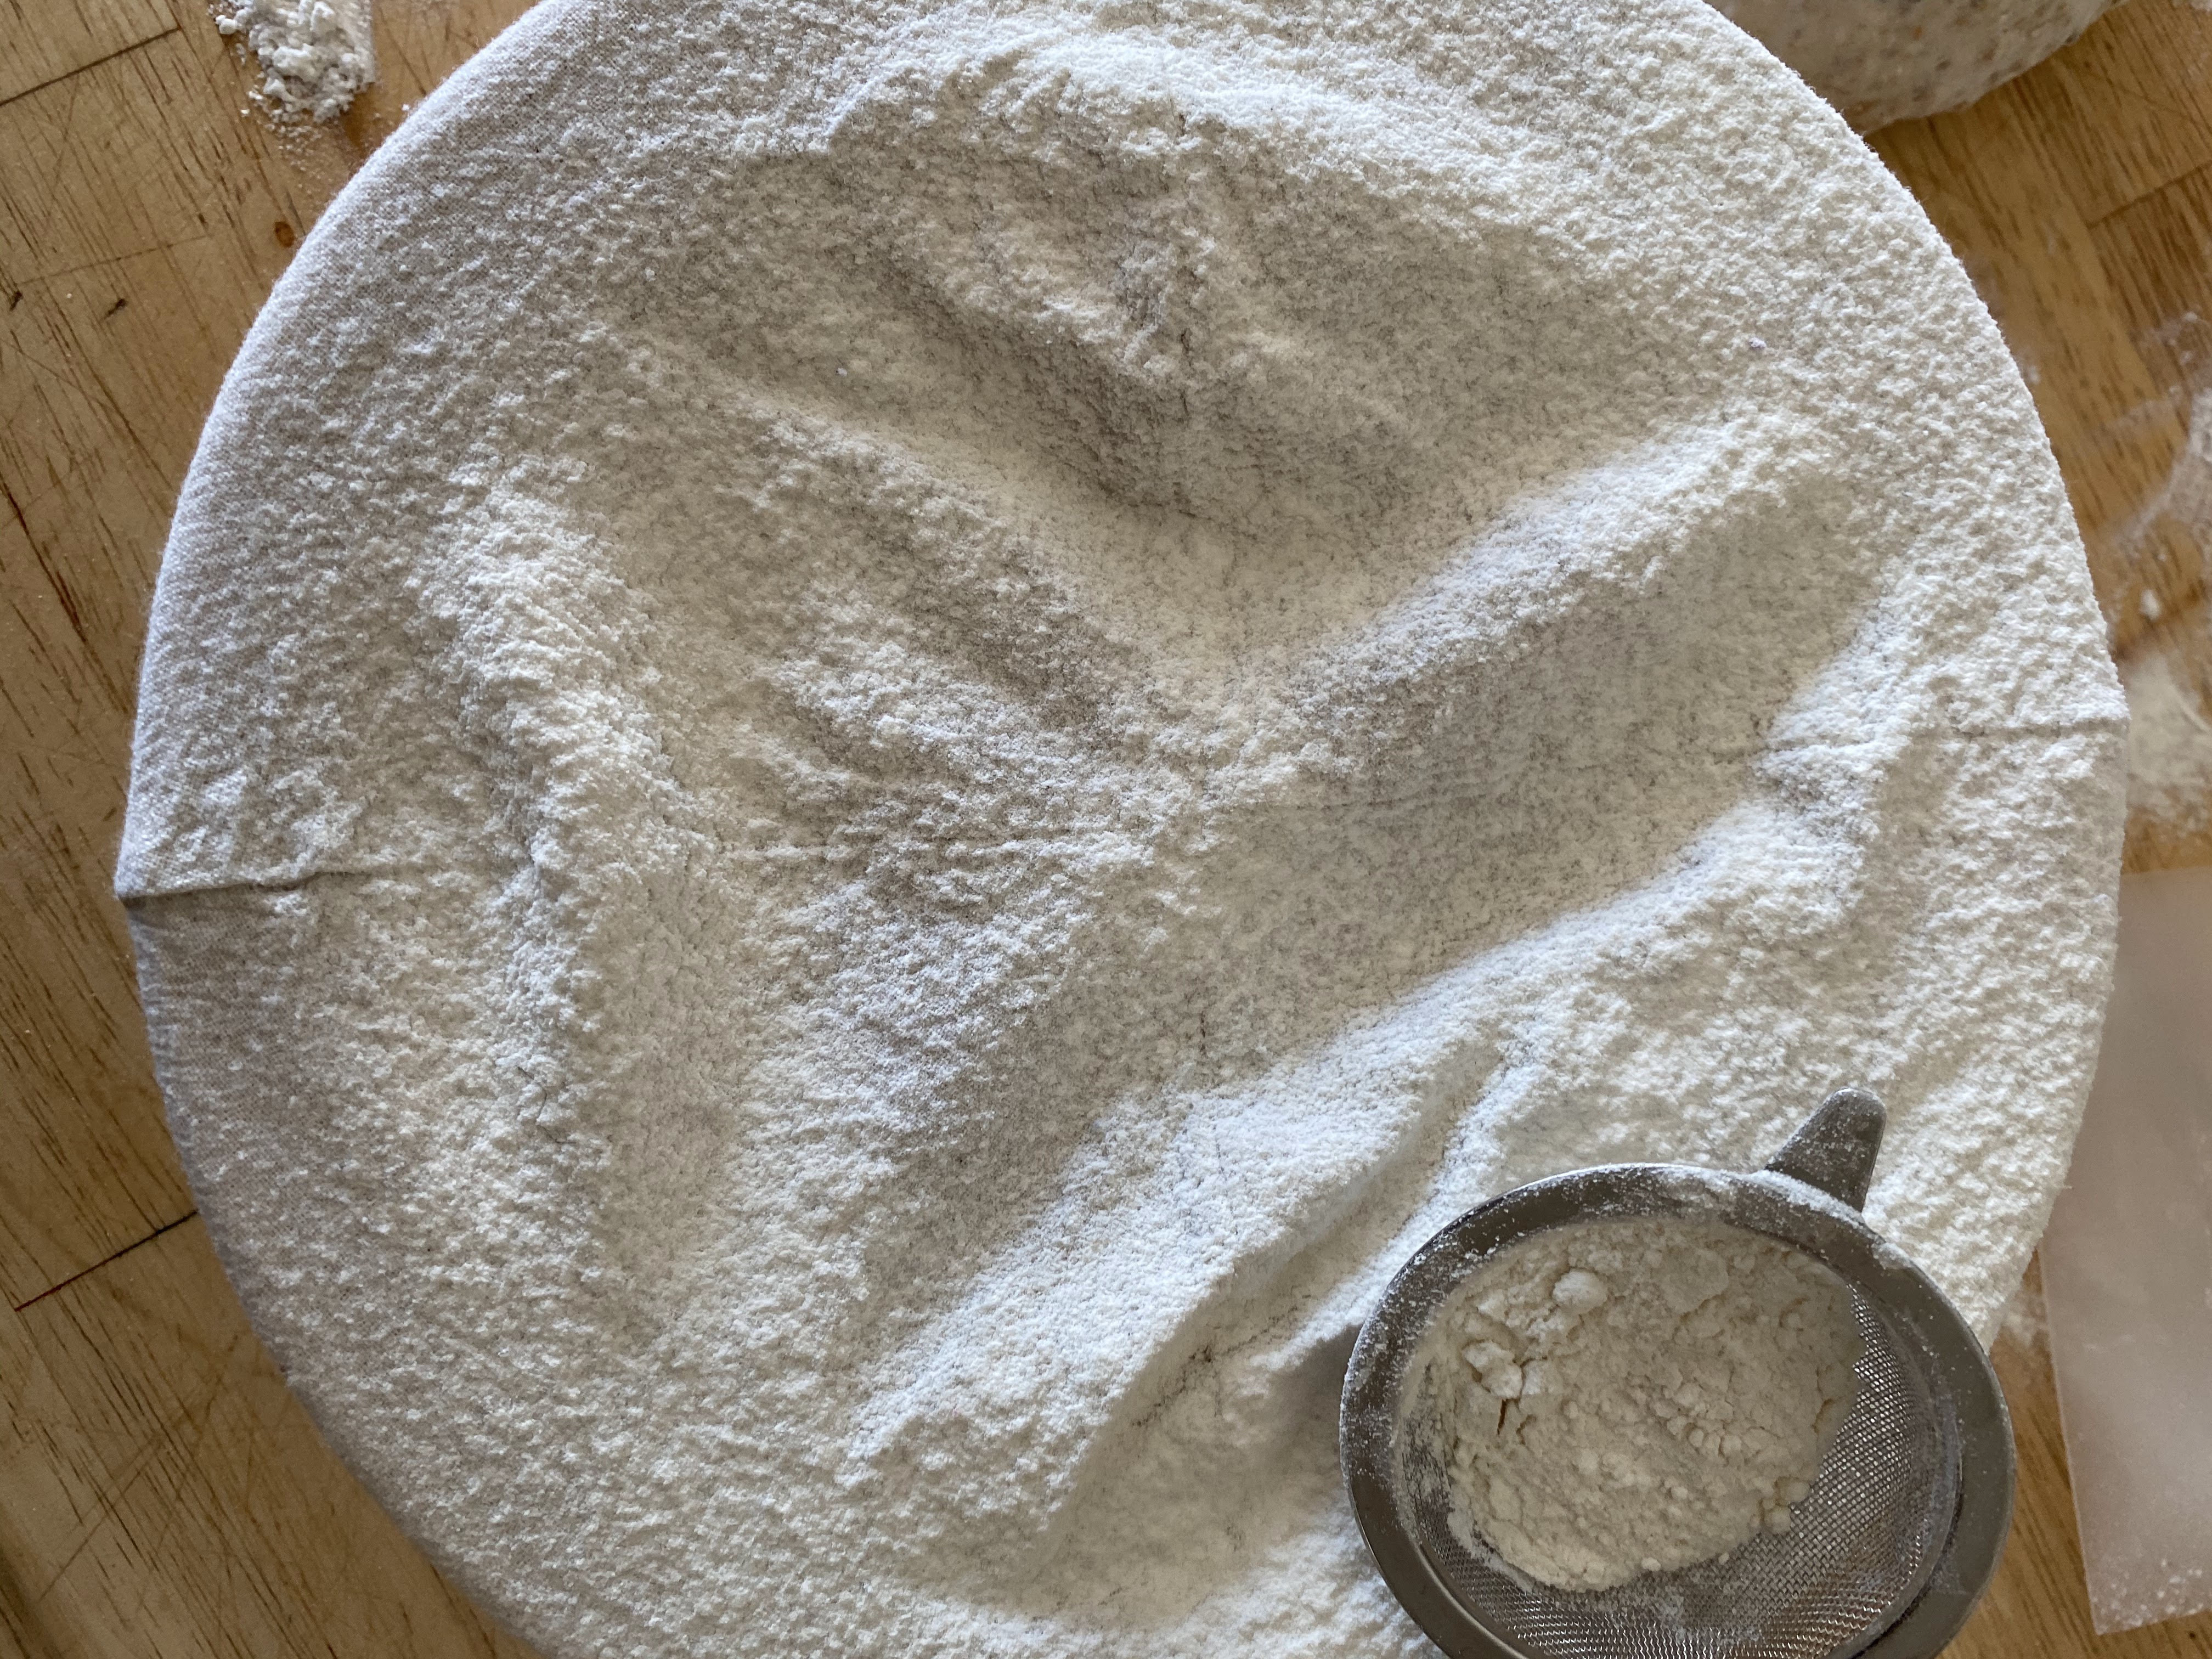
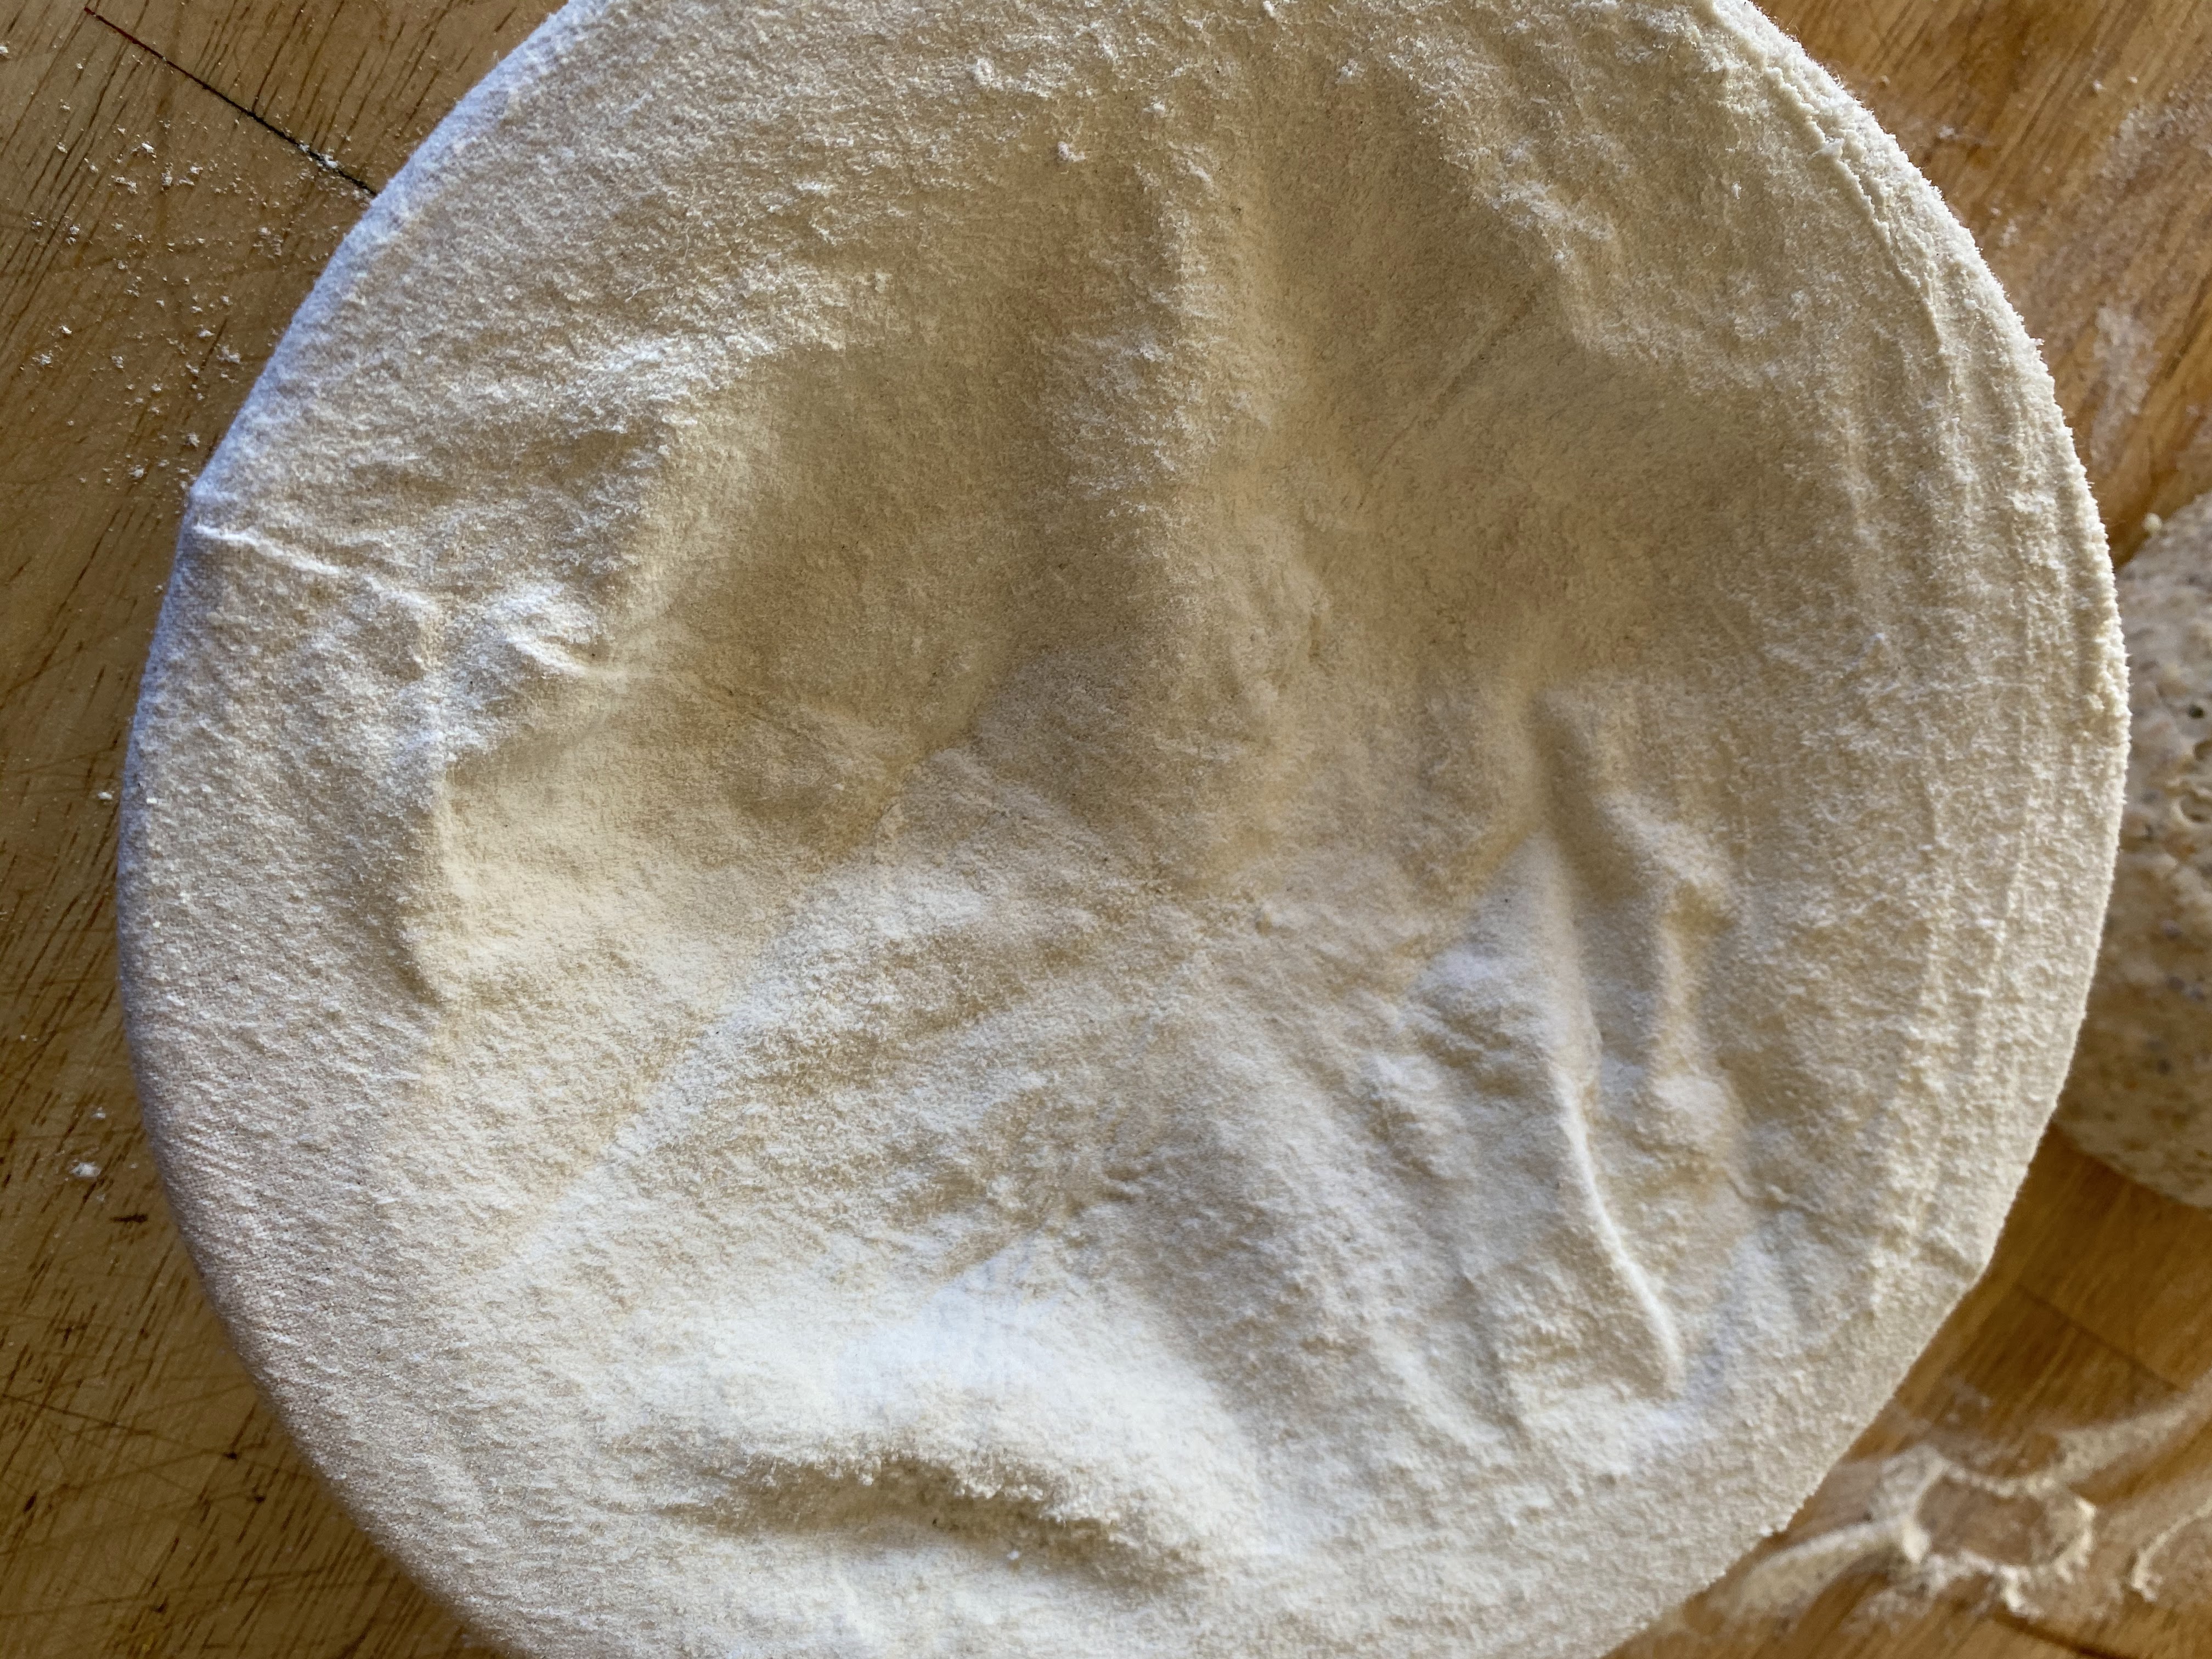
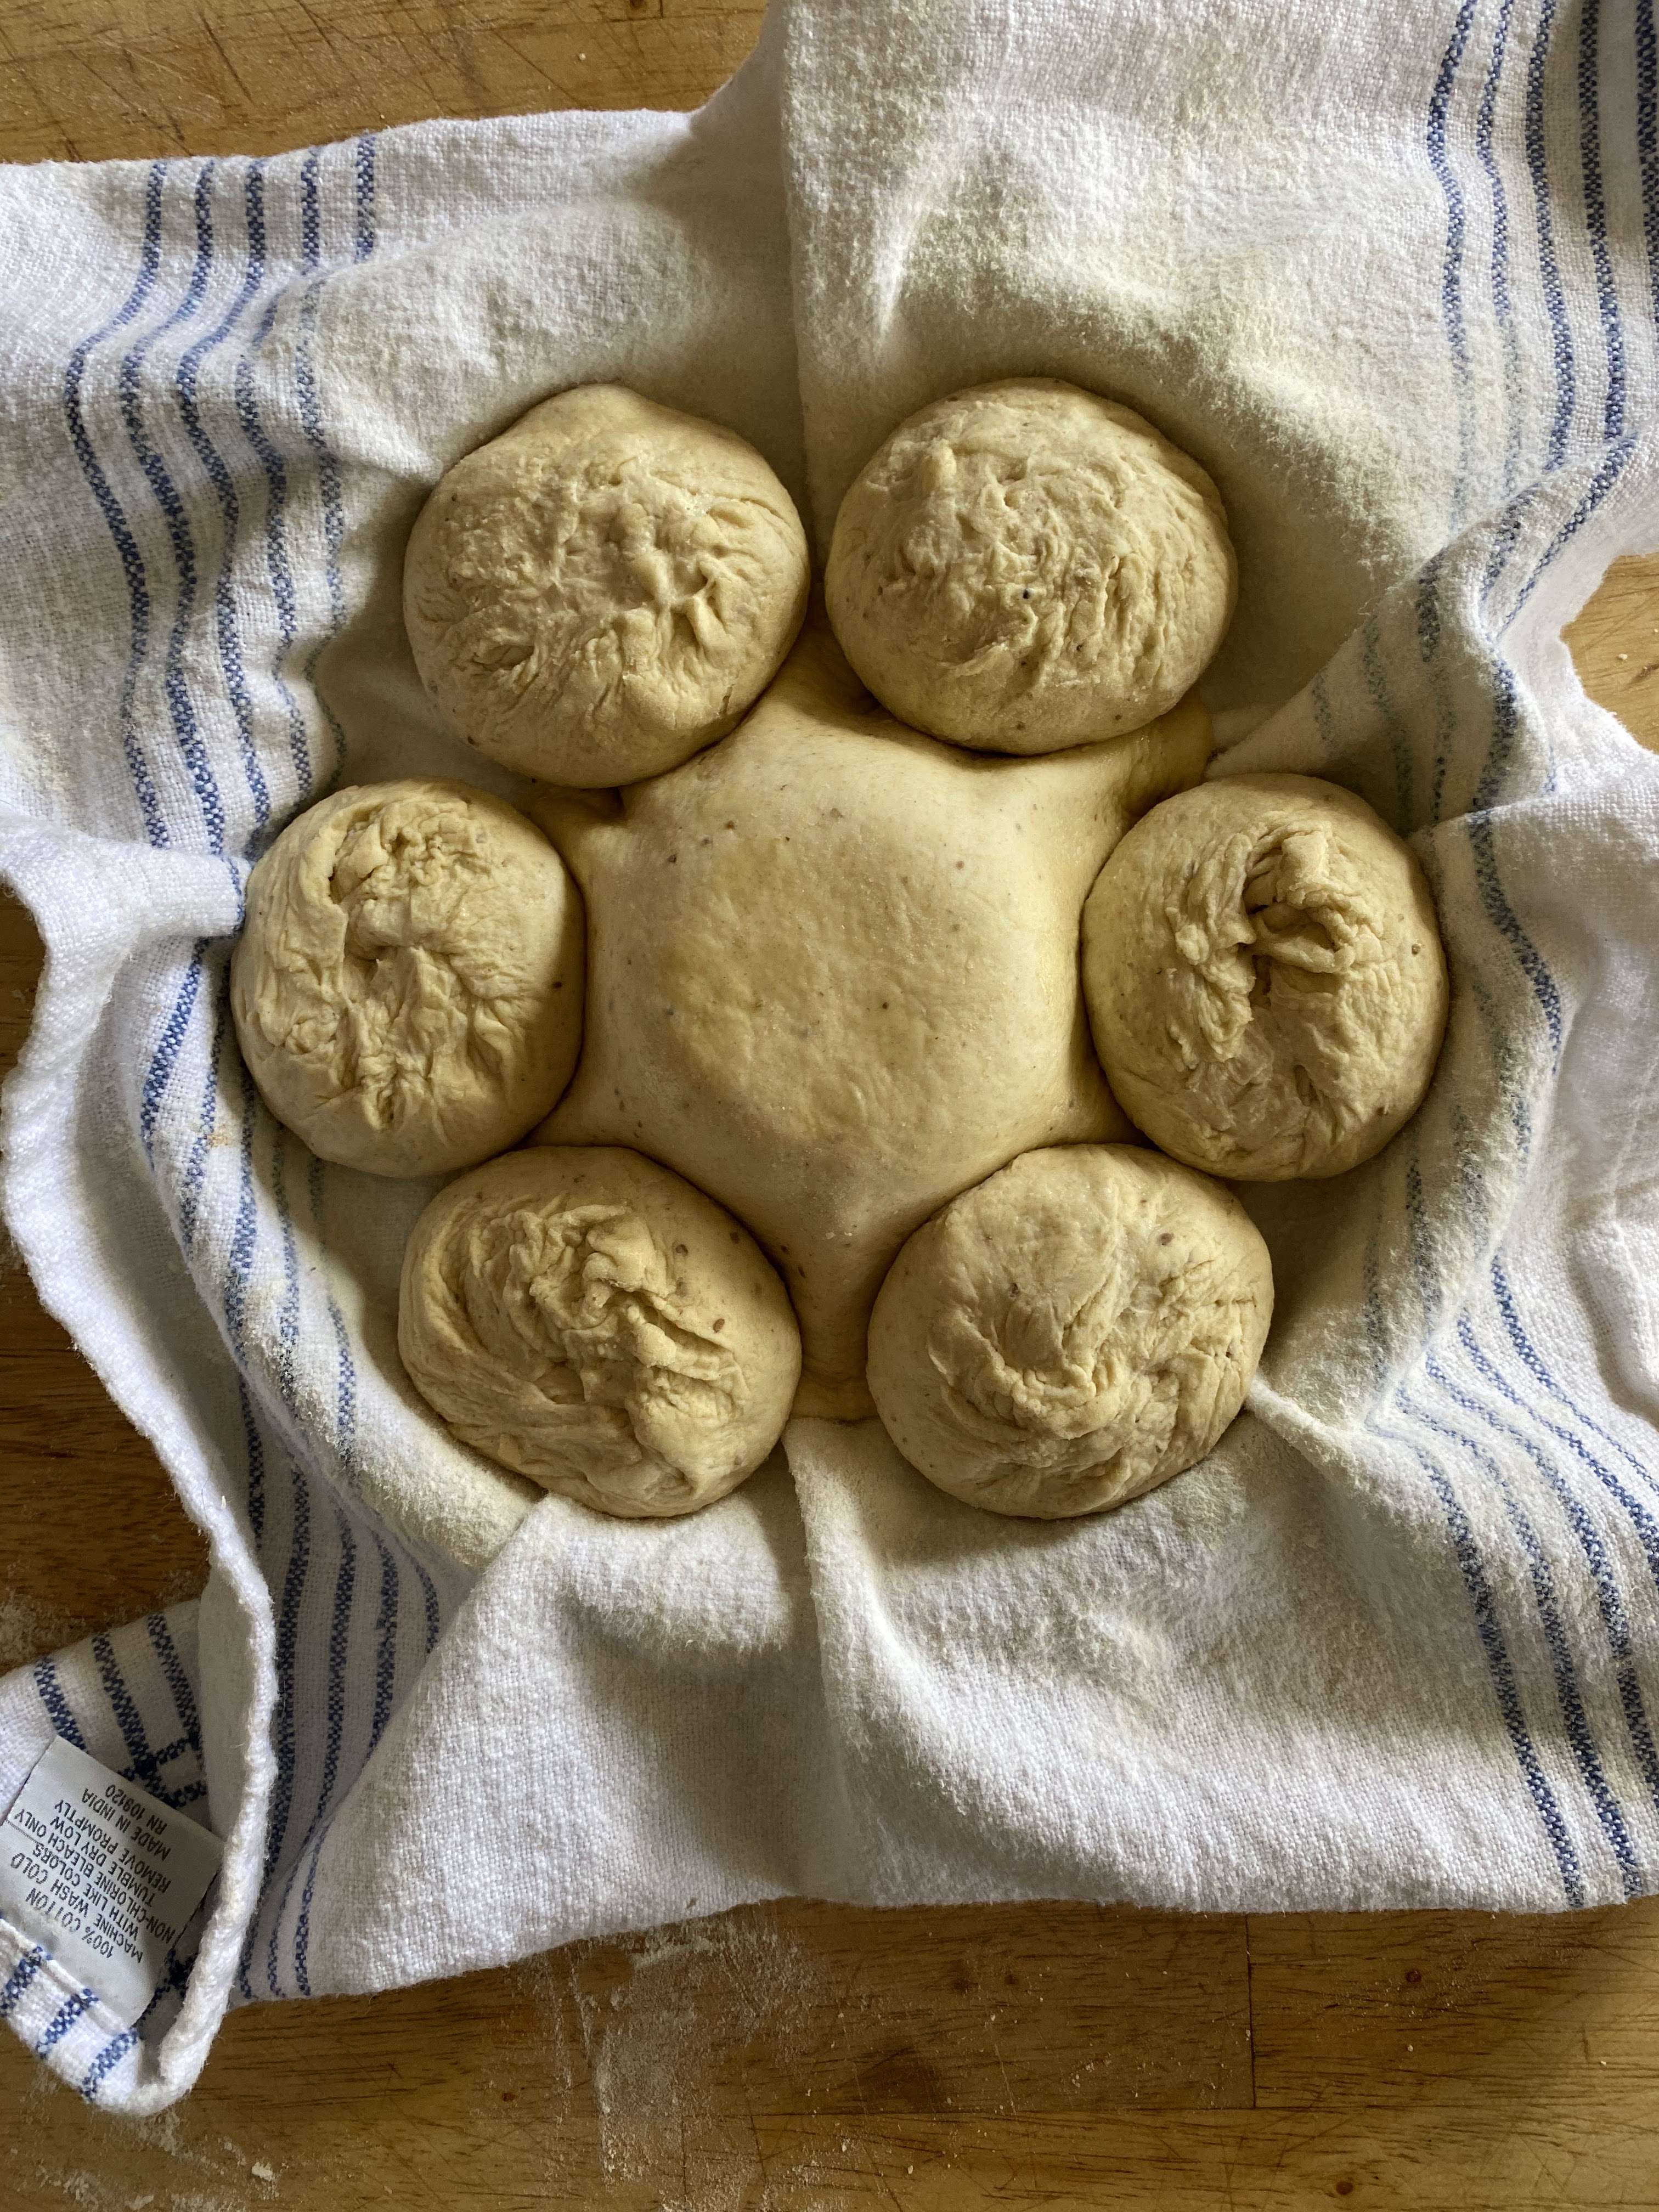
    • Coat a tea towel with flour and rub it in.
    • Drape the tea towel over the ramekin, into the cake pan.
  2. Drape the dough disc over the ramekin as evenly as possible. You want a good amount of dough to be on the bottom so that it covers well the dough balls.
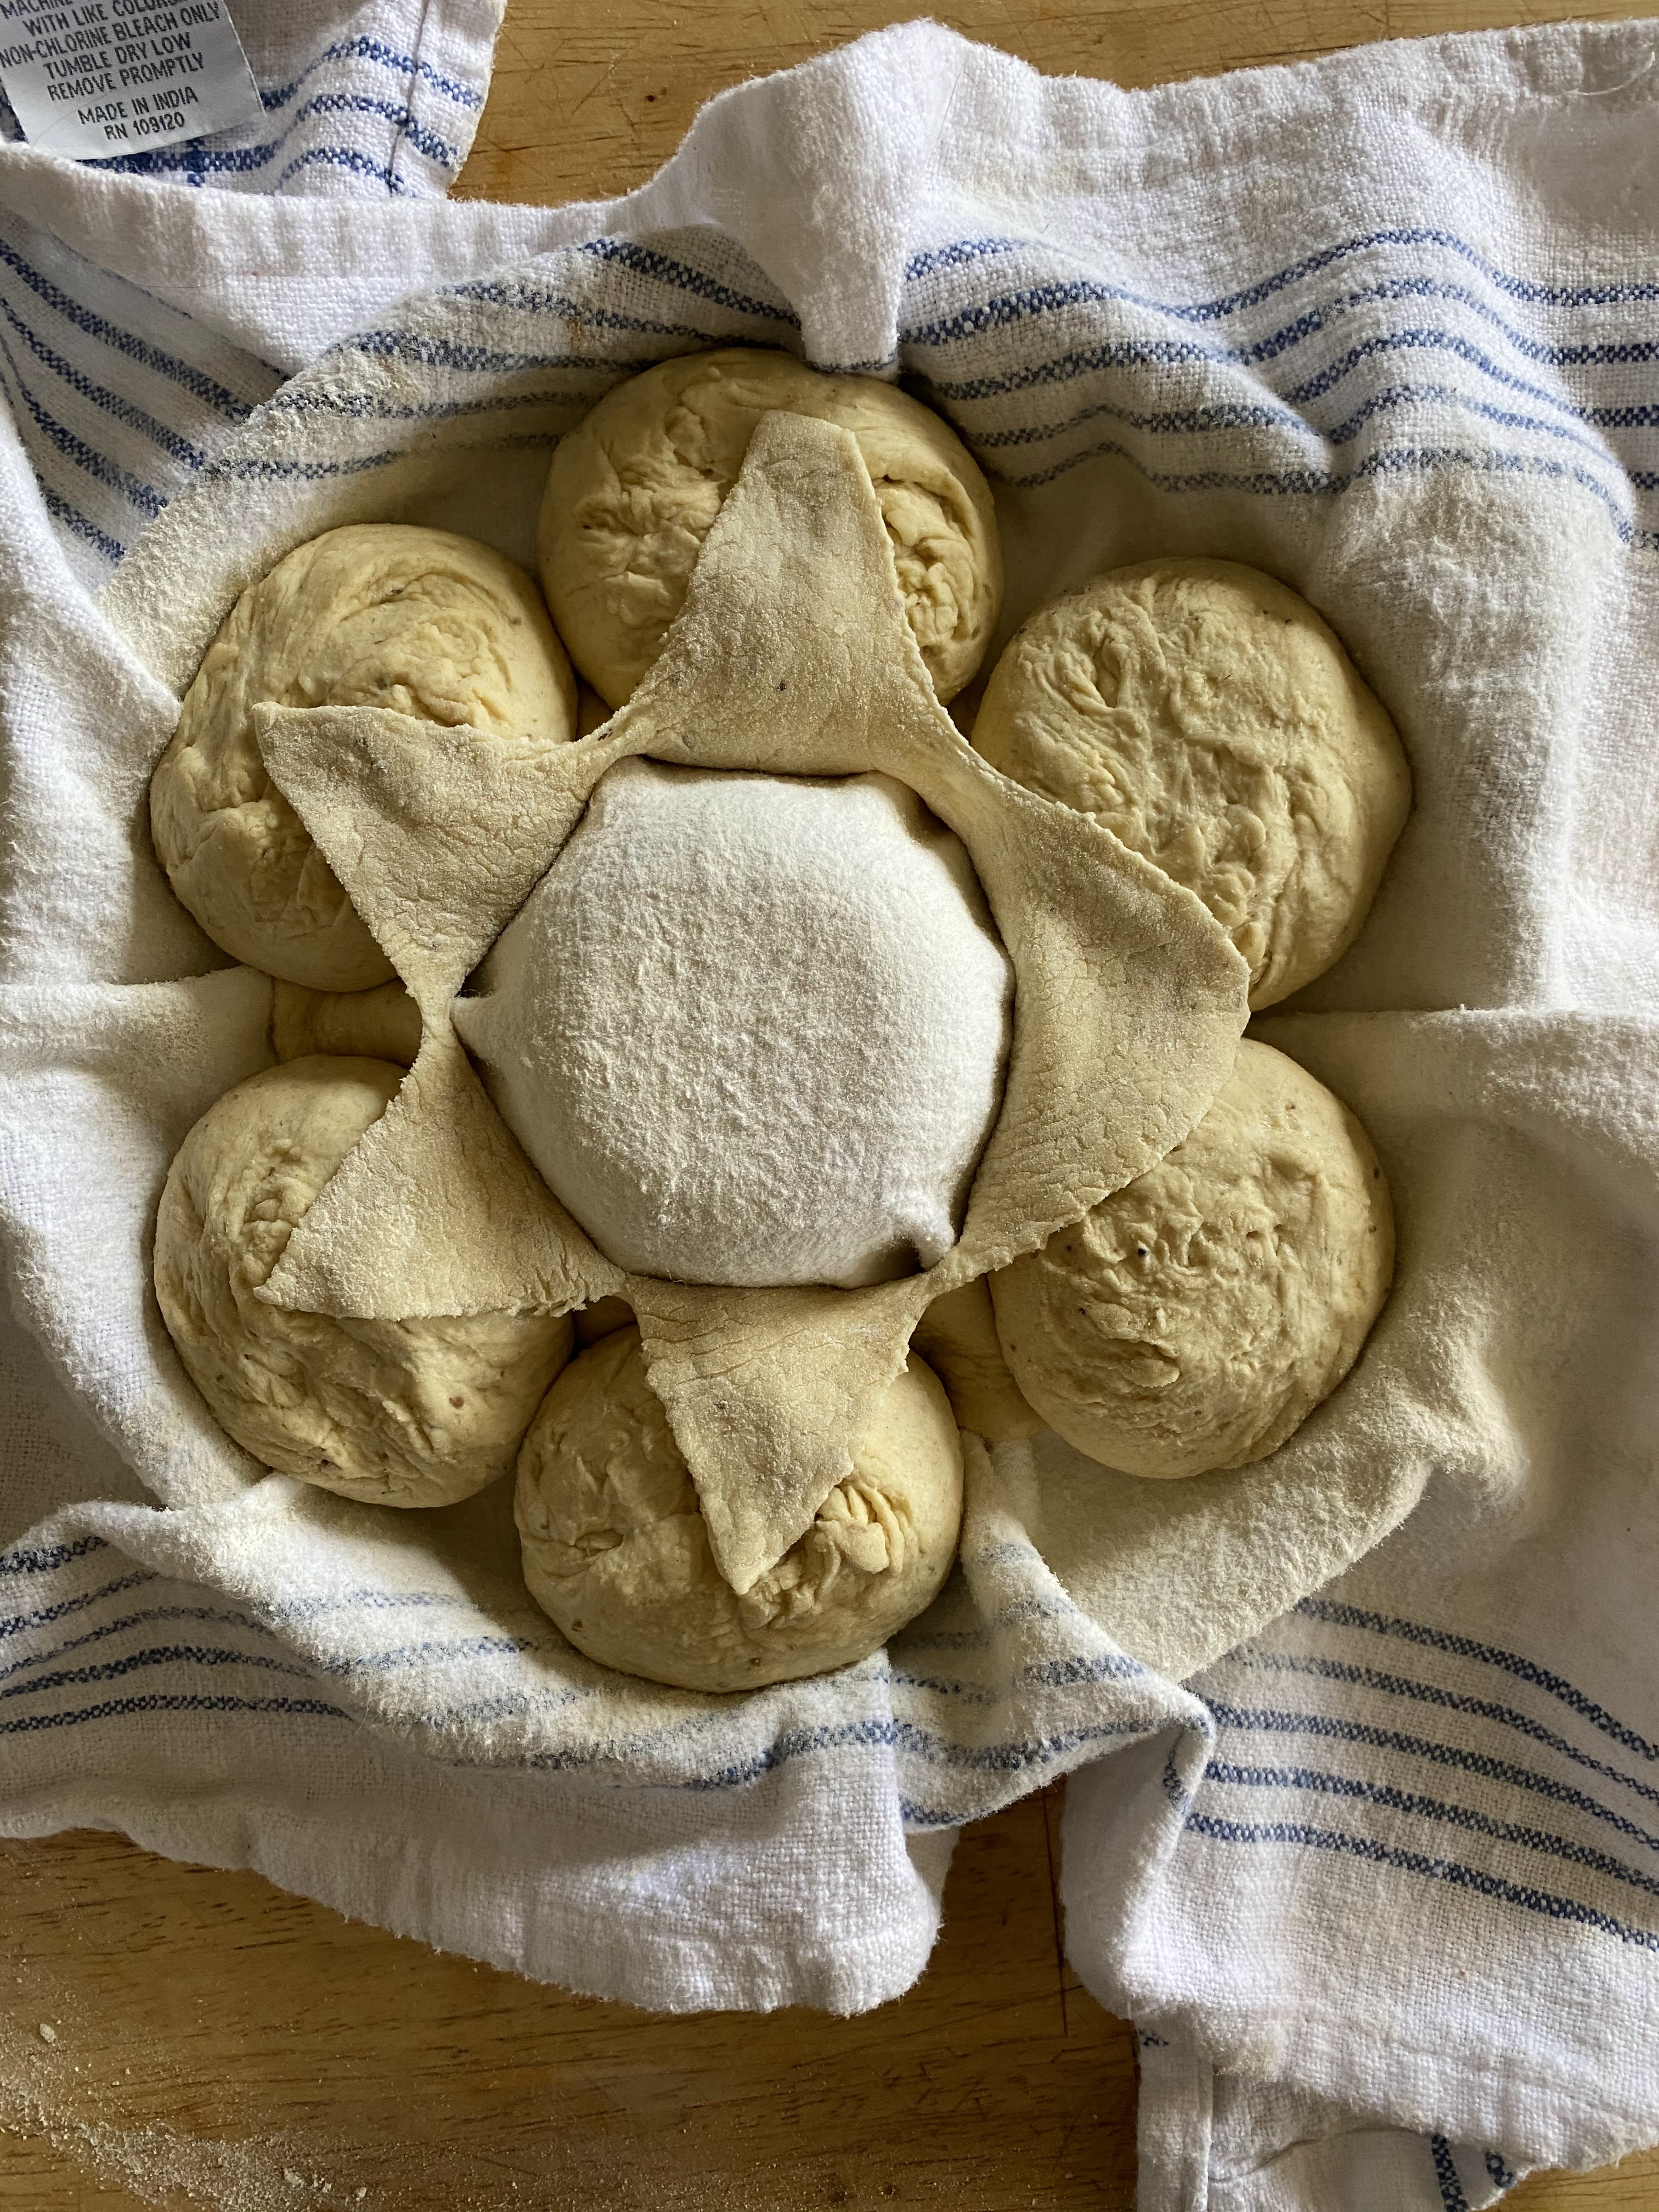
  3. Place the dough balls around in a ring evenly spaced, seam side up.
  4. Cut across the top of the dough that is stretch over the ramekin, then cut 2 more lines to create 6 triangles.
  5. Fold the triangles back over onto the dough balls.
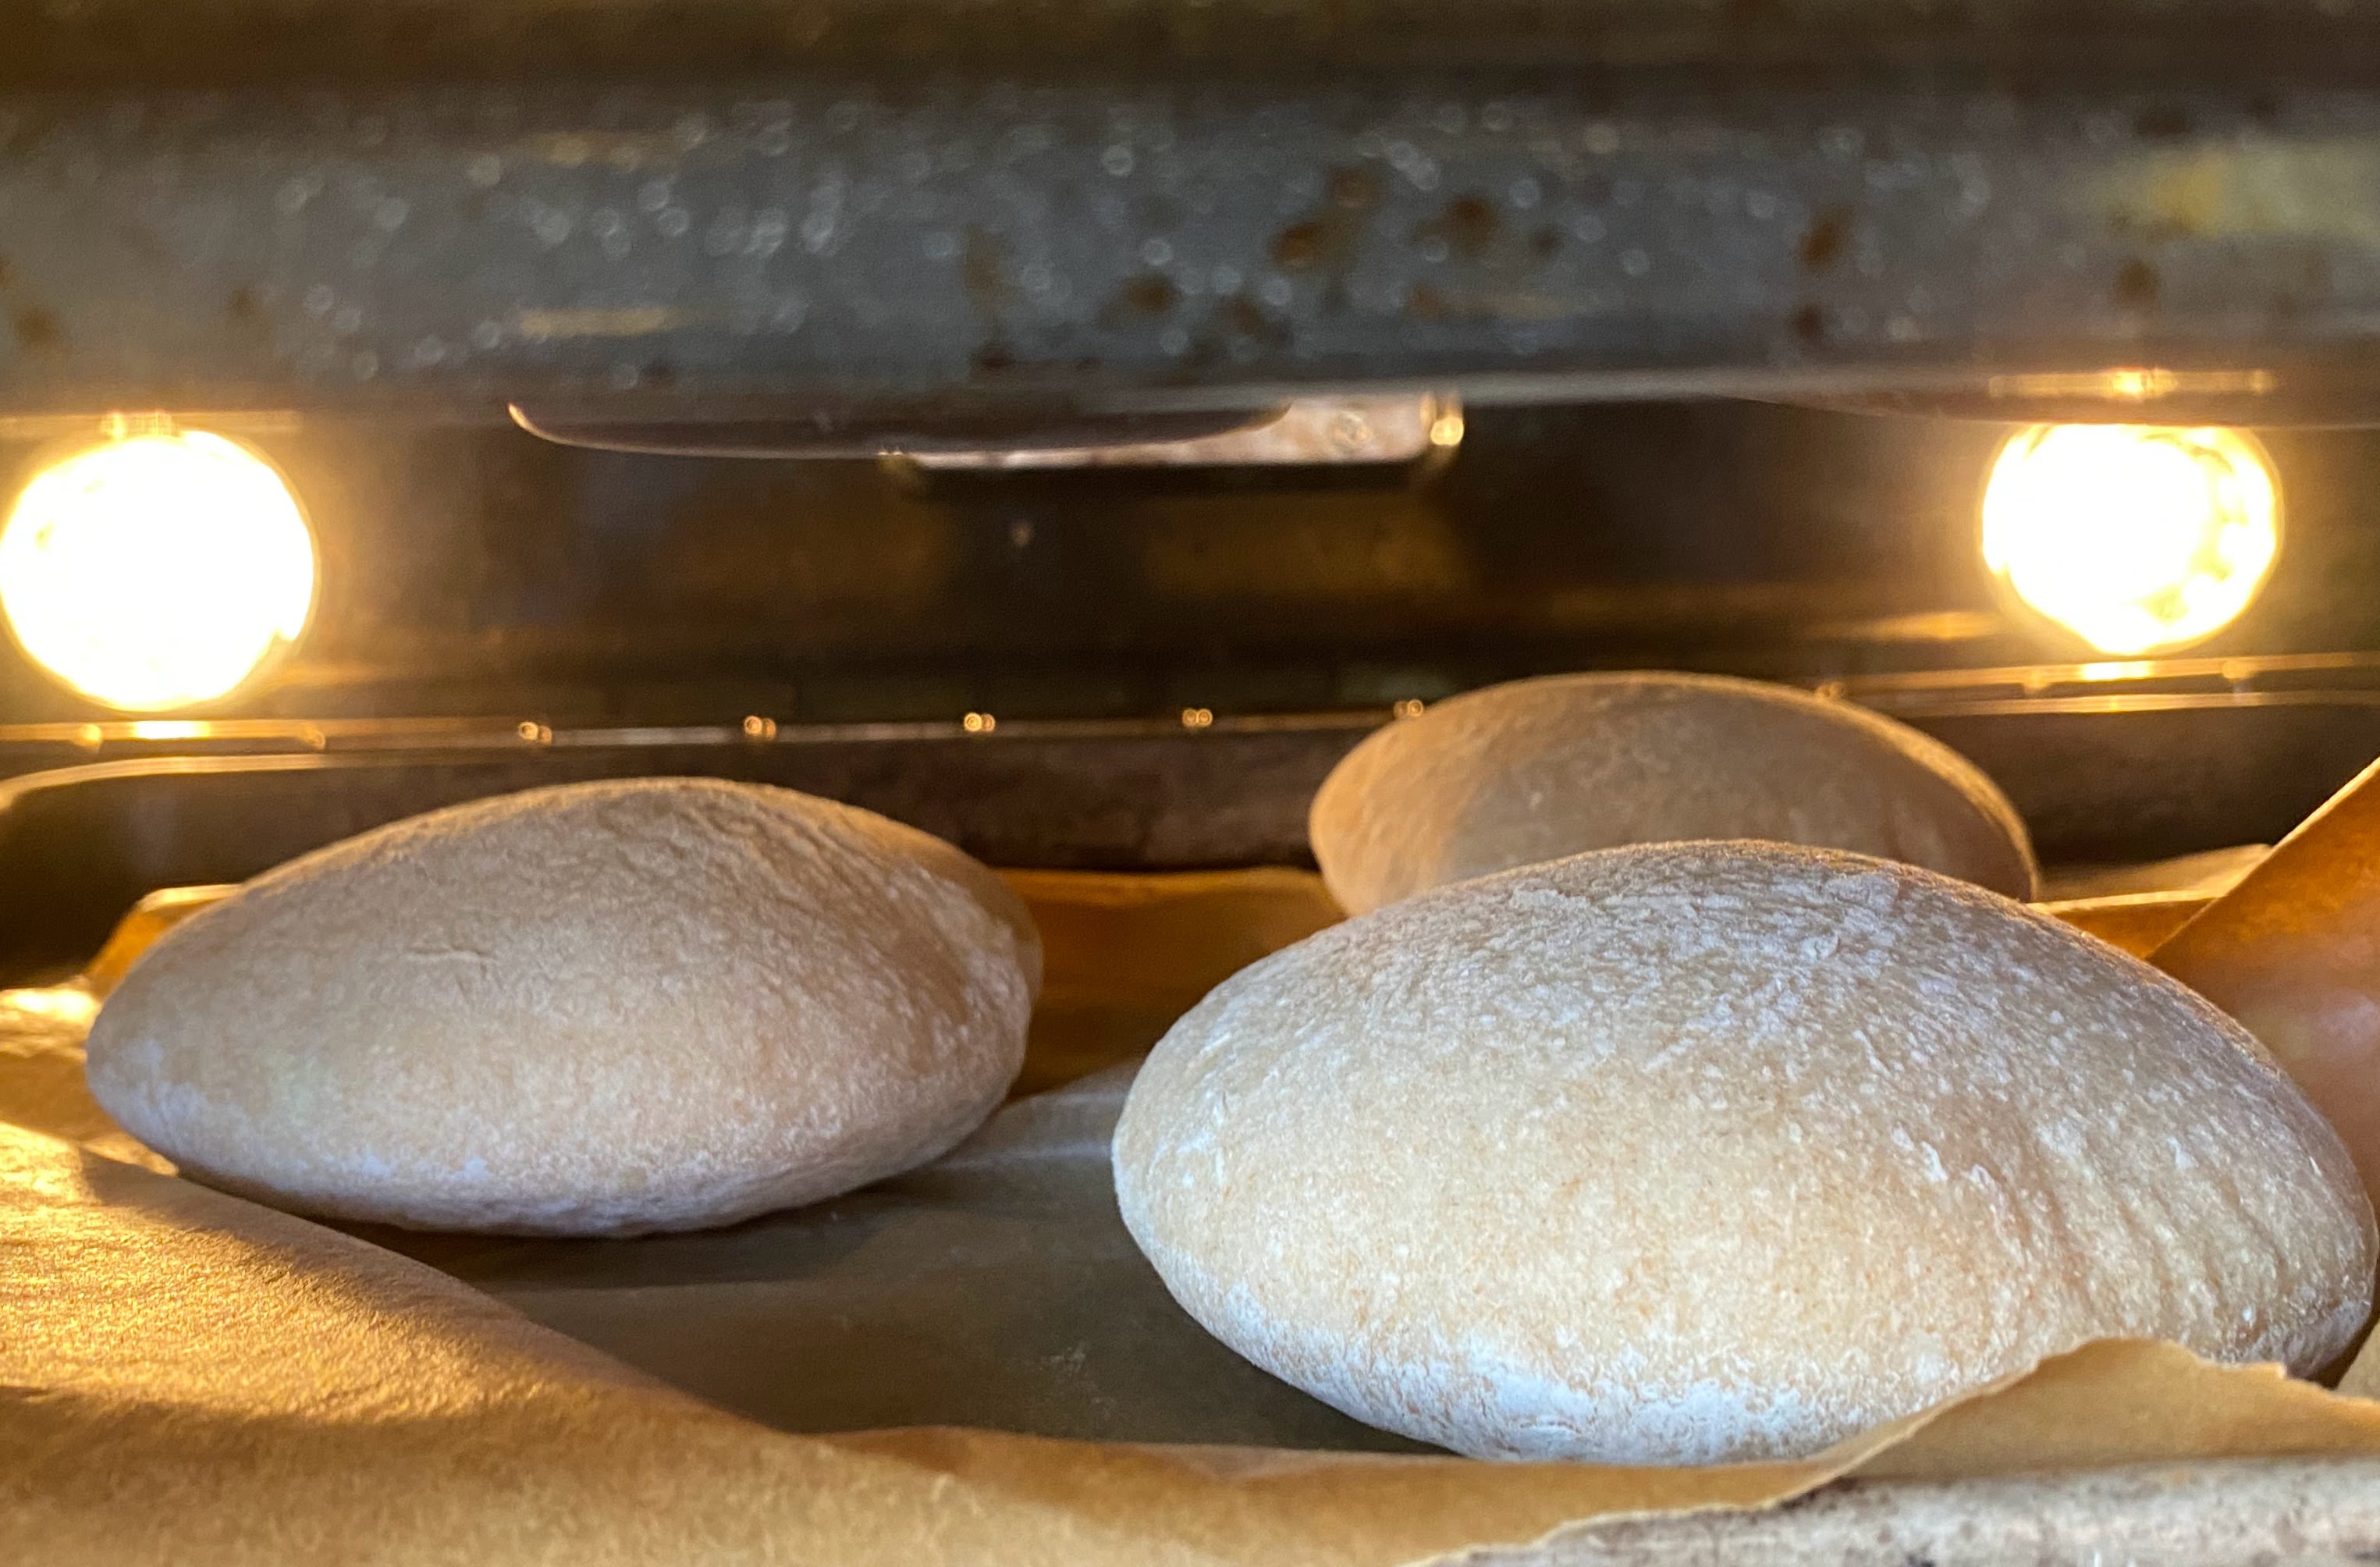
  6. Cover and let rest about 30 – 60 minutes until dough balls have expanded and puffed.
  7. Meanwhile preheat oven to 450 degrees.

Bake

egg white, salt, herbs de provence, sesame seeds

  1. Beat the egg white with 1 Tbsp water and a pinch of salt
  2. Place parchment paper over the dough, then the baking sheet (I use a10-1/2″ iron skillet) and flip. Remove the tea towel and ramekin.
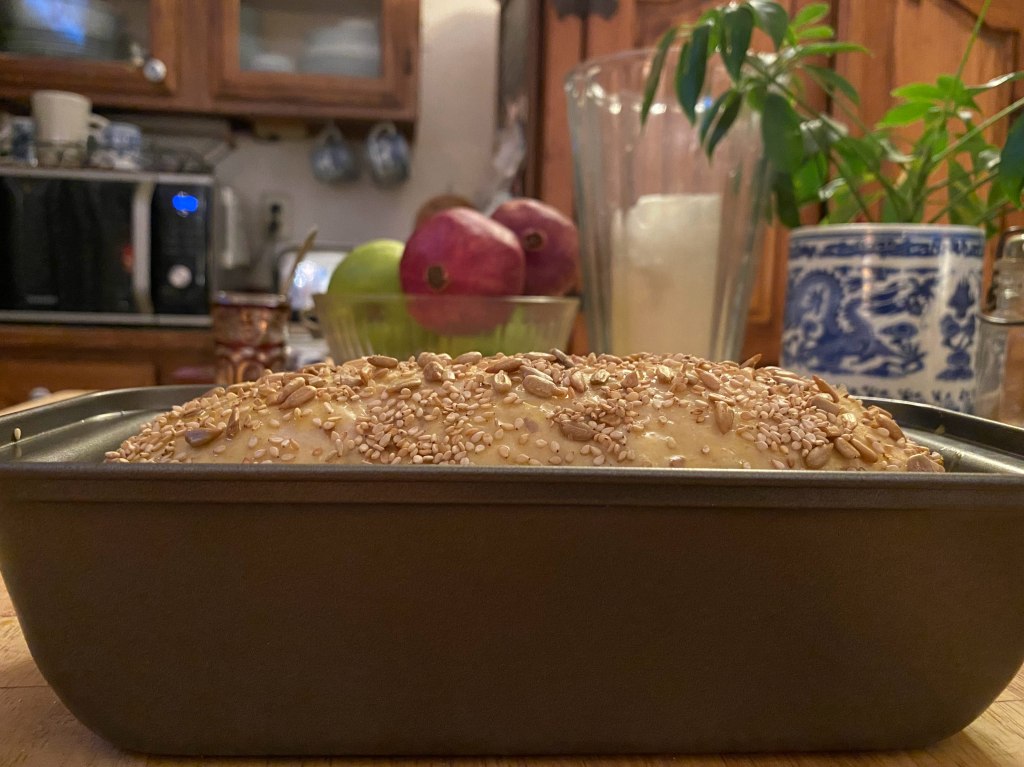
  3. Brush tops with the egg white wash, then sprinkle with the herbs de provence and sesame seeds
  4. Bake for about 30 minutes, until golden brown, and 190 degrees inside.

This video shows how to shape the crown once you’ve made the dough

Week 99: Whole Wheat Pita

We made pitas with all purpose flour for Week 4: Pita. This time around we’ve used whole wheat flour and baked them in the oven, rather than the stove top. This would be fun to make with the kids; they’re sure to enjoy shaping the balls of dough, rolling them out, and then watching them puff up in the oven.

This recipe comes our way via Molly Yeh, who met with the folks at Hummus Place in New York, and wrote Pita – Fresh From Your Oven in forward.com.

This makes 6 pitas. They are best eaten fresh, so I only make what we can eat right away.

Step 1: Make dough

  • 1-1/4 cups whole wheat flour
  • 1 cup all purpose flour
  • 2-1/4 tsp yeast (1 packet)
  • 1 teaspoon sugar
  • 1 tsp salt
  • 1 Tbsp olive oil
  • 1 cup warm water
  1. Mix dry ingredients together in a bowl of a stand mixer and whisk to combine
  2. Add the water and then the olive oil on top of the water
  3. Place bowl in the stand mixer, and with the dough hook, mix on medium speed to combine, scraping sides with a rubber spatula to made sure verything’s incorporated. You might have to turn it off, and lift the hook up so you can get the dry bits from the bottom.
  4. Once it’s mixed, lower to #2 and knead for 10 minutes, unitl it comes away from the bowl. If it’s still sticking to the sides, add 1 tablespoon of four, but no more.
  5. Cover and let proof in a warm place for 1-2 hours, until doubled in size.

Step 2: Shape

  1. Preheat oven to 550, or as high as it will go
  2. Cut 3 sheets of parchment paper the size of your baking/cookie sheet.
  3. Place cookie sheet in oven — without the parchment paper sheets.
  4. Scrape dough out of the bowl onto a heavily floured countertop and divide into 6 pieces
  5. Form into balls by stretching out the sides then folding them in towards the center. Turn over and shape into a ball. View “Shaping into a Ball” on the Video page.
  6. Cover and let rest for about 45 minutes.
  7. Dust the countertop with flour, and the tops of each ball, then roll out to about 5 inches diameter. If they spring back, let it rest, move on to another one, then go back to it.
  8. Place 2 pitas on each sheet, and let rest 15 minutes.

Step 3: Bake

  1. Put the pitas close to the oven.
  2. Open the door, slide the rack out that has the cookie sheet, then carefully lift the parchment with one set of pitas and place them on the cookie sheet
  3. Slide back in and close door.
  4. Bake 2 minutes, then flip the pitas with tongs and bake another two minutes. Try to move fast, so the oven doesn’t loose too much heat.
  5. Repeat two more times. Make sure to wrap the baked pitas so they don’t dry out as they cool.

Week 95: Rustic Baguettes

You can add a little bit of whole grain flour to your baguette dough without sacrificing a tender, open crumb. I know there’s 100% whole wheat baguettes out there, but I’m not ready to tackle them just yet. They can be tricky to shape, but I found a great video from Noah Weston, and he’s making alot of them, so there’s opportunity to watch his process over and over again. New to me is the use of a “bread board” to help lift teh baguettes onto the baking sheet. I made one out of a flap of a cardboard box, covered in clear tap so the dough doesn’t stick.

This takes about 7 hours, so if you start at 10:00 AM, they’ll be ready to bake at around 5:30.

Step 1: Make poolish (4~16 hr rest)

  • 150g flour
  • 150g warm water (about 90 degrees)
  • 1/8 tsp yeast (about .5g)

Let this ripen at room temperature for at least 4 hours. You can also make it before going to bed, and then letting it rest on the counter overnight for up to 16 hours.

Step 2: Make dough (30 minute rest)

  • 280g water (90 degrees)
  • 2g yeast (3/4 tsp)
  1. Put the yeast in a medium bowl, add water and stir to combine
  2. Empty the poolish into the yeast and water mixture.
  • 350g flour
  • 50g whole wheat flour (sifted, to remove the sharp germ)
  • 10g salt
  • 5g sugar
  1. Add the flours, salt and sugar and mix well with the handle of a wooden spoon until it’s incorporated, and there’s no dry bits on the bottom and sides of the bowl.
  2. Then start mixing with your hand, squeezing dough with one hand, and turning the bowl with the other. Do this for about 2 minutes to fully incorporate everything, lifting sides up and over as it starts to become elastic.
  3. Cover and let rest for 30 minutes.

Step 3: Stregthen dough (30 min + 1 hr rest)

  1. Wet fingertips and do about 8~10 stretch and folds in the bowl
  2. Scoop and fold about 8 times. pick up, let one side drip down and fold under to lay dough on top
  3. Rest 30 minutes
  4. Repeat stretch adn fold and scoop and fold
  5. Rest one hour (total rest time: 2 hours)

Step 4: Shape Dough (15 min + 15 min + 45 min rests)

  1. Turn dough out onto a well floured surface
  2. Cut into two halves
  3. Watch video below for shaping and scoring. I am not as rough as he is!
    • Pre-Shape: Loose tri-fold and 15 minute rest
    • Shape and let rest 15 minutes: Fold top third down and press, then botton third up and press, then fold in half and press
    • Final shape: roll to full length
    • Place on couche seem side down, and rest 40 minutes
  4. While dough is resting, preheat oven to 525. Boil water and fill two loaf pans (or one pan…whatever you have) and place on opposite sides of the bottom rack

Step : Bake

  1. Score bread as instructed in the video. With wet dough like this, the blade can drag. You might find it easier to oil or wet it.
  2. Use a potholder when you transfer the dough to the oven. A lot of steam will come out when you open the door.
  3. Put in oven gently, shut door quickly
  4. Turn down oven to 500
  5. Bake 20~30 minutes. Check it often, so it doesn’t burn.
  6. Remove from tray and let cool before slicing. If it’s humid in your kitchen, cool bread in the turned off oven with the door ajar

Week 94: Hybrid Sourdough

This is a hybrid sourdough, calling for both a wild yeast starter levain/sourdough) and commercial yeast. There’s a lot of shouting on bread forums whether or not using yeast in a sourdough loaf is sacrilege, or cheating, but I’ve come across recipes from Dan Lepard, Peter Reinhart and Ken Forkish (the three kings of bread), and if they can do it, then so can we. If you want to make a beautiful loaf, but don’t want to wait three days, then this is your answer.

The following is adapted from from Dan Lepard’s Mill Loaf. I wanted to share the minimalist kneading technique that he accidentally discovered when working in a very busy restaurant. He was constantly having to run between kneading doughs and prepping other dishes, and the time period in which the doughs were left to rest were often getting overextended. Much to his surprise, he found that this was a good thing. His book, The Handmade Loaf, is one of my favorites because it has easy to follow recipes that are beautifully photographed and unique.

You’ll need a Dutch oven, or any other pot with lid to bake the bread.

Step 1: Feed starter

  • You’ll need 250g of starter
  • My starter is a 1:1:1 ratio. i.e. 100g each of starter/water/flour.
  • The flour I use is a mix of 70g wheat + 30g rye

Step 2: Make dough (next day)

  • 250g active white starter
  • 275g water from the tap (about 68 degrees)
  • 300g bread flour
  • 150g whole wheat
  • 50g rye
  • 3/4 tsp salt
  • 7g yeast
  1. Measure water into a large bowl.
  2. Add the starter and whisk to combine.
  3. Measure out all the dry ingredients into a medium bowl and whisk to combine.
  4. Add dry flour mixture to the water/yeast liquid.
  5. Mix with the handle of a wooden spoon, til no dry bits remain. If you prefer, or if it’s not coming together, go ahead and use one hand to squeeze the dough together and get it thoroughly mixed.
  6. Cover and let rest 15 minutes in a warm place.

Step 3: Knead and proof

  1. Now it’s time to do the stretch and fold method of kneading:
    • With wet fingertips, pull up a section of the dough, then fold it over itself. Do this 8 to 12 times, rotating the bowl as you go along. Don’t pull too much, and if it starts to tighten stop. Turn over, cover and rest 15 minutes.
    • Repeat this stretch and fold kneading/resting for 15 minutes two more times.
  2. You’ll have done 3 stretch and fold cycles and 1 hour total resting period since mixing the dough together.
  1. Place dough on an oiled countertop and gently press to flatten.
  2. Pick up the sides, one at a time, pull out and gently flap up and down to stretch it out into a rectangular shape.
  3. Now you will do the envelope fold of kneading:
    • Pick up the right hand side, stretch it out a bit, then fold the right side over, then fold the left side over on top of that. Then, fold the top portion down and the bottom portion over on top of that. Flip this over and return it to the bowl. Cover and rest 1 hour.
    • Repeat this envelope fold knead one more time, cover and rest for another hour.
  4. You’ll have done 2 envelope kneading cycles and 2 more hours resting for a total of 3 hours.

Step 4: Shape

  1. Remove dough from bowl onto a lightly floured surface.
  2. Follow along with this “How to shape a batard” video
  3. Place dough, seam-side up into a floured proofing basket.
  4. Cover, and let rest for about 30 minutes.

Step 5: Bake

  1. Cut out a parchment paper sling that will hold the dough and fit in the pot your using to bake the bread.
  2. Preheat oven to 450, with a Dutch oven, or other heavy pot with a lid, inside.
  3. Lay the sling over the dough, flip and remove dough from basket.
  4. Score
  5. Bake at 425 for about 50 minutes.

Week 89: Honey Buttered Oat Sourdough

This recipe comes our way via Gina Tan, who runs a bakery out of her home in Singapore,Baking With Gina“. Lucky for us she also has many bread recipes on her blog here. This one is unique and delicious, as I’m sure they all are. The instructions are a little vague, so I’ve written them down with more detail in case you’re new to baking. Here’s the original recipe, if not.

This bake is a 3-day affair, if you count feeding your sourdough the night before. Resting periods while dough goes through it’s various proofing stages is 6 hours, and then there’s an overnight rest in the fridge.

Sourdough Loaf
Sourdough Crumb

Step 1: Feed starter the night before. You’ll need 50g of active starter for the bread.

Step 2: Prepare oats

  • 10g unsalted butter
  • 35g oats
  • 75g milk
  • 45g water
  • 15g honey
  1. Melt butter, add oats, and cook for about 5 minutes, stirring often. The oats will get nice and brown – but you don’t want them to burn.
  2. Turn off heat, and let cool for just a little bit. If you add the liquid when the pan is super hot, it’ll all evaporate before having a chance to cook the oats.
  3. Add the milk, water and honey. Stir to combine and cook on low heat until thickened and oats are cooked.
  4. Turn off heat and transfer to a bowl. Cover until ready to use so it doesn’t dry out.

Step 3: Make dough

  • 200g bread flour
  • 25g all-purpose flour
  • 25g semolina flour
  • 175g water
  1. Measure flours into a med-large bowl and whisk to combine.
  2. Add water then mix with the handle of a wooden spoon until there are no dry bits left.
  3. Scrape sides down.
  4. Cover and let rest 90 minutes
  • 50g starter
  1. Add starter to the dough and with a wet hand, squeeze dough with your fingers and thumb to mix. You don’t want to squeeze the dough through your fingers, or use your entire hand, just your fingers. When dough starts to stick to your fingers, wet them again.
  2. Scrape dough off sides, cover and let rest 30 minutes.
  • 5g salt
  • oat mixture
  1. Add salt and oats, and mix to combine. If you have a rectangular container, transfer dough to that for the rest of the resting/kneading steps.
  2. Cover, and let rest 30 minutes. Total resting time so far is 1 hour.

Step 4: Knead and Proof

  1. Stretch and fold*, cover and rest 30 minutes
  2. Lamination**, cover and rest for 30 minutes
  3. Coil folds***, cover and rest for 30 minutes.
    • 2nd coil fold and 30 minute rest
    • 3rd coil fold and 30 minute rest
    • 4th coil fold
  4. Cover and let rest for 1 hour. Total resting time is 6 hours.

Step 5: Shape and proof overnight

  1. Shape the dough, then place in a lined & floured container for 20 minutes.
  2. Cover then place in fridge for an overnight rest.

(Next day) Step 6: Bake

  1. Preheat oven to 500 degrees, and place a Dutch oven with lid instead to heat up along with the oven.
  2. Score top of loaf.
  3. Bake, covered, at 475 for 20 minutes
  4. Uncover and bake at 450 for 20 minutes
  5. Cool completely before slicing.

*Gluten development: Stretch & Fold

**Gluten development: Laminating

***Gluten development: Coil Fold

Week 84: Rye Sourdough (35%)

I’ve been working on making 100% rye bread, but have yet to make one that I thought was any good. And then it occurred to me that maybe I just don’t like bread made with only rye flour. I decided to nix that goal, and make a rye/wheat version. This loaf is only 35% rye, but the addition of the caraway seeds and barley malt syrup gives it a great flavor and I’m really happy with it.

I found this on the Foodgeek’s YouTube channel. He is one of my favorite bakers, and I highly recommend checking out his channel if you’re serious about learning how to bake good bread. He’s also got two great tutorials on scoring, so I’ve linked those as well.

I’ve listed the amounts of all the ingredients so you can have them at the ready and follow along with him in while watching the video that’s linked below. He makes two loaves; I’ve listed what you need for one and two. Because you need to activate your sourdough the night before, and the loaves have a final rest overnight in the fridge, this takes 3 days total.

1 LoafIngredients2 Loaves
260gBread Flour520g
180gWhite Rye Flour360g
40gDark Rye Flour80g
268gWater536g
80gStarter160g
10gMalt Syrup20g
8gSalt16g
5gCaraway Seeds10g

Tips:

  1. I only had white rye, so used whole wheat in place of the dark rye.
  2. I did not have bread flour, so measured out all purpose flour, took away 2 tablespoons and then added 2 tablespoons of vital wheat gluten.
  3. I used my stand mixer with the paddle attachment to mix the dough.
  4. I lightly oiled my countertop before shaping the dough. He doesn’t use flour to keep his dough from sticking, but I think his countertop is made from a material that is more of a non-stick surface. Mine is wood, so it needs flour, oil, or water. I didn’t want to be adding flour to the dough, so I used oil.
  5. I did 4 stretch and folds (with 30 minute rests after each one) just like he does. But then I did 2 coil folds after that, so my total rest period was an hour longer. See Video page for links to both methods.
  6. 20 grams of malt syrup is about 1 tablespoon, as is 10g caraway seeds.
  7. I mixed seame seeds in with the caraways seeds, mostly for looks.
  8. I forgot to add the seeds before placing the shaped dough in the proffing basket. If you need to add them after the dough’s been proofed, lightly spray the loaf with water, then add seeds, then score.

Week 82: Lyon Bakery’s Multigrain

This bread flies in the face of everything I’ve learned about bread baking over the last two years. It’s not a super wet dough, yet you don’t have to knead it, and it has only one proofing stage. After stirring the mixture of grains and seeds for 10 minutes (with a fork!), you then shape it, and drop it in a loaf pan to rise. With seven grains (oats, semolina, millet, white, whole wheat, rye and spelt) and three seeds (flax, sesame, sunflower), this is an even healthier version of the only commercial bread we still buy: Silver Hill’s Squirrely Bread. That’s a sprouted wheat bread, something I doubt I’ll ever get around to baking.

The recipe comes from an article in The Washington Post’s Lifestyle Magazine, “How to make a superior multigrain bread, without kneading” from July, 2016. The amounts are in Imperial units (US ounces) which is a crazy way to measure, so I’ve listed the ingredients below in grams, AND halved them, to make two small loaves, using 8″ x 4.5″ loaf pans. I also made an egg wash of one egg yolk and a splash of milk. This makes a nice dark, shiny crust. I don’t roll the dough in the seeds, but rather wait until they’ve risen, then paint it on the loaves and sprinkle on the seeds. Here’s the listing of the bread on the bakery’s website.

  • .5 oz rolled oats (not quickk-cooking or instant)
  • .75 oz flaxseed
  • .75 oz sesame seeds
  • .75 oz sunflower seeds (I prefer roasted, salted)
  • .75 oz semolina flour
  • .50 oz millet or bulgar
  • 1/2 cup 95 degree water
  1. Combine the oats, seeds, semolina, millet (or bulgar) in a small bowl. Stir in the hot and thoroughly combine.
  2. Cover and let sit at room temperature for at least two hours.
  • 340g flour
  • 85g whole wheat
  • 45g rye
  • 25g spelt
  • 42g honey
  • 1-1/2 tsp yeast
  • 8 g salt
  • 2 cups room temperature water
  1. Measure the flours in a large bowl and wisk to combine.
  2. Add the soaked-grain mixture, and then add the honey and yeast on one side, and the salt on the other.
  3. Add the water, then begin stirring with a large, sturdy fork. Don’t try to skip this step by mixing in your stand mixer, it is too dense to use a machine.
  4. Keep mixing for 10 minutes to form a fairly smooth, firm dough. The temperature should be between 76 to 80 degrees on an instant-read thermometer.
  5. Transfer the dough to a lightly oiled contertop.
  6. Divide it in half, then pat it into a rectangle.
  7. Use the head and sholders method to shape into a log.
  8. Tuck the sides under, then place in very lightly buttered loaf pans.
  1. Cover and let proof for about 2 hours, or until doubled.
  2. Meanwhile, preheat oven to 475 degrees.
  3. Once risen, brush loaves with egg yolk mixture, then sprinkle with sesame and sunflower seeds.
  4. When ready to bake, throw some ice cubes into the oven before placing the pans in.
  5. Reduce temperature to 400 and bake for 35-45 minutes, tenting tops with foil if they get too brown.
  6. Cool loves on a wire rack l for 1 hour before removing from the pans.
  7. Let cool completely before slicing.
Dough has risen to about 1″ about rim.

Week 81: Signature Loaf

This is the perfect go-to bread for any occasion. It’s easy enough to be a weekly bake, and makes an impressive contribution to a shared meal. It’s got multiple grains and seeds for flavor, milk and butter for texture, and the overnight fermentation gives both the flavor and the texture an additional boost. If you’re looking for a single grain loaf, with a similar result, check out Week 62’s Low-Knead Bread. You won’t be disappointed!

Step 1: Make pre-ferment (overnight rest)

  • 340g room temp water
  • 3g yeast
  • 180g bread flour
  • 50g rye flour
  1. Mix the sponge ingredients with the handle of a wooden spoon until flour is thoroughly combined with the water.
  2. Cover, and let rest at room temperature, covered, for at least 4 hours, but preferabley overnight.

Step 2: Make dough (2 hour rest)

  • 12g salt
  • 4g sugar
  • 180g bread flour
  • 90g whole wheat flour
  • 30g dry whole milk powder
  • 30g softened butter (2 Tbsp)
  • 1 Tbsp each sesame, flax, hemp and chia seeds
  • 1/4 cup multi-grain cereal mix
  1. Combine the flours, sugar, salt and sesame seeds/multi-grain cereal mix into the bowl of a stand mixer. Whisk to combine.
  2. Empty the biga into the bowl, scraping the sides tof the biga bowl to get it all.
  3. Mix until incorporated, with the handle of a wooden spoon, (or your hand, squeezing the dough between your fingers).
  4. Once it’s all mixed together, place bowl in machine, and knead with dough hook for 5 minutes on speed #2, adding the butter, one little chunck at a time.
  5. Stop to scrape down the sides and the dough hook. Make sure there’s no dry bits on the bottom.
  6. Knead for 5 more minutes, still on #2, until it is sticking to itself more than the bowl. It won’t totally clean off the sides of the bowl and be all stuck on the hook like some doughs.
  1. Scrape down sides with a bowl scraper, cover and let rest for 15 minutes.
  2. Turn out until a lightly oiled surface. Flatten out a bit, then fold sides over on itself towards the middle to form a circle. Turn over and shape into a ball.
  1. Place the dough in a greased bowl, seam side down, cover and let rest 30 minutes.
  2. Turn out until a lightly oiled surface. Flatten out a bit, Do two envelope folds/ First fold top third down, then bottom third over that. Then fold the left third over, and the right third over that.
  1. Return dough to the greased bowl, cover and let rise in a warm place 1-2 hours (if you kitchen is colder than 72 degrees, warm up an EMPTY microwave, then store it there), until doubled in size.

Step 3: Shape dough (1 hour rest)

  1. Turn the dough out onto a lightly oiled countertop, and gently press into a square.
  2. Flatten out a bit, then fold sides over on itself towards the middle to form a circle. Turn over and shape into a ball.
  3. Cup it with your hands and rotate, pulling the sides down a bit to make the surface taut.
  4. Then slide a bit to make the surface taut. See video for shaping dough on the Tips page.
  5. Lightly dust the surface, and smooth with your hand.
  6. Place dough ball, seam side down, into a lined banetton (or a bowl lined with a tea towel) that’s been dusted with flour. Pinch seams together to tighten.
  1. Cover and let rise for about 30 minutes to an hour. It will continue to rise in the oven, so this second rise does not need to be for as long as the first. Better to be slightly under-proofed, than over-proofed.
  2. Meanwhile, preheat over to 475 degrees, with a Dutch oven inside, and have at the ready a parchment paper sling.

Step 4: Bake dough

  1. Place a the parchment sling on top of the basket/bowl, and flip it over.
  2. Remove bowl from dough, scape off any excessive amounts of flour, and score.
  3. Remove pan from oven, and place dough inside. Cover and put in oven.
  4. Turn oven down to 450 degrees.
  5. Bake about 30 minutes, uncover and back 5 more, until crust is dark golden, and internal temperature is 190-200 degrees.
  6. Remove from pot, then place in turned off oven with door open so it can cool down in a dry place.
  7. Cool completely before slicing.

Week 79: Old Fashioned Country Loaf

This is a large, heavy loaf that will satisfy you for a few days, and it makes a great contribution for a weekend getaway with friends and family. You can throw the ingredients together in the evening before bedtime, then bake it the next day, or start it it first thing in the morning, then bake in the evening. Made with whole grains (white, whole wheat and rye), it is definitely a bread to make again and again.

  • 480g bread flour
  • 1/4 c vital wheat gluten
  • 135g old-fashioned rolled oats
  • 75g whole wheat flour
  • 40g rye flour
  • 10g sugar
  • 12g salt
  • 1/2 tsp yeast
  • 5 Tbsp (70g) butter, softened
  • 510g water

Step 1: (Day 1) Make dough

  1. Place all ingredients in the bowl of a stand mixer, fitted with the paddle attachment.
  2. Mix to incorporate on the lowest speed, scraping down the sides to get the dry bits in, then mix for one minute on the fastest speed (it’s very fast!).
  3. Cover bowl and set aside to rise on the countertop for at least 8 hours, or up to 12.

Step 2 (Next day): Knead and shape

  1. Remove to a lightly floured work surface
  2. Sprinkle flour around the circle, then lift sides and scape the flour under.
  3. Pull sides out a bit to form a rectangle.
  4. Gently life the ride side, stretch it out a bit, then fold it over to the center.
  5. Repeat with the left side.
  6. Stretch the top end up and out a bit, then roll down. You don’t want to squish the air out, but you want it to be stable.
  7. Pull out the top end to fold over the side then tuck it under. See “How to shape a batard” video on the Tips page.
  1. Create a taught surface by cupping the dough with your hands and rotating it around while tucking under the sides.
  2. Flour a lined banatonne and place the dough in, seam side up. (I made the first version, pictured below, in a round basket, but the second time around I used an oval shape for easier slicing.
  3. Let rise 1~2 hours, or overnight in the fridge.
  • Cut a sling out of parchment paper. It’s a heavy dough, so I do a double sling.
  • Lay the sling down on top of the dough, then put a cutting board on top of that.
  • Flip, then remove the basket
  • very heavy very large need a sturdy sling
  • Baking times for Dutch ovens:
    • Use a cookie sheet on the bottom rack to deflect heat
    • If you don’t put it in cold, then bake at 475 for 25 minutes, take off top, and bake at 425 for 15 minutes more, or until it reaches 205 degrees.
    • From the fridge: Bake at 425 for 35 minutes covered, then 10 – 15 uncovered.
  • If kitchen really hot overnight: ferment it three hours and them put it in the fridge overnight.
  • Day of: Ferment 8 hours
  • Or you could increase the yeast a bit. This would shorten the rise time, and have only a slight affect on flavor and texture. I think if you use 1 teaspoon yeast (instead of 1/2 teaspoon) the first rise could be shortened to 4-5 hours. The second rise will also go quicker as well.
  • This recipe should fill two standard loaf pans, (8 1/2″ x 4 1/2″) and bake for 30-40 minutes or until the interior registers 190°F on an instant thermometer. Annabelle@KAF  375 degrees tent foil over the top during the first part of baking
  • make this in my 4.5 qt cast iron dutch oven. I let it rise for 12 hours at room temperature. then work it on a floured board and transfer it to a bowl lined with floured parchment paper for one hour. I preheat the oven to 450 degrees for about an hour. At the half hour mark I place the Dutch oven in the oven to preheat. Be careful pulling it outRead more about review stating I make this
  • as it is very hot. I transfer the dough to the dutch oven place the lid back on and bake for 25 minutes. I then remove the lid and bake an additional 12 minutes. I came up with these times though trial and error along with advice from King Arthur helpline. it comes lightly brown and crusty
  •  baked it in a 10″ dutch oven (50 min with lid on and 15 min with lid off — perfect!). I let it rise the first time about 18 hours at room temp
  • Or you could increase the yeast a bit. This would shorten the rise time, and have only a slight affect on flavor and texture. I think if you use 1 teaspoon yeast (instead of 1/2 teaspoon) the first rise could be shortened to 4-5 hours. The second rise will also go quicker as well.
  • 1 Tbs (15g) less water, halved the sugar, added to a preheated empty pot instead of cold start (parchment “sling” works great). The second time dough was easier to handle and bread had much betterRead more about review stating So good and so
  • oven spring, with an airier crumb.
  • The second thing you can try is to preheat your Dutch oven base (if the manufacturer says that’s OK) with the oven

https://www.kingarthurbaking.com/recipes/no-knead-oat-bread-recipe

 oven once it came to 205. This is a hit with the whole family and will definitely make again!

Week 76: Yeasted Honey Corn Bread

This is a close second to Anadama Bread (Week 38). It’s not as complex, but that can be a good thing: the ingredients list is shorter and it doesn’t take as much time. I found the recipe on the Red Star Yeast website, which is a reliable source for bread recipes, and also has a great Resources page for all sorts of tips on bread baking. If you’re new to baking, it’s worth taking a look at it before you get started — and you should also check out Breademic’s Tips and Video pages, as well!

I made a few adjustments to the method, and included a couple of optional ingredients. My updated version is below; the original recipe is here. And, in case you’re wondering what the difference is between cornmeal, corn flour, polenta, and grits, this article from Epicurious has the answers!

  • 3 tablespoons (42g) unsalted butter
  • 1/4 cup (85g) honey
  • 1 cup (237ml) whole milk
  • 1 cup (140g) yellow cornmeal
  • 2 1/2 to 3 cups (300-360g) all-purpose flour
  • 1 1/2 teaspoons table salt
  • 1 (0.25oz) package (7g) or 2-1/4 teaspoons yeast
  • OPTIONAL
    • 2 Tbsp orange zest
    • 1 cup dried cranberries
  • Butter for the top
  1. Warm the milk with butter until butter melts. You can do this on the stovetop, or microwave.
  2. Add the honey, and stir until combined.
  3. Pour into the bowl of a stand mixer, or a large mixing bowl.
  4. Add cornmeal and whisk to combine.
  5. Let rest until temperature reaches120-130°F.
  6. Measure in 300g of flour, and the salt and yeast.
  7. Place bowl in the mixer which is fitted with the paddle attachment.
  8. Knead on medium-low speed for 5-7 minutes. If you need to add more flour, just add 1 Tbsp at a time — no more than 4, tops. Dough should be coming away from the sides, and be sticky, but not wet.
  9. Place dough in a greased bowl and cover with plastic wrap. Let rise in a warm place until doubled, about 1 – 2 hours.
  10. Remove dough onto a lightly oiled surface, and flatten out to an 8″ rectangle.
  11. Starting on a short side, roll up the dough and place seam-side down in a greased 9×5-inch loaf pan.
  12. Cover with plastic wrap and let rise until doubled again, about 30 minutes to an hour. Meanwhile, preheat oven to 375°F.
  13. Bake until the top is golden, about 40-45 minutes.
  14. Remove from tin, and brush with butter (it’ll melt as it touches the hot loaf).
  15. Let cool before slicing.