Week 105: Chocolate Sourdough

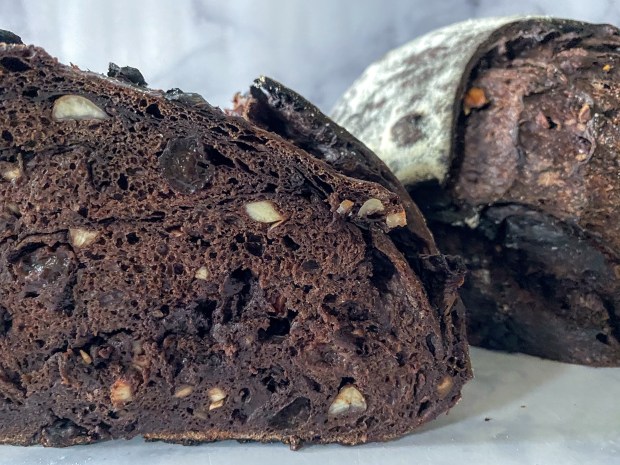
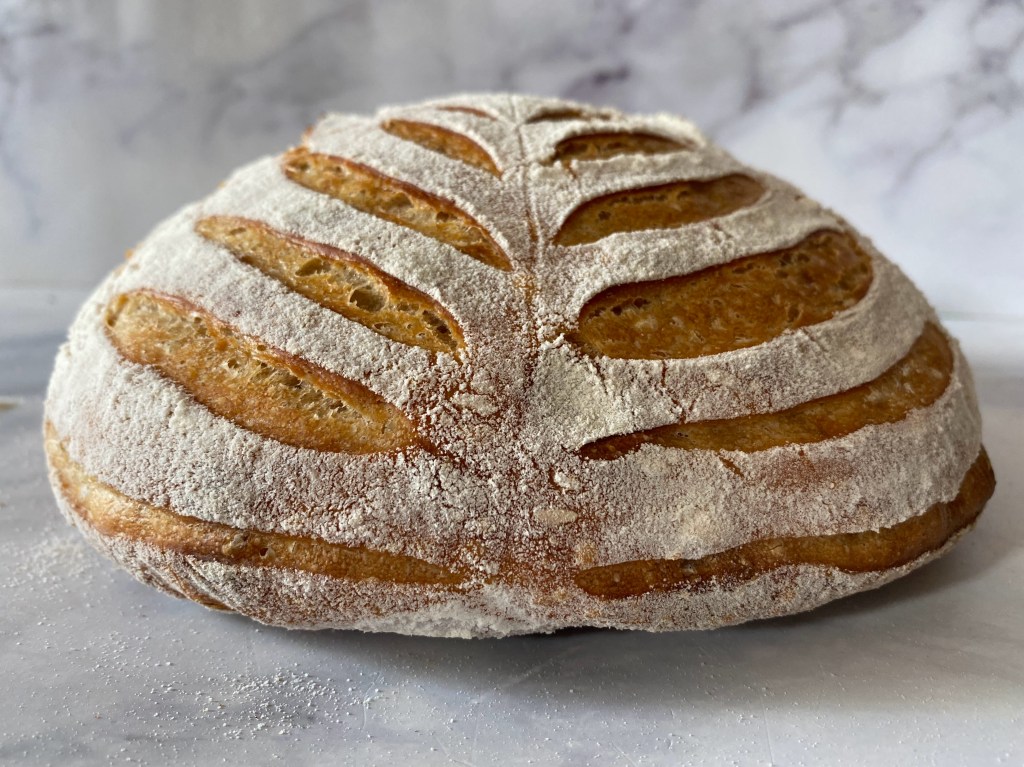
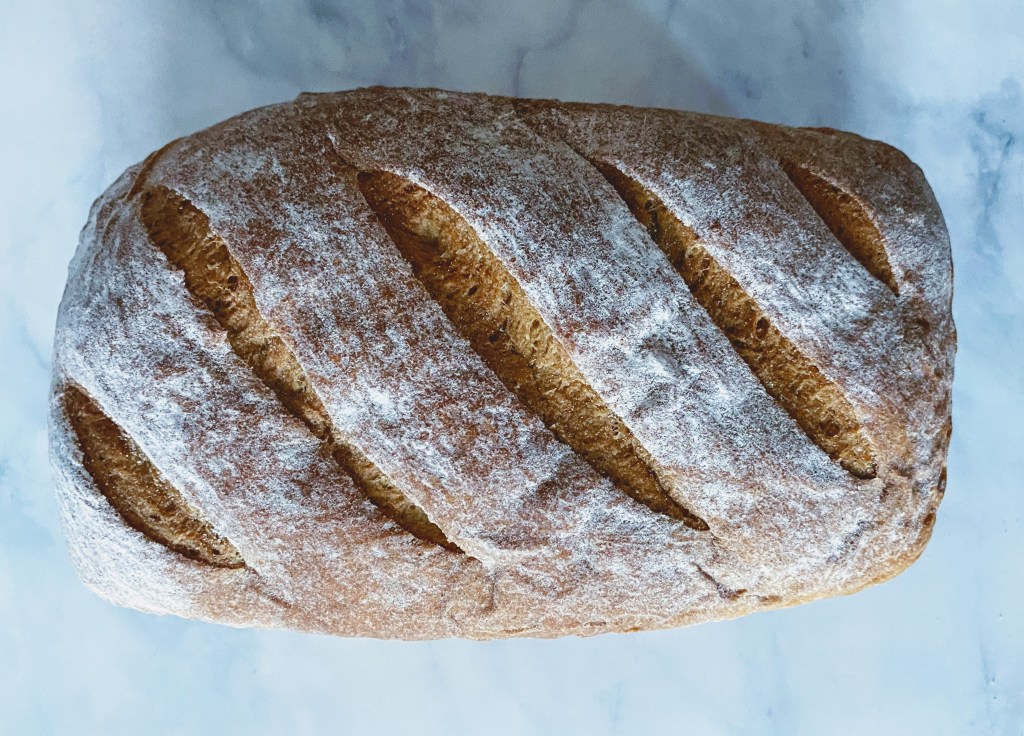
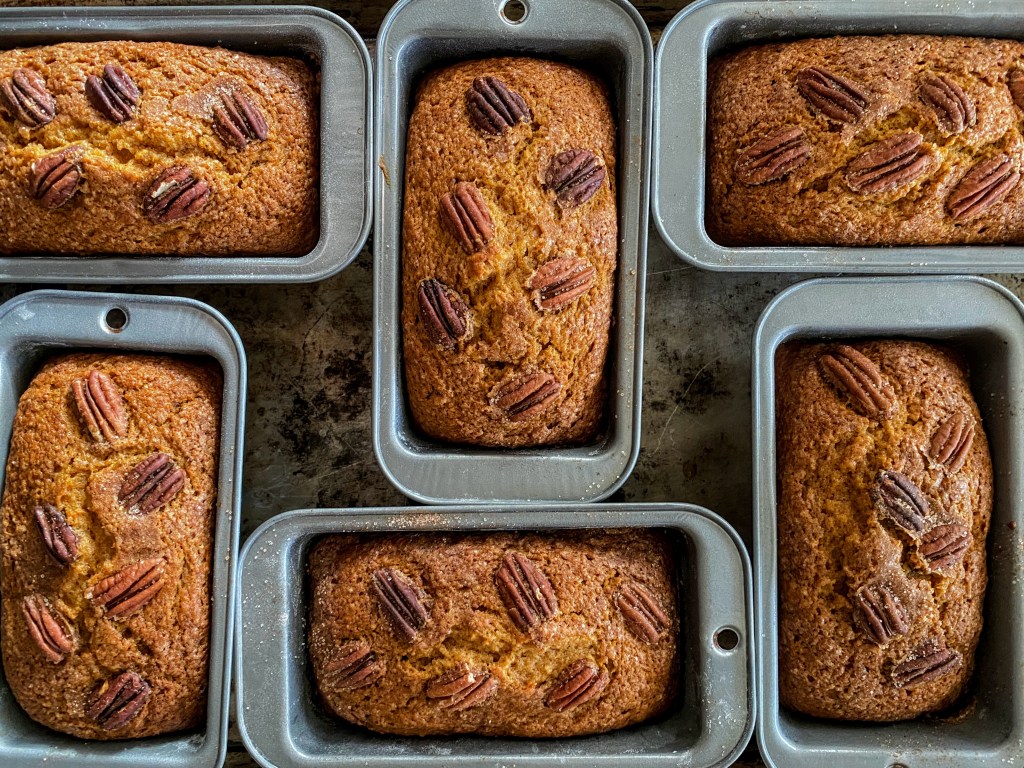
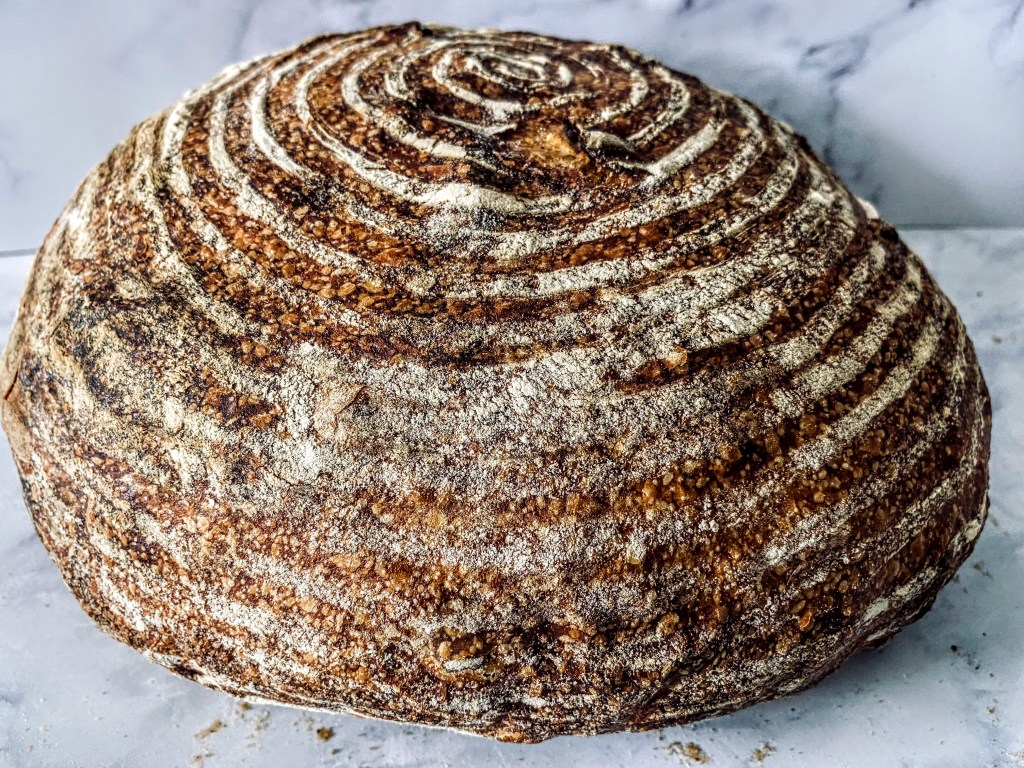
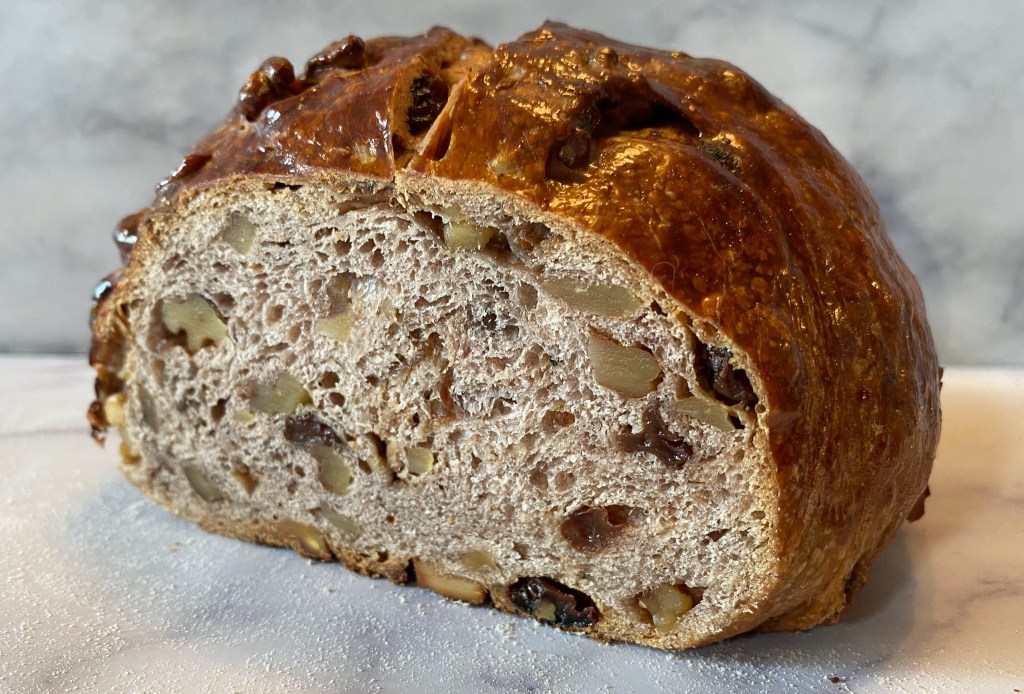
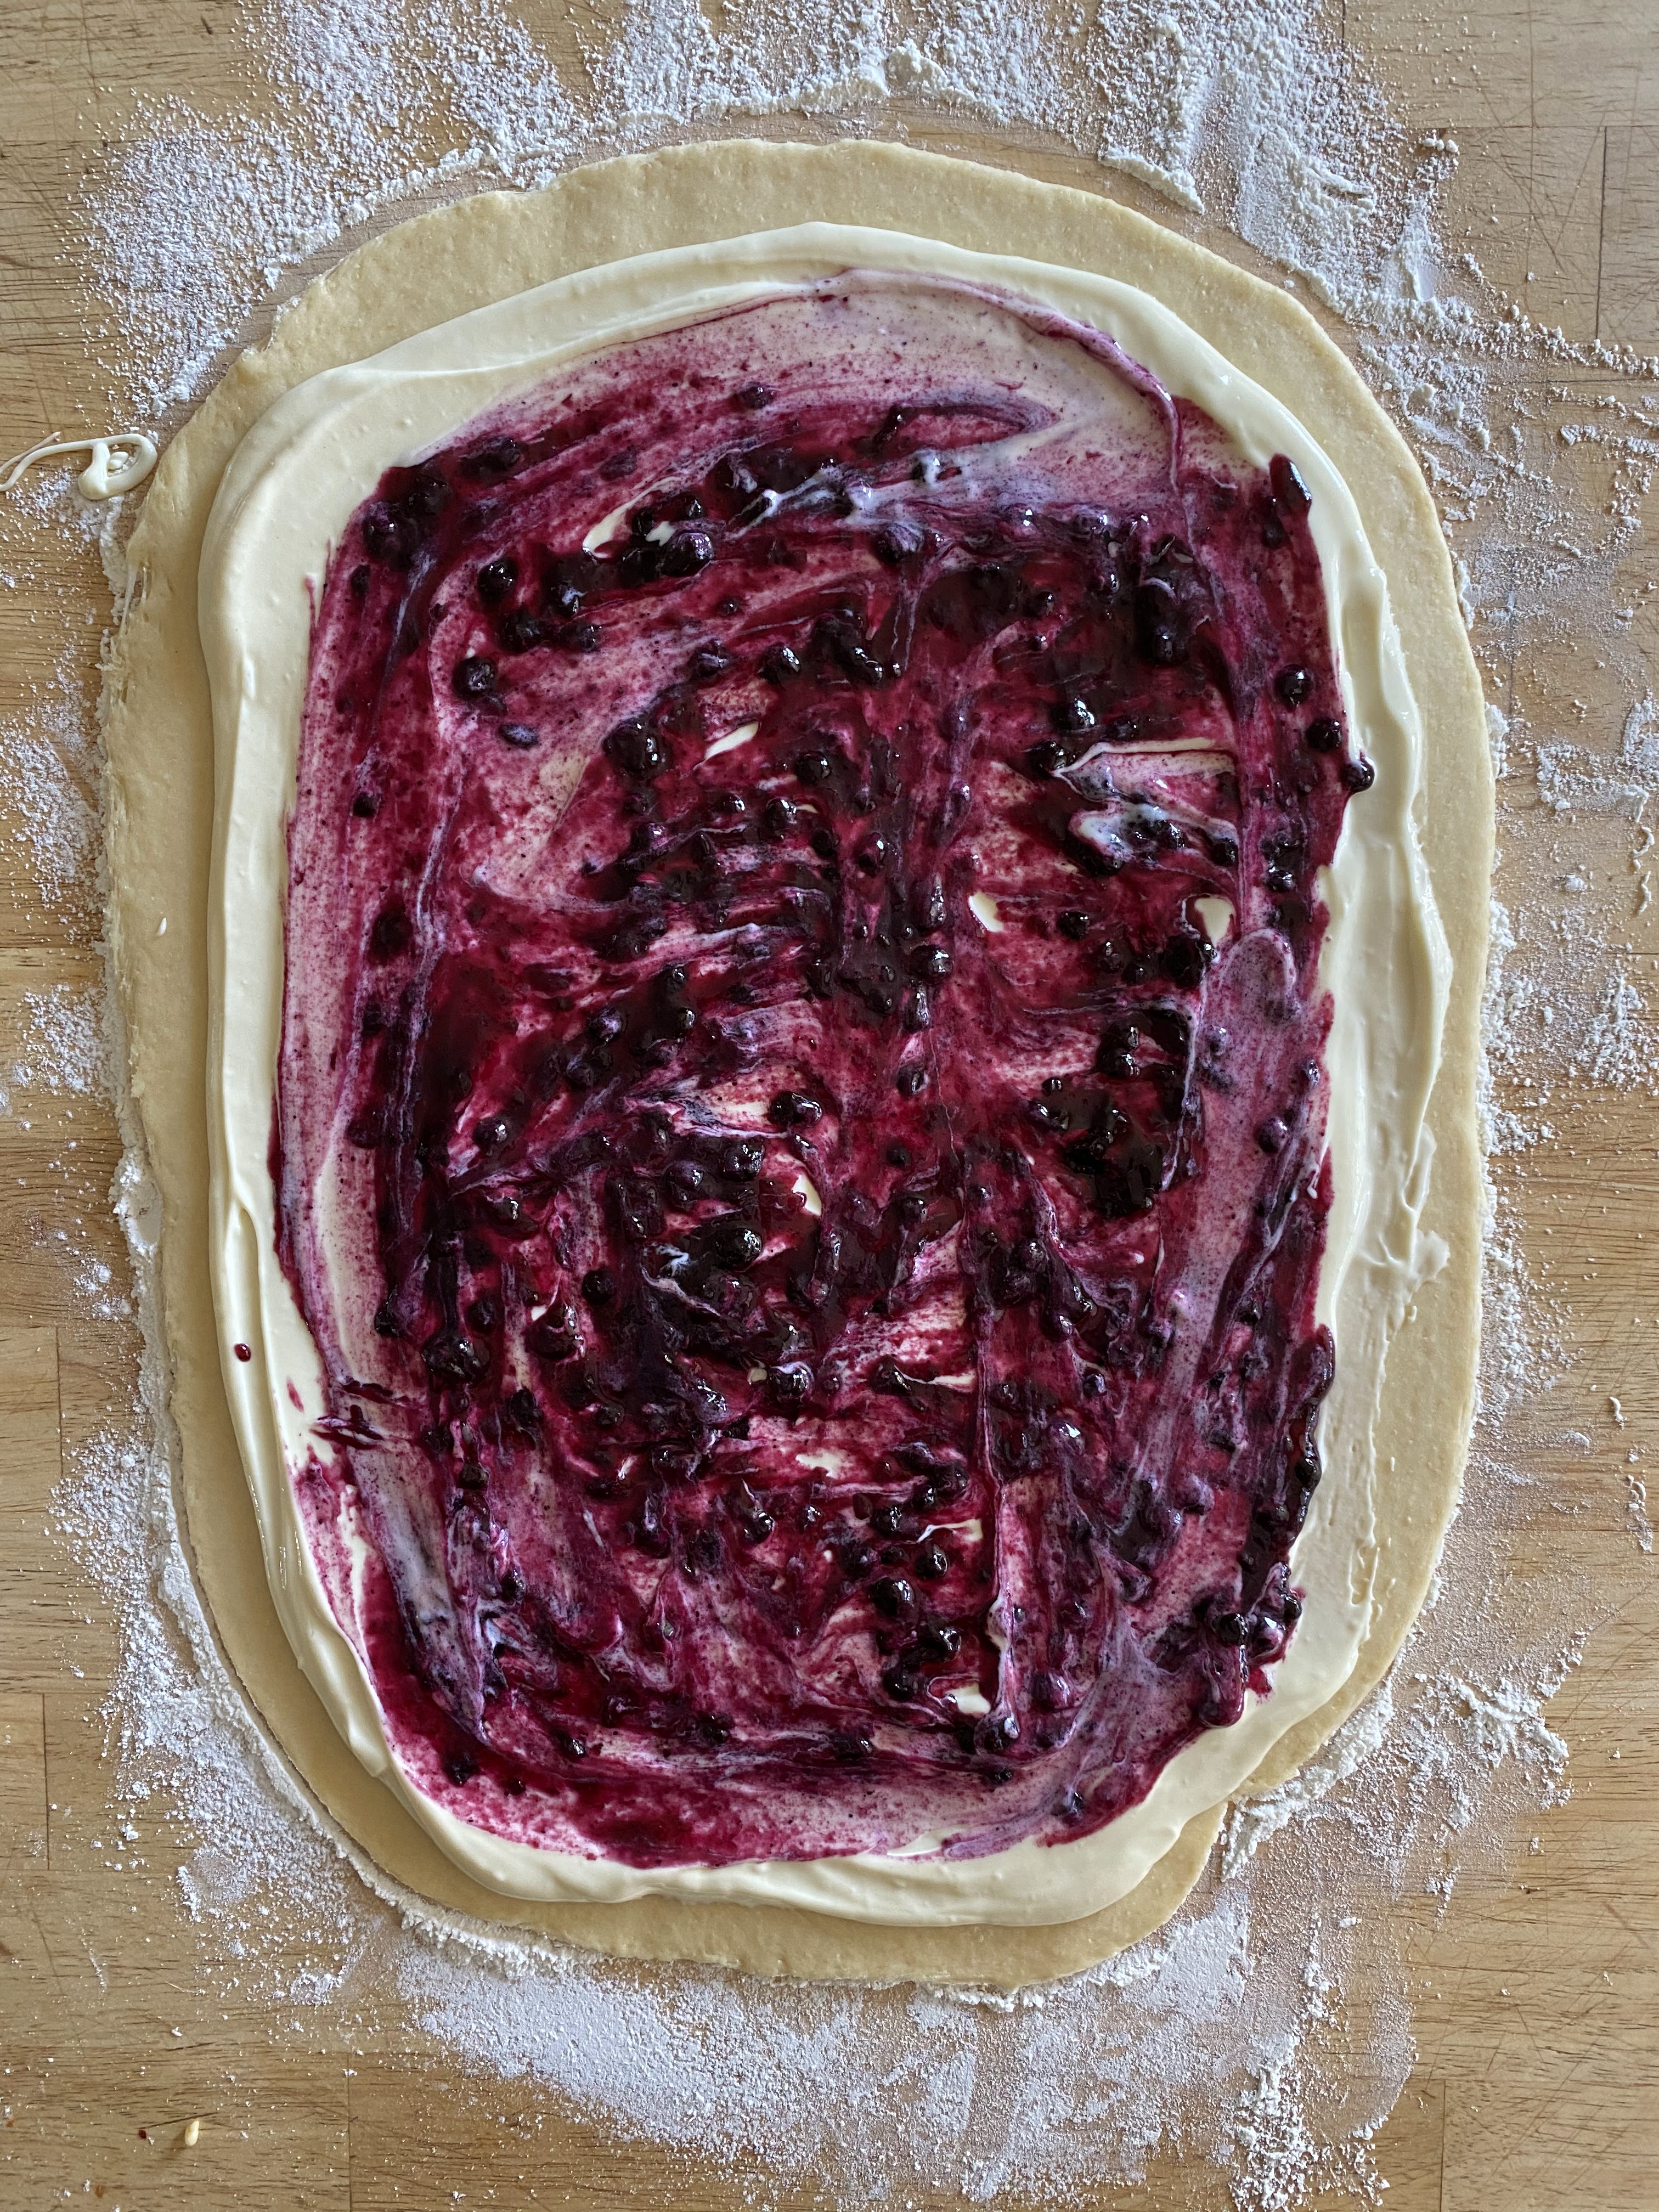
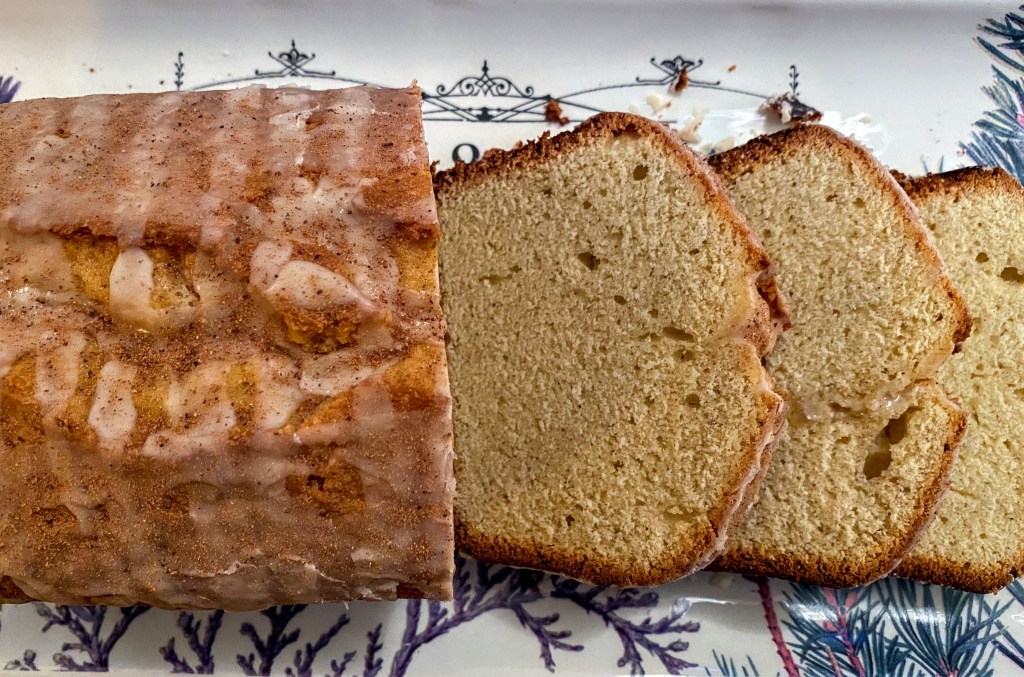
This decadent loaf is reminiscent of Cadbury’s popular Fruit & Nut chocolate bar. It’s got a soft, chewy crumb, a sturdy, crisp crust and is loaded with raisins, almonds and chocolate chips. I’ve adopted it from the Chocolate Sourdough Noir I found on Emilie Raffa’s website, The Clever Carrot. The website and her book, Artisan Sourdough Made Simple, are highly recommended for anyone with even just a passing interest in sourdough.

As with most sourdoughs, you have to feed your starter the night before, and it’s best if you use a Dutch oven, or some similar heavy-duty pot with a lid.

Step 1: Make dough

  • 500g bread flour
  • 50g cocoa powder
  • 9g salt
  1. In a medium bowl, measure the flour, cocoa powder and salt and whisk to combine. Don’t worry about the lumps of cocoa powder just yet. Set aside.
  • 350g room temperature water
  • 150g active sourdough starter
  • 50g brown sugar
  • 4g vanilla extract (that’s about 1 tsp)
  1. Measure the water, starter, sugar and vanilla into a large bowl, then whisk to combine.
  2. Sift the flour and cocoa powder into the liquid. If you don’t have a sifter, you can use a mesh-type colander.
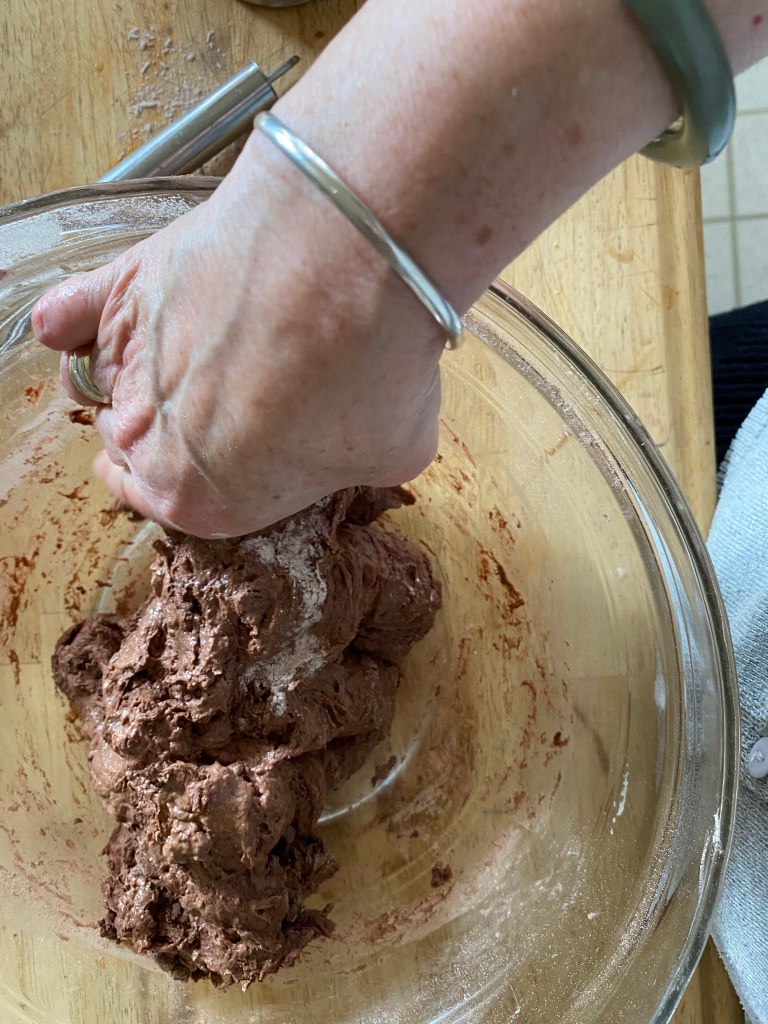
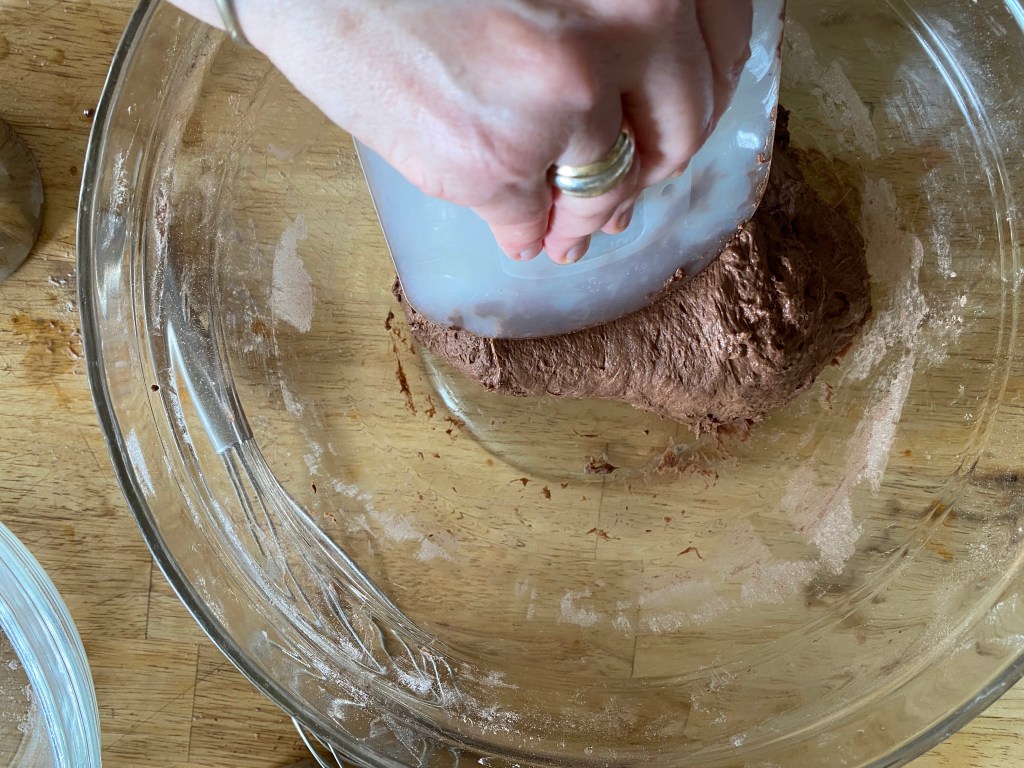
  3. Mix together with the handle of a wooden spoon, using wet bits of dough to scrape the dry bits off the sides. It’s a bit of a stiff dough, so kind of hard to mix.
  4. Use your dough/bowl scraper to scrape down the sides of the bowl. Then, place the scraper under one edge of the dough, lift it up a bit and then fold it over itself, as you use your other hand to squish any dry spots to ensure they get incorporated.
  5. Cover and set aside to rest for one hour. Meanwhile, prepare the fruit, nuts and chocolate chip mixture.
  • 65g raisins
  • 65g chopped almonds
  • 150g chocolate chips (not chunks, or mini chips)
  • 1 tsp vanilla extract
  • 1 tsp almond extract
  • pinch of salt
  1. Measure raisins, nuts, chocolate chips and pinch of salt into a small bowl.
  2. Add extracts, stir to coat, then set aside.
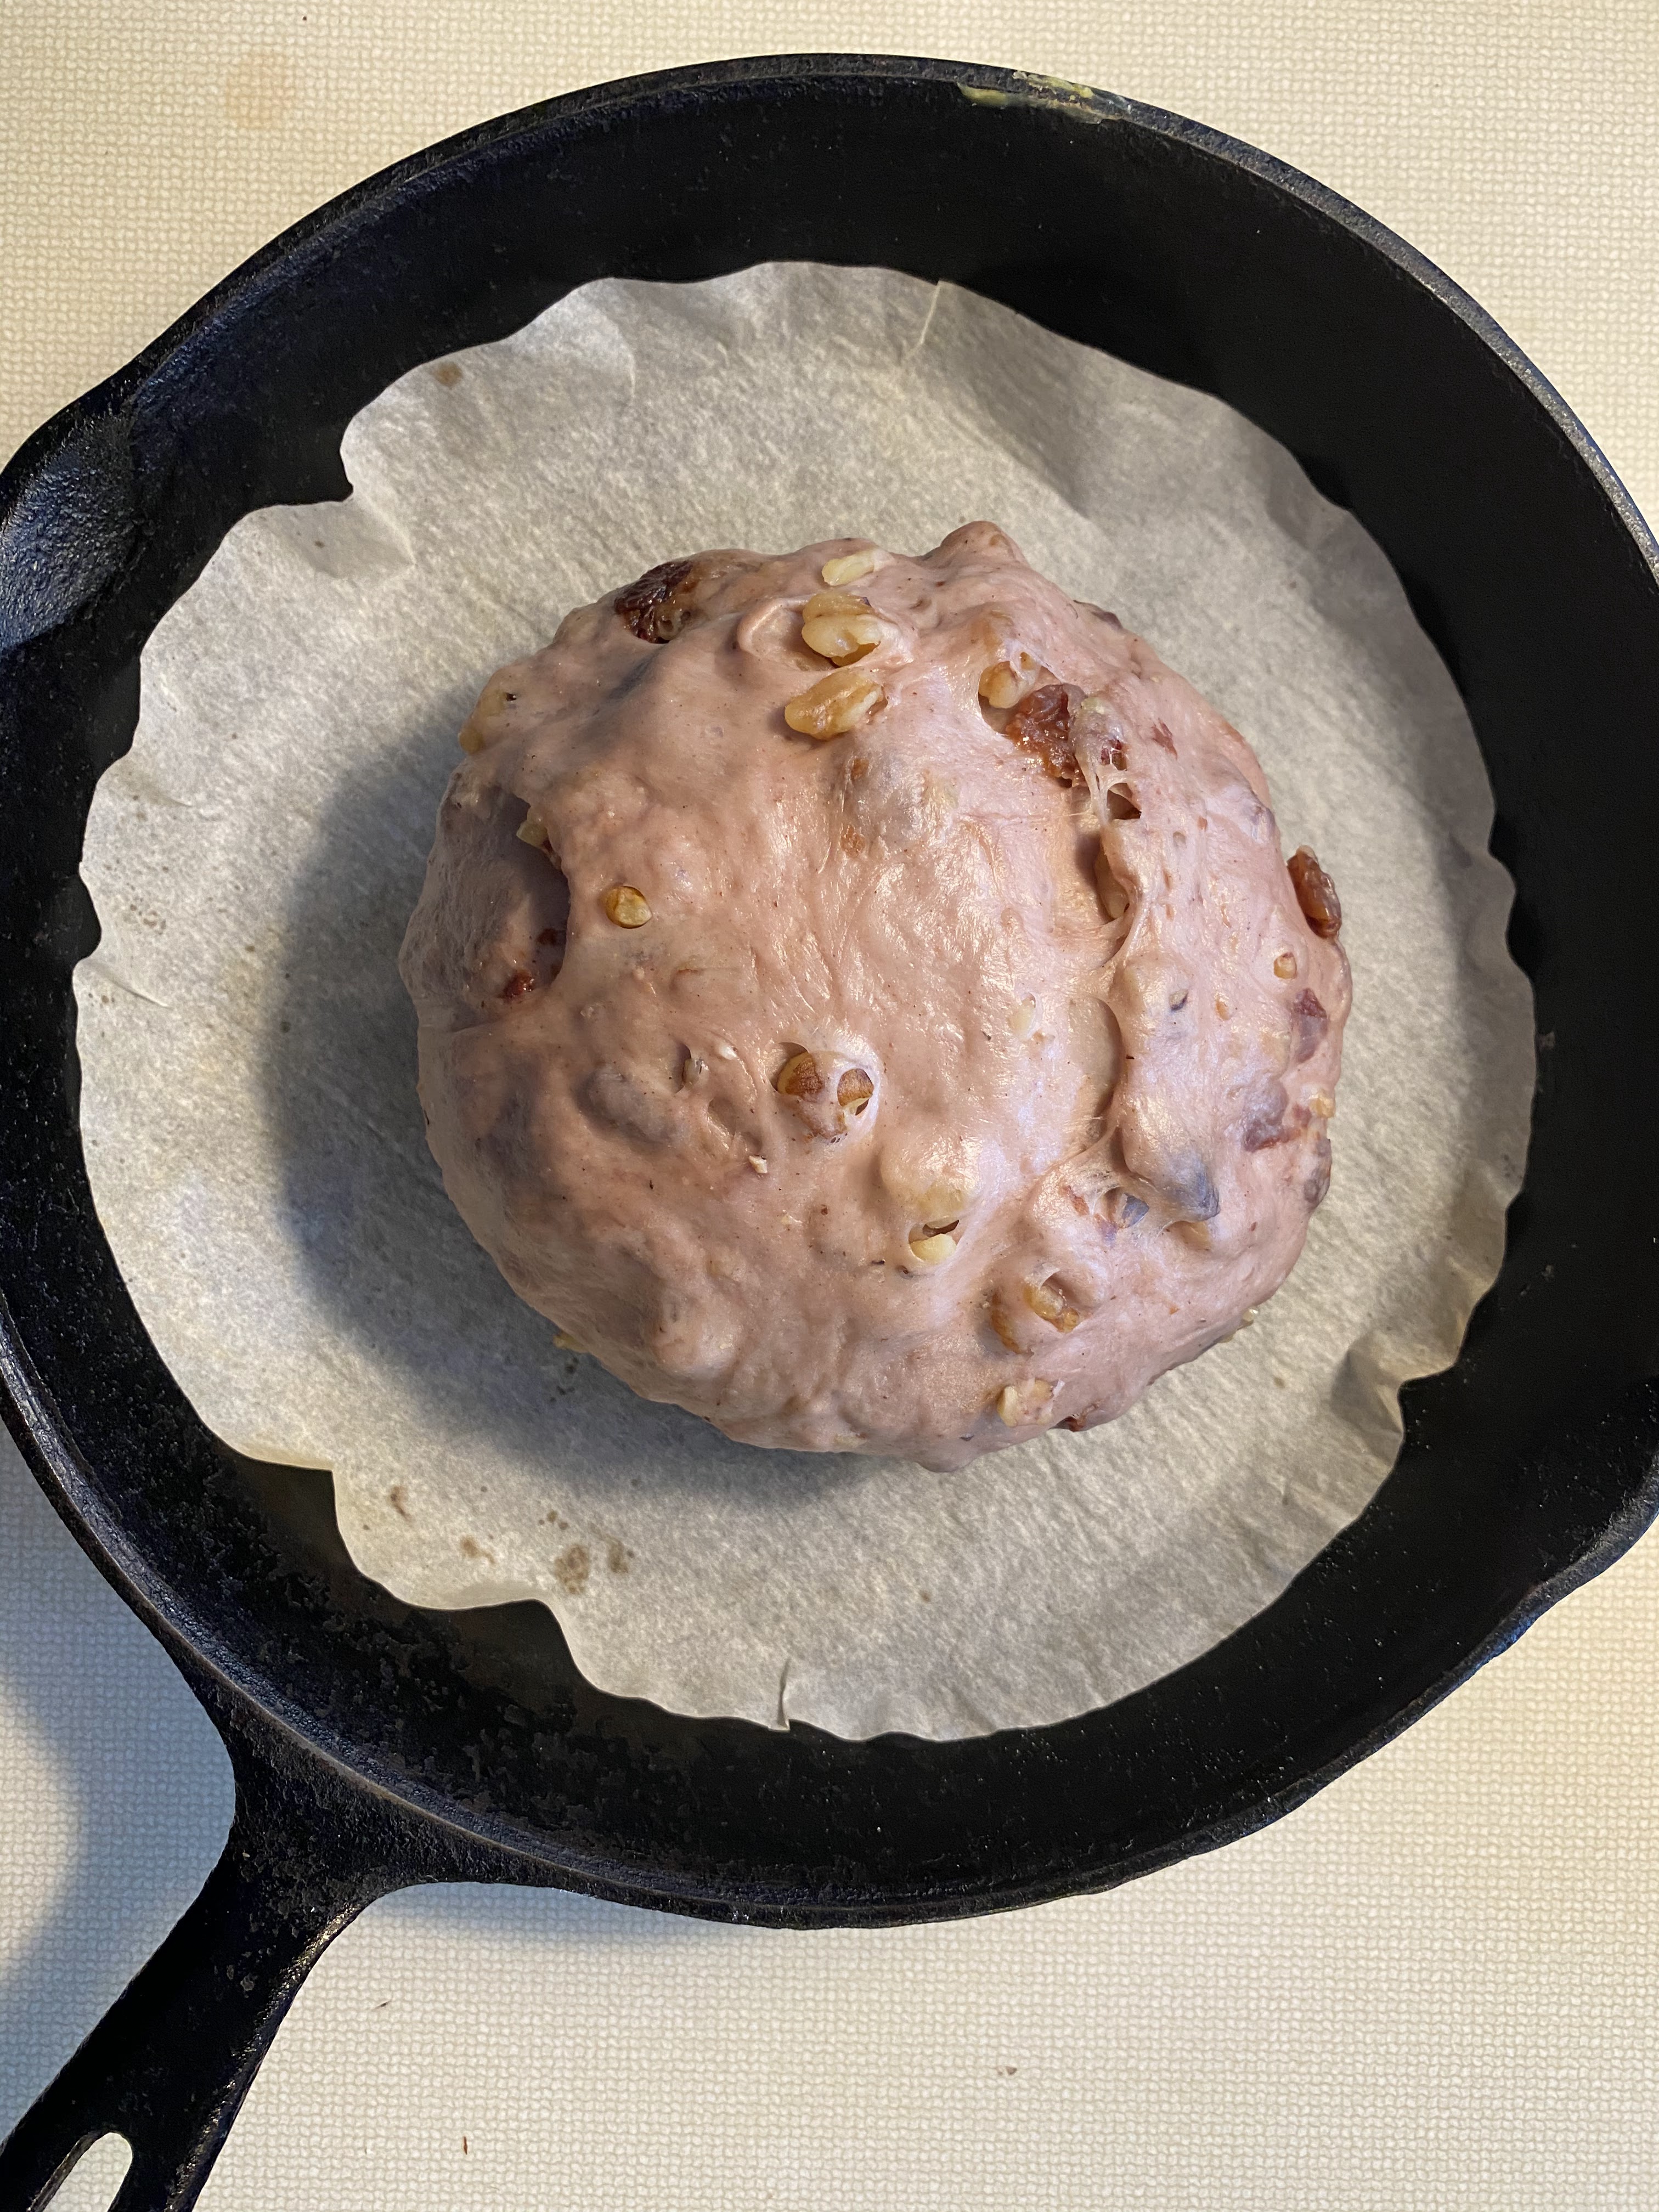
  3. After the dough has rested an hour, fold in the raisin/nut/chocolate mixture.

Step 2: Stretch & Fold kneading and resting

  1. Cover bowl and let rest in a warm place (72 degrees) for 30 minutes.
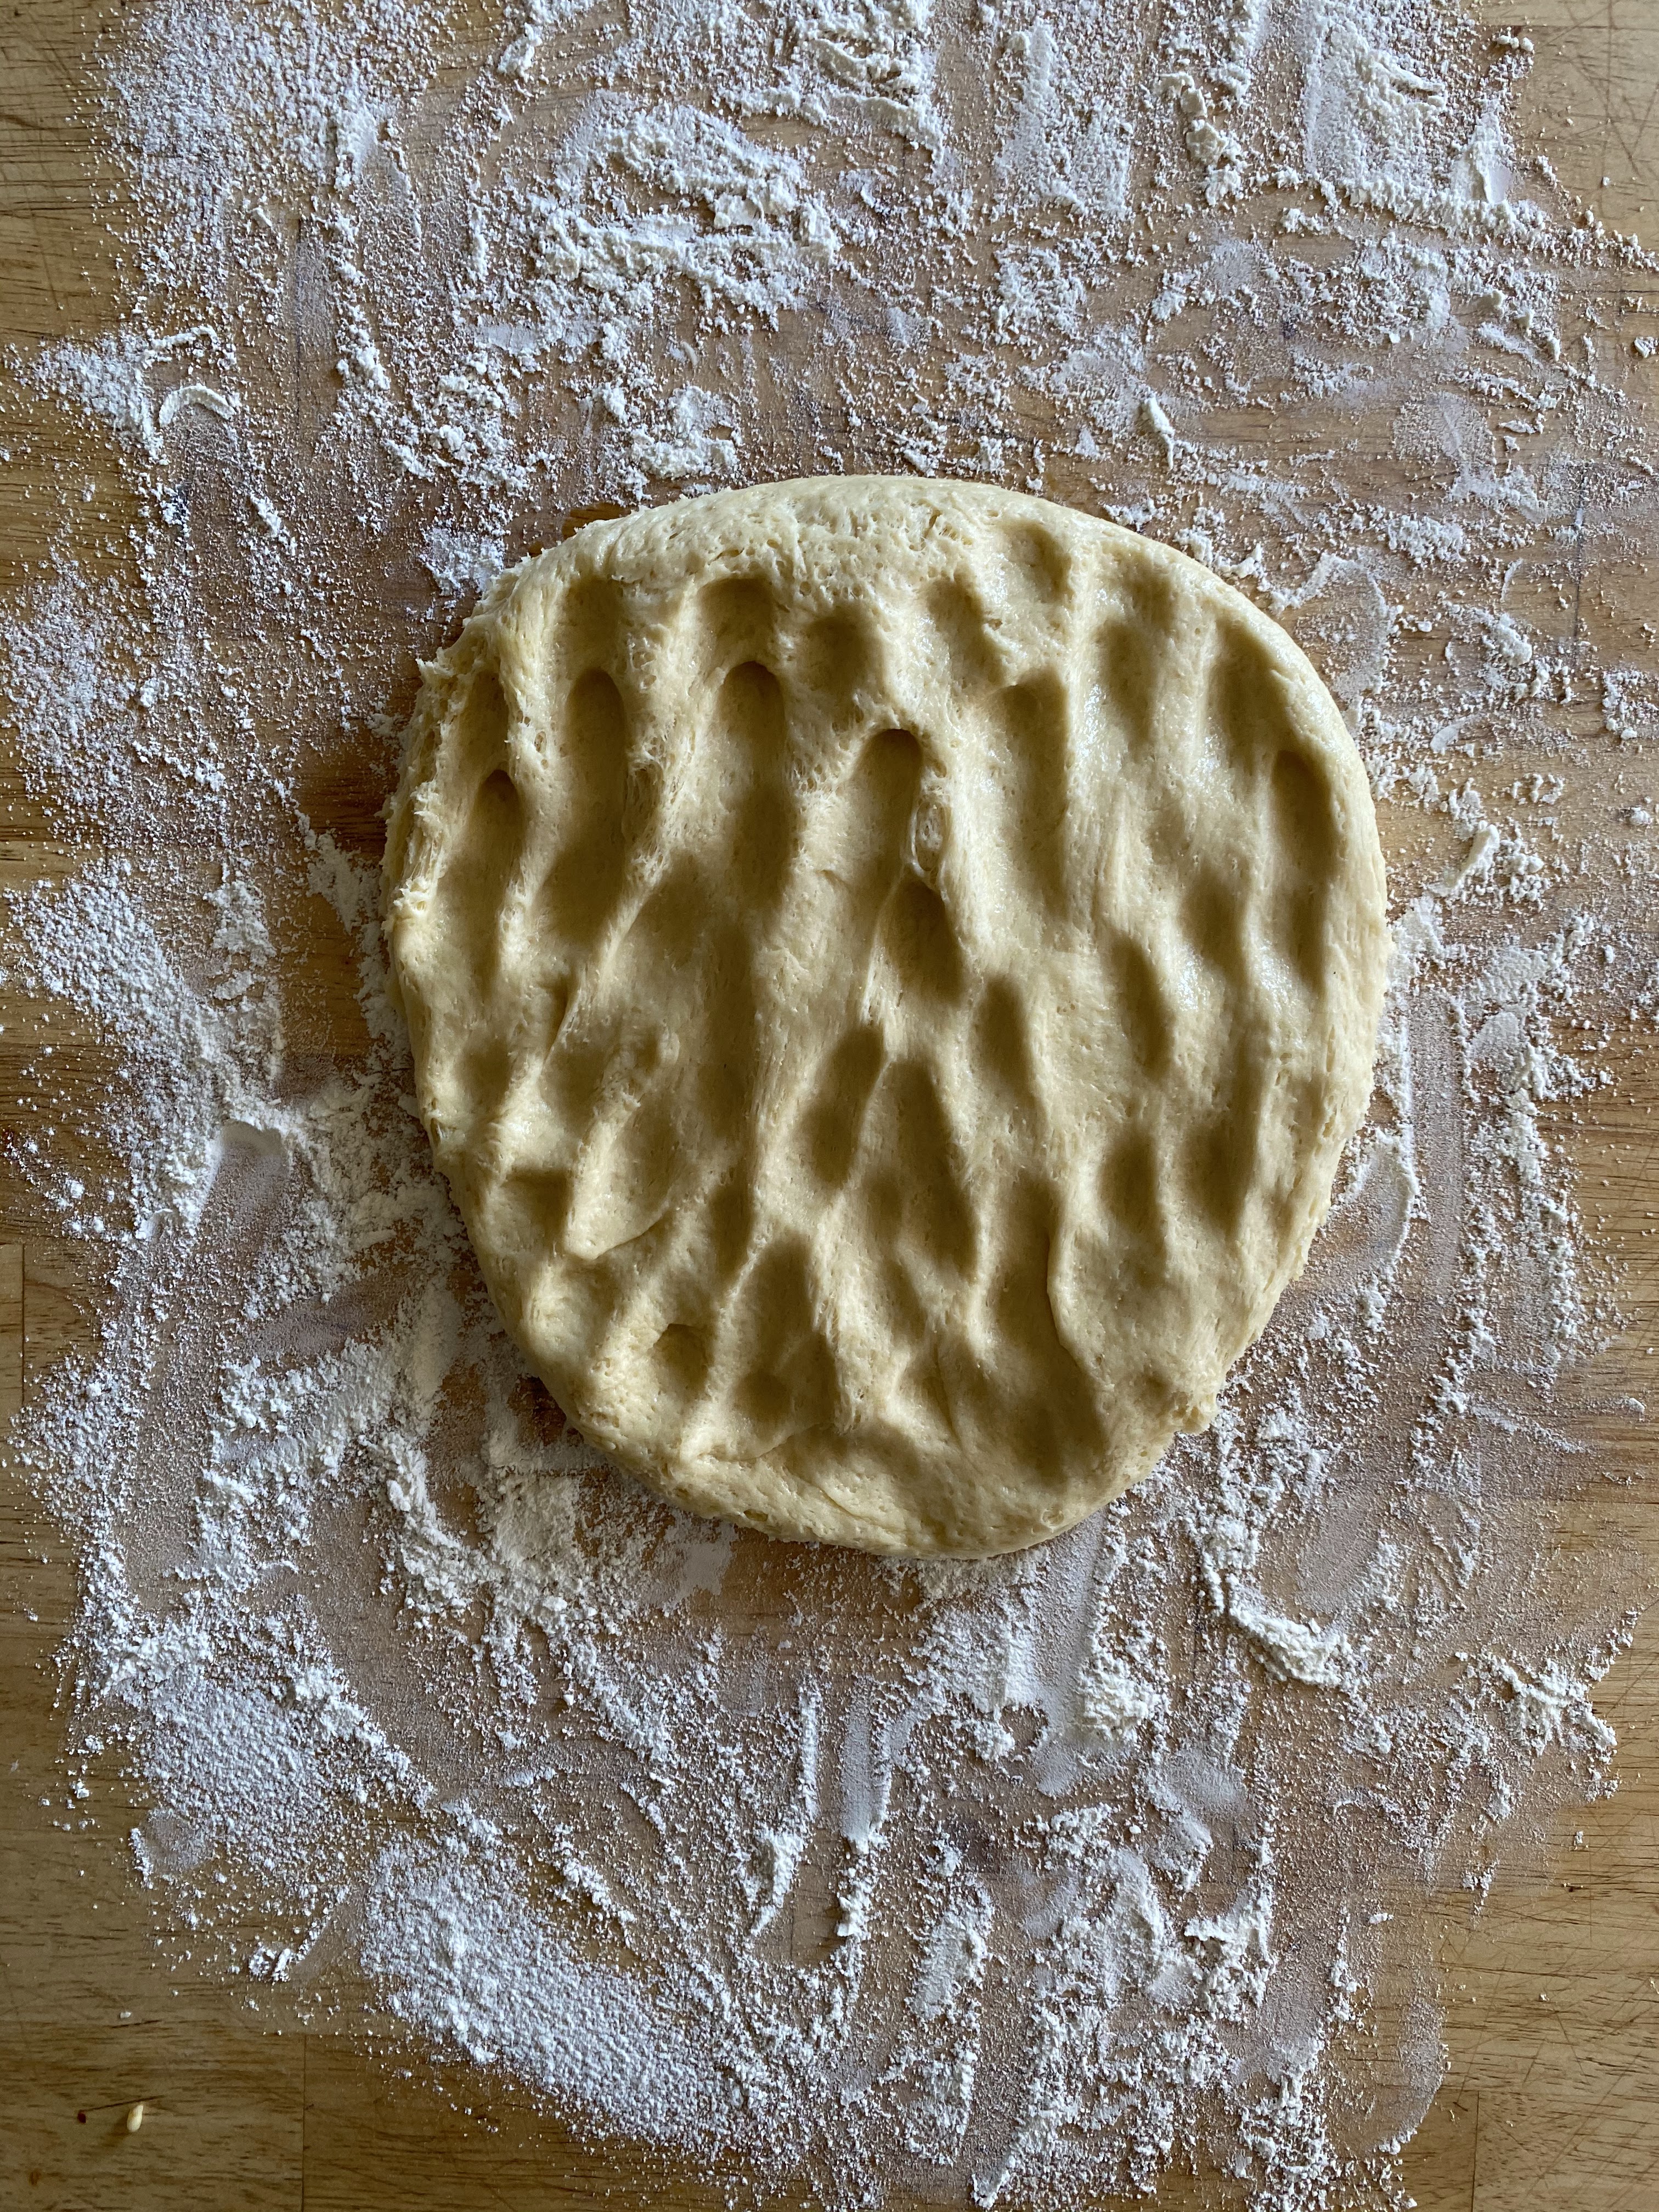
  2. Next, do a round of 4 stretch and folds (view the Stretch and Fold video under the heading “Kneading During Proofing” on the Video page for a visual). Turn over and tuck in sides.
    • Repeat #1 and #2 three more times for a total of four stretch and folds, and four 30-minute rests.
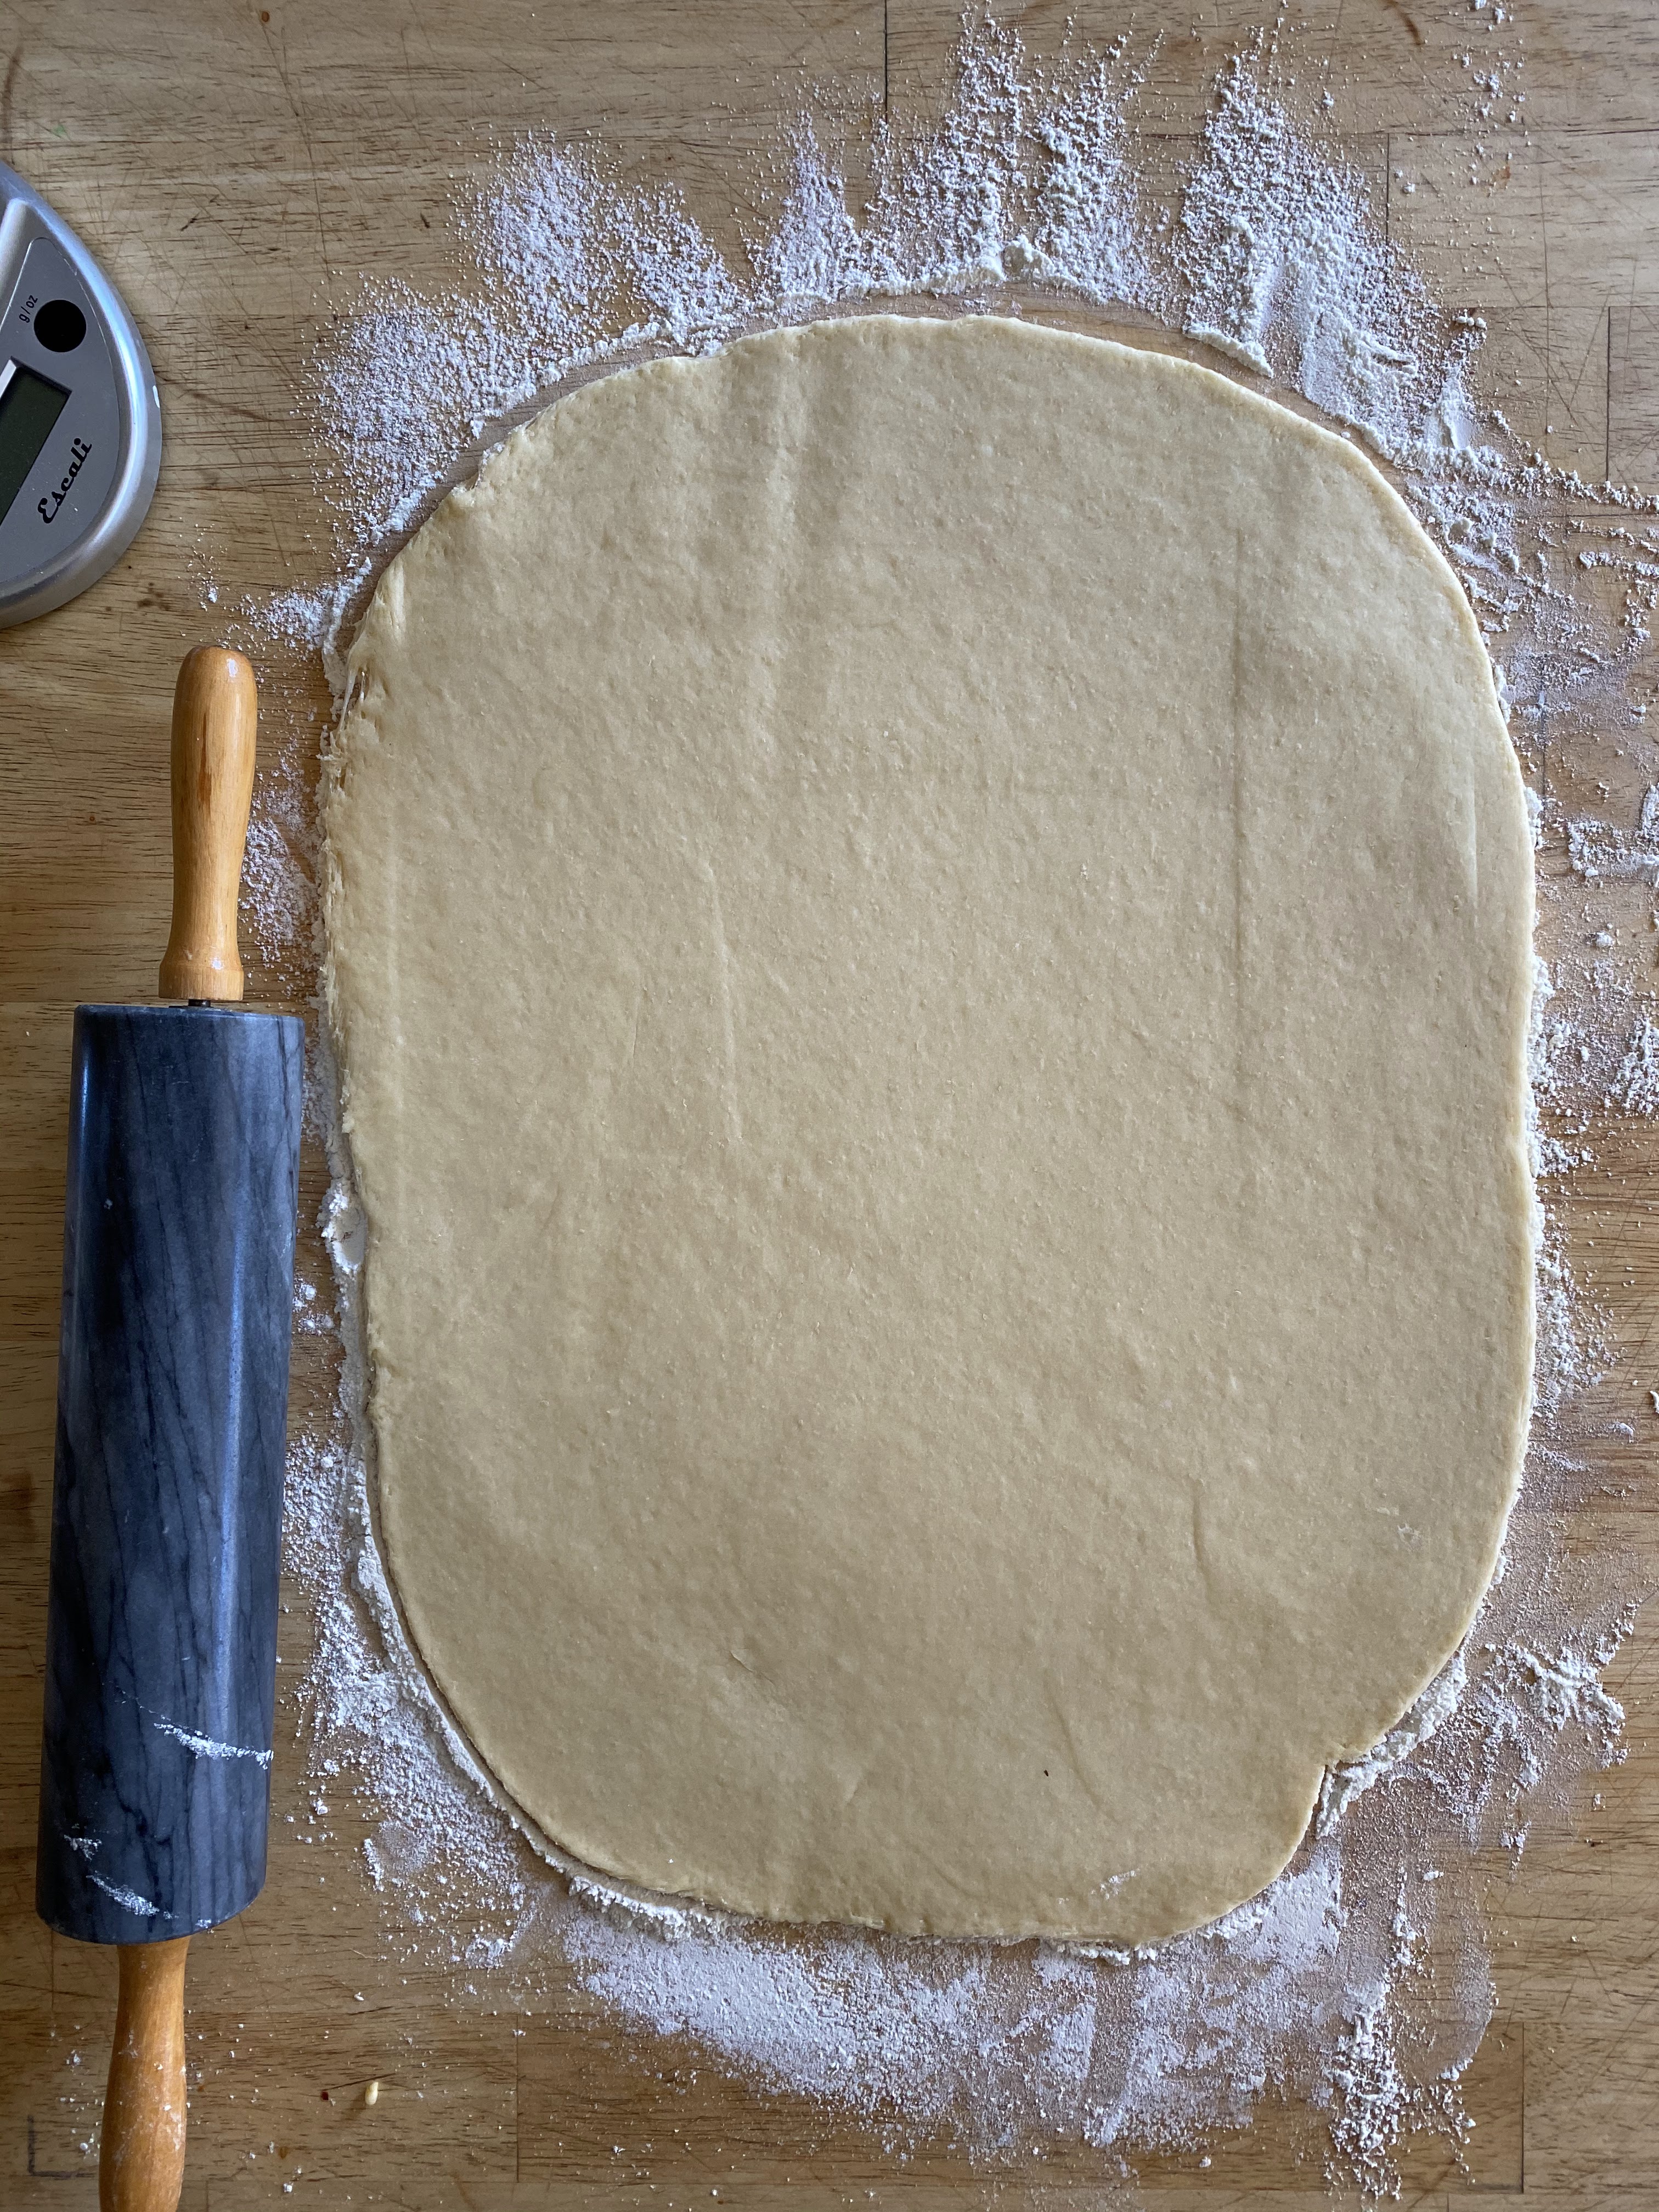
  3. Cover and let rest until it’s doubled in size and is puffy and wiggles a bit when you shake the bowl. The amount of time this takes is varied, and depends on the temperature of the room, anywhere from 3 (very warm, like summertime without A.C., to10 hours (very cool, like in the kitchen at night without the heater on).
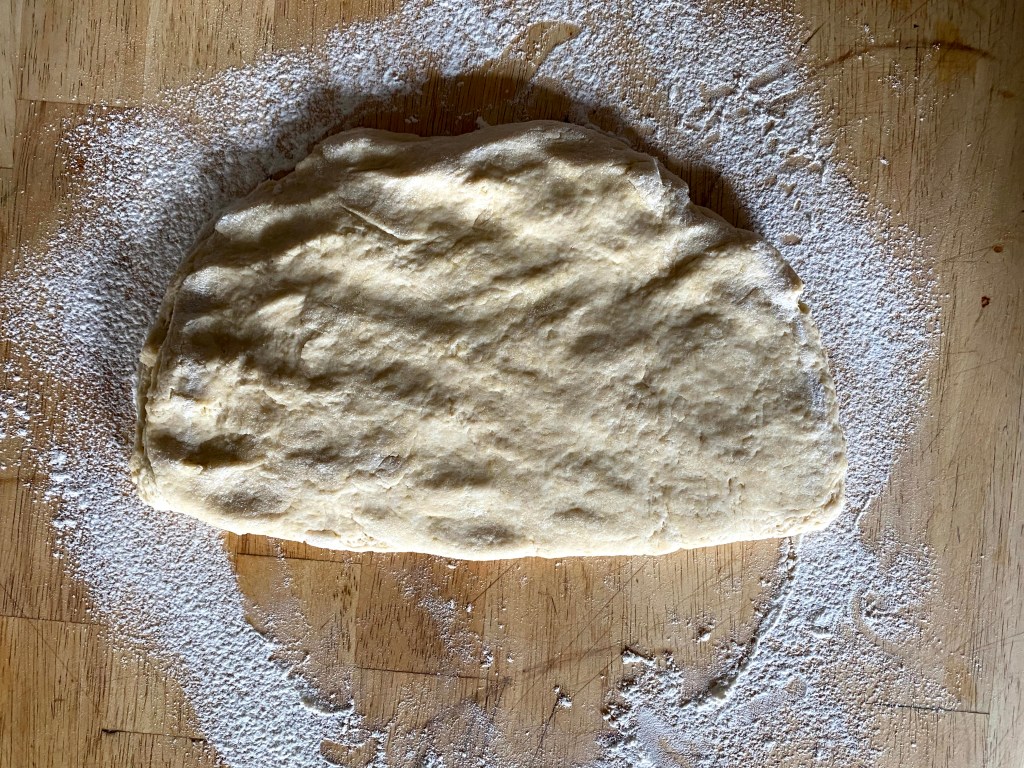
Step 3: Shape dough

  1. View the Shaping a Boule tutorial on the Video page for a visual.
    • Remove dough to a floured countertop.
    • Lift an edge, stretch it out a bit (it’s tighter than most doughs) and fold it in toward the center. Do this all around until all sides have been folder over.
    • Turn over, and cup the dough with your hands and rotate, pushing the the sides down and under a bit to make the surface taut.
    • On a non-floured surface, slide the dough towards you a bit to make the surface taut. Rotate and slide again.
  2. Place dough in a lined and floured basket, seam side up.
  3. Cove and let rise 30 – 60 minutes, until puffy (not doubled). If you want, you can put it in the fridge overnight instead of baking right away.
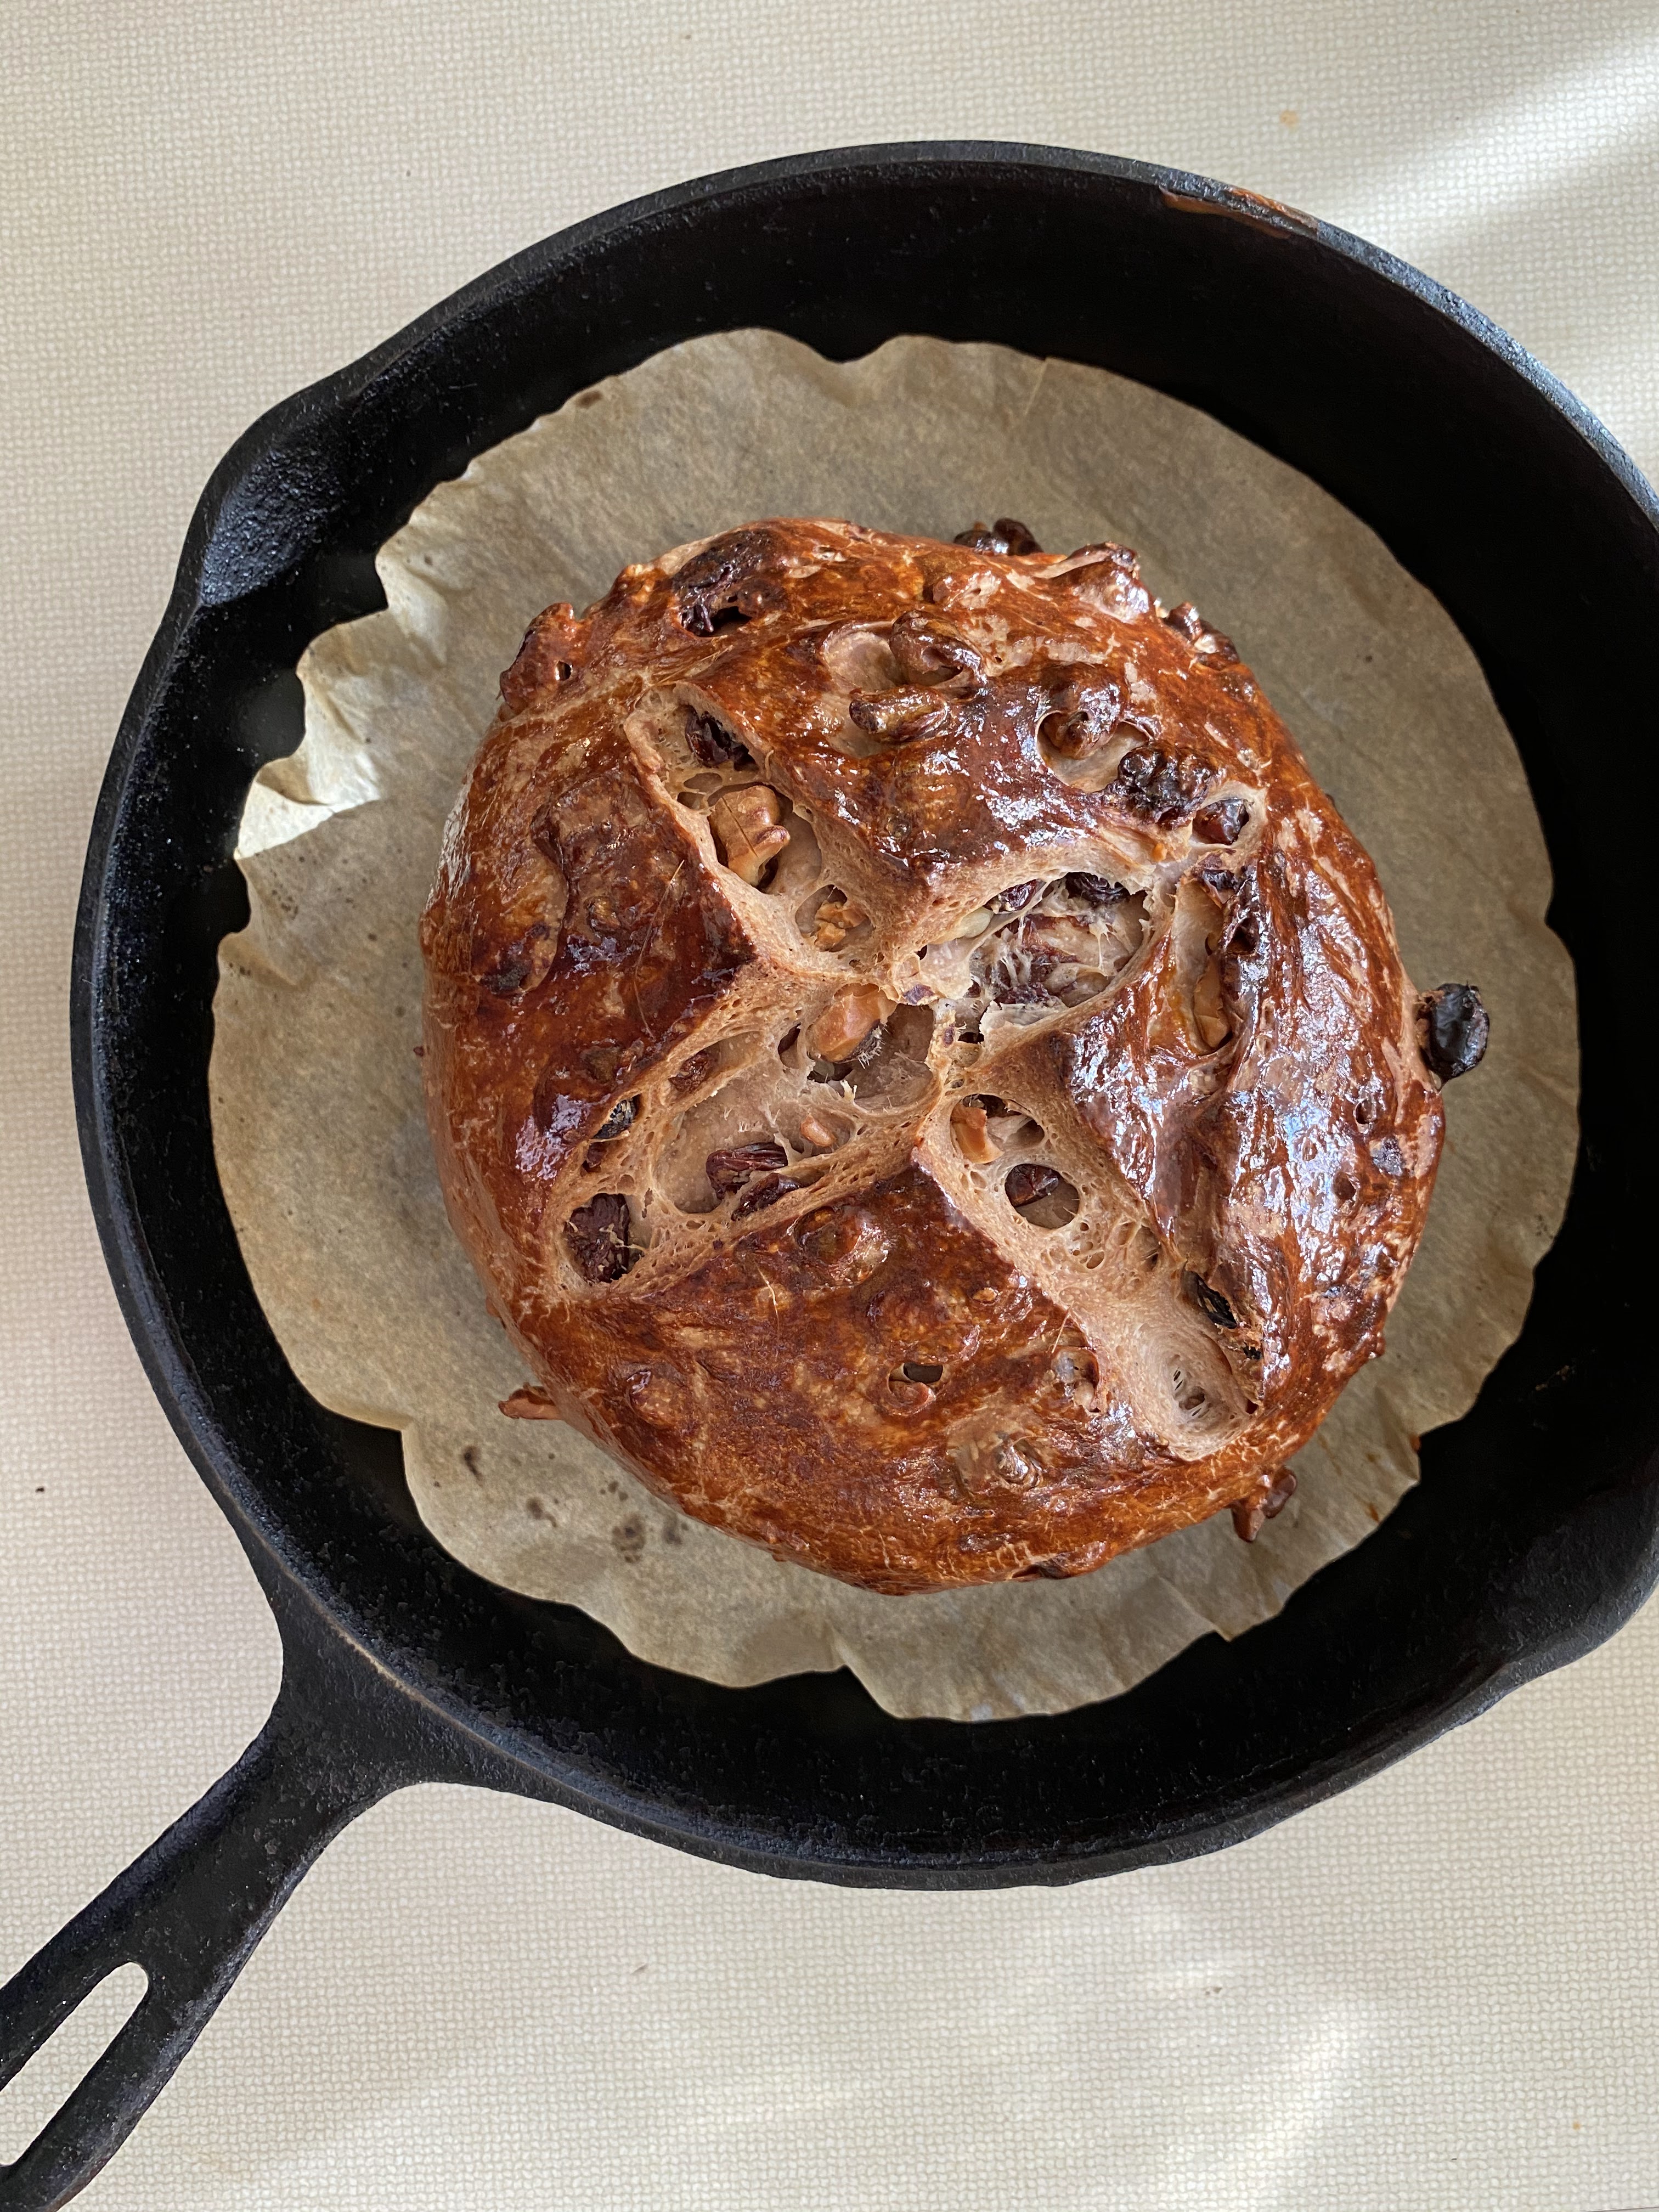
  4. Meanwhile, preheat over to 450 degrees, with your baking receptacle inside.
  5. Bake 30 minutes at 400 top on, 30 minutes top off, until it reaches 205 degrees.

Week 104: End of Year Two!

Smörgåstårta: I’m celebrating Breademic’s two-year anniversary, so have taken the week off from baking, and taking the opportunity to share with you Smörgåstårta, a Swedish sandwich cake that all bread bakers should be aware of. It’s beautiful, delicious, and makes great use of leftover bread! (More info below.)

Year Two was the year of sourdough. I tested three methods of making a sourdough starter (ended up adopting the most straight forward method and it’s never let me down), and also learned a lot of baking techniques. I looked for easy, quick breads to make in between sourdough bakes because they can be very time consuming, and a bit tricky,

These are my top five breads from Year Two. If you haven’t already, give one of them a try!

  • Week 56: Sourdough – This is the loaf to try if you’ve never made sourdough, but you really want to get involved with it. It is the most comprehensive recipe I found.
  • Week 59: French Sourdough – I like this one because you can use your starter straight from the fridge. That saves a lot of time, and gives you the ability to start making the bread as soon as you feel the urge.
  • Week 64: Everything Bagel Bread – This no knead bread is easy and absolutely delicious. You’ll find yourself making it again and again.
  • Week 70: No Knead Black Bread – This absolutely wonderful, complex loaf is a real crowd pleaser and should definitely be added to your repertoire.
  • Week 97: Pan co’Santi – This is a great bread to make for gifting. It’s beautiful and full of flavor.

Smörgåstårta is a savory bread-layered cake, and you can use any fillings you like (we prefer egg salad, smoked salmon spread, and bay shrimp mixed with sour cream and fresh dill), cover it with a cream cheese/sour cream mixture and then decorate with fruits, vegetables and/or herbs.

Smörgåstårta: Swedish Sandwich Cake
How to make Smörgåstårta 

If you’re new to the site, make sure to check out all the breads from Year One and Year Two, read over the Tips page if you’re new to baking, and if you find yourself as enamoured of bread baking as I, visit the Library page to see what my favorite bread baking books are.

Stay tuned for Year Three, which will have as it’s focus gluten-free breads!

Year Two Breads

Week 97: Pan co’Santi

ITALY: Just when I think I’ve settled on my favorite loaf, another one comes along that moves it down to second place. This Italian sweet(ish) bread is tradionally made around All Saints’ Day during October and November. It’s packed with raisins and walnuts (the Saints) and flavored with cinnamon, black pepper and red wine. Serve it with a green salad, some cheese, a vin santo, and call it dinner!

Step 1: Make dough

  • 400 g bread flour
  • 25g sugar
  • 7g salt
  • 2g cinammon
  • 3/4 tsp black pepper
  • 1/2 teaspoon yeast
  • 125g raisins
  • 150g chopped walnuts (they taste better if you toast them, but it’s optional)
  • 125g water
  • 75g red wine (like a Cabernet Sauvignon)
  • 50g  extra virgin olive oil
  • 1 egg yolk for brushing on surface just prior to baking
  1. In a med-large bowl, measure the flour, sugar, salt, spices and yeast together and whisk well to combine.
  2. Add the raisins and mix with the whisk, breaking up any clumps
  3. Measure the water, wine and oil into a separate container and stir to mix.
  4. Add to the flour.
  5. Mix with one hand until a soft, but fairly stiff dough forms. You don’t want any dry bits of flour. If it doesn’t come together fairly quickly, after about a minute, then make sure you’ve poured in everything from the container that had the water/wine/oil, and add just 1 Tbsp of water. That should do the trick. Don’t worry about any bits of flour stuck in the walnuts, it’ll get absorbed.
  6. Scrape off any bits that are on your hand into the bowl. Pat it down so the surface is fairly flat, i.e. not a ball.
  7. Cover and let rest at room temperature overnight, 12 – 16 hours.

Step 2: Shape and proof

  1. Next day, remove dough from bowl and do some stretch & fold kneading. It’s a tight dough, so it won’t stretch a whole lot.
  2. Flip it over and let rest 2 hours in a warm place
  3. Remove the dough ball onto an oiled countertop.
  4. Stretch the sides out, then fold over into the middle. Turn over and shape into a ball. Place on a baking sheet, cover and let rest another 1 hour.
  5. Preheat oven to 350°F.

Step 3: Bake

  1. Brush with a beaten egg yolk, then score with a cross.
  2. Bake 50 minutes until dark brown and glossy.
  3. Remove the bread from the oven and let it cool thoroughly. It’s best if you can wait a day before opening.

Week 91: Mardi Gras Babka

Last year, during Week 43, we made a traditional King Cake, which is more like a yeasted cake than a bread. This year we’re doing a take on the most popular version that is sold in bakeries today, with a rich, sweet, brioche-type dough, a cream cheese filling, and covered with a butter and cream cheese frosting on the top.

Step 1: Make dough

  • 115g (1/2 cup) milk
  • 70g (5 Tbsp) butter, softened/room temperature
  • 1 egg
  1. Warm the milk to about 100 degrees
  2. Add the butter in small pieces and stir until melted
  3. Add the egg and whisk to combine.
  4. Set aside
  • 260g flour
  • 50g sugar
  • 5g yeast
  • 2g (1/4 tsp) salt
  1. Measure dry ingredients into the bowl of a stand mixer, and whisk to combine.
  2. Use the paddle attachment, and on low speed, add wet ingredients into dry ingredients until combined.
  3. Mix on high for 30 seconds, then low for 30 seconds.
  4. Dough should be soft, but not sticky, when you press your fingers on it. If it’s really sticky, add flour, one tablespoon at a time. Shouldn’t need to add more than 1 or 2.
  5. Scrape dough out and place in a lightly oiled bowl. Cover and let rise in a warm place for about 2 hours. It won’t double in size like other bread doughs, but it does need to have risen a bit.

Step 2: Make fillings

  • 8 oz cream cheese (1/2 packet) You need the solid block type.
  • 1/2 cup sugar
  • 1/2 cup blueberry jam
  1. Put cream cheese in a bowl and warm it just a bit so that it softens and is easier to spread, but don’t melt it.
  2. Add sugar and mix until well combined. It’s kind of hard at first, but it’ll happen.
  3. Once it’s all mixed in, use a whisk to soften it up a bit more.
  4. Measure out the jam.

Step 3: Fill and Shape

  1. Line a 8″ x 4″ loaf pan with parchment paper
  2. On a heavily floured surface, roll dough into a 16×12-inch rectangle. If your household is warm, do this on a piece of parchment on an upside-down cookie sheet, so that you can put it in the fridge to stiffen a bit.
  3. Spread cream cheese mixture onto dough, leaving a 1-inch border on one short end, then add jam on top.
  4. Starting at the other short side, roll up dough, jelly roll style, pressing the edge to seal.
  1. Trim ends if they don’t have filling in them.
  2. Using a bench scraper or sharp knife, cut roll in half lengthwise.
  3. Overlap one roll onto the other to form an “x” with cut sides up.
  4. Carefully twist dough pieces around each other, then lift and place in an 8 x 4″ loaf pan, cut side up. It’ll seem like you can’t lift it, but just do it. It’s okay if it’s messy – once it lands in the pan it’ll be just fine.
  5. Tuck the two ends underthemselves.
  1. Cover and let rise in a warm place about 30 minutes.
  2. Preheat oven to 350 degrees

Step 4: Bake

  1. Bake for 30 – 45 minutes, covering the top if it starts to brown too much. Inside temperature should be 190 degrees.
  2. Let cool on a wire rack completely before icing

Step 5: Decorate

  • 4 oz butter, softened
  • 4 oz cream cheese
  • 2 cups powdered sugar
  • pinch of salt
  • purple, green ane yellow sugars*
  1. Mix butter and cream cheese until combined
  2. Add powdered sugar and mix
  3. Beat by hand with a whisk to fluff it up a bit
  4. Spreead on top of babka, and decorate with coloured sugars

Homemade coloured sugars

  • 1-1/2 cups granulated sugar
  • purple, green, yellow liquid food coloring
  1. Use 3 zip-lock bags to make coloured sugar, placing 1/2 cup sugar and 8 drops food colouring in each one. Shake to combine.

I adopted my recipe from Charlie Andrew’s New Orleans Cream Cheese filled King Cake. I highly recommend it, if you want to give it a try!

Week 90: The Queen’s Scones

I tested a lot of scone recipes, with a variety of combinations of ingredients: cream/butter, milk/butter, no butter/just cream, and or buttermilk. I also tried recipes that used cake flour, self-rising flour and just regular flour. They all work, and the differences with some were quite subtle. And then I came across this one from one of the Queen’s chefs, Darren McGrady, and finally stopped searching. This is THE ONE!

I’ve listed the ingredients and the method, and if making them for the first time, watch the video so you’ve got the method down. This batch makes 16 2-inch scones.

I’ve also included a video on how to make your own clotted cream. I just cheat and buy a pint of cream; use 1 cup for the scones then thicken the other cup with an immersion blender, rather than whipping it which adds air, so then it’s too fluffy.

Ingredients

  • 3 ¼ cups all-purpose flour (450grams)
  • 1 stick soft butter (113grams)
  • ½ cup plus 1 Tbs granulated sugar (136g)
  • 4 tsp baking powder (20g)
  • 1/4 tsp salt *
  • 1 egg
  • 1 cup milk, half-and-half or cream (I recommend cream)
  • 1 cup sultanas or currants (optional)
  • 1 egg yolk
  • the salt is my addition – it’s not part of his recipe/method

Tips:

  1. Cut the butter into little pieces.
  2. I mixed the dry ingredients with the butter in the stand mixer with the paddle attachement until very well combine.
  3. Measure 1 cup milk (or cream) into a pyrex measuring cup, then added the egg and whisk it to combine.
  4. Use a 2″ cookie cutter, and do not twist when pressing down on the dough.
  5. Keep cookie cuteter coated in flour so the dough doesn’t stick
  6. I bake them pretty close together, so that they don’t tilt, just a fingertip width apart
  7. Bake at 350 for 15-20 minutes

Here is a critique on the tea scene where the the Queen has tea with Jackie Kennedy.

Week 85: Eggnog Tea Loaf

Just after Halloween, I make a large batch of aged, aka boozy, eggnog (my favorite is Michael Ruhlman’s 30-day Eggnog) and put it in the back of the fridge until Christmas time. This year, we had a little bit left over so I decided to make a tea loaf with it, and wow, what a treat! SO good with a cup of Earl Grey in the afternoon, and even better after dinner with some Traditional Swedish Egg Coffee. It’s super easy to throw together, and also makes for a nice hostess gift over the holidays.

  • 1 stick butter, softened
  • 1 c granulated sugar
  • 2 eggs
  • 1-1/2 c flour
  • 1/2 tsp salt
  • 1 tsp baking powder
  • 1/2 teaspoon ground nutmeg
  • 3/4 cup eggnog (measure it into a Pyrex liquid measuring cup)
  • Glaze:
    • 1 cup powdered sugar
    • 3 tablespoons eggnog
    • 1/8 tsp nutmeg
    • pinch of salt
  1. Butter and flour an 8.5″ x 4.5″ loaf pan and preheat oven to 350.
  2. With electric beaters, or a stand mixer, cream the butter with the sugar until well combined.
  3. Add the eggs, one at a time, and beat until thoroughly mixed in.
  4. Measure the flour, salt, and baking powder into a separate bowl, and whisk to combine
  5. Add the dry ingredients into the wet in batches, alternating with the eggnog, and mixing to combine after each addition.
  6. Pour batter into prepared pan.
  7. Smooth the top with a rubber spatula.
  8. Bake for 50-60 minutes, until an inserted knife comes out clean. If the top starts to brown too much before it’s ready, cover it with a tin foil tent. Do not over bake!
  9. Meanwhile, make the glaze: Measure everything into a bowl and whisk to combine.
  10. Remove loaf from pan and let cool of a rack.
  11. Drizzle with glaze, and sprinkle with freshly grated nutmeg.

Week 83: Nutmeg Apple Bread

This makes a nice change from cinnamon raisin bread. It’s based on King Arthur Baking’s version here, and I’ve made a few adjustments, and added some suggestions to avoid some of the problems I encountered when I made it first time around.

Continue reading “Week 83: Nutmeg Apple Bread”

Week 80: Thanksgiving Loaves

Representing the three pies we make at Thanksgiving: Apple, Pumpkin and Pecan. This is a good use of any leftover pumpkin or applesauce you might have, so you can use any combination of the two. Or, just one if that’s all you’ve got. I use mini loaf pans so that I can freeze them and have them at the ready over the holidays when folks drop in for tea, or as hostess gifts.

  •  4 large eggs
  •  1-1/2 cups granulated sugar
  • 1-1/2 cups applesauce
  • 1-1/2 cups canned pumpkin
  •  2 sticks unsalted butter
  •  3 cups flour
  •  1 Tbsp baking soda
  •  1 tsp salt
  • 3/4 tsp cinammon
  • 1/2 tsp nutmeg
  • 36 pecan halves, or sliced almonds
  1. Preheat oven to 350.
  2. Butter and flour 6 mini loaf tins, or 2 loaf tins.
  3. Melt butter, and allow to cool.
  4. WIth the paddle attachement, on high speed, (increase speed in increments so that it doesn’t splash all over the place), mix the eggs and the sugar until light and fluffy and a very pale yellow.
  5. Add the applesauce and pumpkin and mix to combine.
  6. Add the cooled, melted butter, and mix to combine.
  7. Measure the dry ingredients into a separate mixing bowl, and wisk to combine
  8. Add the dry tingredients to the wet in batches, mixing until incorporated. Do not over beat.
  9. Pour into prepared tins. Decorate with nuts.
  10. Bake about 25-35 minutes. Same baking time for mini vs loaves, but watch them towards the end.

Week 71: Pan di Ramerino

ITALY: I love these little buns! They are both sweet and savory, and when served with cheese, make for a hearty teatime snack (although in Italy, it’s more common to have them with coffee or a sweet wine). They were traditionally made for Giovedi Santo (Holy Thursday), but are now sold in Florentine bakeries all year long. In the middle ages, the rosemary was thought to ward off evil spirts, and the grapes and flour represent the Holy Communion.

The video instruction is in Italian, so I’ve listed the ingredients below. I decided not to coat them with the syrup, as I found they don’t really need to added sweetener, and it makes them difficult to handle.

When ready, bake at 350 degrees.

BIGA LIEVITINO

  • 7g/2tsp yeast (video shows fresh yeast, so I’ve converted to granular yeast)
  • 4g (1 tsp brown sugar)
  • 100g warm water
  • 100 all purpose flour (that is our equivalent to 0 flour)

RAISINS

  • 150g raisins
  • 50g vin santo (Italian dessert wine. Sweet sherry, or any sweet white wine will do)
  • 200g water

ROSEMARY

  • 5g rosemary (3-4 sprigs)
  • 90g extra-virgin olive oil

DOUGH – (you can mix and knead in a stand mixer all at once – even the raisins.)

  • lievitino
  • 50g brown sugar (I used just 25g)
  • 150g water
  • 400g all purpose flour
  • 10 gr of salt
  • rosemary olive oil

TOPPINGS

  • 1 egg, to brush tops before baking
  • 75g sugar + 75g water for tops after baking

Week 67: Angel Biscuits

Angel biscuits are made with three leavening agents: baking powder, baking soda and yeast. The unusual addition of yeast creates a texture that is a cross between a biscuit and a soft dinner roll. A perfect foil for Chef David Bull’s Sawmill Gravy.

This dough is very forgiving, and can be stored in the fridge for up to five days, or you can cut the dough into rounds, place them on a cookie sheet to freeze, then pop them in a zip lock and freeze until ready to bake however many you like.

Most recipes use a combination of shortening and butter, but biscuits were originally made with lard, and because of the low water content (compared to butter) it does produce a superior biscuit: fluffy, flakey and airy.* Don’t want to use lard or shortening? These biscuits were made with ghee which makes a really tasty substitute (but not necessarily any healthier*) Here’s a great video showing you how to make it at home.

  • 2-1/2 cups sifted all-purpose flour
  • 1-1/2 tsp baking powder
  • 1/2 tsp baking soda
  • 1 tsp yeast (add 1/2 tsp more if you’re planning on freezing the batch to cook later)
  • 2 Tbsp sugar
  • 1 tsp salt

Parmesan Herb Biscuits: Mix in 1/2 cup grated Parmesan cheese, (save 1 Tbsp to sprinkle on top just before baking), 1-1/2 tsp chopped fresh thyme and 3/4 tsp chopped fresh rosemary.

Add the flour, baking powder, baking soda, yeast, sugar and salt to the bowl of a stand mixer (or a large mixing bowl), and whisk to combine.

  • 1/2 c fat: all lard, shortening, butter (or a combination: 1/4 lard or shortening + 1/4c butter) OR 1/2c ghee
  • 1 cup buttermilk at room temperature (make your own: put 1 Tbsp vinegar into a Pyrex measuring cup, then add room temperature milk to the one cup line)
  • Optional: Cream to brush on tops before baking
  1. Add the ghee/lard/butter (whatever combo you’re using) into the flour mixture in pieces.
  2. With the paddle attachment, mix (on low speed) until crumbly. (Or, use your hands to incorporate the butter into small pebbles, until the mixture resembles coarse meal.)
  3. With the mixer on low speed, slowly add the buttermilk, and continue mixing until the liquid is incorporated and you’ve got a smooth dough. OR, gently fold the until ingredients are moistened. Don’t overmix!
  4. Cover bowl and let rest 1 hour.
    • At this point, you can store this dough in the fridge for up to five days, to shape and bake at a later time.
  5. Turn dough out onto a lightly floured surface, and knead 3 or 4 times.
  6. Gently press dough out into a circle, fold in half, then fold again. Push sides inward to shape into a circle.
  7. Gently roll to a 1/2″ thickness, then cut with a floured 2” cutter. Don’t twist the cutter when lifting it. Press the scraps together, pat then roll into a circle and continue to cut out biscuits until it’s all used up.
  8. Now you’ve got two options:
    • Bake now: Place rounds with sides touching in a 10-1/2′ cast-iron skillet lined with parchment paper,
    • OR Bake later: Place on a cookie sheet, spaced apart, and freeze. Remove to a zip-lock bag and freeze for up to two months.
  9. Remove biscuits from freezer and preheat the oven to 400.
  10. Brush tops with cream, then bake until golden, 16 to 20 minutes.
  11. Serve warm with Sawmill Gravy

*Why lard bakes a better biscuit:

  • Gluten strands in dough form strong bonds when baked, which makes a tougher crumb. When lard coats the gluten strands it weakens their structure and keeps them from bonding (fluffy),
  • Lard melts more slowly than butter, creating air and steam (flakey), and
  • The fat crystals in lard are larger than butter, so when it melts, tiny, airy holes develop (airy).

You shouldn’t be deterred from that ingredient (unless you’re vegetarian, of course). When Crisco shortening launched in 1911, it very quickly became the favorite with it’s netural taste and long shelf life — and it’s heavy marketing campaign that told consumers it’s healthier than lard. We now know that shortening’s partially hydrogenated fats (trans fats) are associated with higher health risks than the saturated fats (such as lard) they were designed to replace. In addition, lard has 20% less saturated fat than butter, and is higher in monounsaturated fats, which are good for cardiovascular health fat. Just make sure you find a brand that is 100% non-hydronated.