Week 96: 100% Whole Wheat Boule

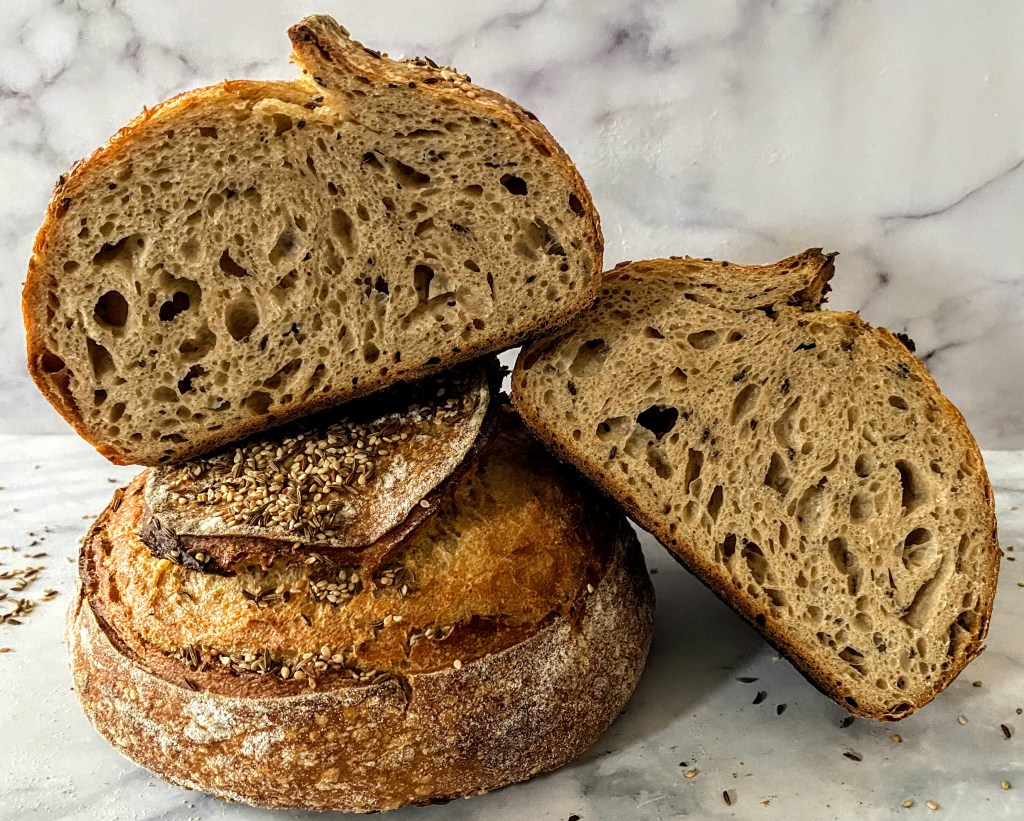
It’s a challenge to make 100% whole-grain bread. Whole wheat and rye flours do not have the same gluten content as white (all purpose or bread) flour, so the doughs don’t tend to rise as high, resulting in a heavy, dense loaf. That’s not necessarily a bad thing, but isn’t always what I’m looking for. I found a method for making a 100% whole wheat sandwich loaf (Week 21: 100% Whole Wheat) that’s soft and squishy, but it requires a lot of kneading.

I found hundreds of recipes for 100% whole wheat, no-knead bread, and they are identical but for one thing. They all call for the same amount of flour, water and salt, but that’s where the similarities ended: the yeast measurements range from 1/4 teaspoon all the way up to 2.

I started with the one that had the most yeast (2 teaspoons), hoping that would make for a nice rise. Turns ot the amount of yeast doesn’t really effect how high the dough rises so much as it effects how long it takes for the dough to rise. The bread was ready in a day, had a nice rise, but not a lot of flavor. Next, I tried a version with just a 1/4 tsp yeast, and extended the rise time from overnight to 4 days: 12 hours at room temperature, then 2~3 days in the fridge. The rise was acheived, and the bread was more complex.

The takeaway? If a recipe calls for an overnight rise, and more than 1/2 tsp of yeast, don’t make it. If you use too much yeast, the protiens can’t keep up during the long rise time and it looses the bubbles and ability to rise.

Ingredients

  • 1/4 tsp yeast
  • 3 Tbsp brown sugar
  • 1-3/4 cups water + 1/4 cup orange juice, at 95 degrees
  • 3 Tbsp melted butter
  • 480g whole wheat flour (bolt it, then save to dust on top of bread before scoring)

Day 1 Saturday

  1. Measure yeast, brown sugar, water/orange juice into a large bowl. Stir to combine.
  2. Add melted butter and stir.
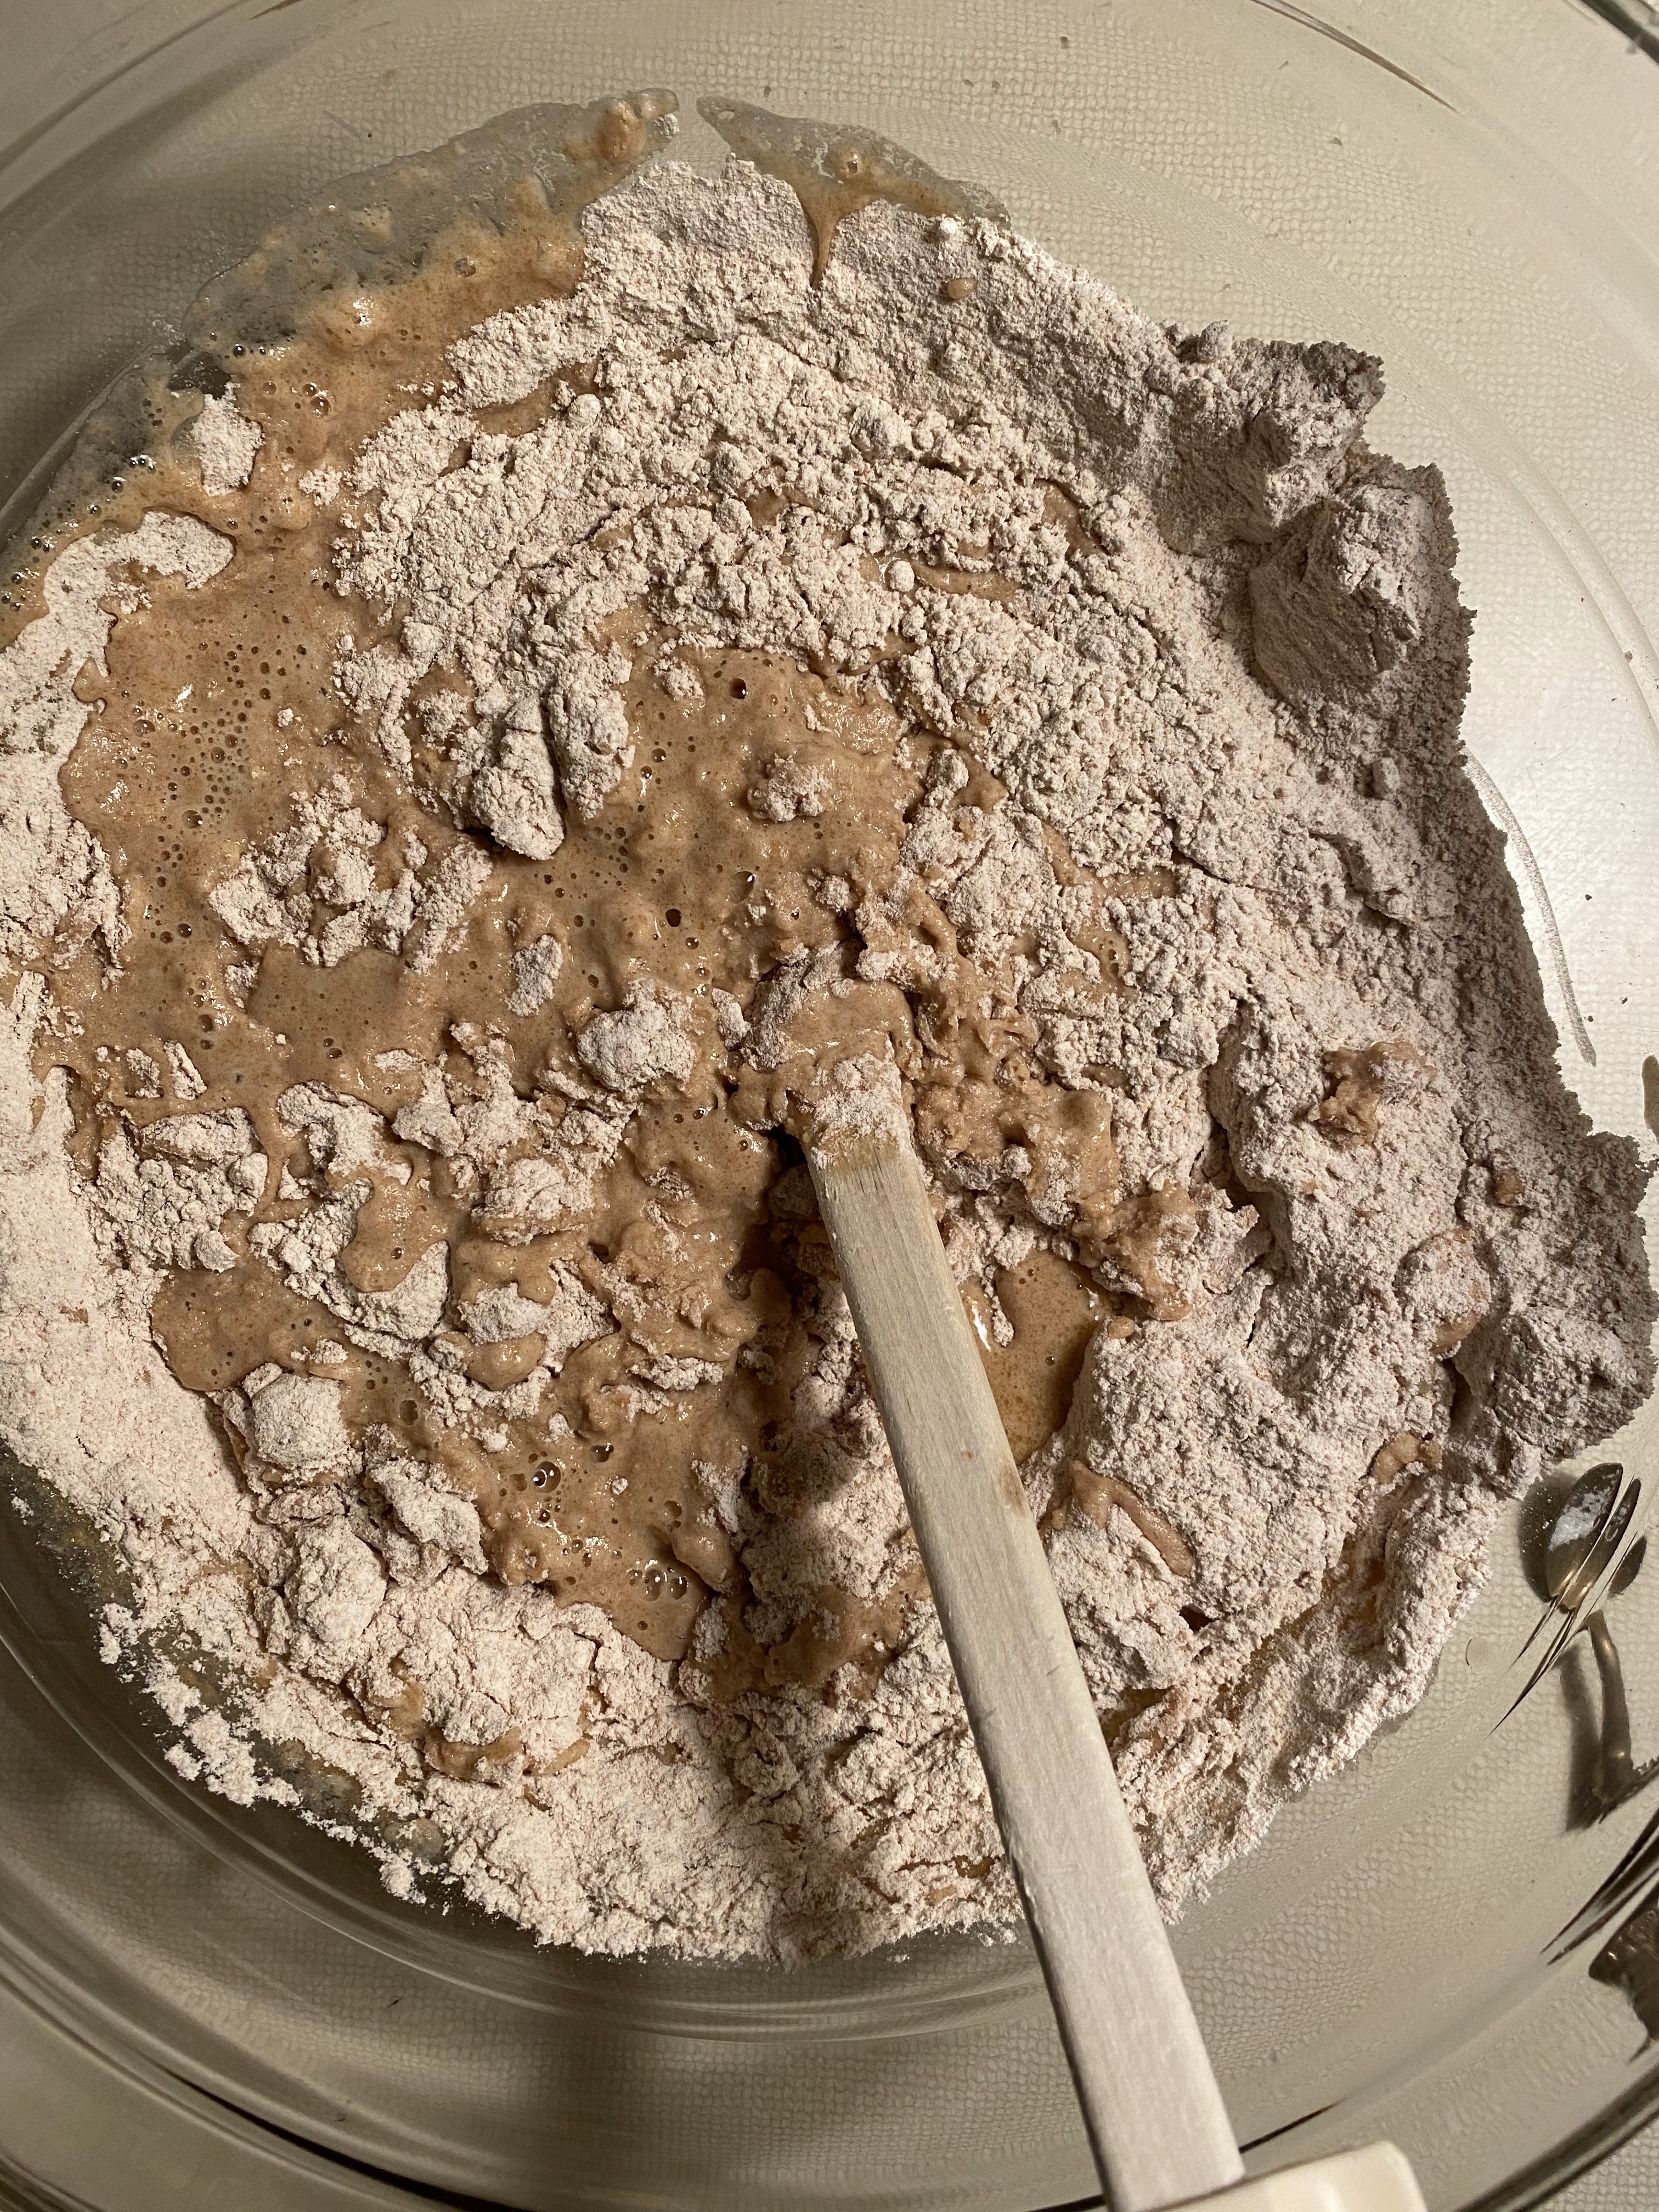
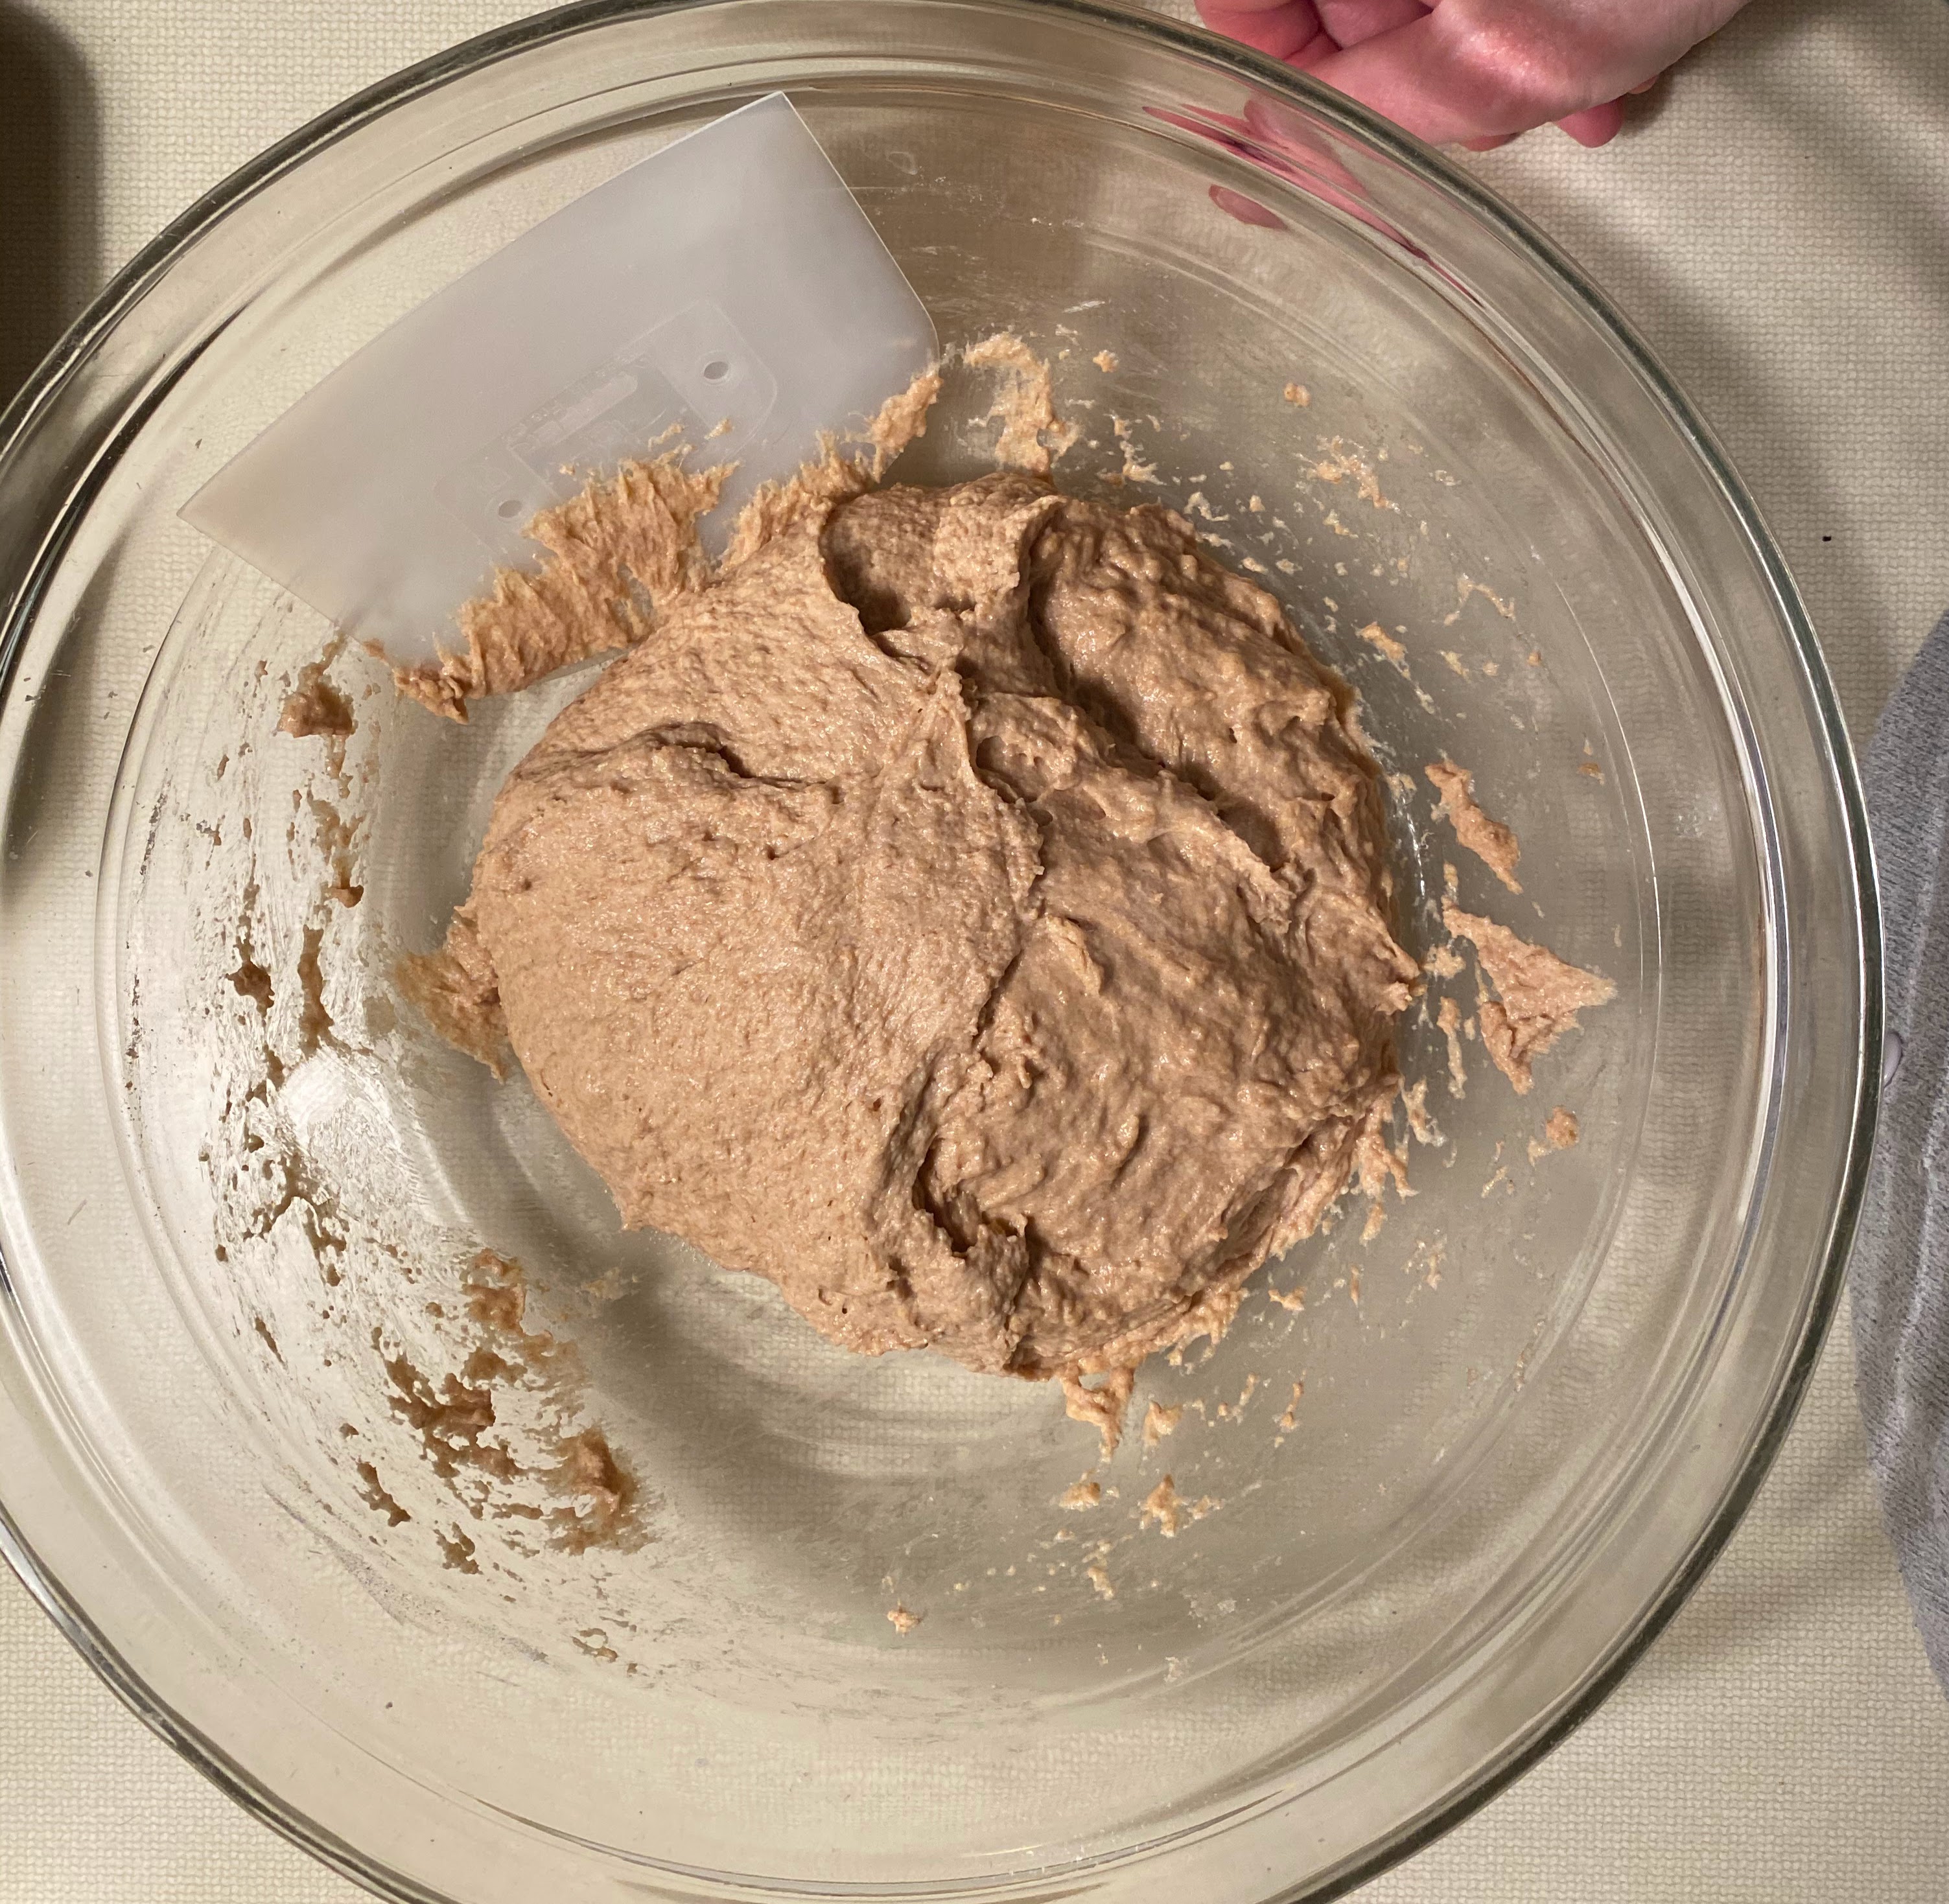
  3. Add flour, then mix with the handle of a wooden spoon until it is all incorporated.
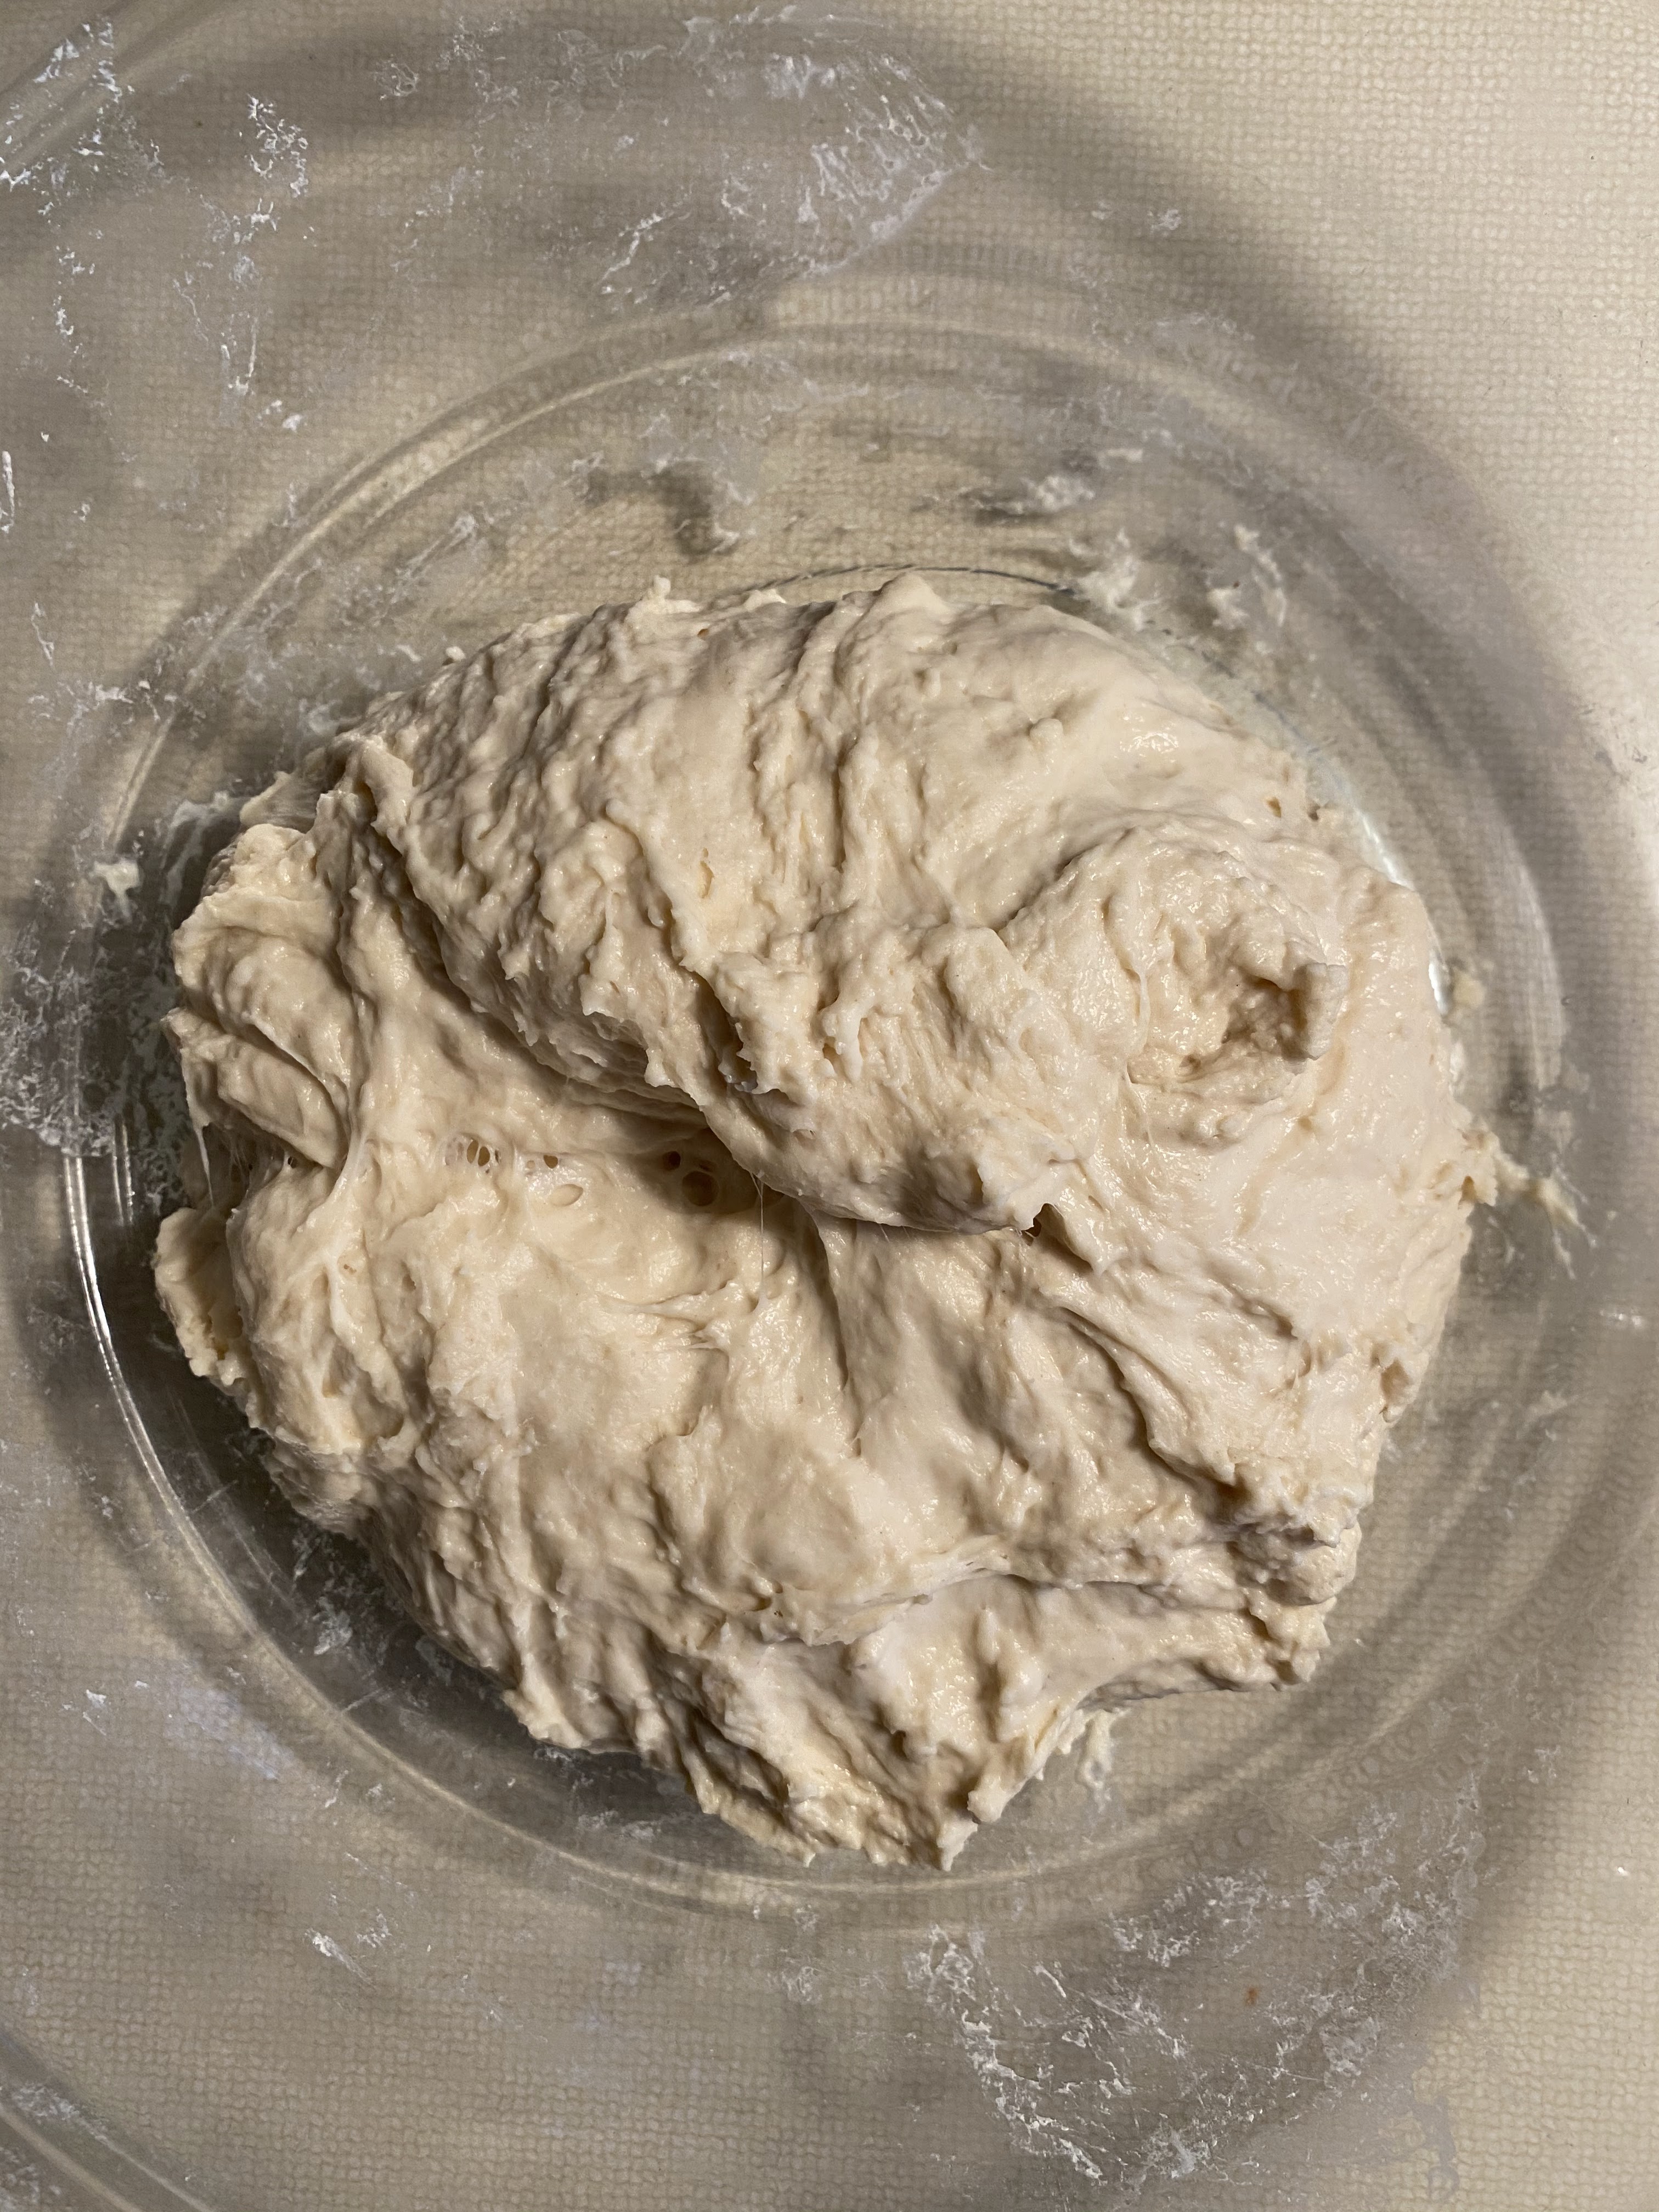
  4. Clean off the the sides of the bowl with a bowl scraper, and then mix the dough by scopping a side from the bottom and lifting it up over the top. Rotate around the bowl until it’s well mixed and dough is becoming a little smoother.
  5. Cover and let rest at room temperature overnight for 12 hours.

Day 2 Sunday

  • 1-1/2 tsp salt
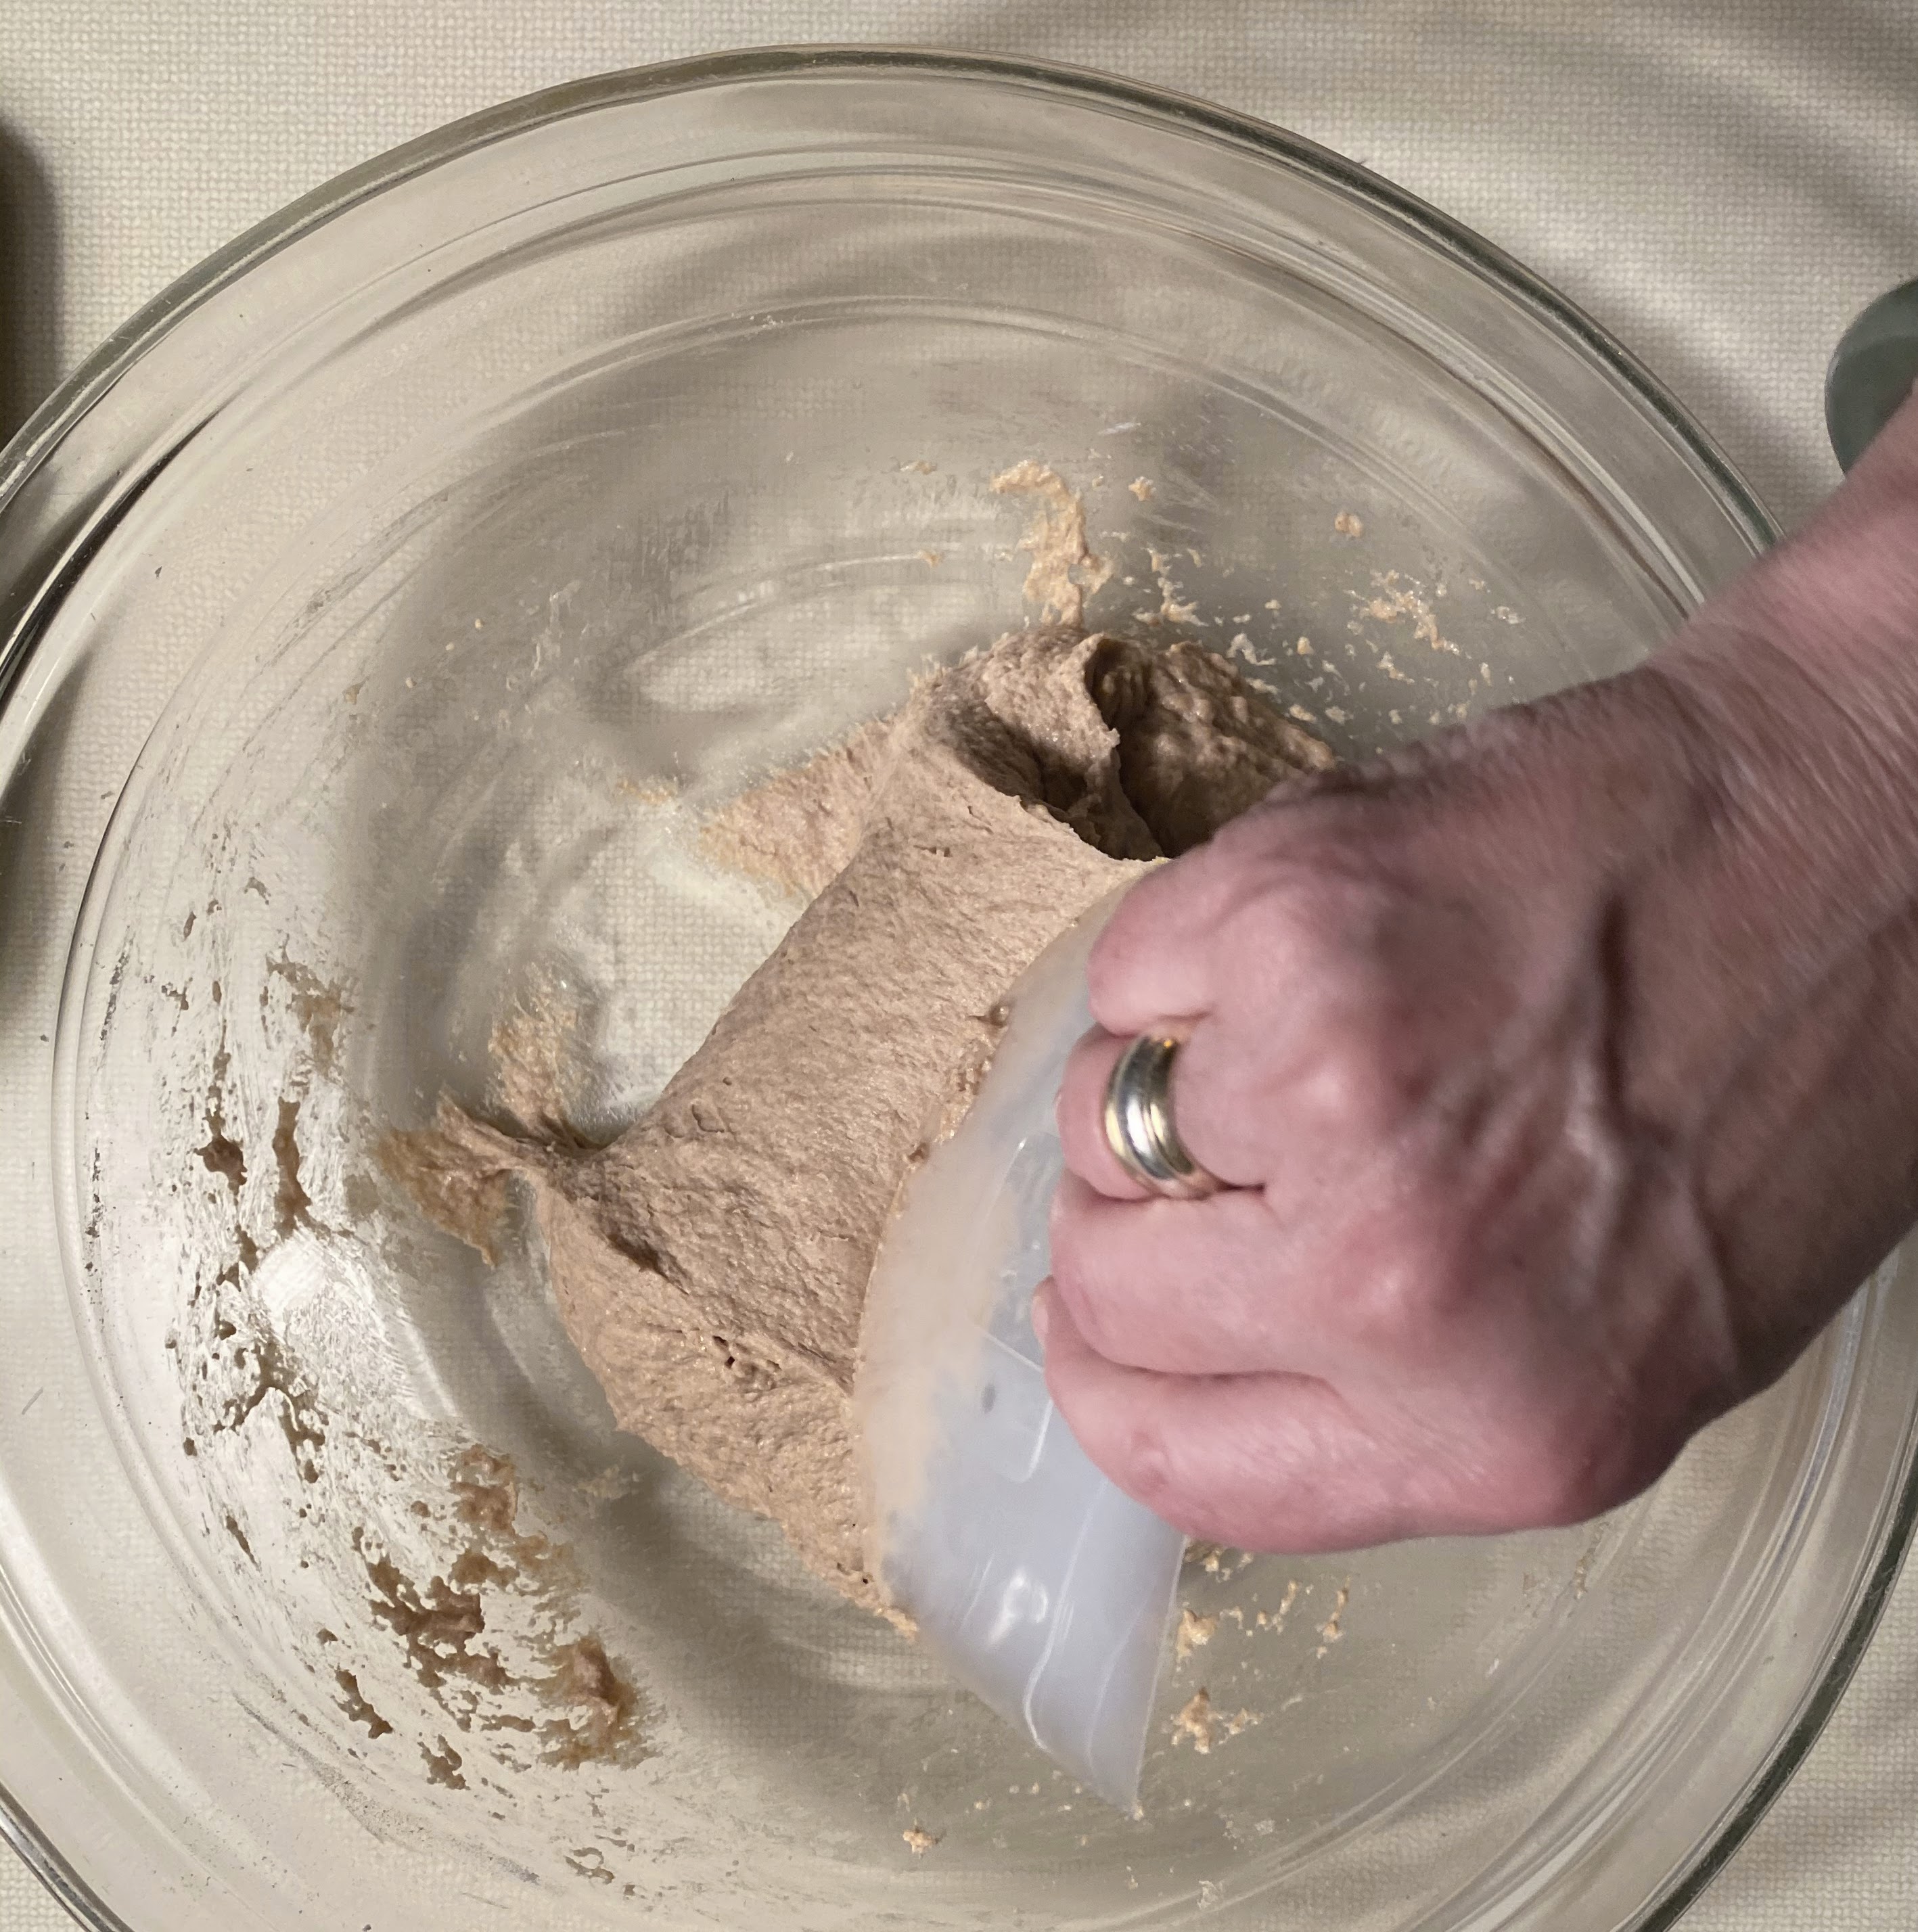
  1. Next day, sprinkle the salt over the top of the dough.
  2. Push the salt into the dough with wet fingertips, then put your fingers under a portion of the dough, lift it, then fold it over the top. Go around the bowl so that the salt is in now fully covered with the dough.
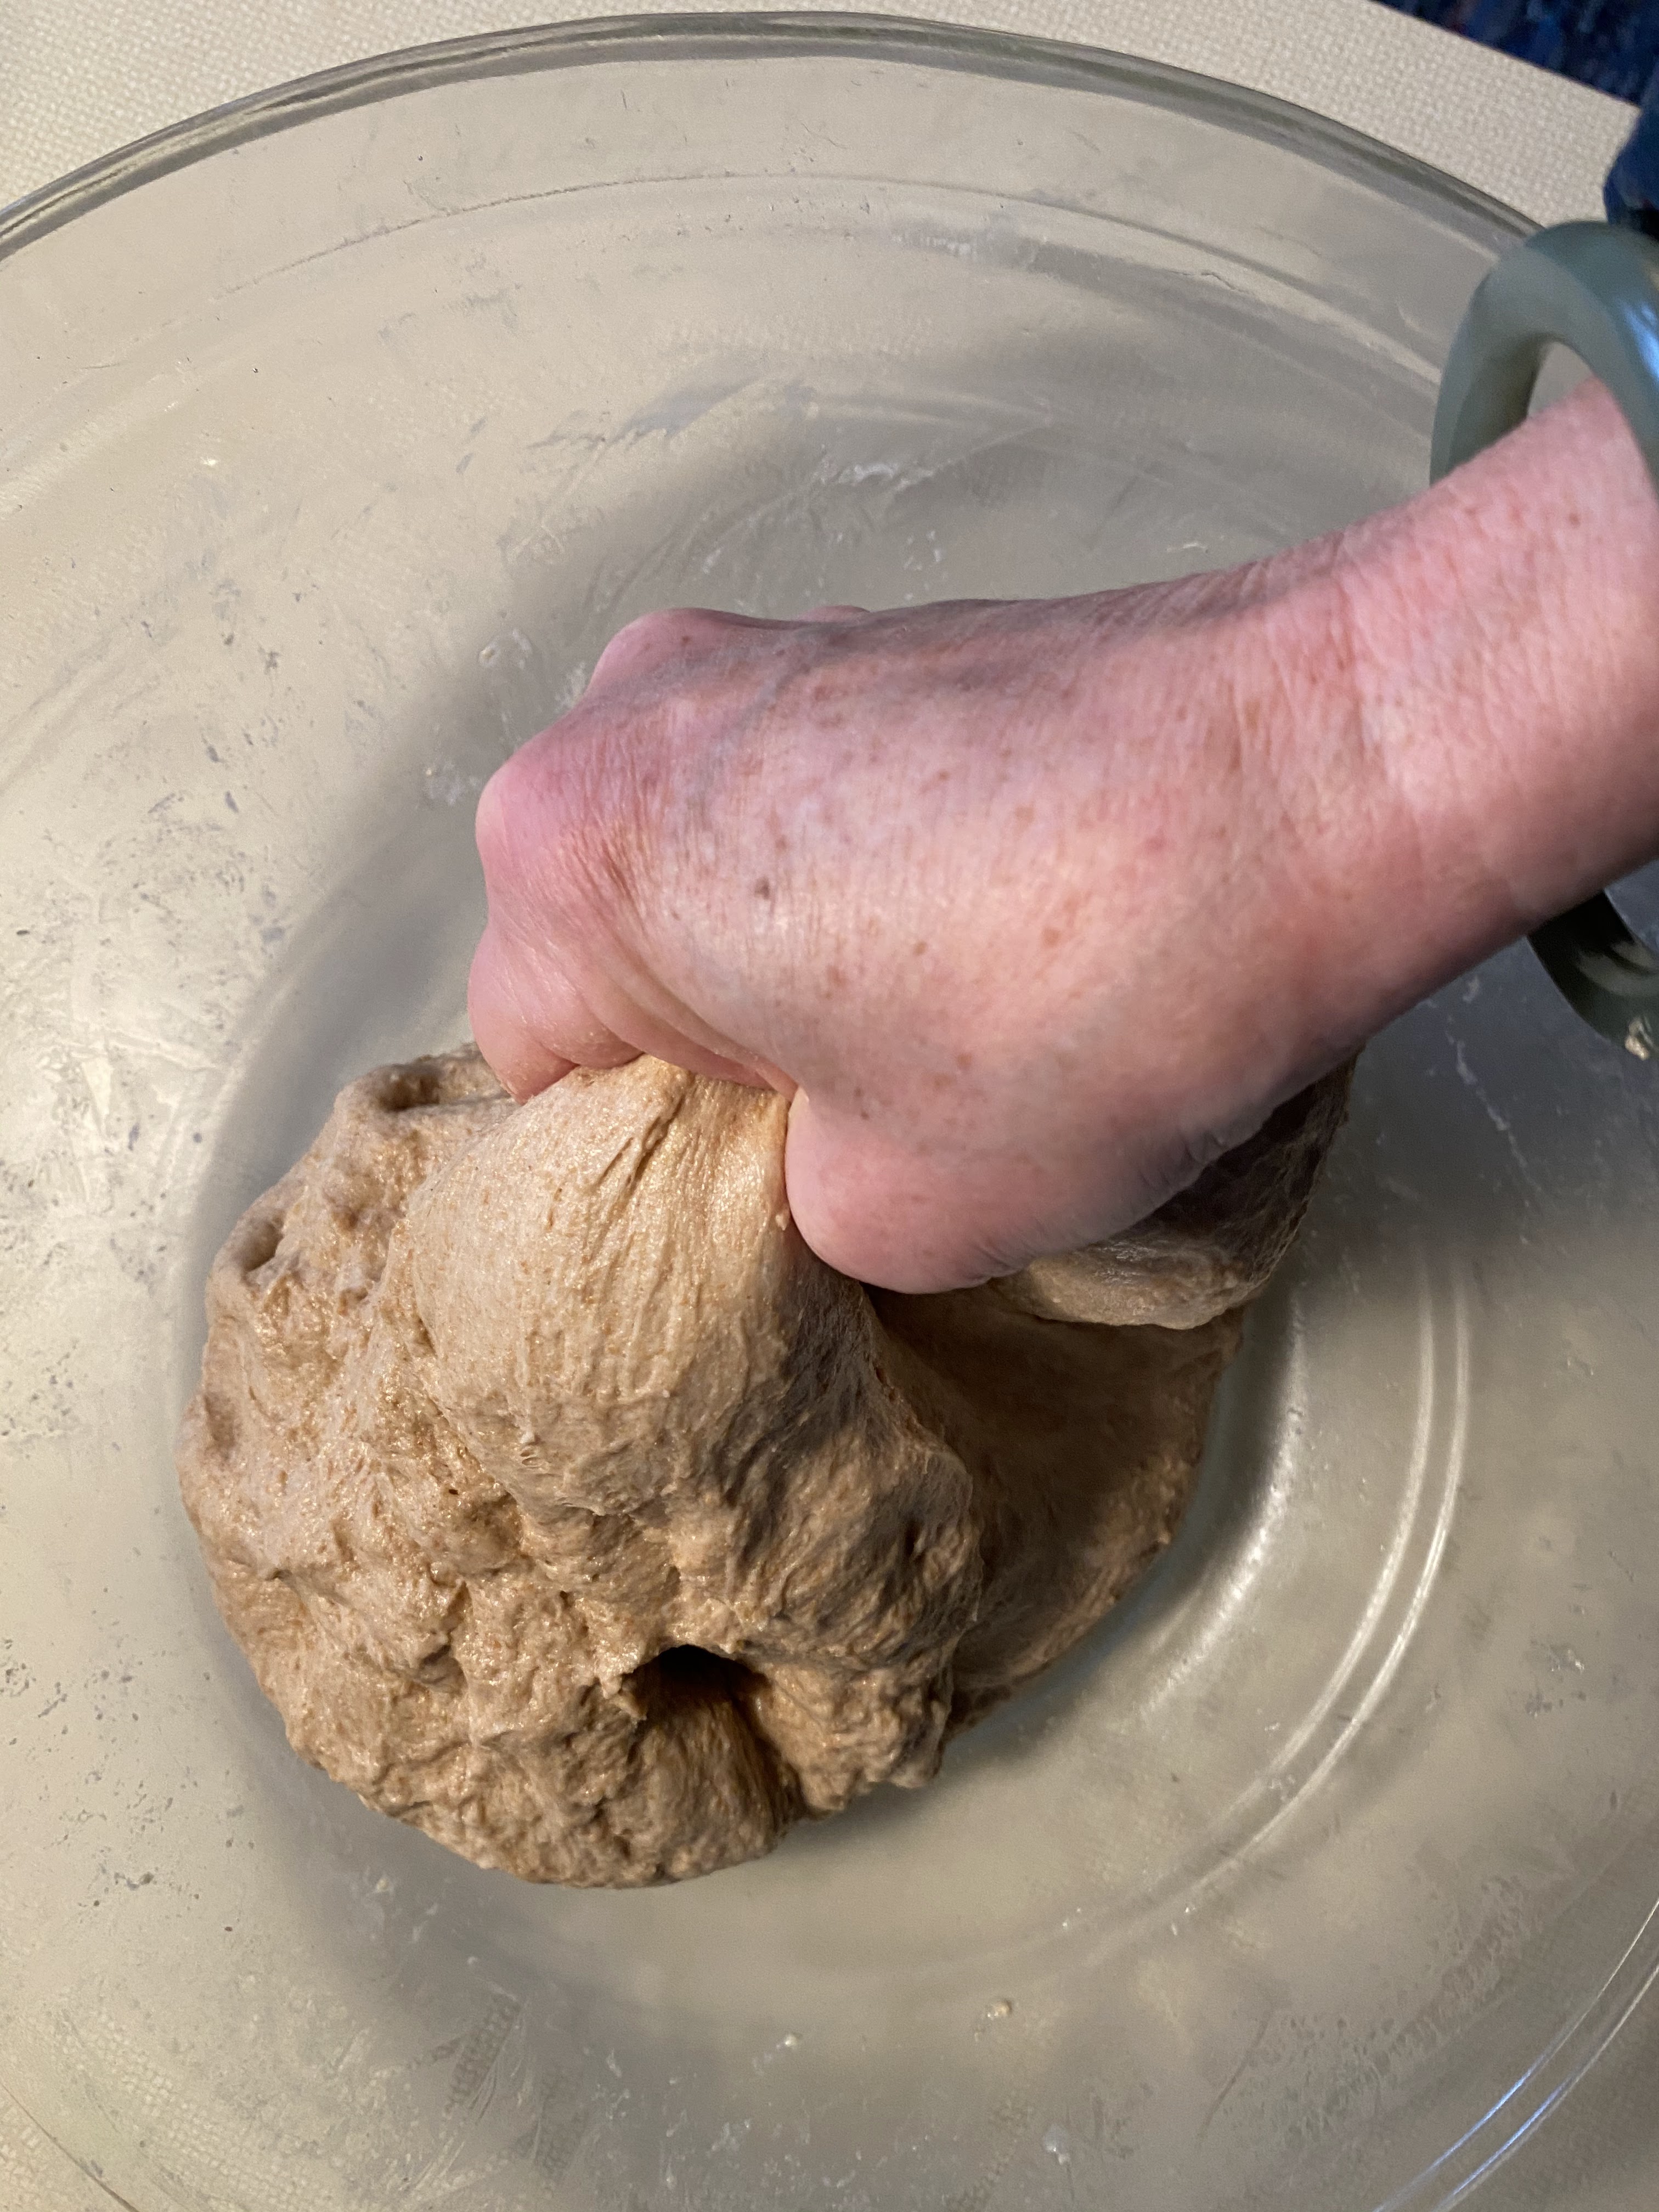
  3. Squeeze dough with your fingers and thumb to finish mixing in the salt, until you no longer feel any granuals, or for about 30 seconds.
  4. Cover and let rest 15 minutes.
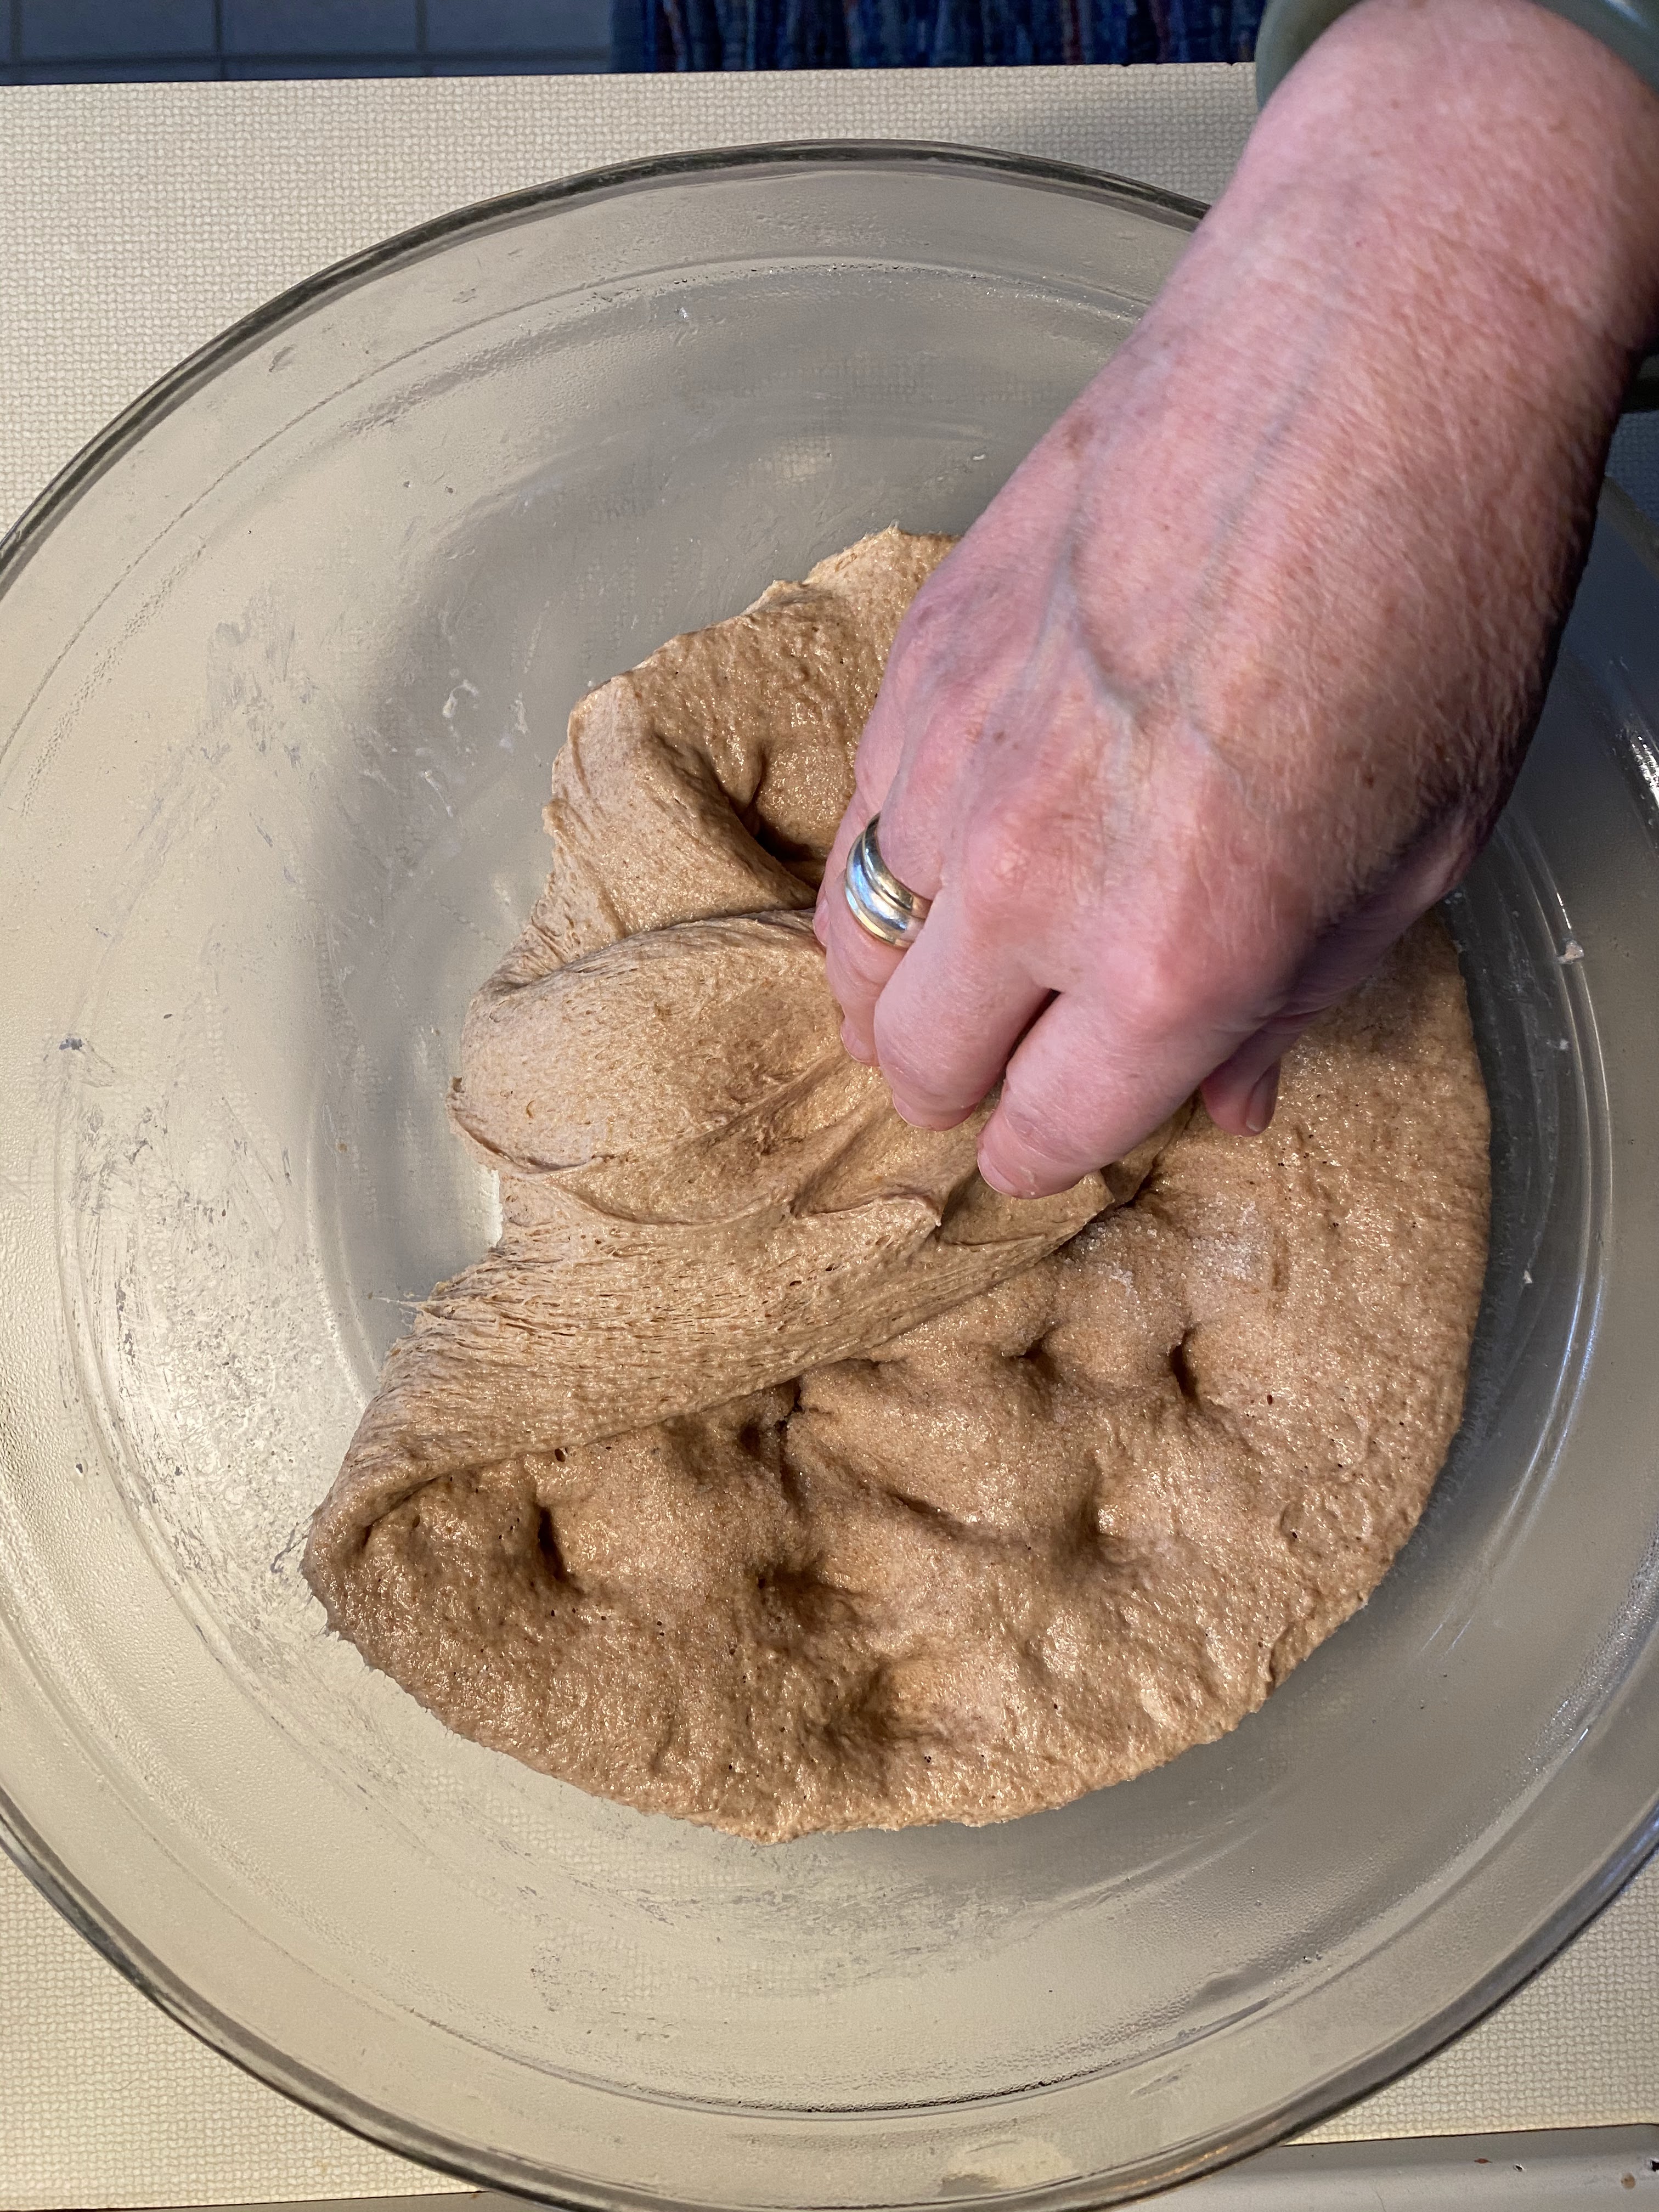
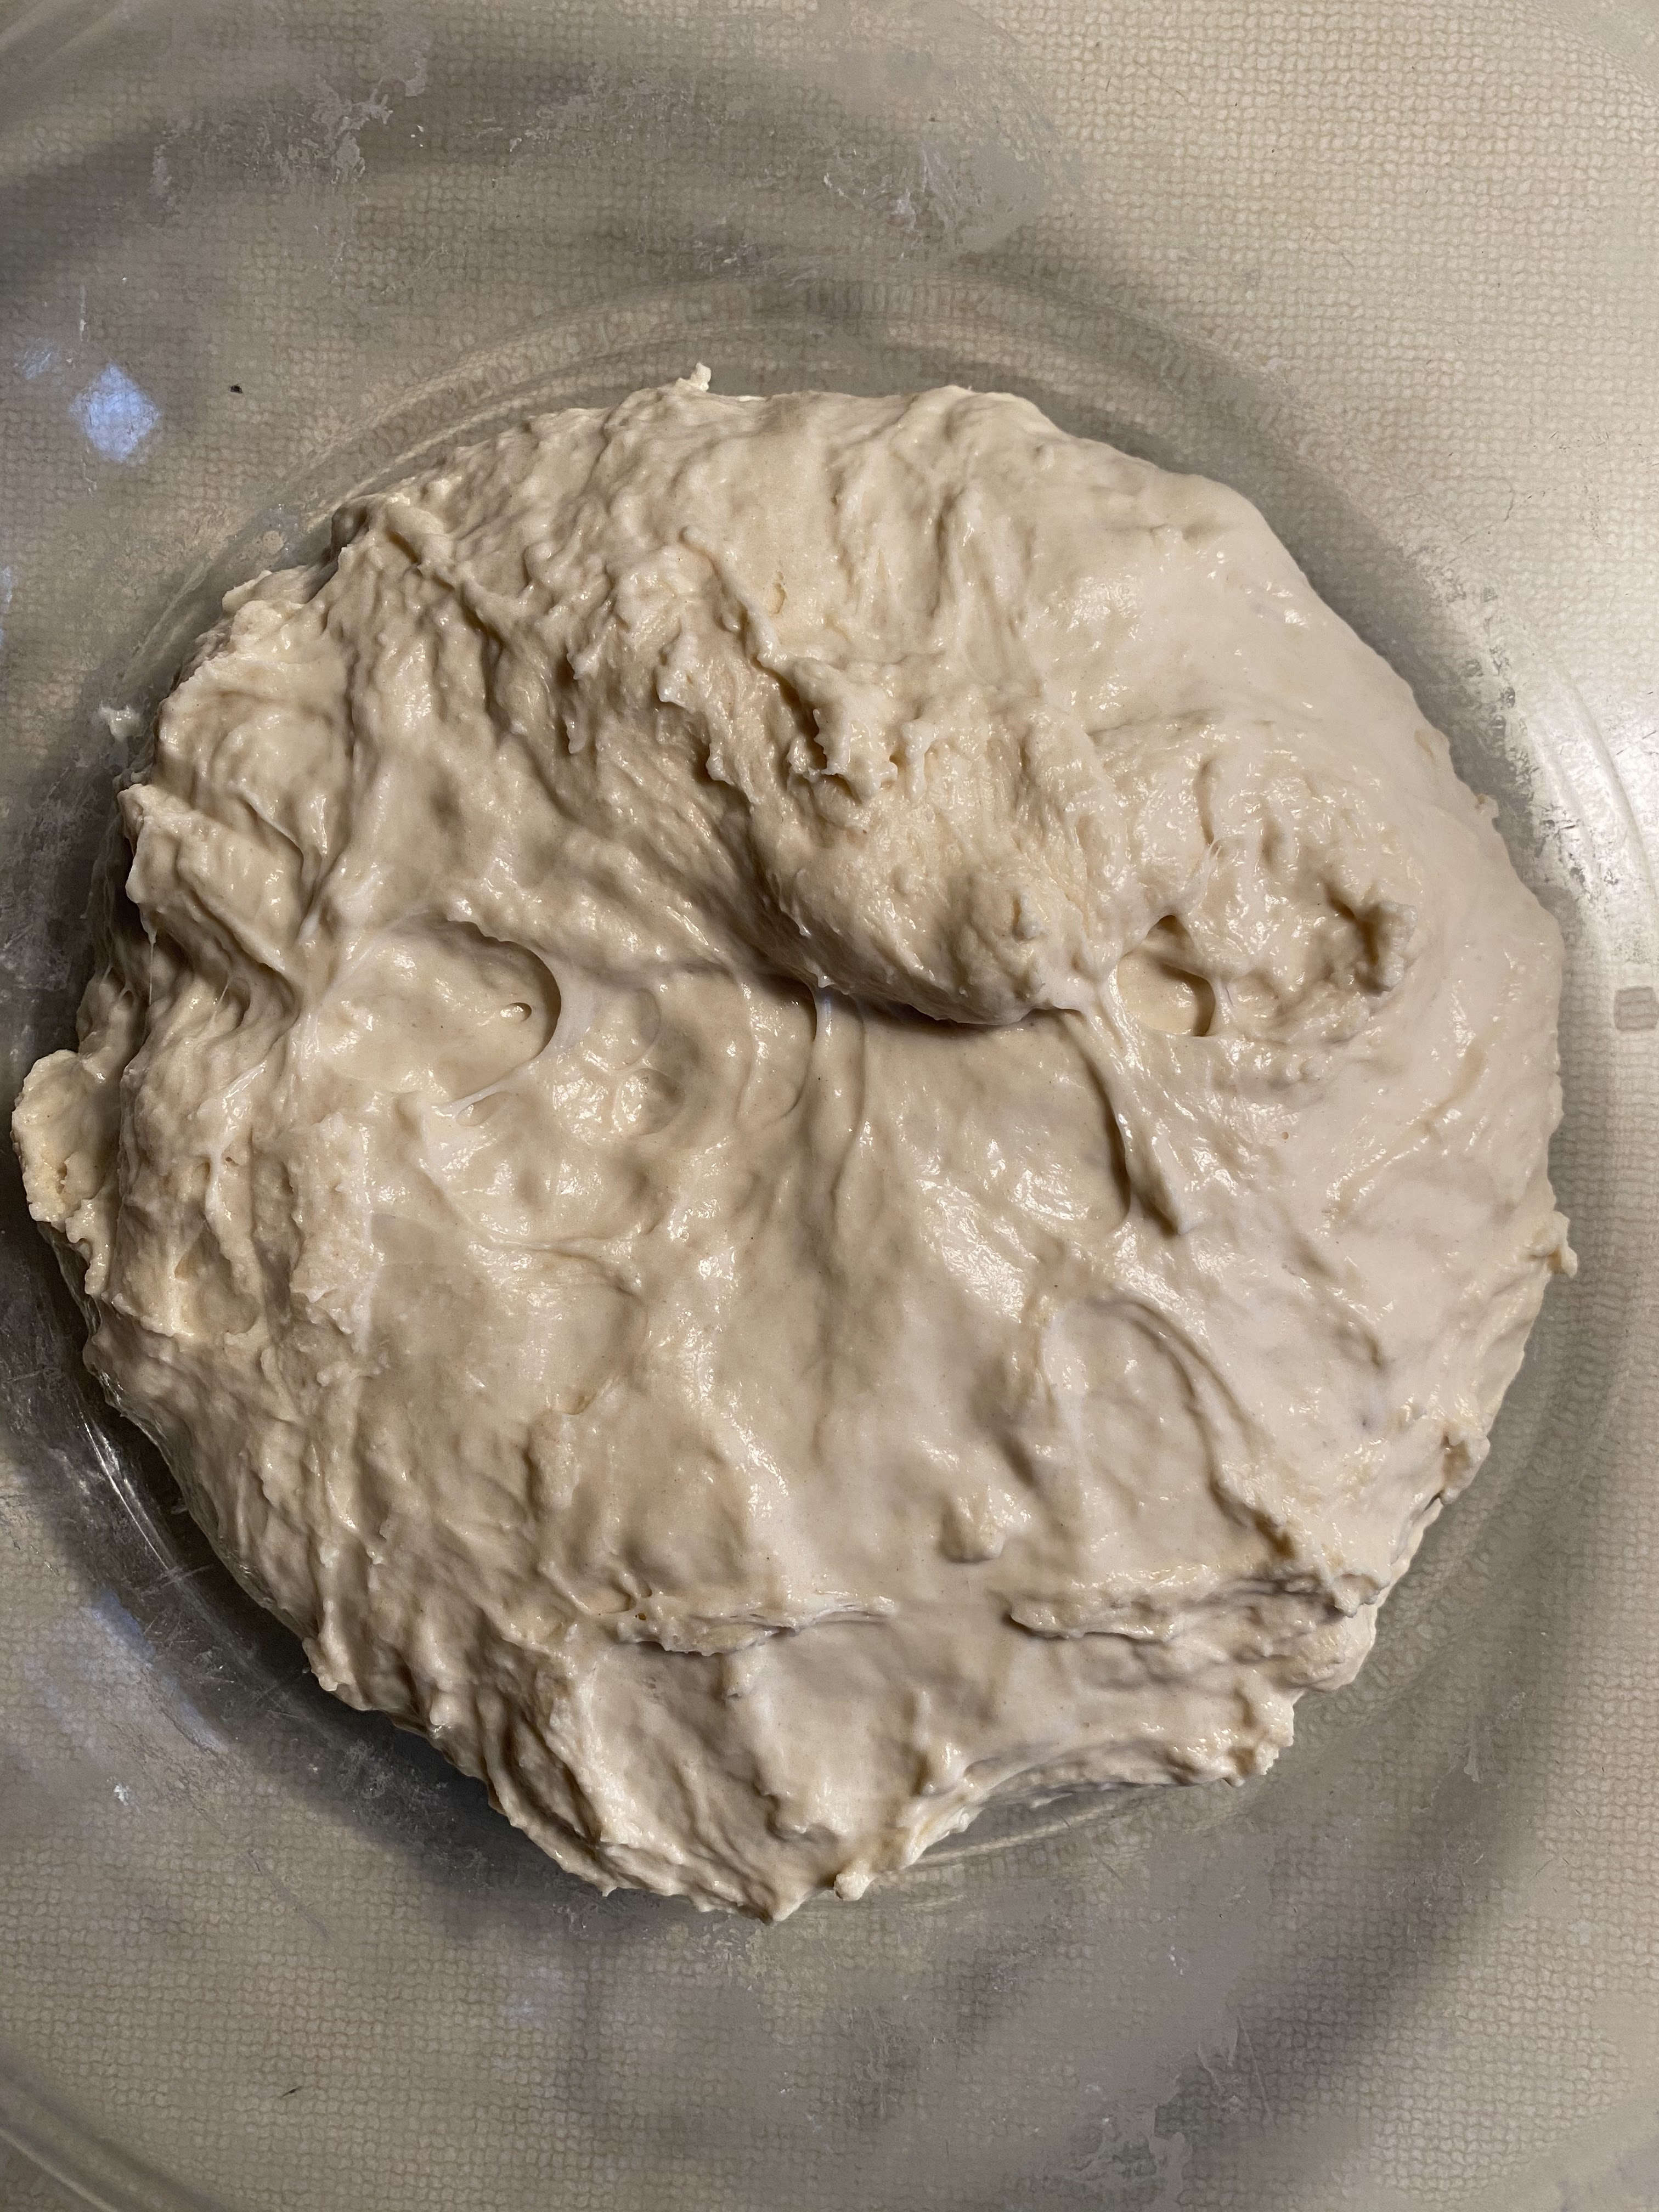
  1. You’re now going to do a series of “bowl folds” and resting periods. Write down the start time of this process, and each time you do a bowl fold so that you don’t lose track. (View the Stretch and Fold video under the heading “Kneading During Proofing” on the Video page for a visual.)
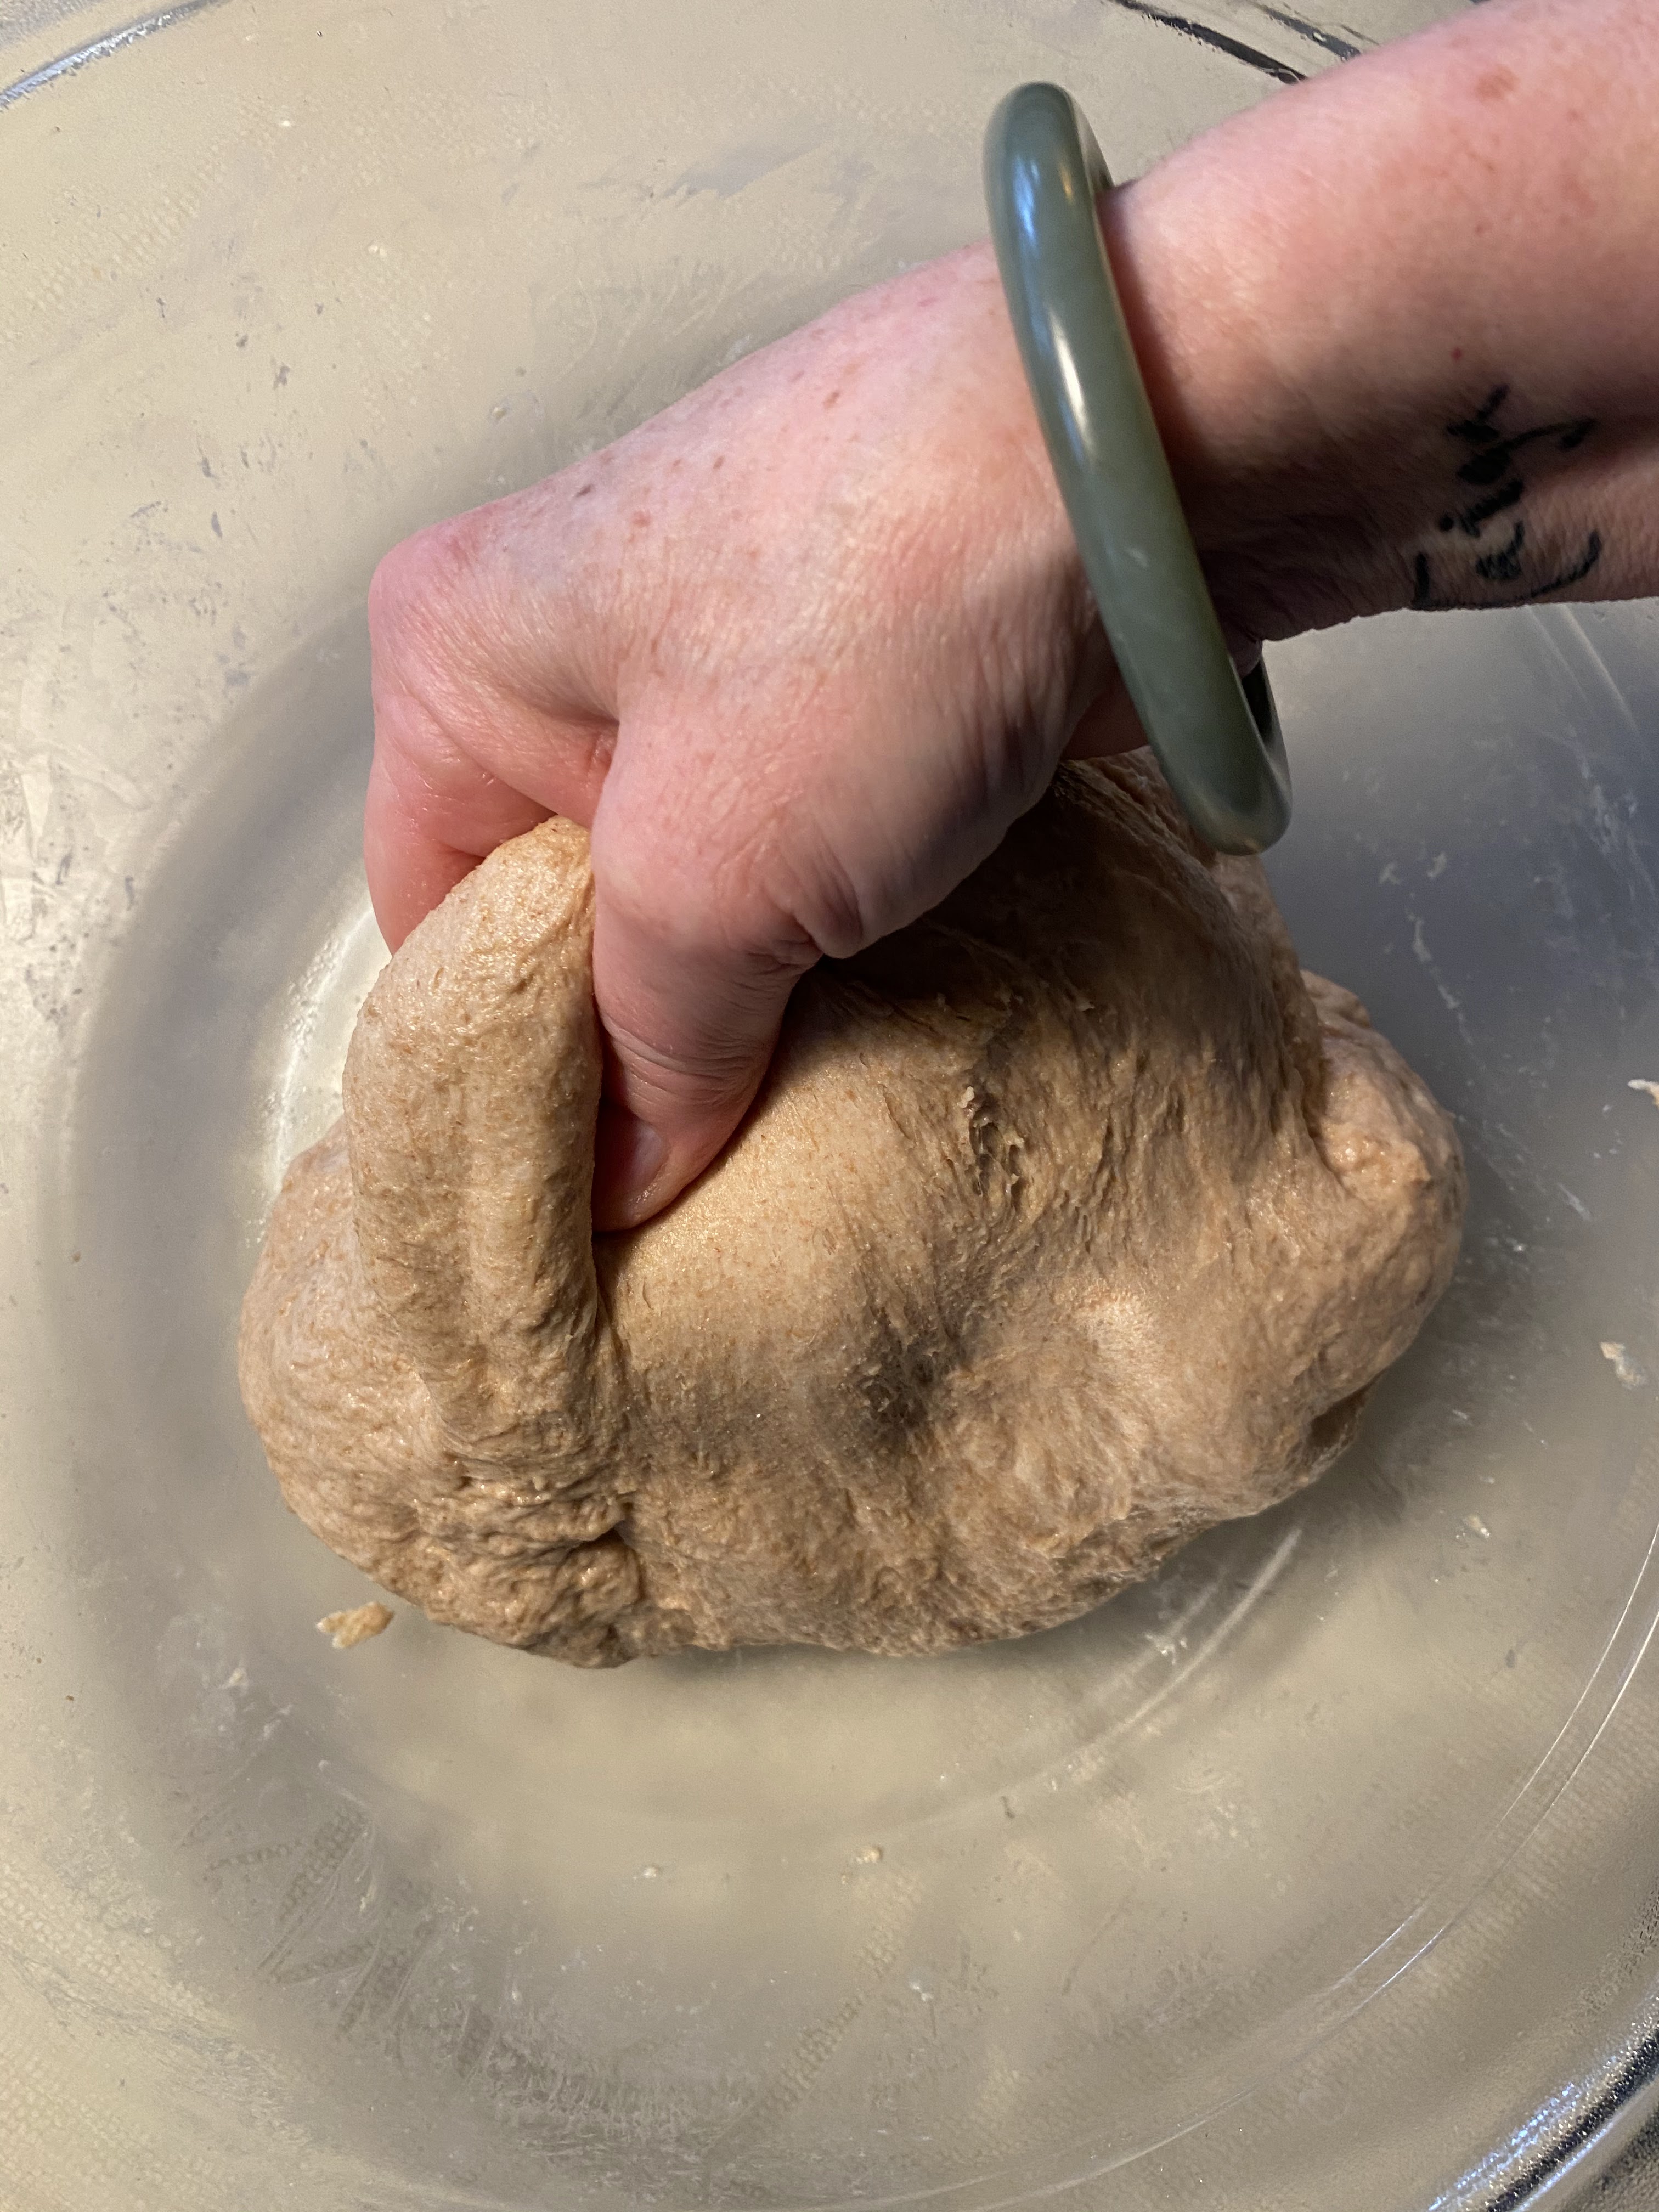
    • With wet fingertips, separate a side portion of dough away from the bowl.
    • Holding it with fingers and thumb, lift and stretch it up a few inches, then fold it over to the opposite side.
    • Go all around the bowl until you get to where you started. By the end of a round it shold be a little tighter, and harder to stretch as much.
    • With both hands, use fingers to lift entire dough up and flip over.
    • Cover and let rest for 30 minutes.
    • Repeat this for a total of 4 bowl folds and 4 stretch and folds, 2 hours rest time total.
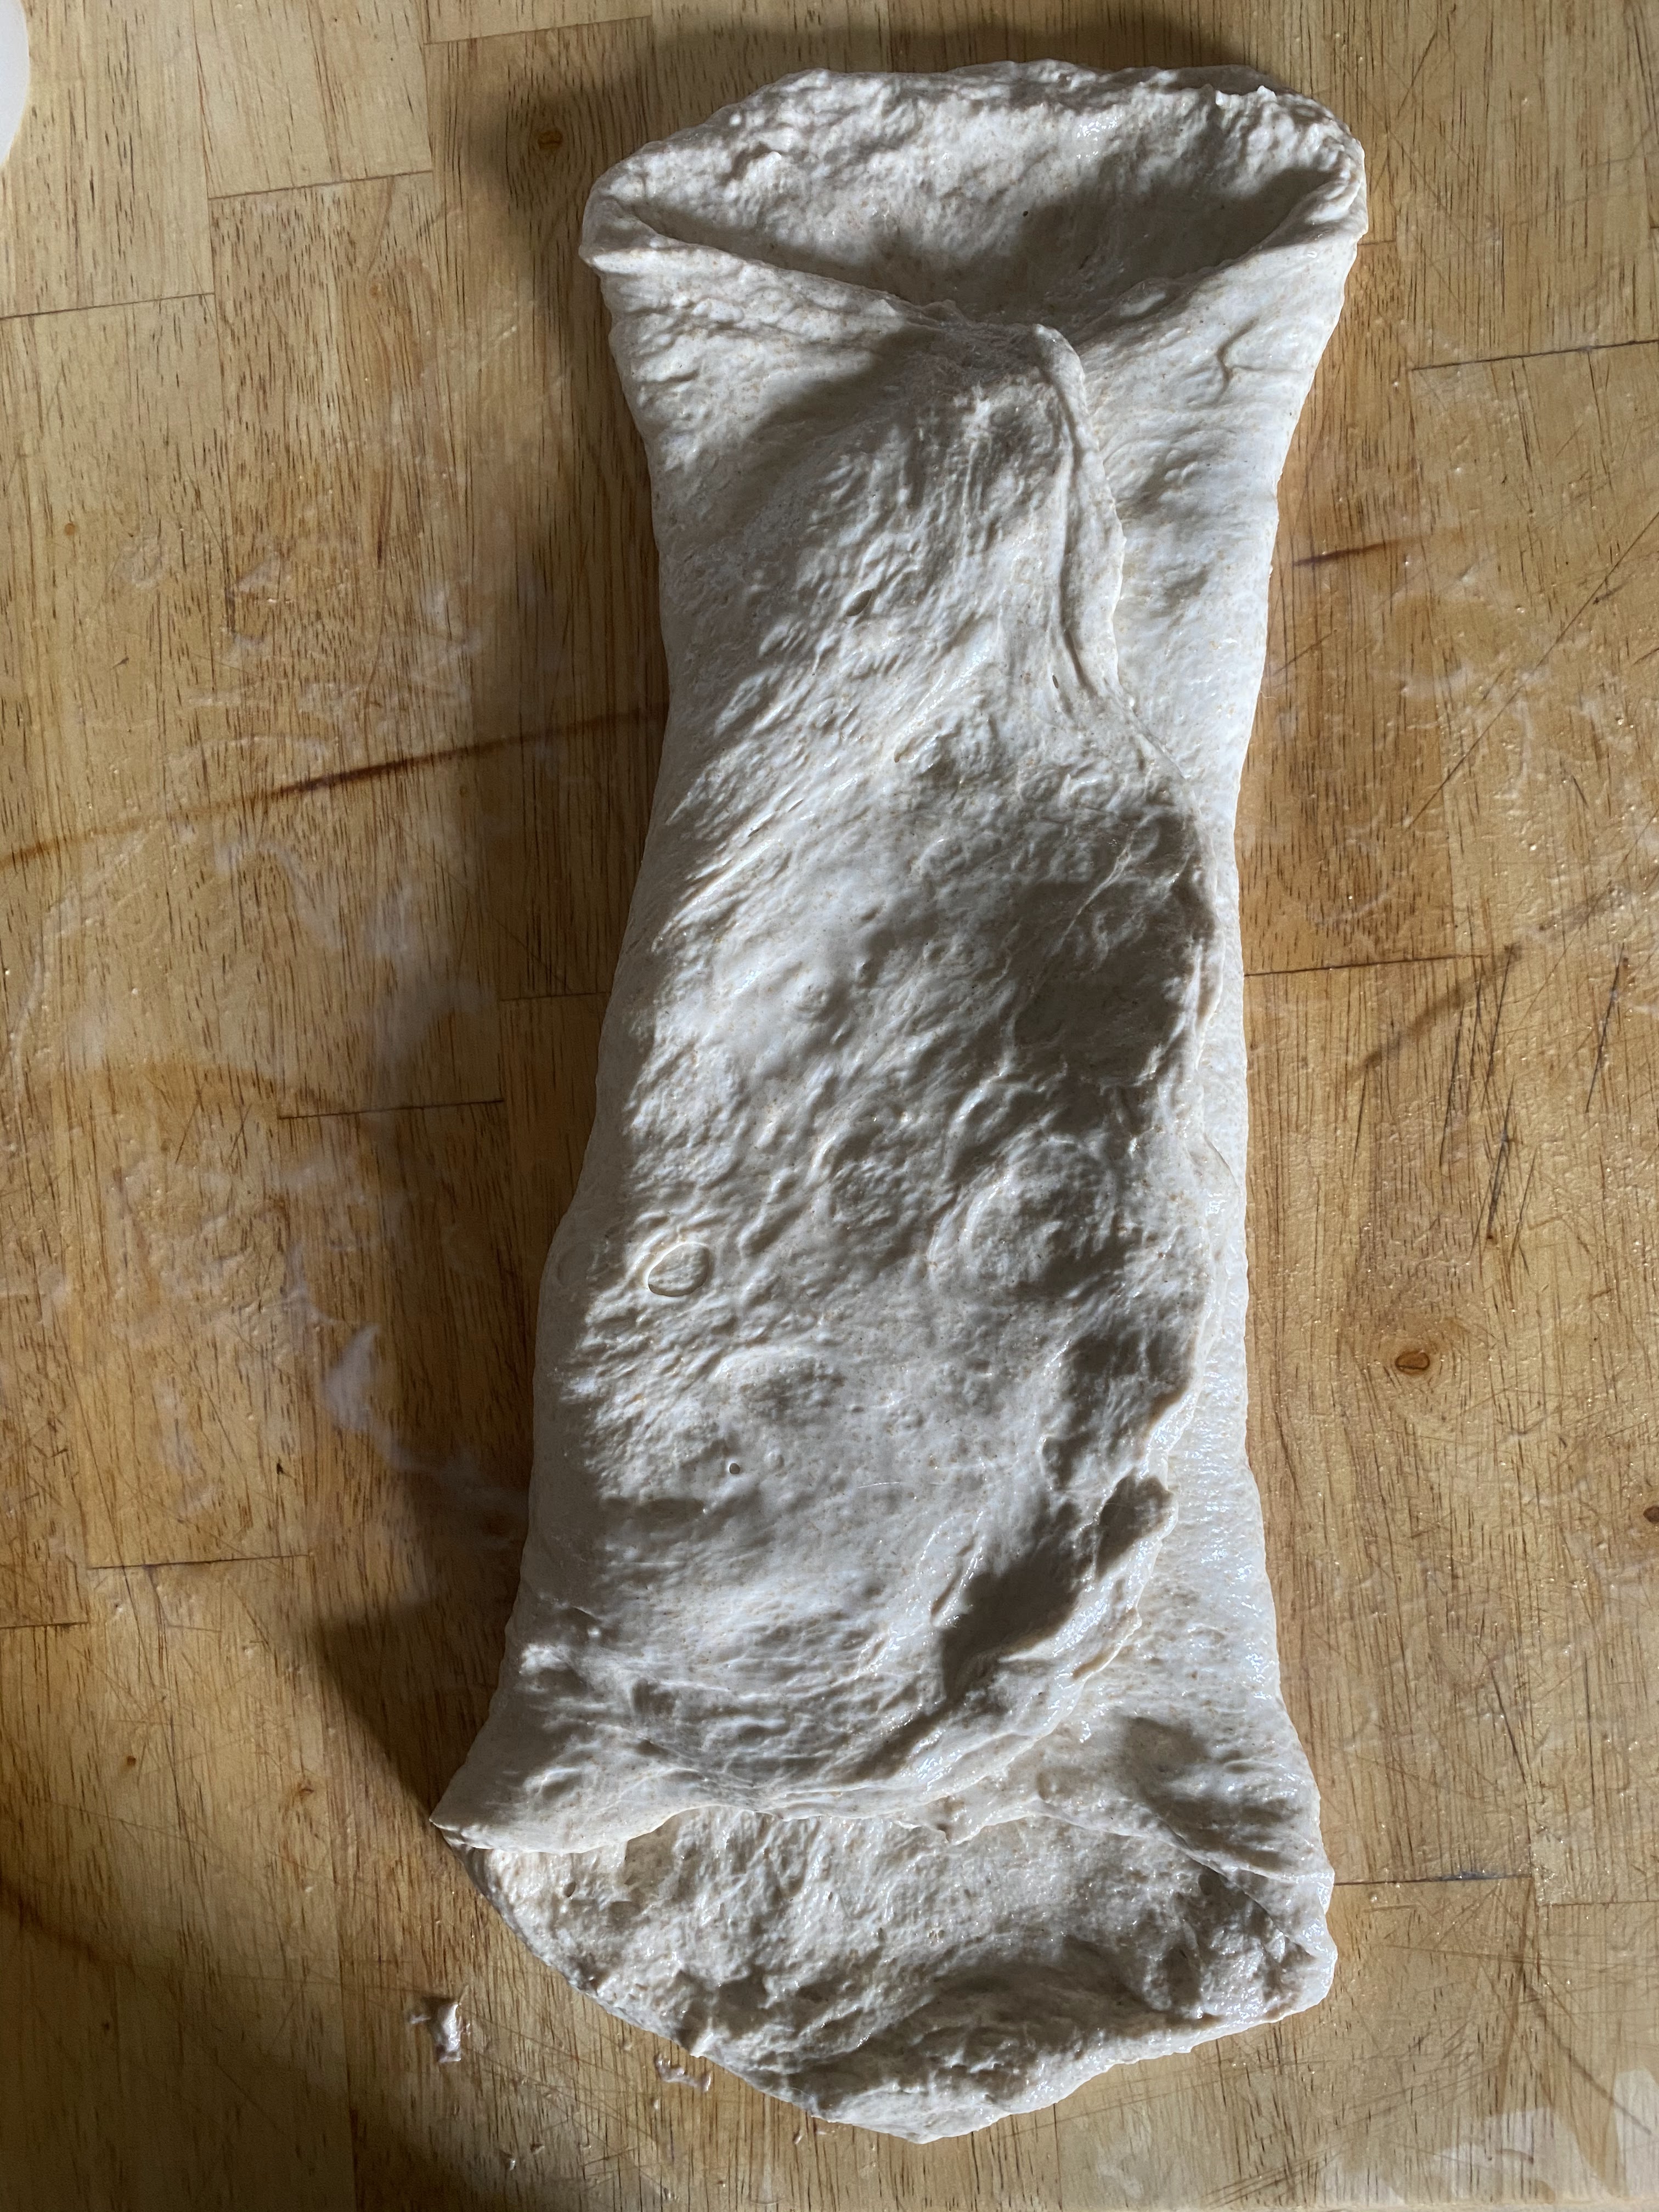
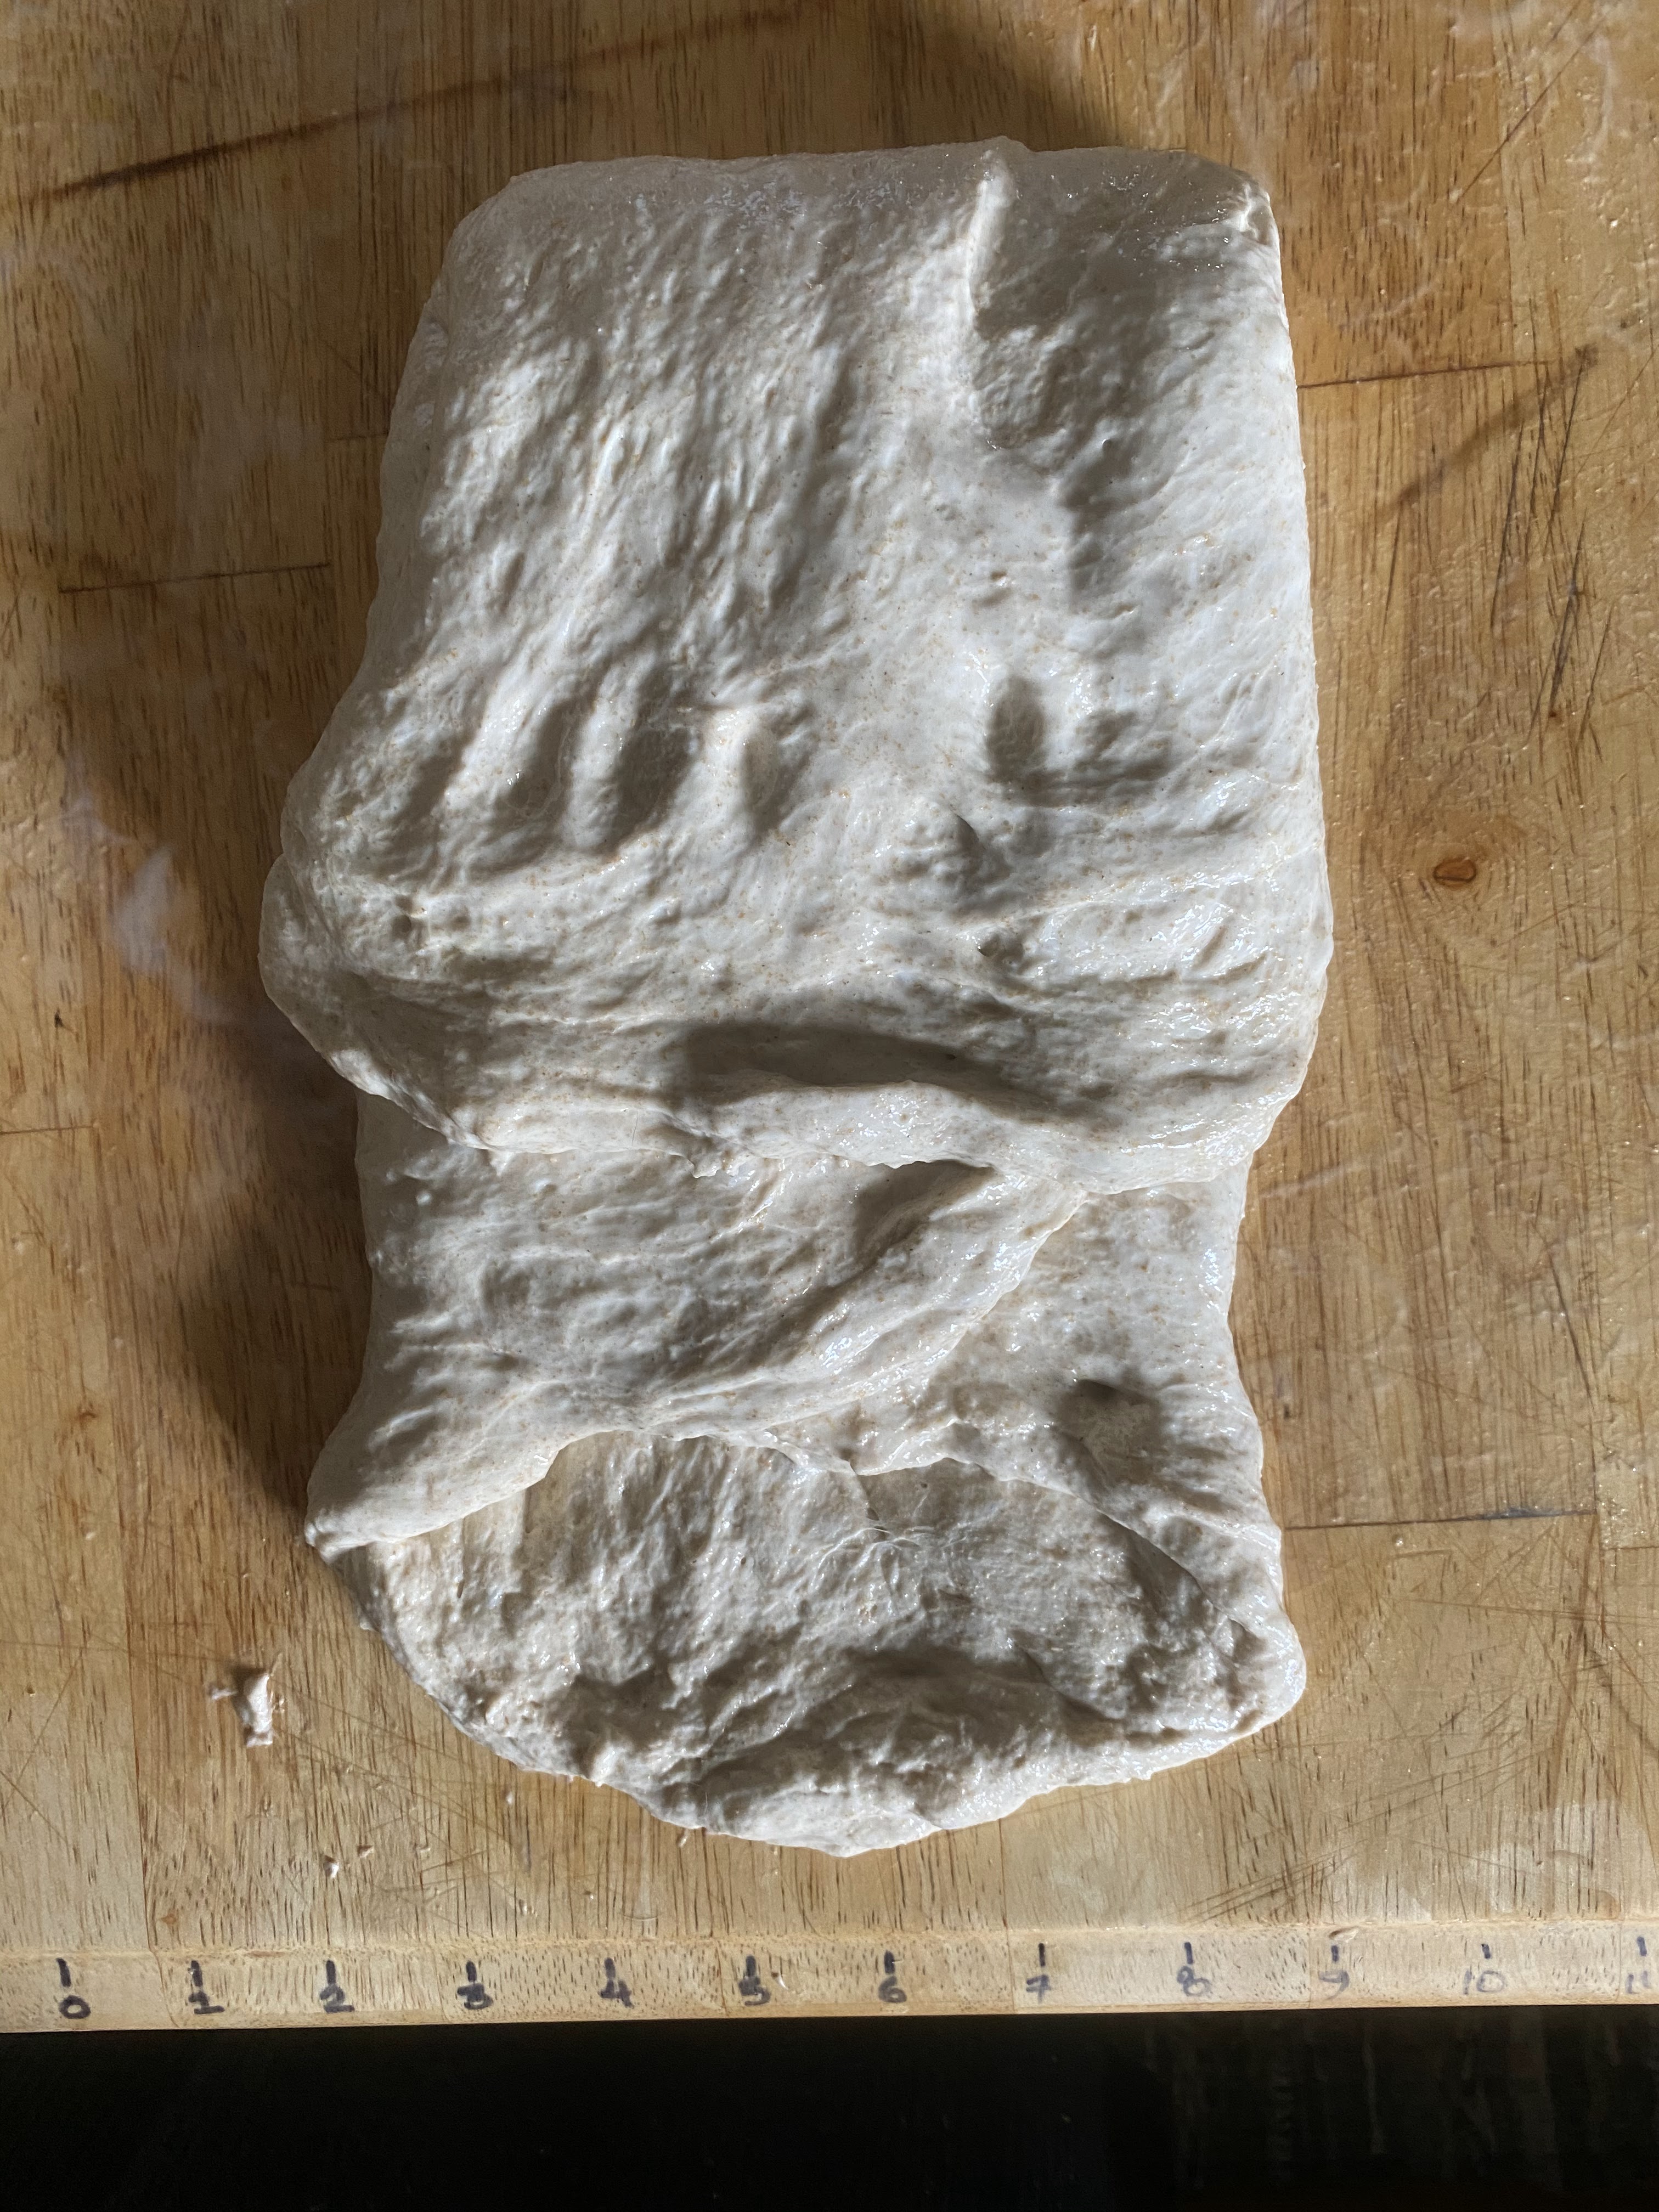
  1. Now it’s time for one envelope fold.
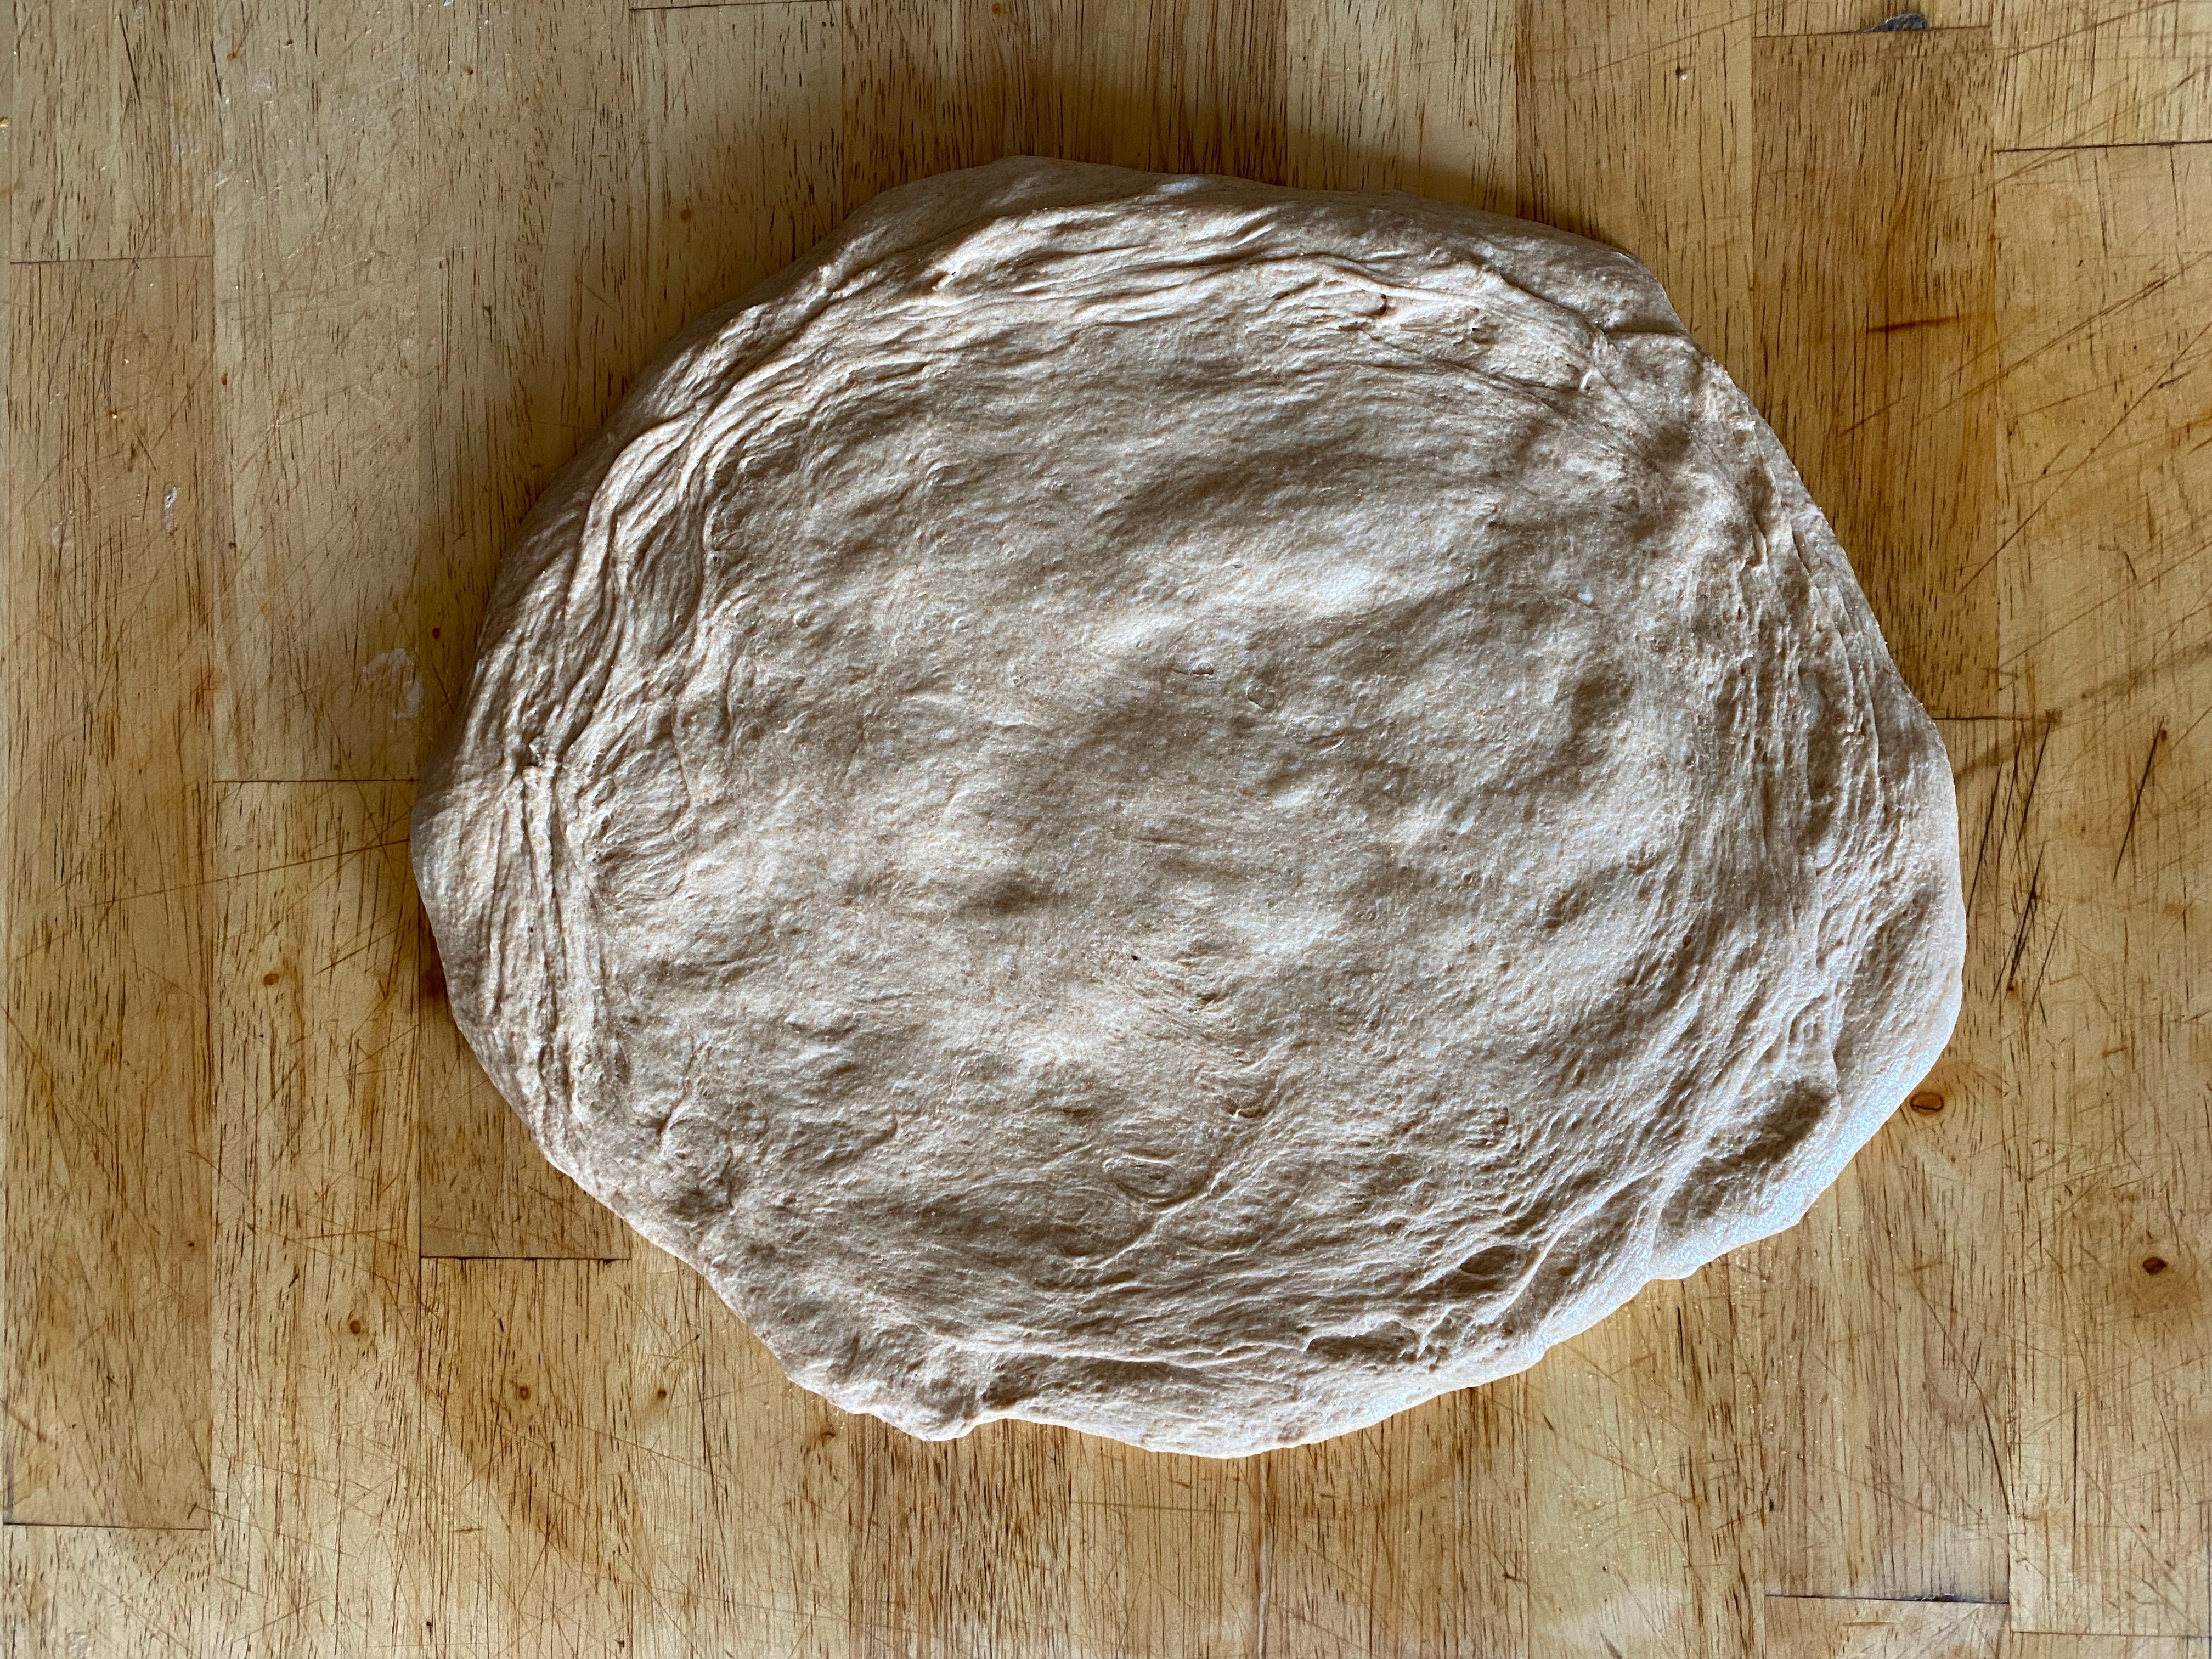
    1. Remove dough from bowl onto a lightly oiled surface.
    2. Press into a rectangle
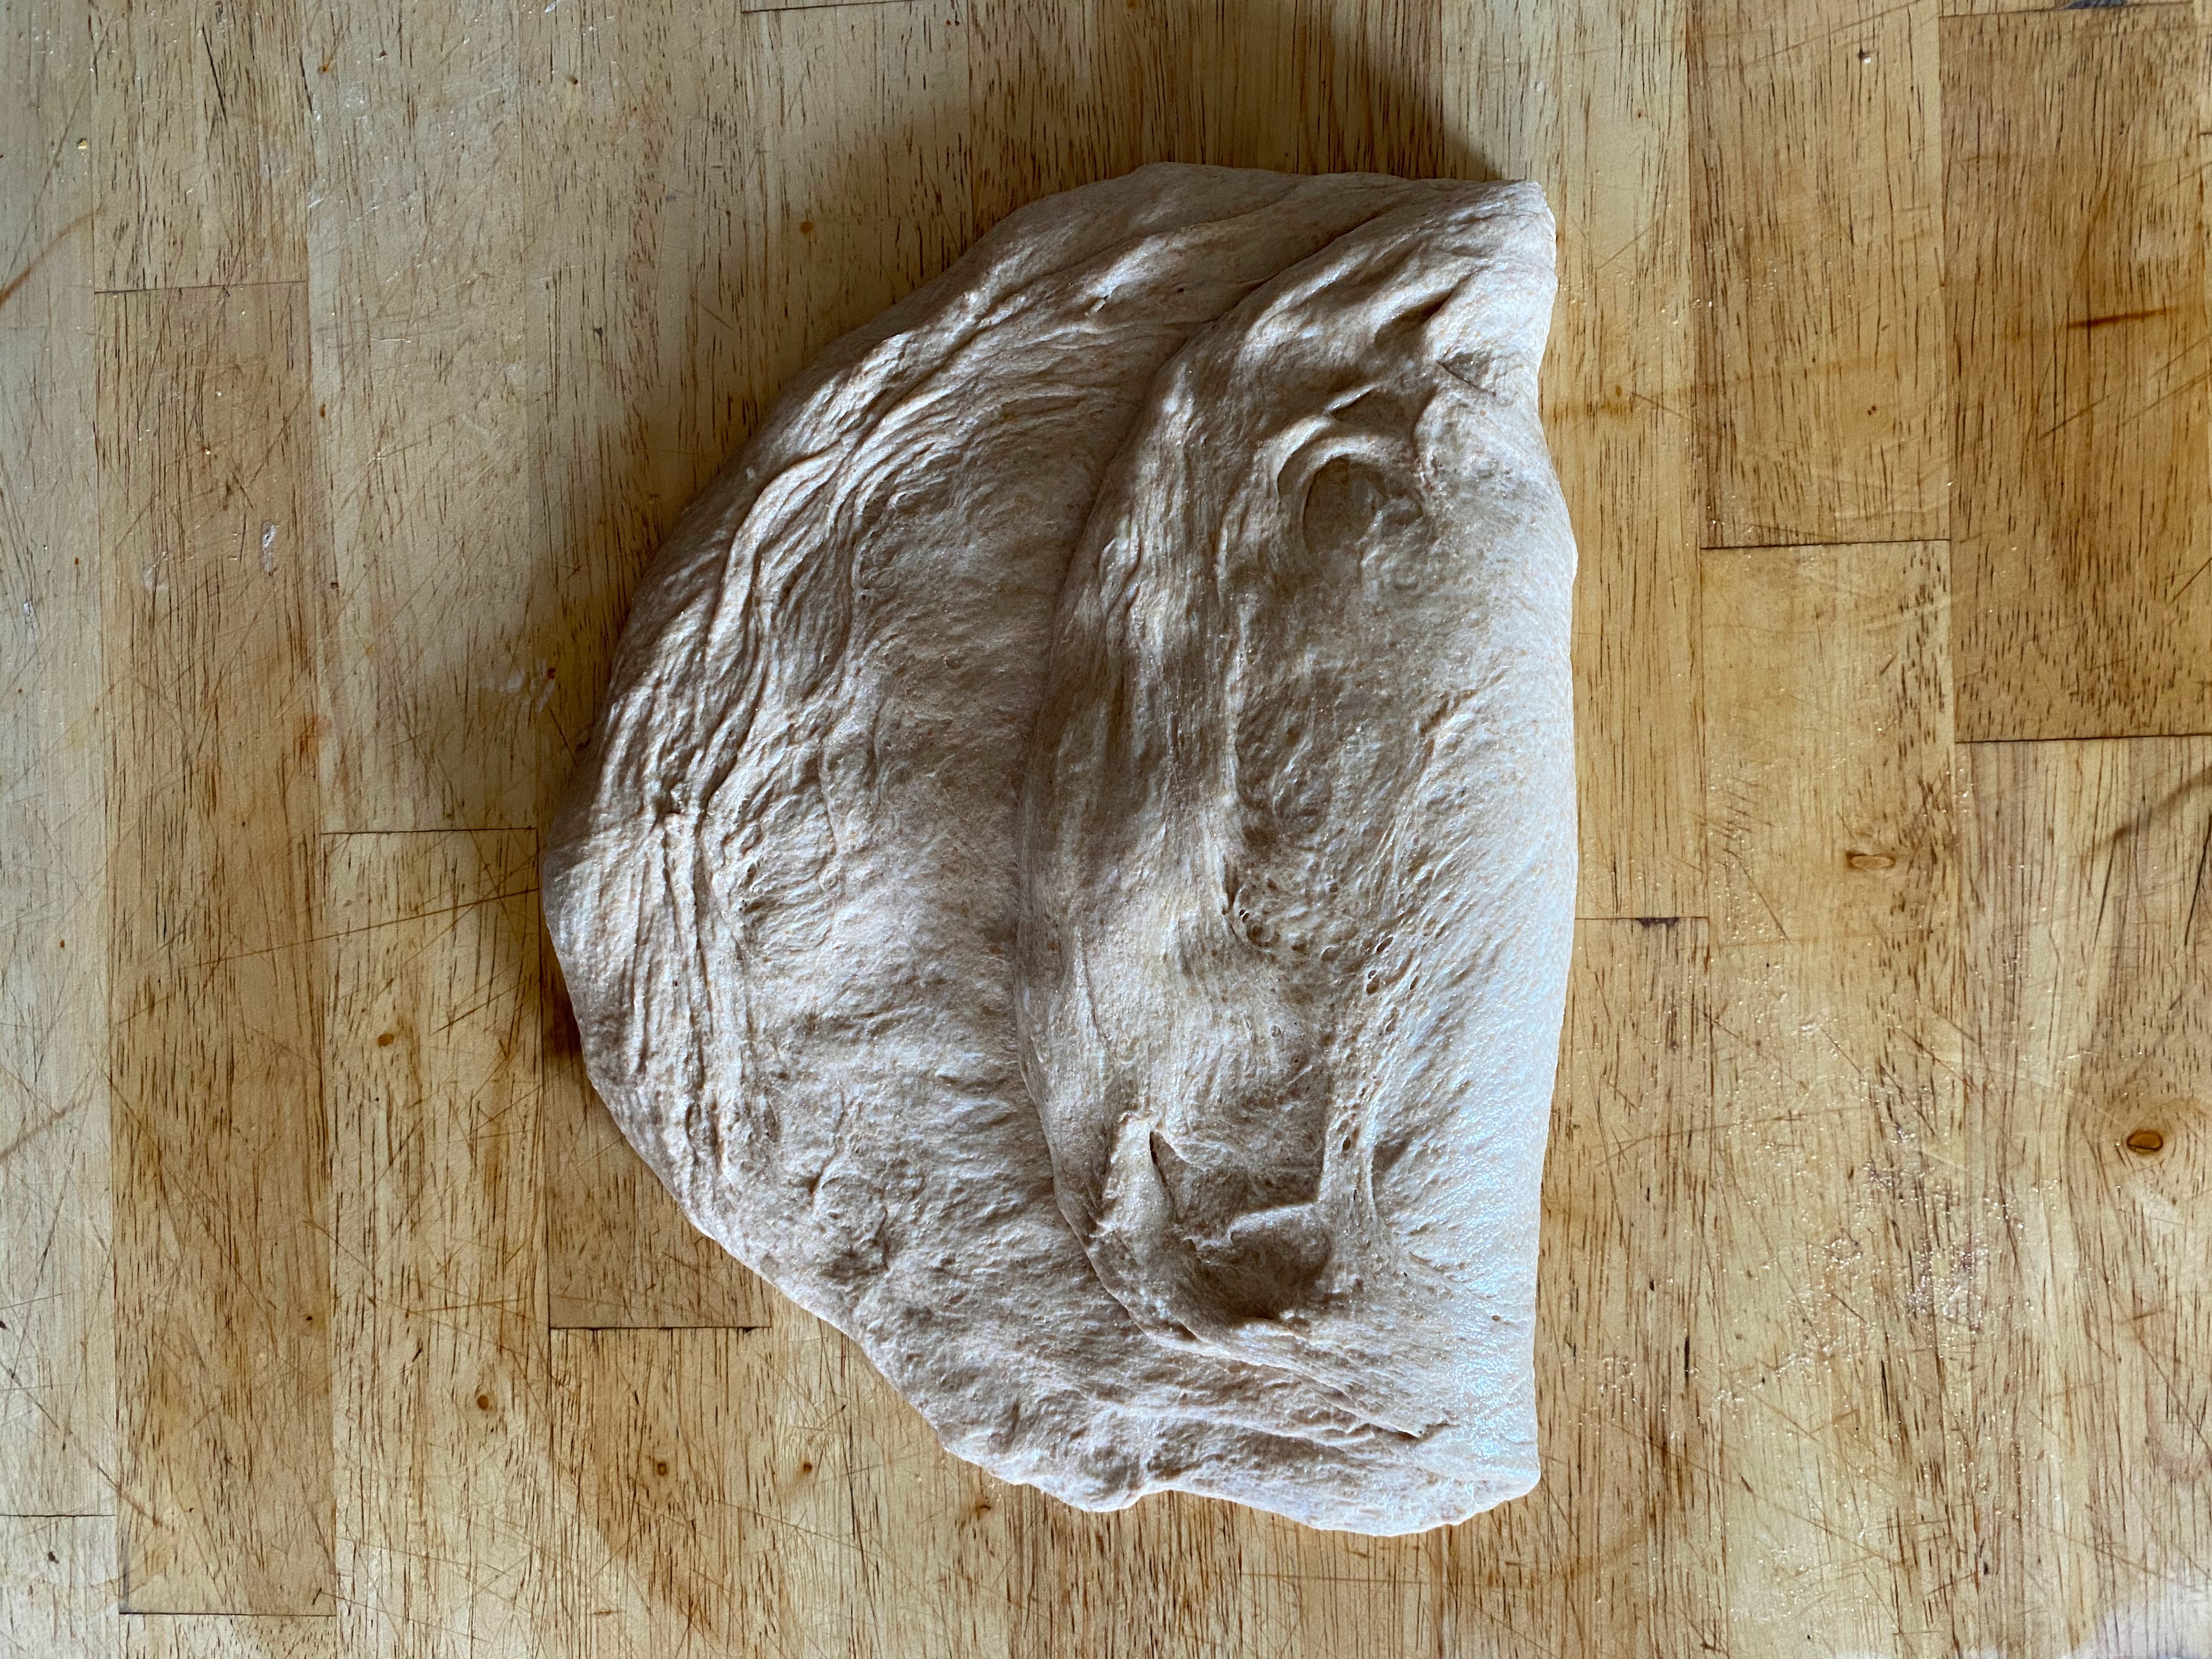
    3. Fold right side over, halfway, then the left side over that.
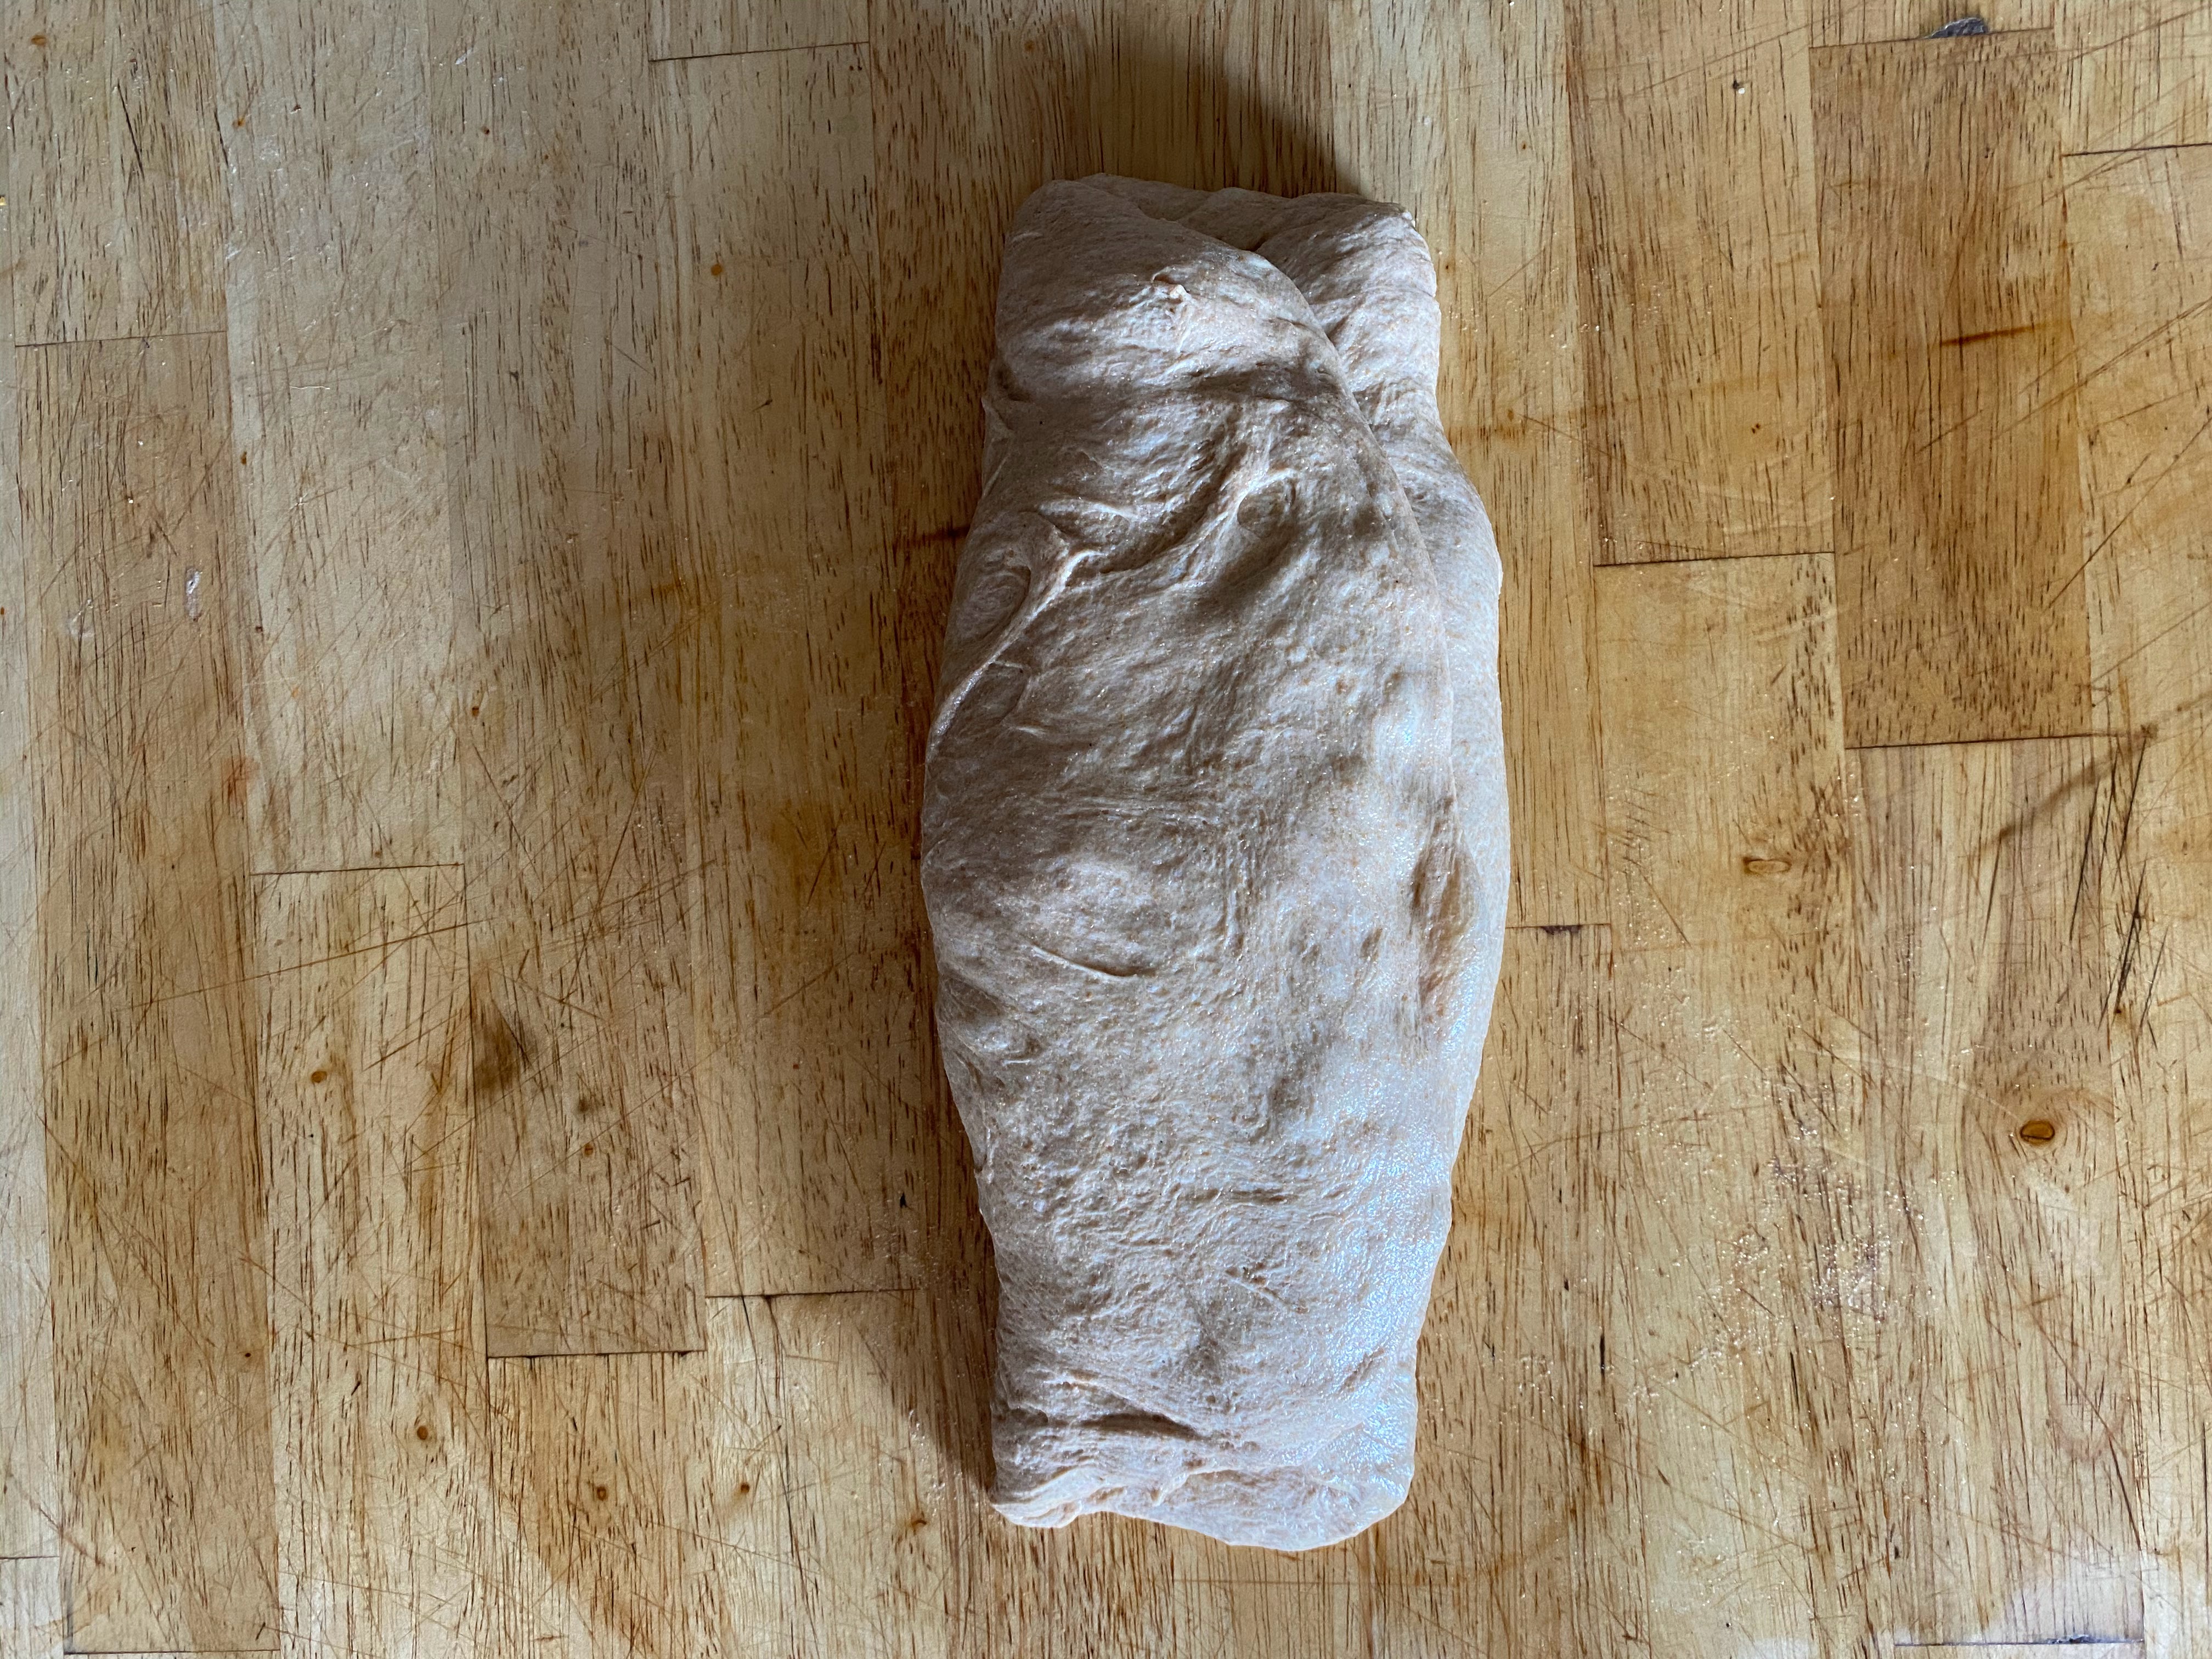
    4. Fold the top down, then the bottom up over that.
    5. Return to bowl, seam side down.
  2. Cover and let rest for 2~3 days, this time in the fridge.

Last Day

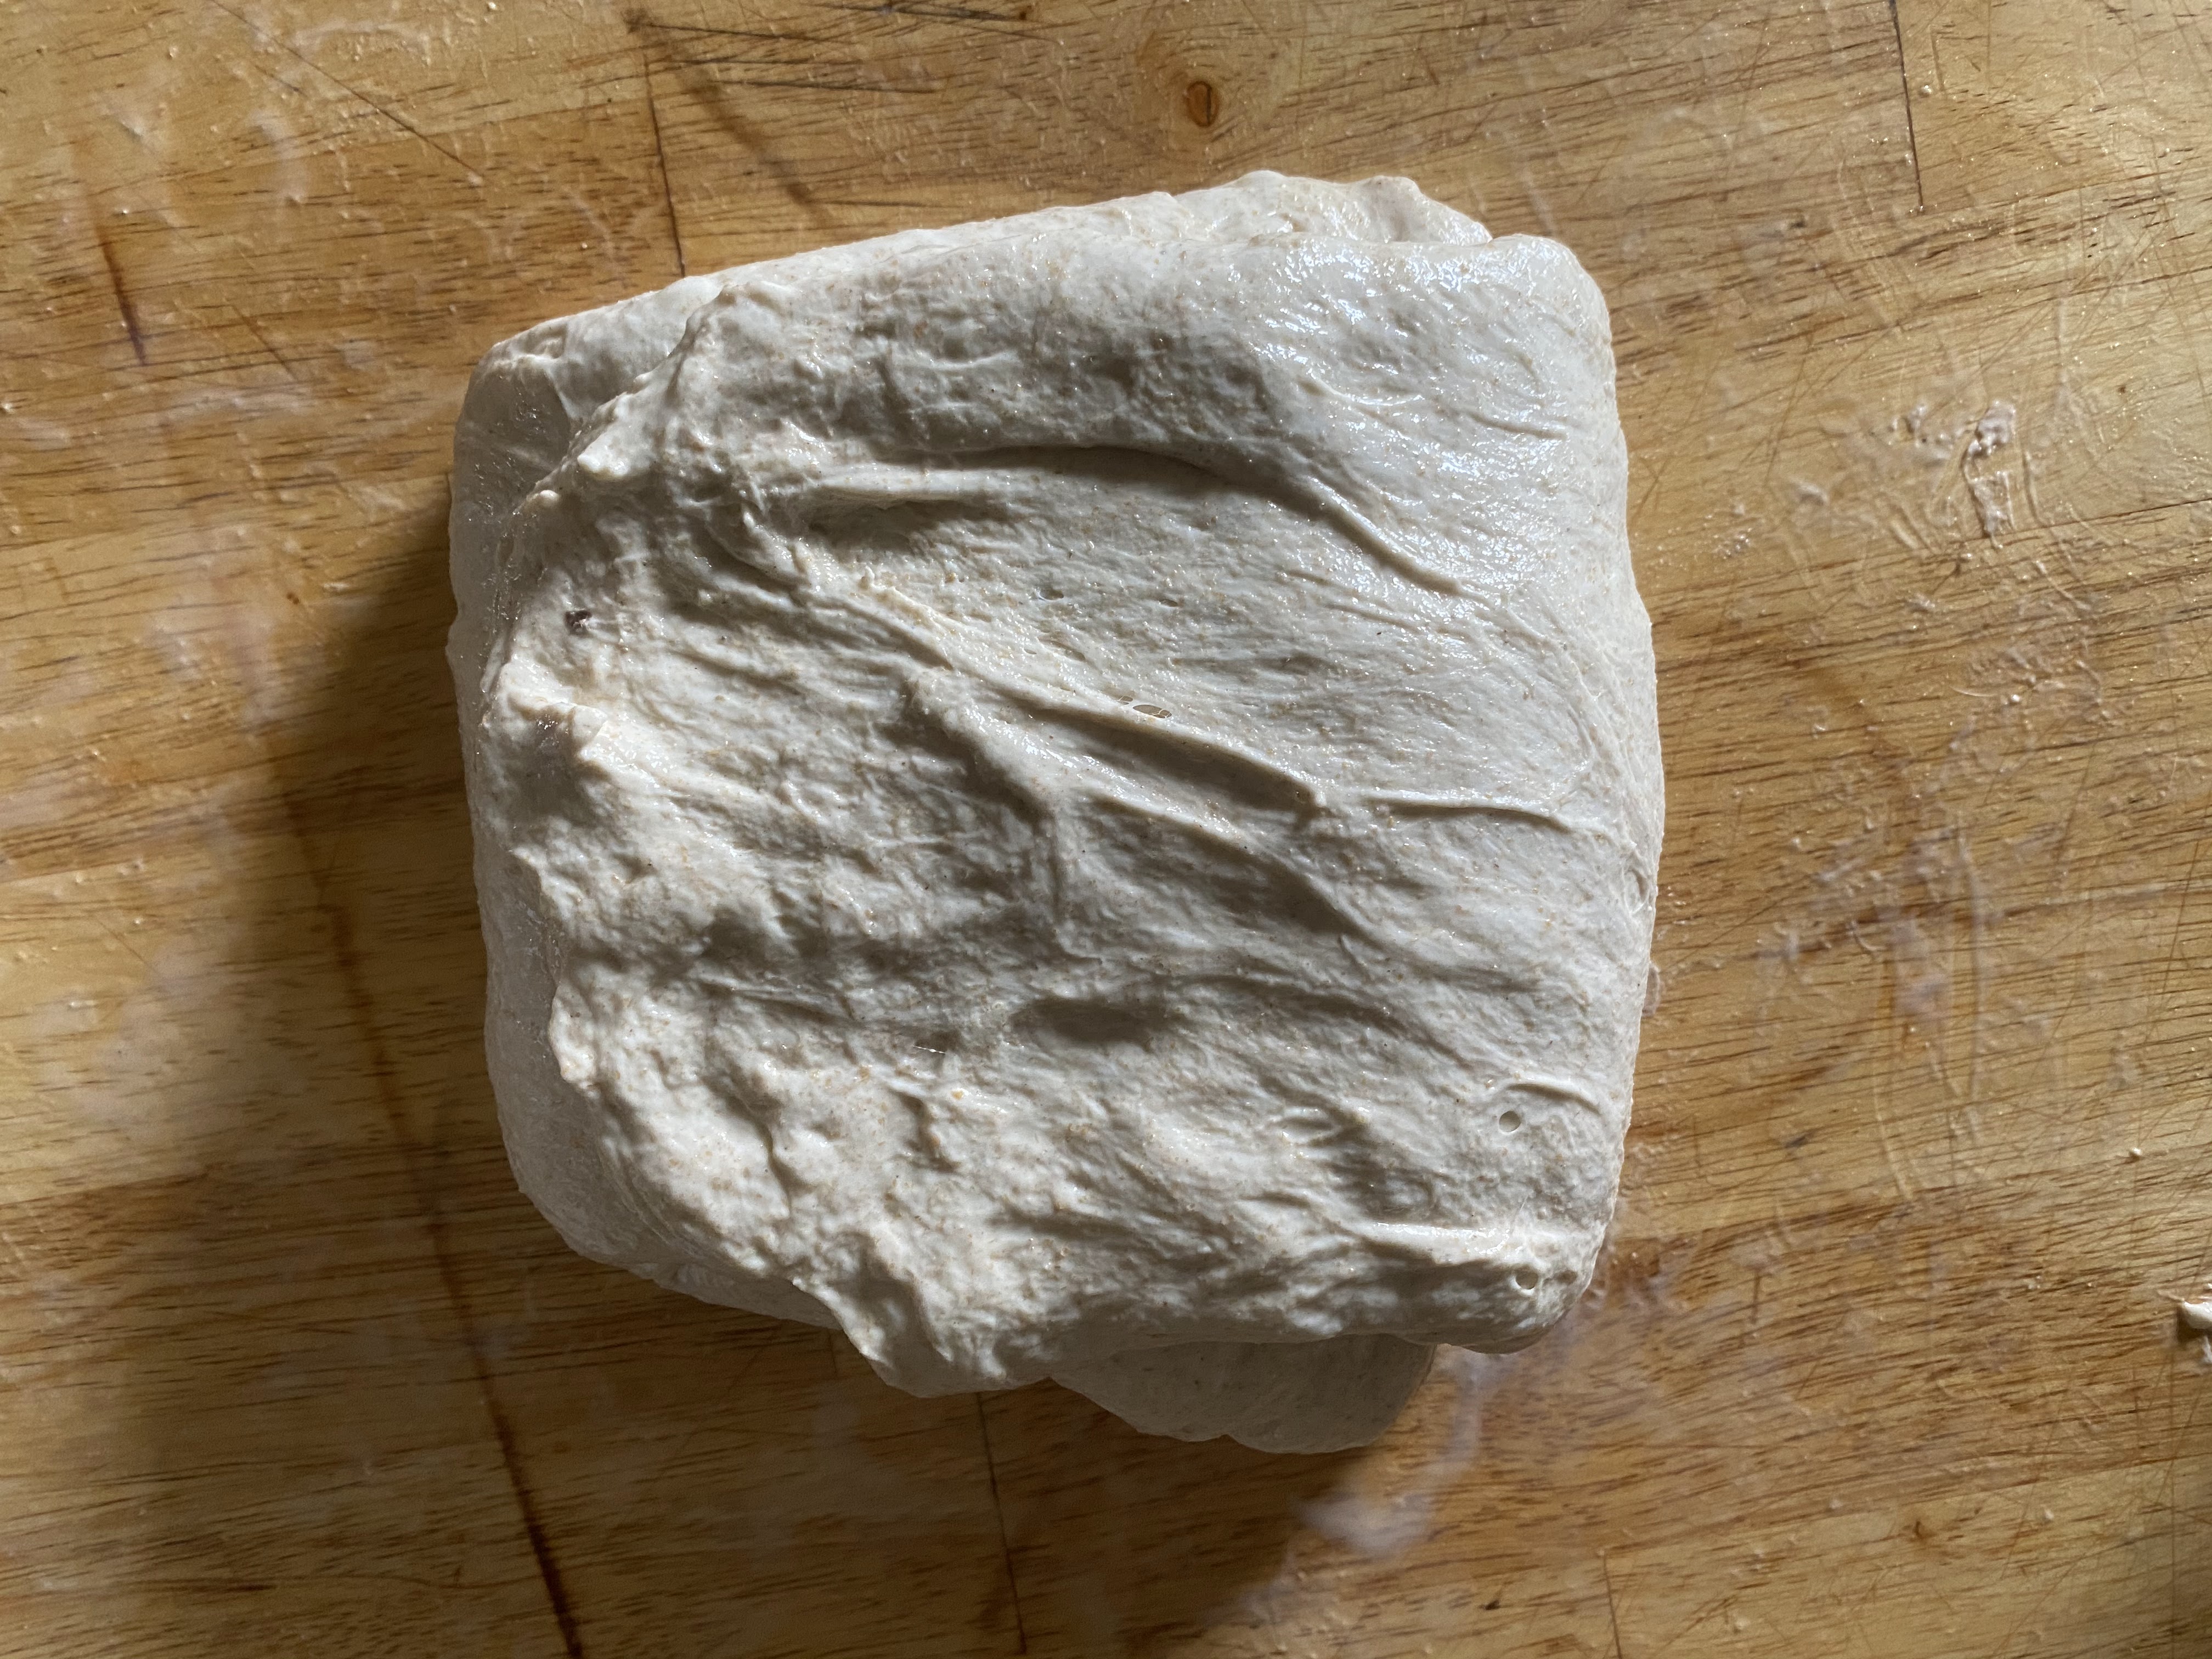
  1. Remove dough from fridge, and use your bowl scraper to gently scrape the dough from the bowl onto a lightly floured countertop,
  2. Pick up a side and pull it over to the middle. Continue all the way around. You’ve now got a circle of dough with flour on both sides, and no flour in the middle.
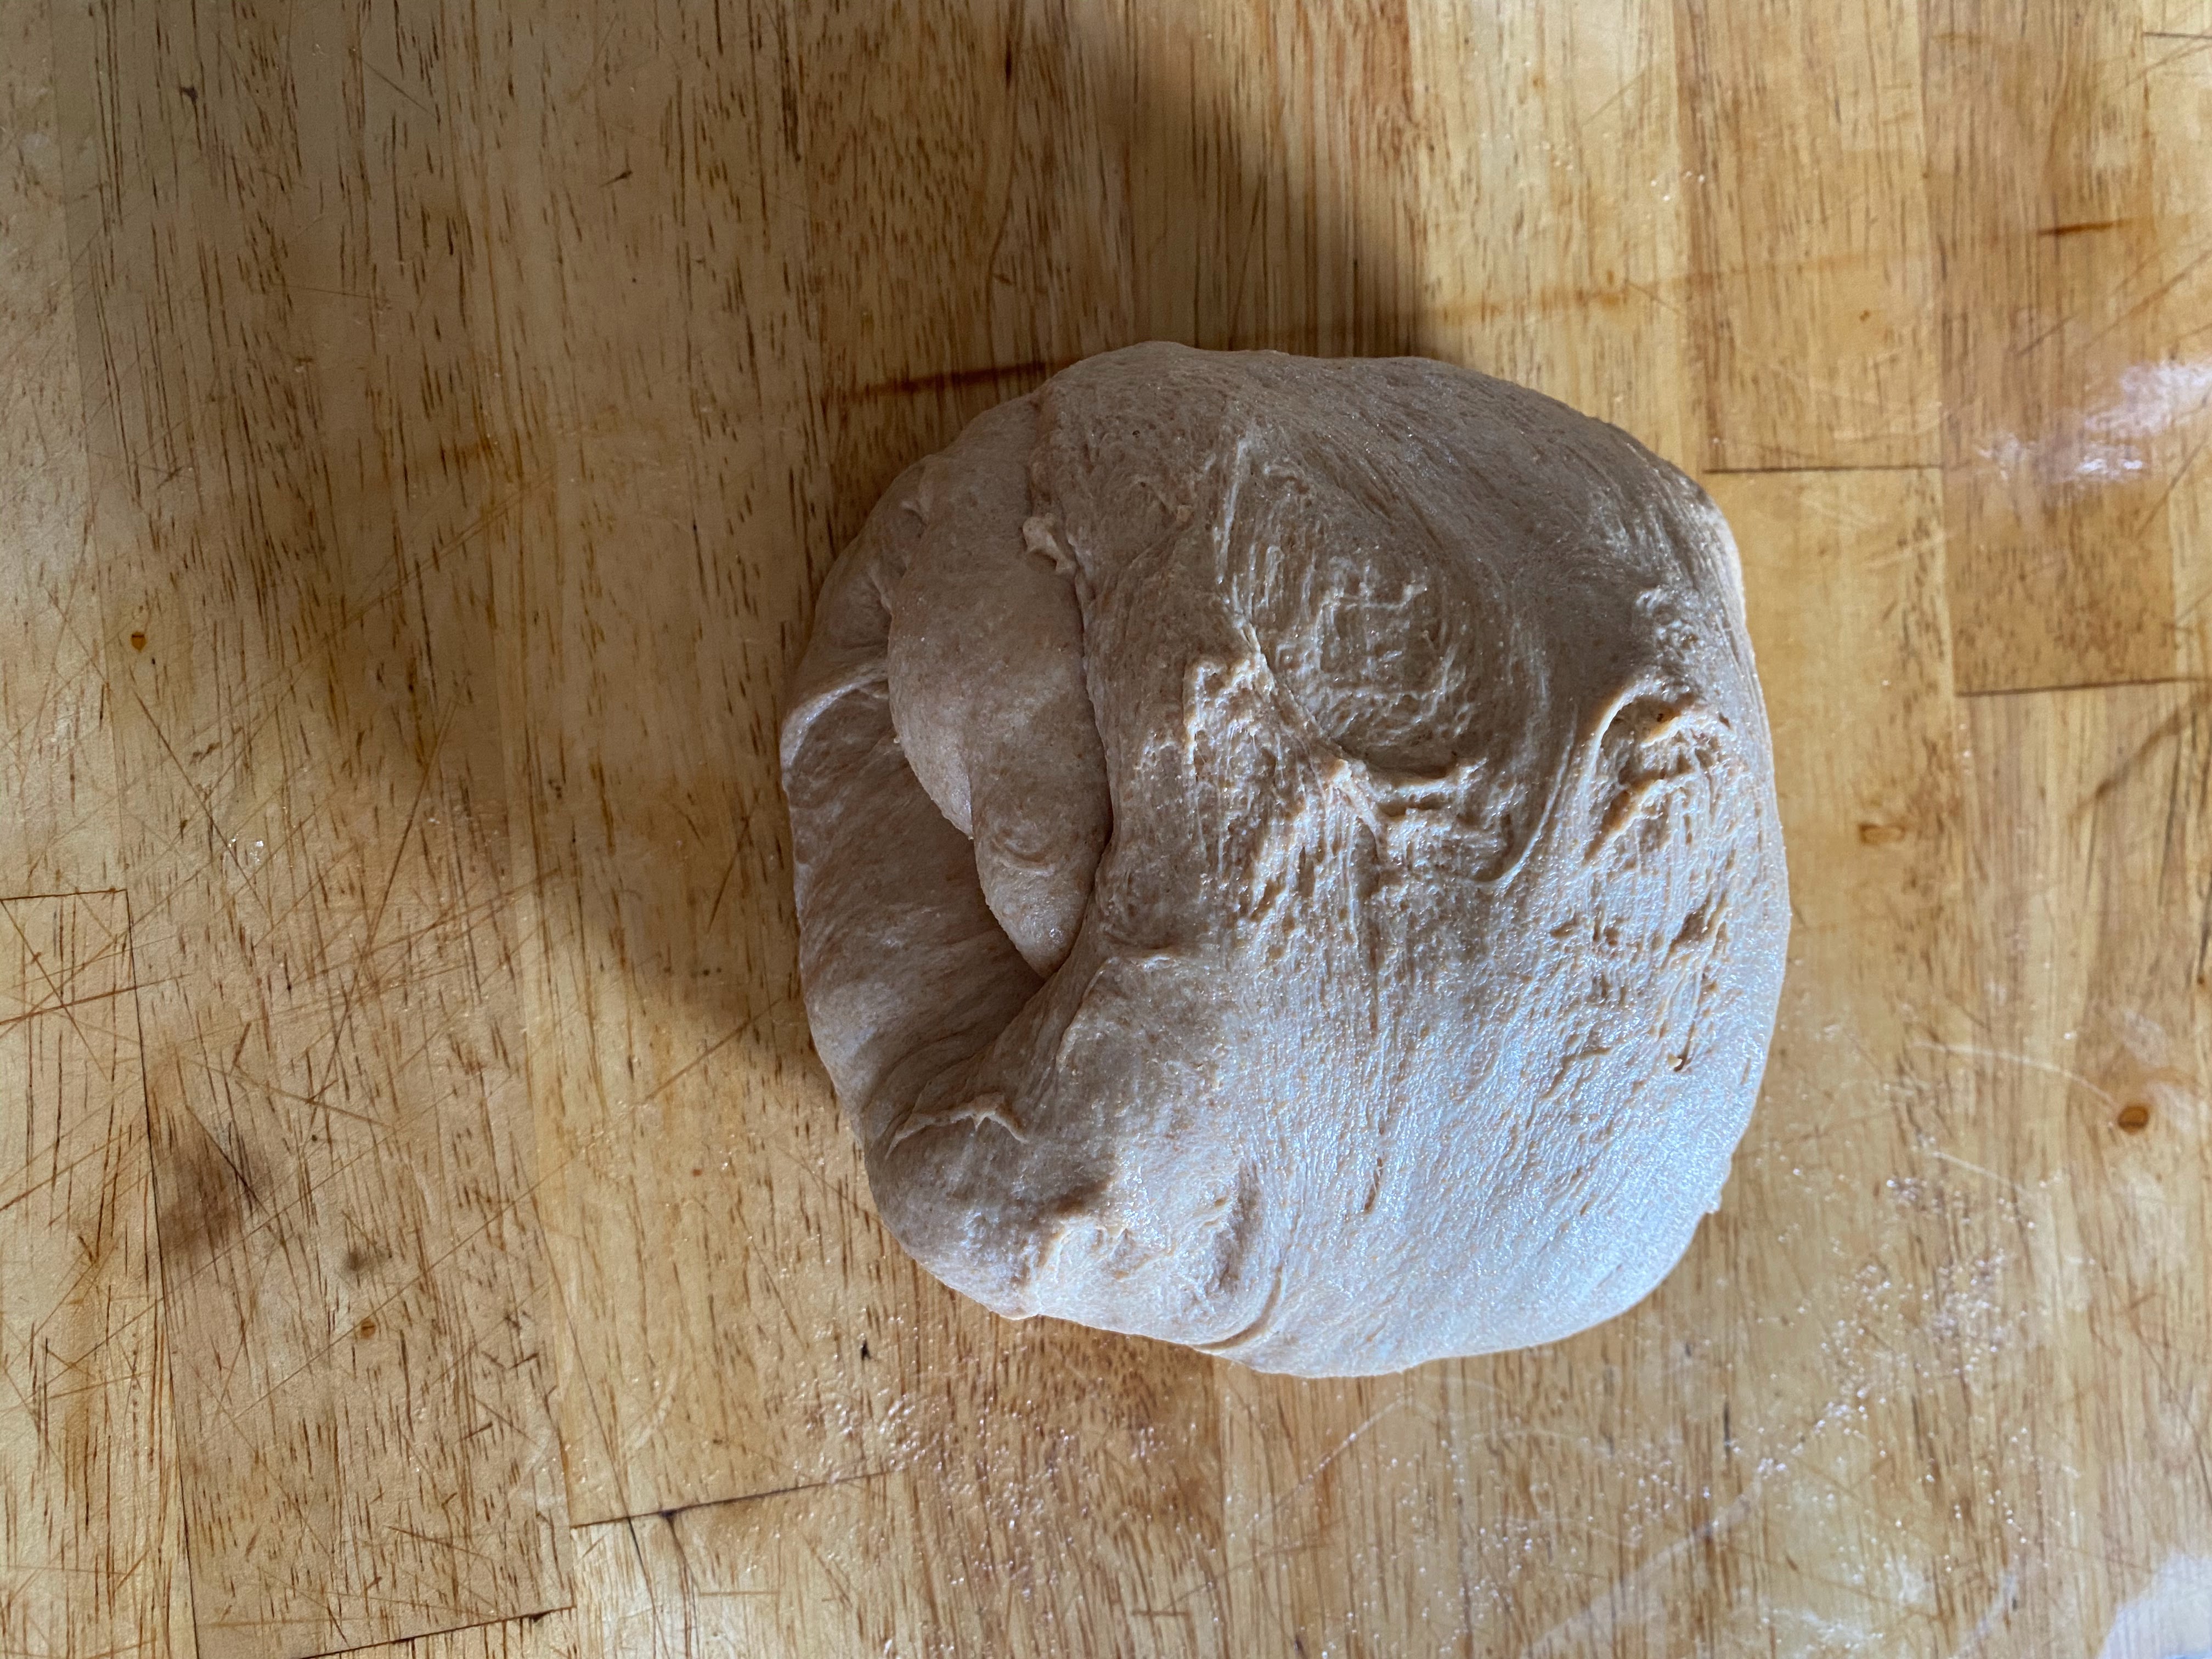
  1. Turn over and shape into a ball, tightening the top as you go, on an unfloured surface. See “High-hydration Boule and Batard” instructions on the Video page.
  2. Place in proofing basket lined with a floured cloth, smooth side down.
  3. Cover and let rest for about 1-2 hours, until it is room temperature and has risen a bit.
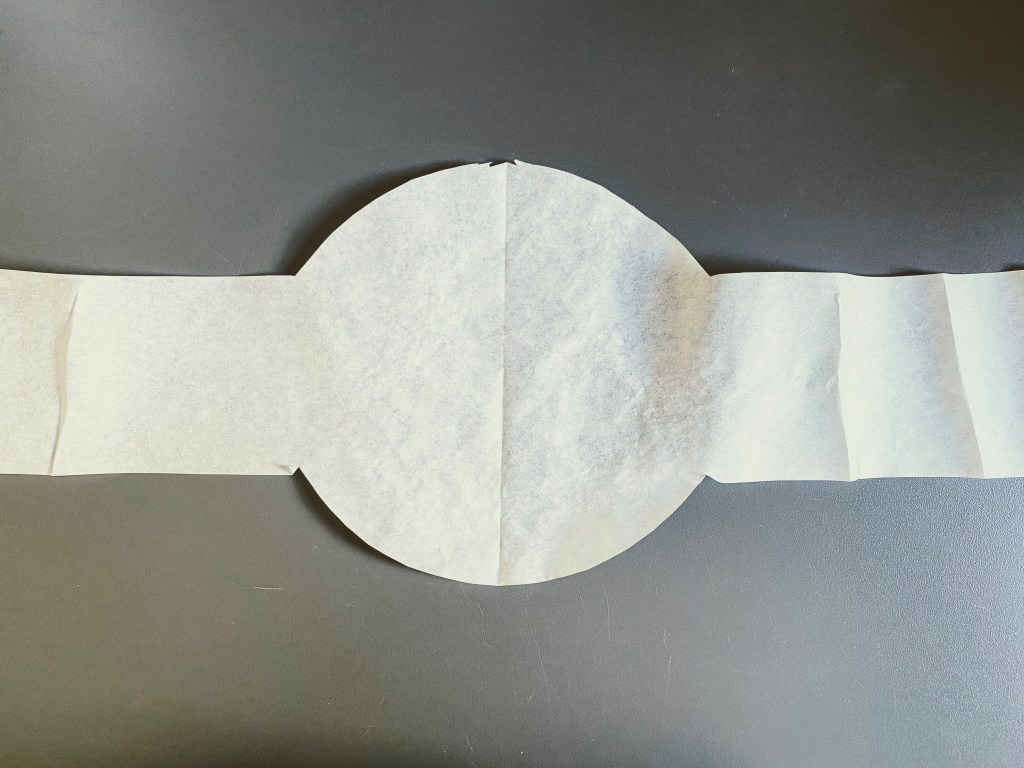
  4. Cut a sling out of parchment paper (see photo below) to fit the container.
  5. Place aheavy-duty oven-proof pot with lid inside the oven and preheat to 475 degrees.
  6. Remove pot from over, lift dough inside, cover and bake at 450 (turn temperatre down) for 20 minutes.
  7. Remove lid and bake at 400 (turn temperature down) for 25-30 minutes.
Parchment paper bread sling

Delayed Salt Method: Delayed salt allows natural, or biological, development of a part of the amino acids in gluten, called cystein, to occur, which can’t happen in the presence of salt. It’s a very simple way to improve your breadmaking, no matter how you choose to make bread. It’s particularly useful when making bread by hand, but is also commonly used when a mixer is employed.

Week 94: Hybrid Sourdough

This is a hybrid sourdough, calling for both a wild yeast starter levain/sourdough) and commercial yeast. There’s a lot of shouting on bread forums whether or not using yeast in a sourdough loaf is sacrilege, or cheating, but I’ve come across recipes from Dan Lepard, Peter Reinhart and Ken Forkish (the three kings of bread), and if they can do it, then so can we. If you want to make a beautiful loaf, but don’t want to wait three days, then this is your answer.

The following is adapted from from Dan Lepard’s Mill Loaf. I wanted to share the minimalist kneading technique that he accidentally discovered when working in a very busy restaurant. He was constantly having to run between kneading doughs and prepping other dishes, and the time period in which the doughs were left to rest were often getting overextended. Much to his surprise, he found that this was a good thing. His book, The Handmade Loaf, is one of my favorites because it has easy to follow recipes that are beautifully photographed and unique.

You’ll need a Dutch oven, or any other pot with lid to bake the bread.

Step 1: Feed starter

  • You’ll need 250g of starter
  • My starter is a 1:1:1 ratio. i.e. 100g each of starter/water/flour.
  • The flour I use is a mix of 70g wheat + 30g rye

Step 2: Make dough (next day)

  • 250g active white starter
  • 275g water from the tap (about 68 degrees)
  • 300g bread flour
  • 150g whole wheat
  • 50g rye
  • 3/4 tsp salt
  • 7g yeast
  1. Measure water into a large bowl.
  2. Add the starter and whisk to combine.
  3. Measure out all the dry ingredients into a medium bowl and whisk to combine.
  4. Add dry flour mixture to the water/yeast liquid.
  5. Mix with the handle of a wooden spoon, til no dry bits remain. If you prefer, or if it’s not coming together, go ahead and use one hand to squeeze the dough together and get it thoroughly mixed.
  6. Cover and let rest 15 minutes in a warm place.

Step 3: Knead and proof

  1. Now it’s time to do the stretch and fold method of kneading:
    • With wet fingertips, pull up a section of the dough, then fold it over itself. Do this 8 to 12 times, rotating the bowl as you go along. Don’t pull too much, and if it starts to tighten stop. Turn over, cover and rest 15 minutes.
    • Repeat this stretch and fold kneading/resting for 15 minutes two more times.
  2. You’ll have done 3 stretch and fold cycles and 1 hour total resting period since mixing the dough together.
  1. Place dough on an oiled countertop and gently press to flatten.
  2. Pick up the sides, one at a time, pull out and gently flap up and down to stretch it out into a rectangular shape.
  3. Now you will do the envelope fold of kneading:
    • Pick up the right hand side, stretch it out a bit, then fold the right side over, then fold the left side over on top of that. Then, fold the top portion down and the bottom portion over on top of that. Flip this over and return it to the bowl. Cover and rest 1 hour.
    • Repeat this envelope fold knead one more time, cover and rest for another hour.
  4. You’ll have done 2 envelope kneading cycles and 2 more hours resting for a total of 3 hours.

Step 4: Shape

  1. Remove dough from bowl onto a lightly floured surface.
  2. Follow along with this “How to shape a batard” video
  3. Place dough, seam-side up into a floured proofing basket.
  4. Cover, and let rest for about 30 minutes.

Step 5: Bake

  1. Cut out a parchment paper sling that will hold the dough and fit in the pot your using to bake the bread.
  2. Preheat oven to 450, with a Dutch oven, or other heavy pot with a lid, inside.
  3. Lay the sling over the dough, flip and remove dough from basket.
  4. Score
  5. Bake at 425 for about 50 minutes.

Week 88: 100% White Whole-Wheat

Do you have a whole-wheat bread hater in your life? Trick them with this bread made with white wheat, as opposed to the more common red. It’s as soft and squishy as Wonder Bread, but much more nutritious. Flour milled from white wheat looks and acts more like refined (all-purpose) flour, but still contains the bran, germ and endosperm. It’s got a milder flavor and softer texture than red wheat loaves, but is just as good for you.

  • 384g white whole wheat
  • 30g vital wheat gluten
  • 7g yeast
  • 10g salt
  • 36g brown sugar
  • 300g water
  • 3 Tbsp butter, cut in little cubes
  • 2 tsp apple cider vinegar (or lemon juice, or plain vinegar)
  1. Measure the dry ingredients into the bowl of a stand mixer.
  2. Whisk to combine.
  3. Heat water to 120°F.
  4. Cut butter into little cubes, then add to hot water and stir to melt.
  5. Add the vinegar.
  6. Place bowl in mixer and knead on lowest speed with the dough hook while slowly add the water.
  7. Scrape the sides with a rubber spatula to help encourage total incorporation.
  8. Once it’s all mixed together, increase to speed #2 and knead for 10 – 20 minutes, scraping sides occasionally with a rubber spatula. You want the dough to be coming away from the sides on it’s own. . If you knead on speed #2 you’re not in danger of over kneading, so be patient – it’ll happen.
  9. Cover and let rest in a warm place for 30 – 60 minutes, until doubled in size.
  10. Lightly oil your work surface, and scrape the dough out from the bowl.
  11. Shape into a rectangle about 8″ wide, so it fits into a 8″ x 4″ loaf pan.
  12. Roll into a loaf using the head and shoulders method.
  13. Please in an oiled loaf pan, seam side down. Or line with parchment paper.
  14. Cover and let rest in a warm place for about 30 minutes, so that it is puffed up enough to be a little over the rim of the loaf pan. You don’t want it to puff up too much, because you want some of the rising to take place in the oven.
  15. Meanwhile, preheat oven to 375 degrees.
  16. Just before baking, dust with a little flour, and make 3~5 diagonal slashes
  17. Turn oven down to 350 and bake 30 minutes, until golden brown and internal temperature is 190 degrees.
  18. Let cool on a wire rack.

Week 84: Rye Sourdough (35%)

I’ve been working on making 100% rye bread, but have yet to make one that I thought was any good. And then it occurred to me that maybe I just don’t like bread made with only rye flour. I decided to nix that goal, and make a rye/wheat version. This loaf is only 35% rye, but the addition of the caraway seeds and barley malt syrup gives it a great flavor and I’m really happy with it.

I found this on the Foodgeek’s YouTube channel. He is one of my favorite bakers, and I highly recommend checking out his channel if you’re serious about learning how to bake good bread. He’s also got two great tutorials on scoring, so I’ve linked those as well.

I’ve listed the amounts of all the ingredients so you can have them at the ready and follow along with him in while watching the video that’s linked below. He makes two loaves; I’ve listed what you need for one and two. Because you need to activate your sourdough the night before, and the loaves have a final rest overnight in the fridge, this takes 3 days total.

1 LoafIngredients2 Loaves
260gBread Flour520g
180gWhite Rye Flour360g
40gDark Rye Flour80g
268gWater536g
80gStarter160g
10gMalt Syrup20g
8gSalt16g
5gCaraway Seeds10g

Tips:

  1. I only had white rye, so used whole wheat in place of the dark rye.
  2. I did not have bread flour, so measured out all purpose flour, took away 2 tablespoons and then added 2 tablespoons of vital wheat gluten.
  3. I used my stand mixer with the paddle attachment to mix the dough.
  4. I lightly oiled my countertop before shaping the dough. He doesn’t use flour to keep his dough from sticking, but I think his countertop is made from a material that is more of a non-stick surface. Mine is wood, so it needs flour, oil, or water. I didn’t want to be adding flour to the dough, so I used oil.
  5. I did 4 stretch and folds (with 30 minute rests after each one) just like he does. But then I did 2 coil folds after that, so my total rest period was an hour longer. See Video page for links to both methods.
  6. 20 grams of malt syrup is about 1 tablespoon, as is 10g caraway seeds.
  7. I mixed seame seeds in with the caraways seeds, mostly for looks.
  8. I forgot to add the seeds before placing the shaped dough in the proffing basket. If you need to add them after the dough’s been proofed, lightly spray the loaf with water, then add seeds, then score.