Move over no-knead bread, there’s a new sheriff in town: Yohan Ferrant, developer of the do-nothing method.
Back in November of 2006, The New York Times published The Secret of Great Bread: Let Time Do the Work by Mark Bittman, celebrating Jim Lahey’s “no-knead” method. It was modified here with new measurements and then, in May 2021, Kenji Lopez-Alt’s version, Updated No-Knead Bread Recipe was published along with a really informative article, How The No-Knead Bread Recipe Changed Baking. This one, though, isn’t low-knead or no-knead (which involves stretch and folds), it’s just mix, rest, shape and then bake.
I bake more yeast breads than sourdough. Mostly because I don’t really like sourdough, will never make things with the discard, and also because I grew tired of keeping it active. This is the only sourdough I make now. To keep my starter active, I add equal amounts flour and water to 60g of leftover starter, with 60g flour and 60g water. Next morning, I make the loaf with 90g starter. Toss 30g and I’m back to 60g to feed.
For example:
60g starter + 60g water + 60g flour = 180g starter
Use 90g starter for the bread, toss 30g = 60g starter
The night before you bake again, feed the 60g starter with 60g water + 60g flour, as above.
Repeat!
There hasn’t been as much fan-fare around Yohan Ferrant’s do-nothing method, and I couldn’t find an original posting from him, just a lot of chatter about it on baking blogs. So, I checked out his Instagram feed, and finally came across a reel of him demonstrating how to make it. I’m listing the ingredients, but not a lot of detailed instructions, because, well, there aren’t any!
Instagram link here.

Place a bowl (or the bowl of a stand mixer) on your scale and add ingredients in the order listed below.
- 6g salt
- 255g warmish water
- 90g active sourdough starter (fed the night before)
- 250g bread flour (Optional: minus 1 Tbsp + 1 Tbsp vital wheat gluten)
- 50g rye
- 50g whole wheat
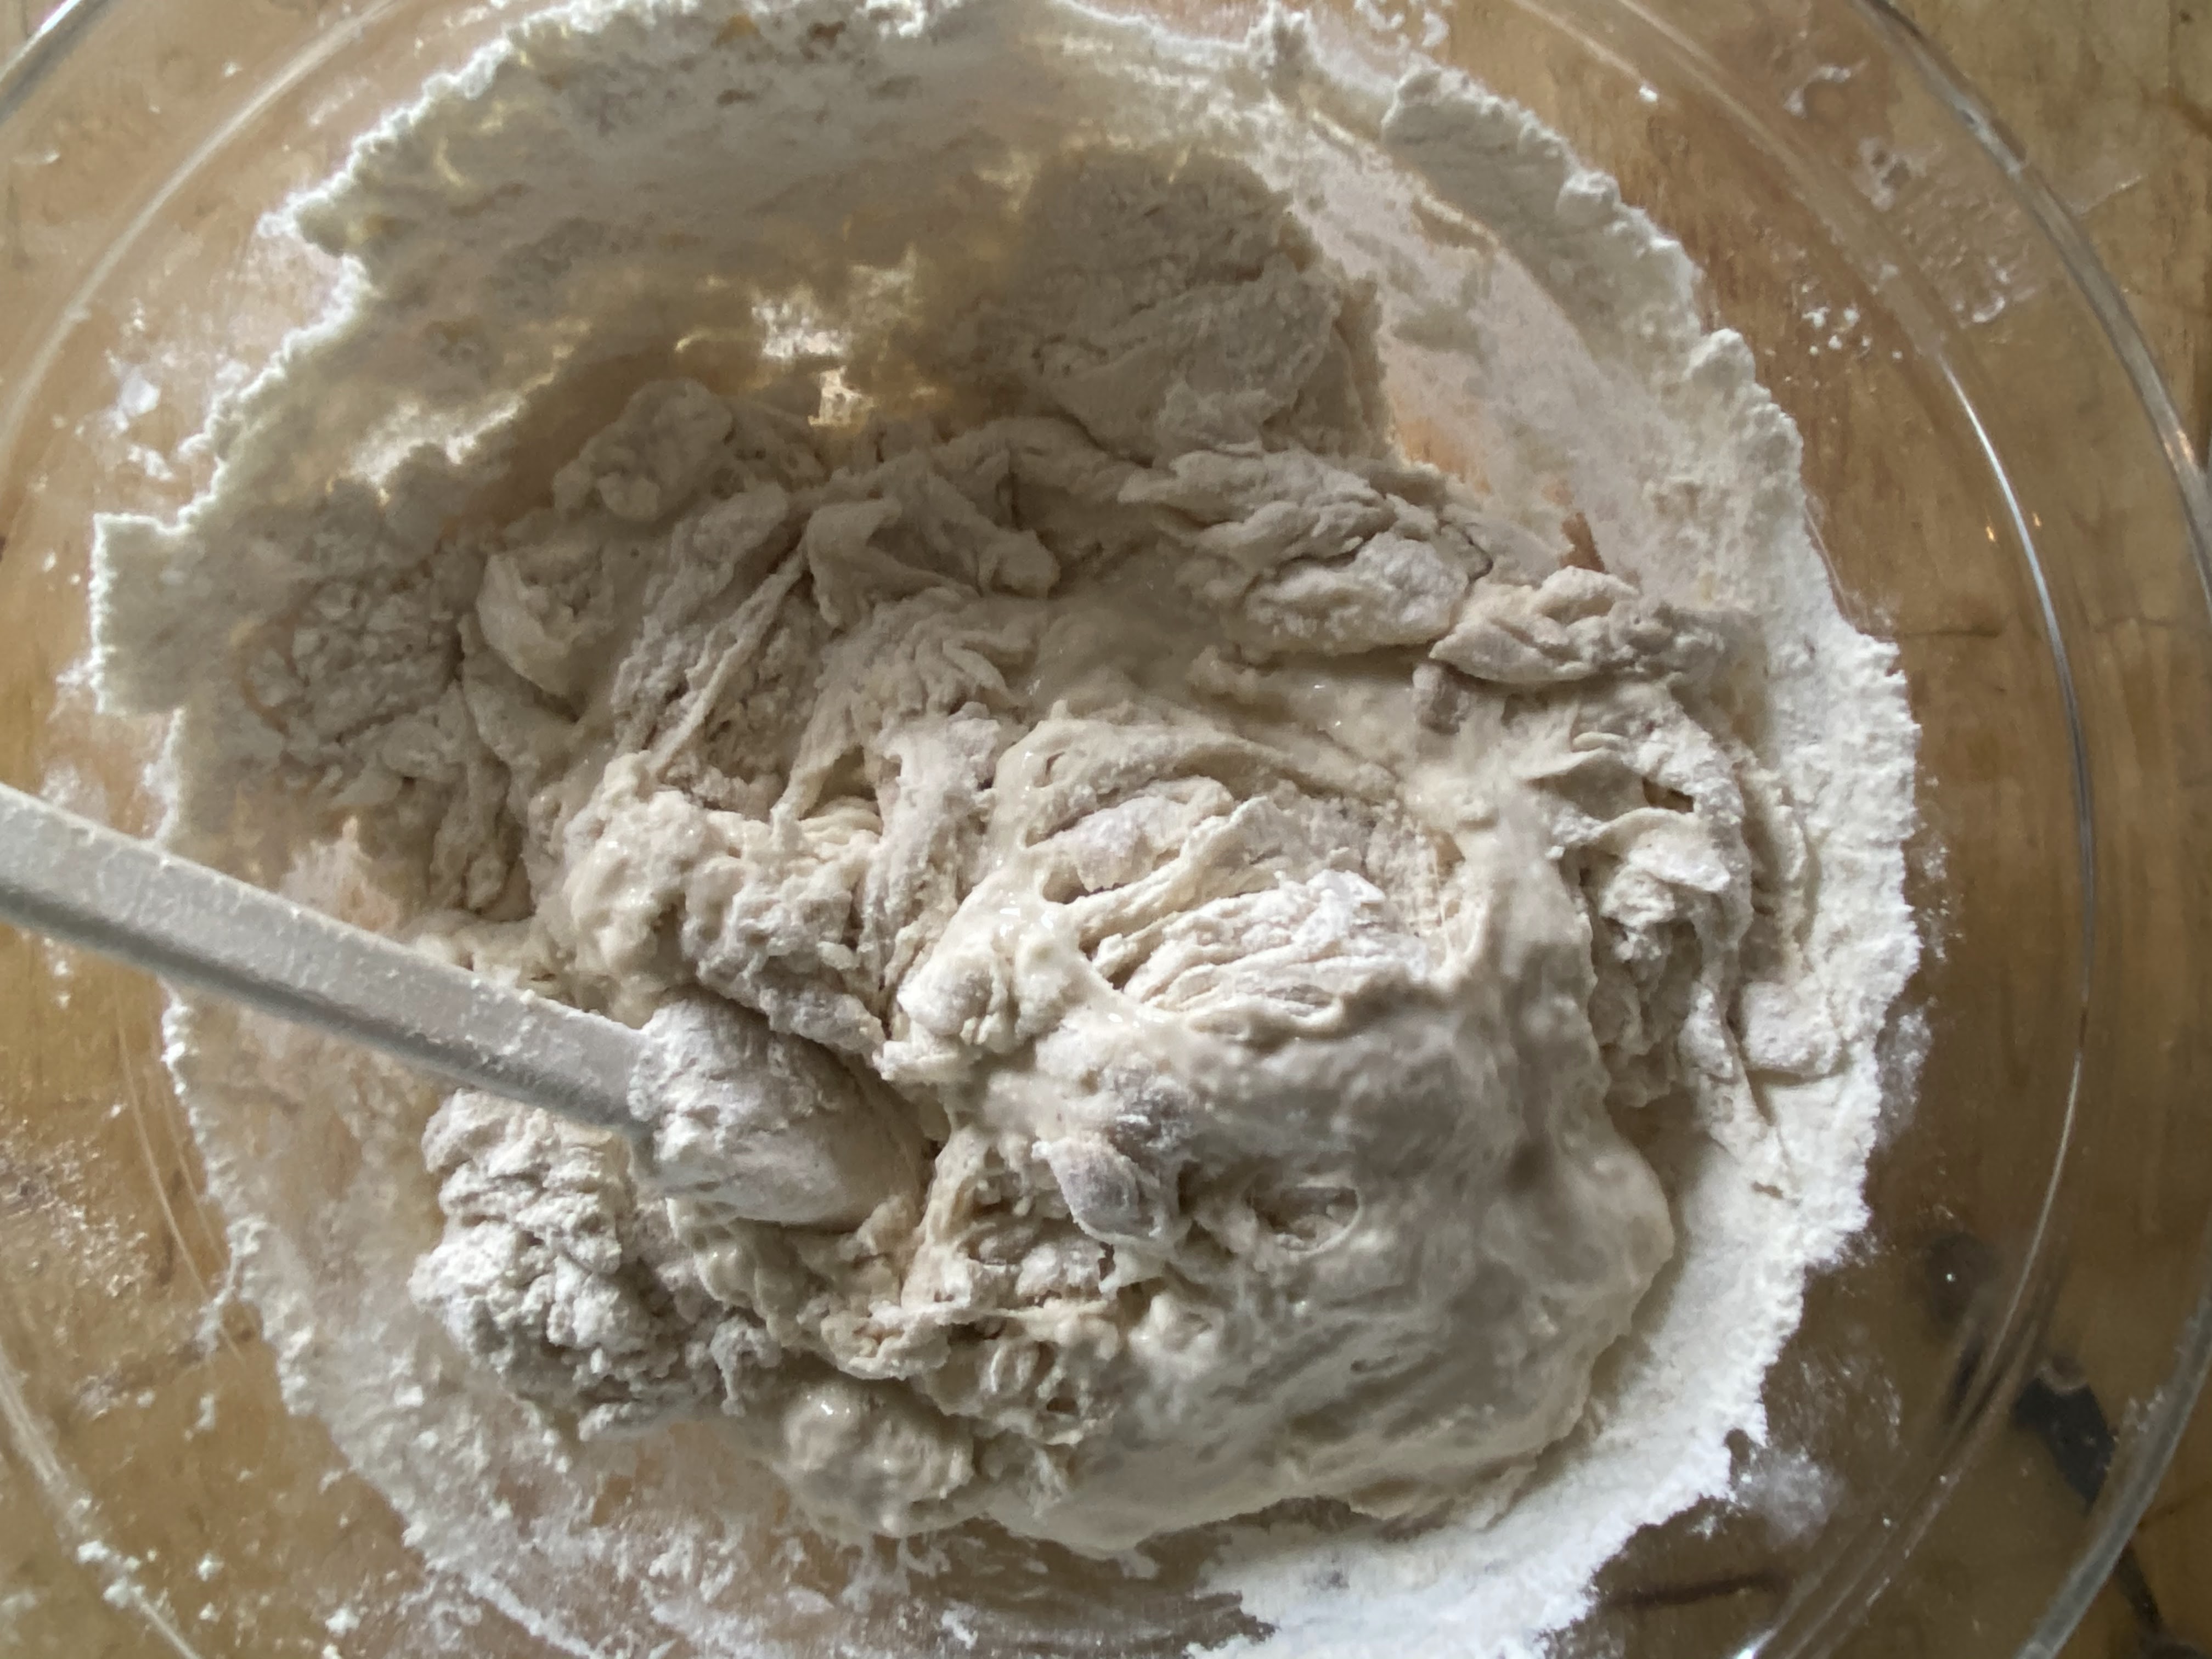
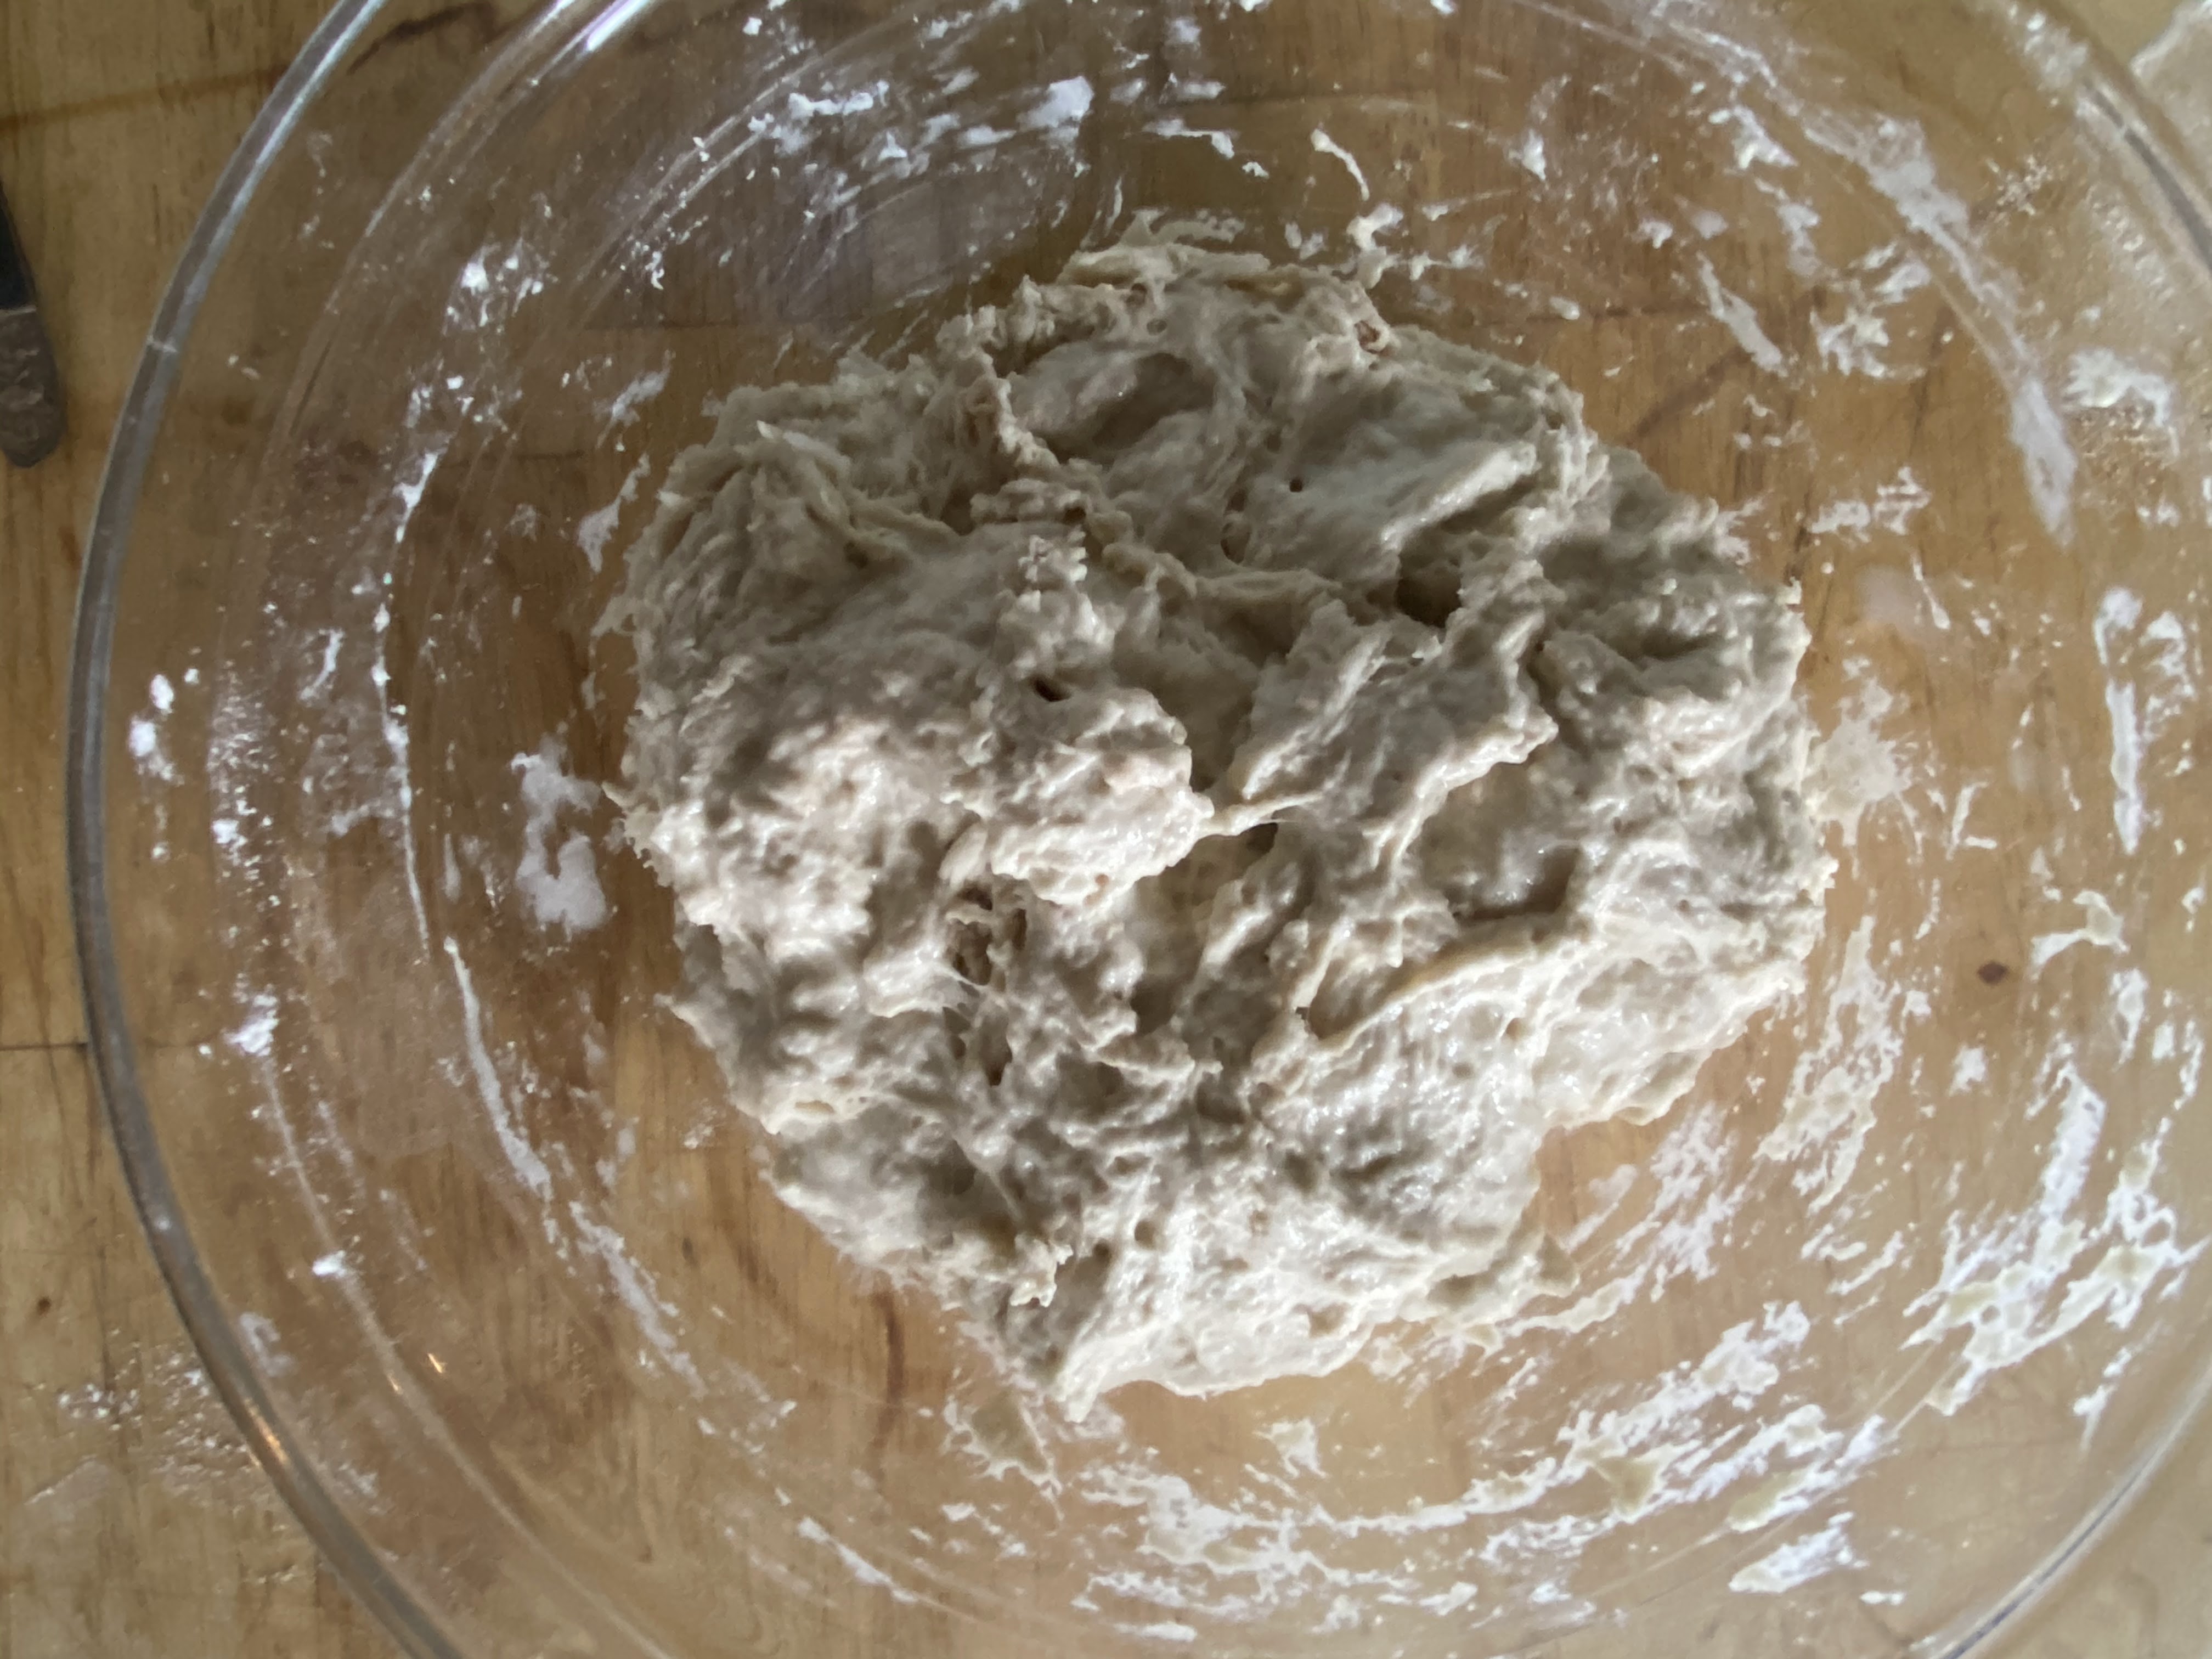
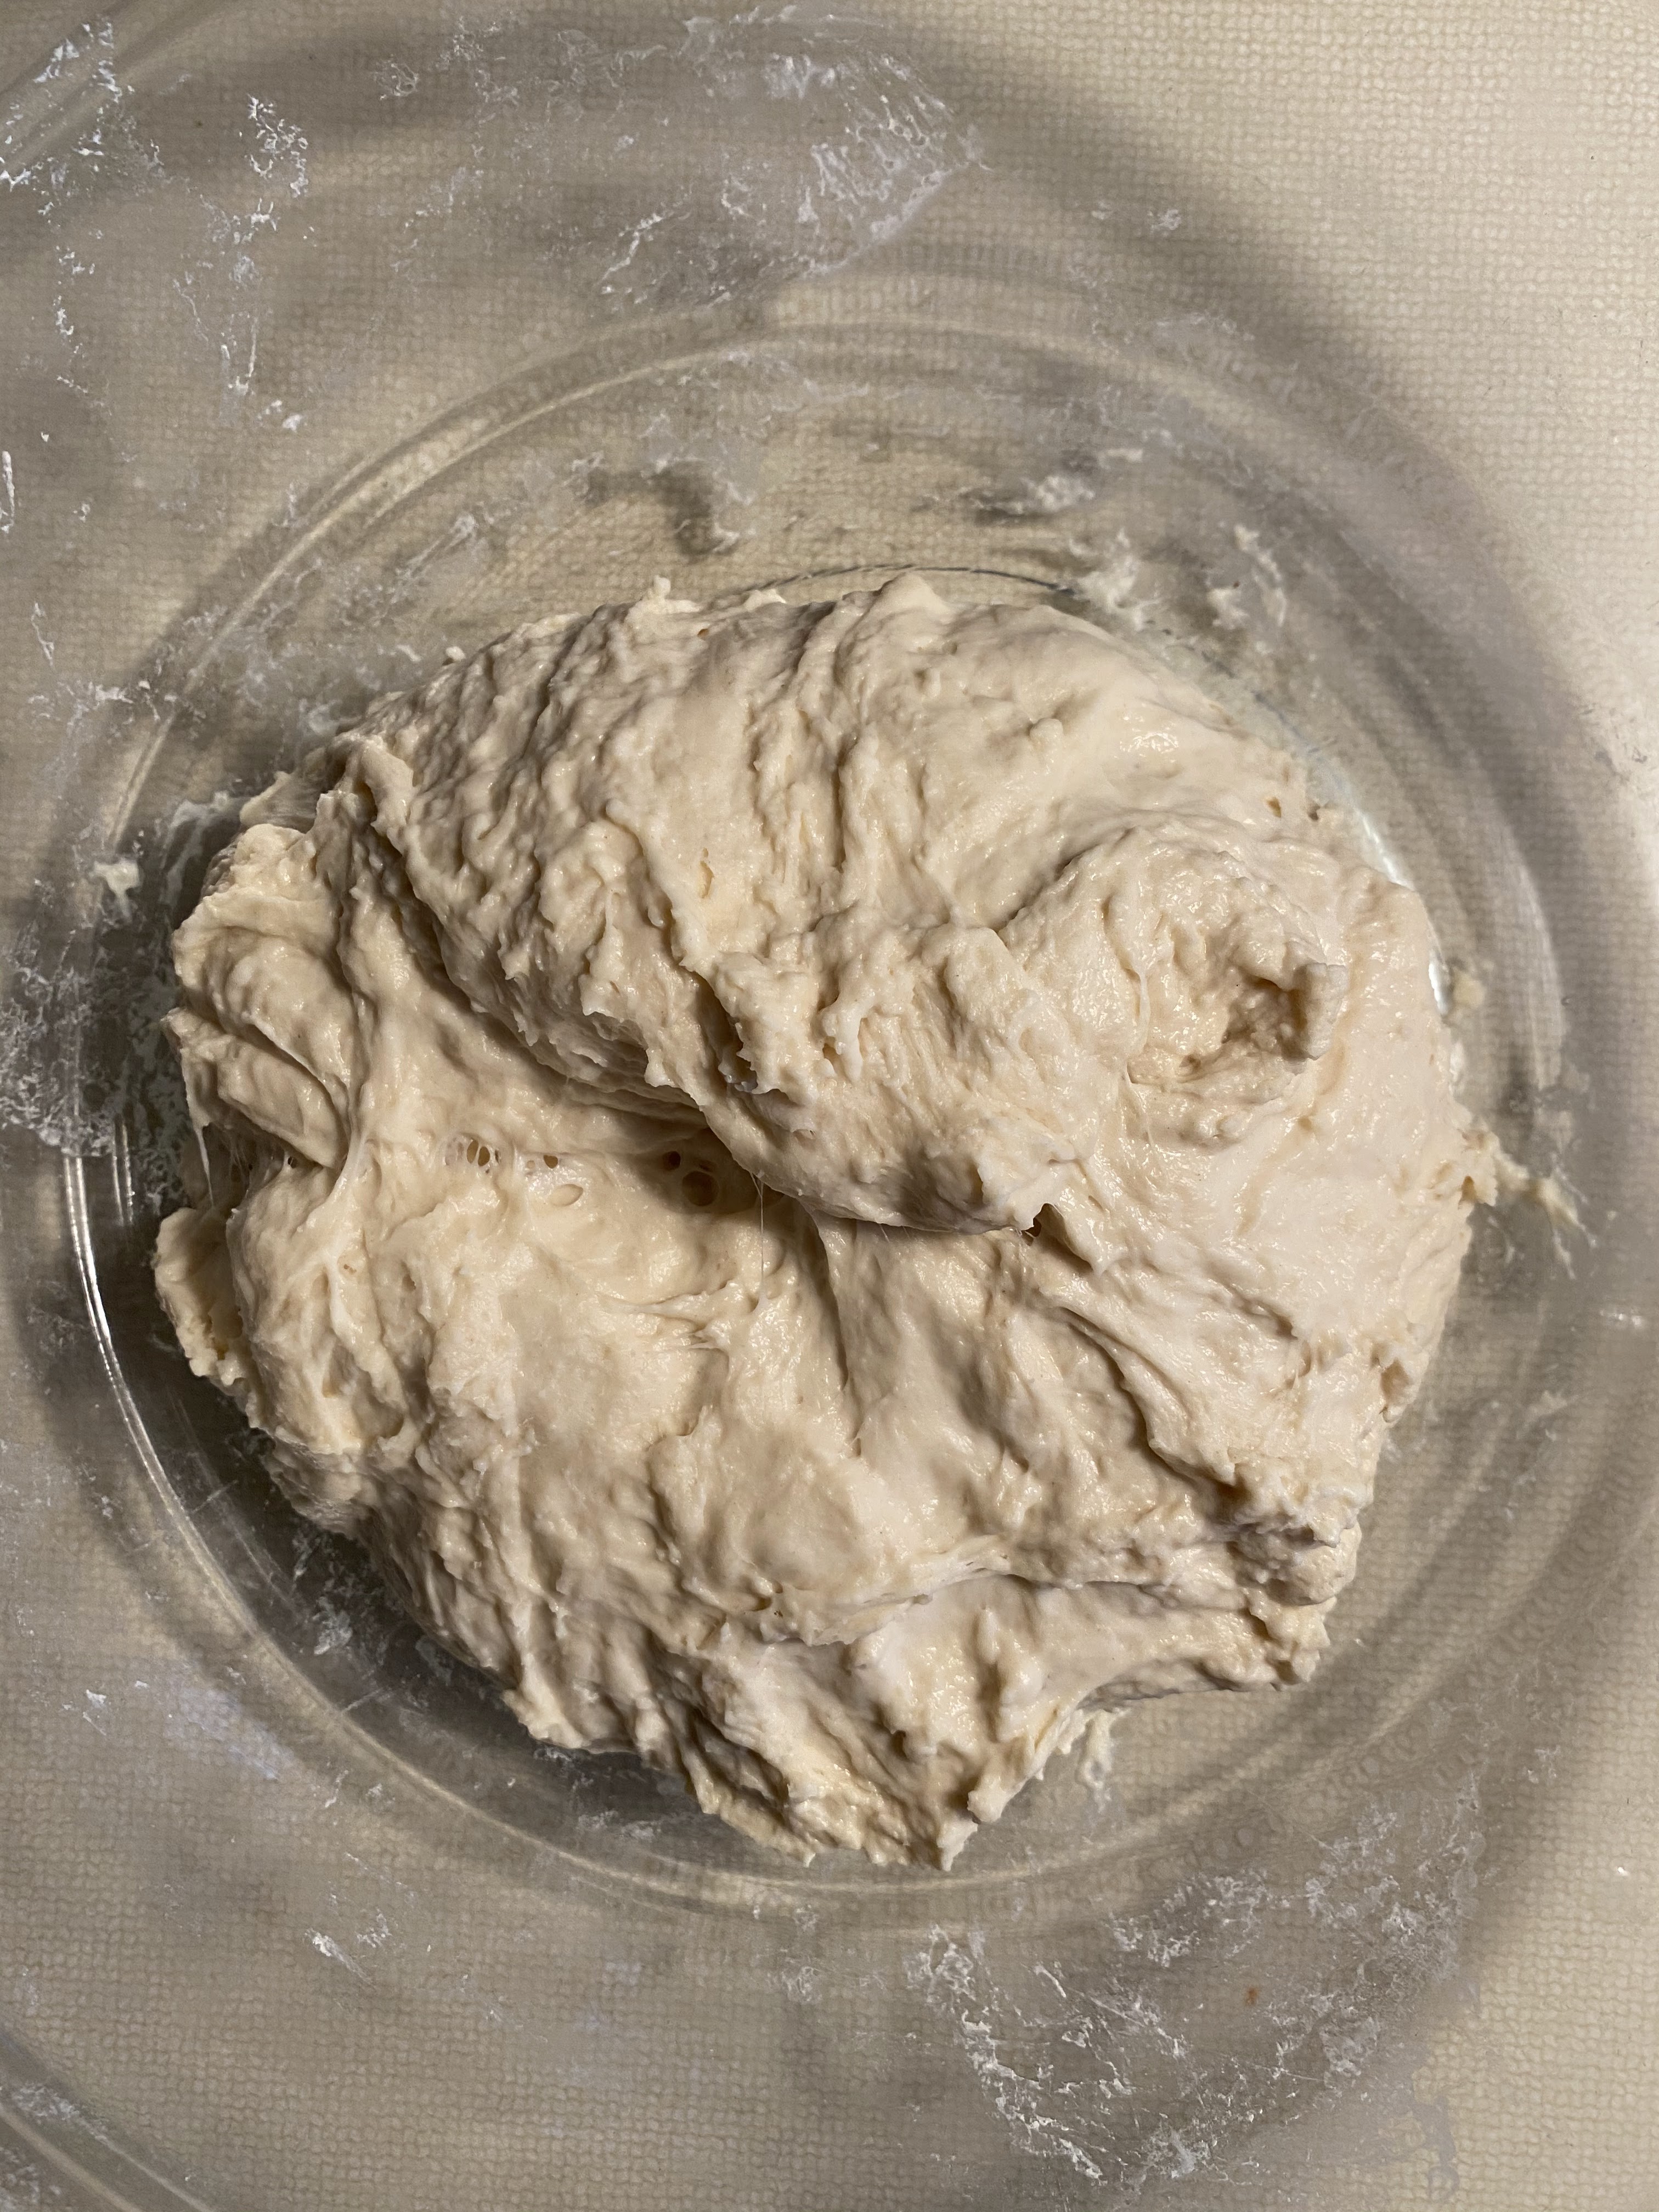
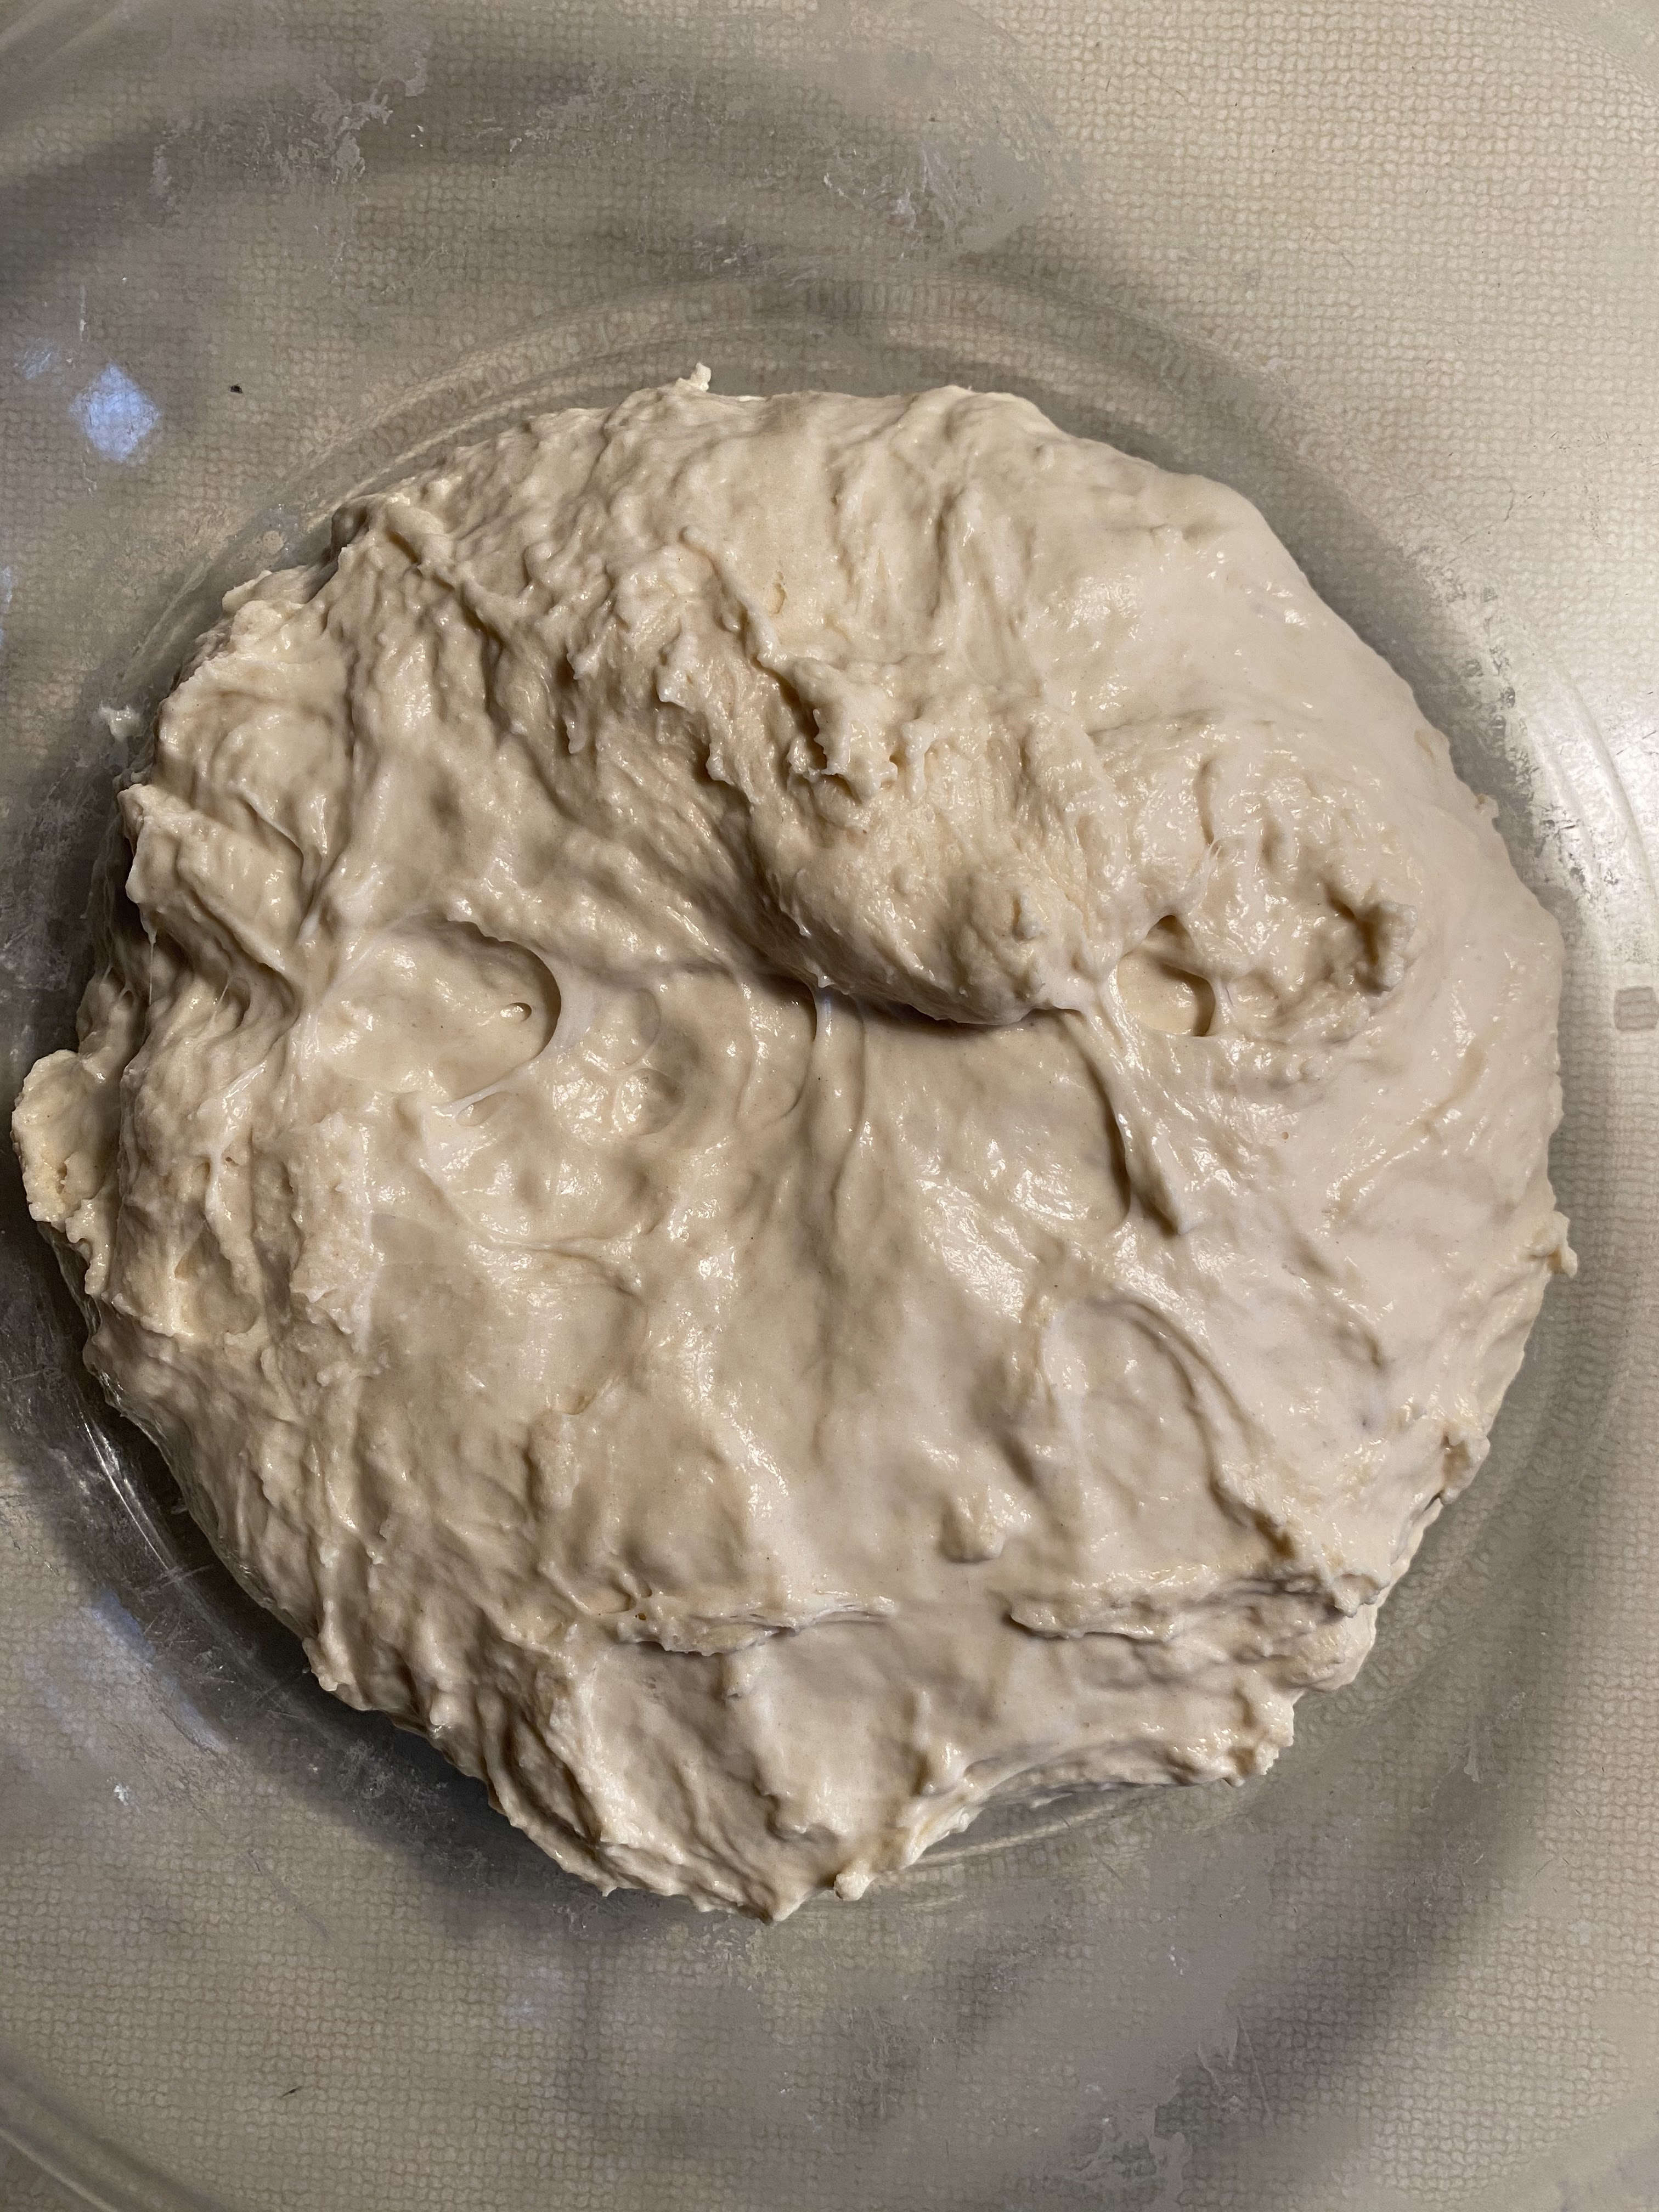
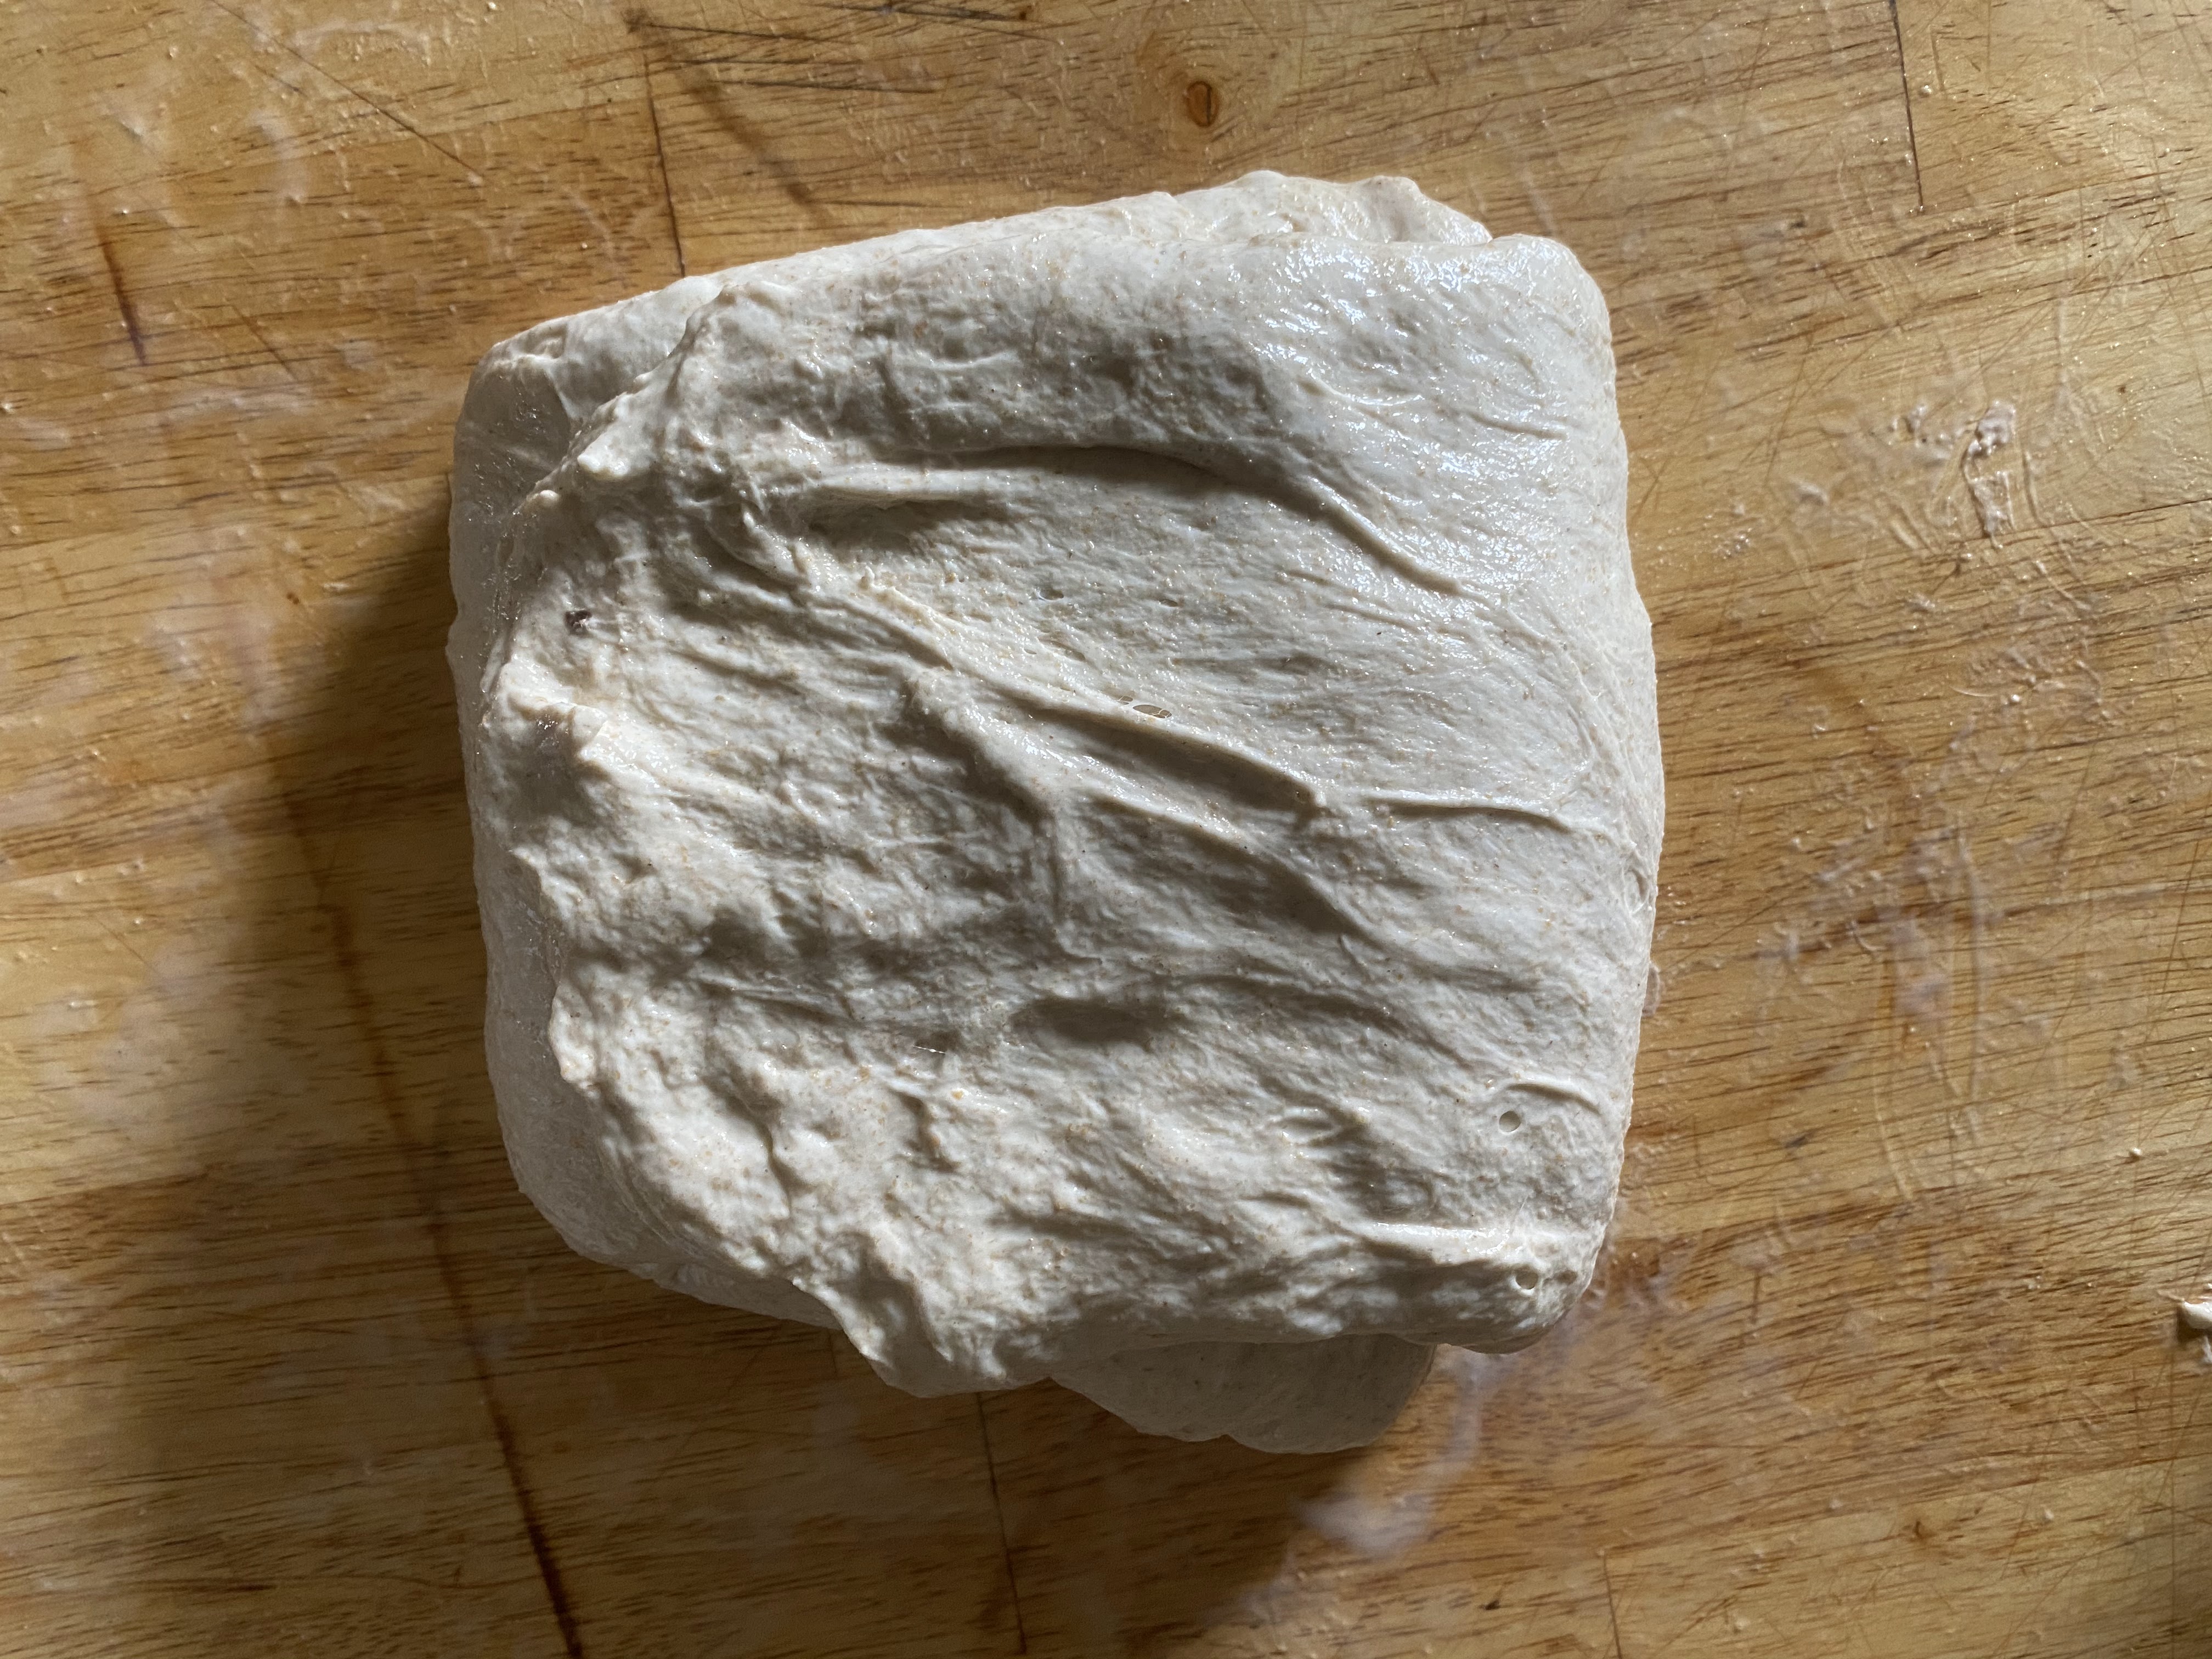
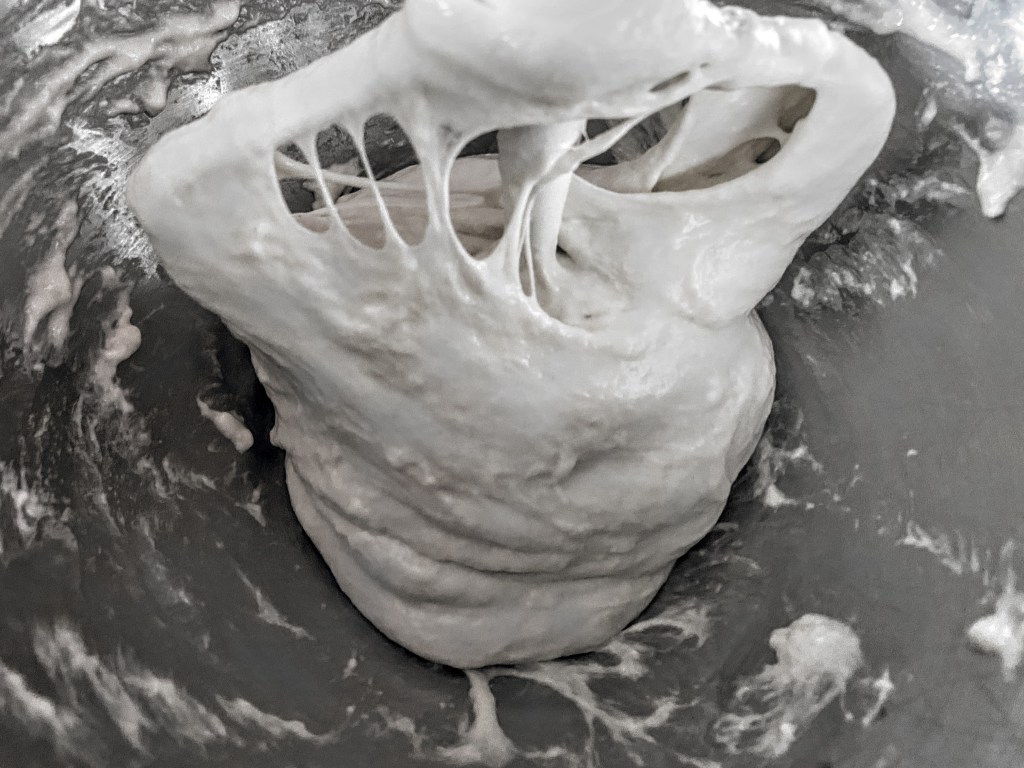
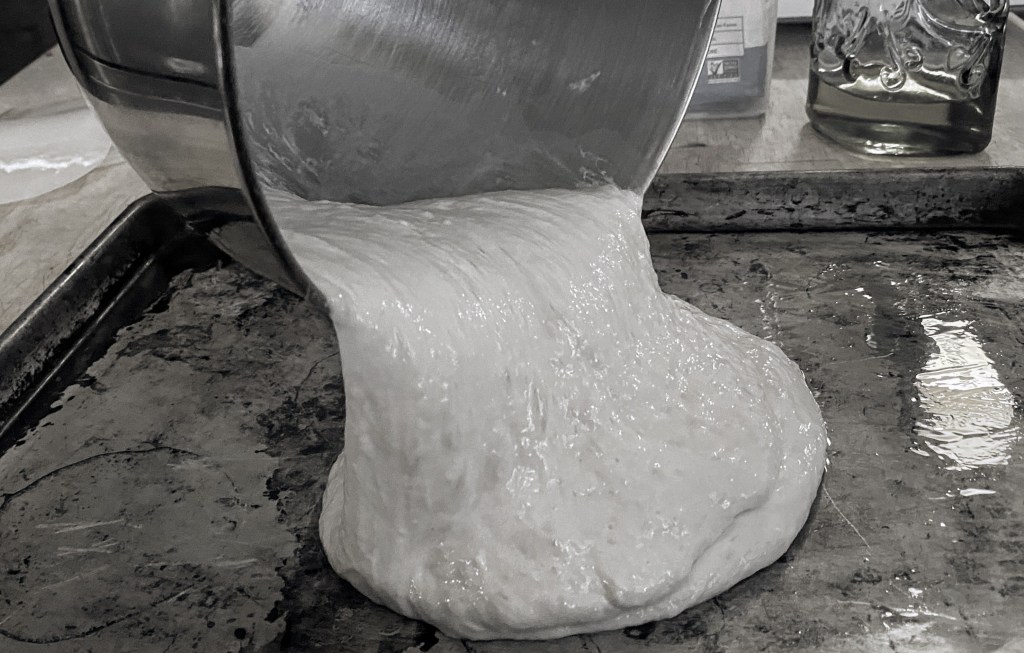
Mix with the handle of a wooden spoon (or with the paddle attachment), scrape sides down, flatten with wet fingertips, then cover and let rest for 12 ~ 24 hours, or until doubled in size and bubbly on top. The temperature of the room makes a difference, if it is 70 degrees, or thereabouts, it could take about 14 hours.
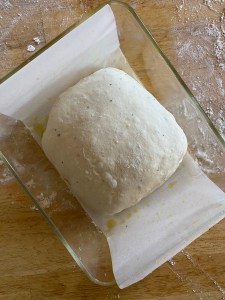
I like to put the dough into a straight-sided container, because then it is easier to tell when it has doubled in size.


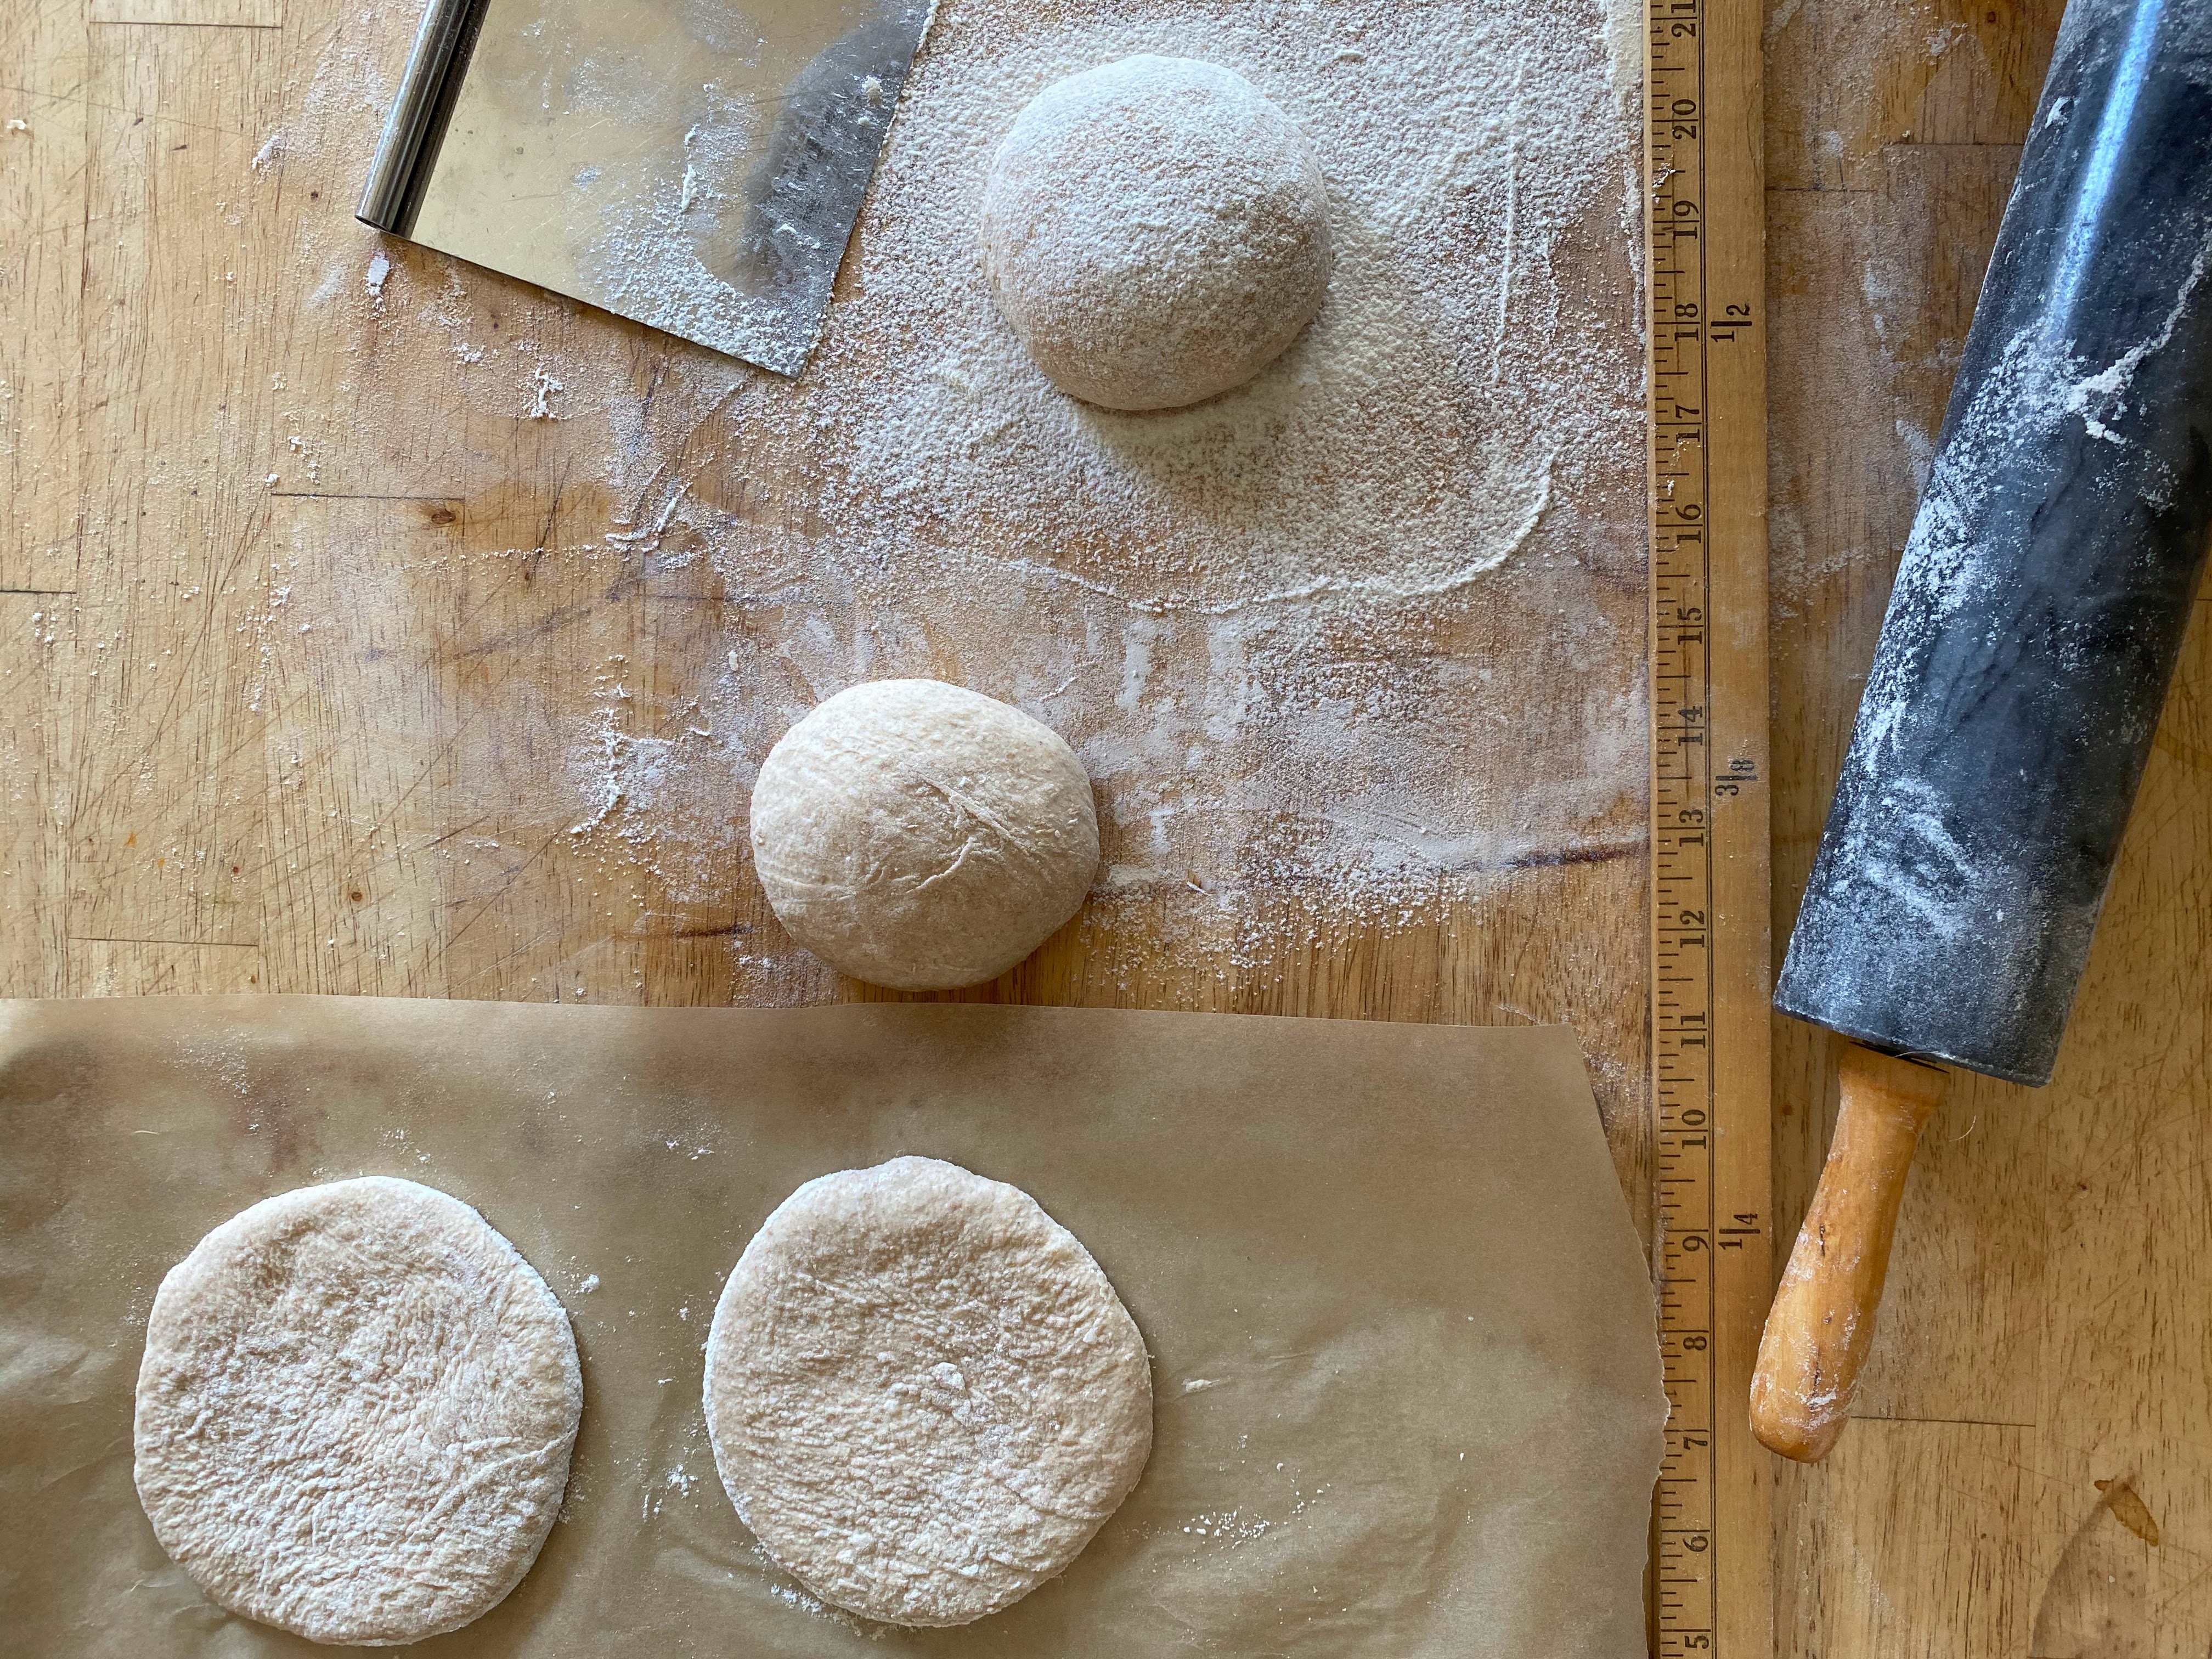
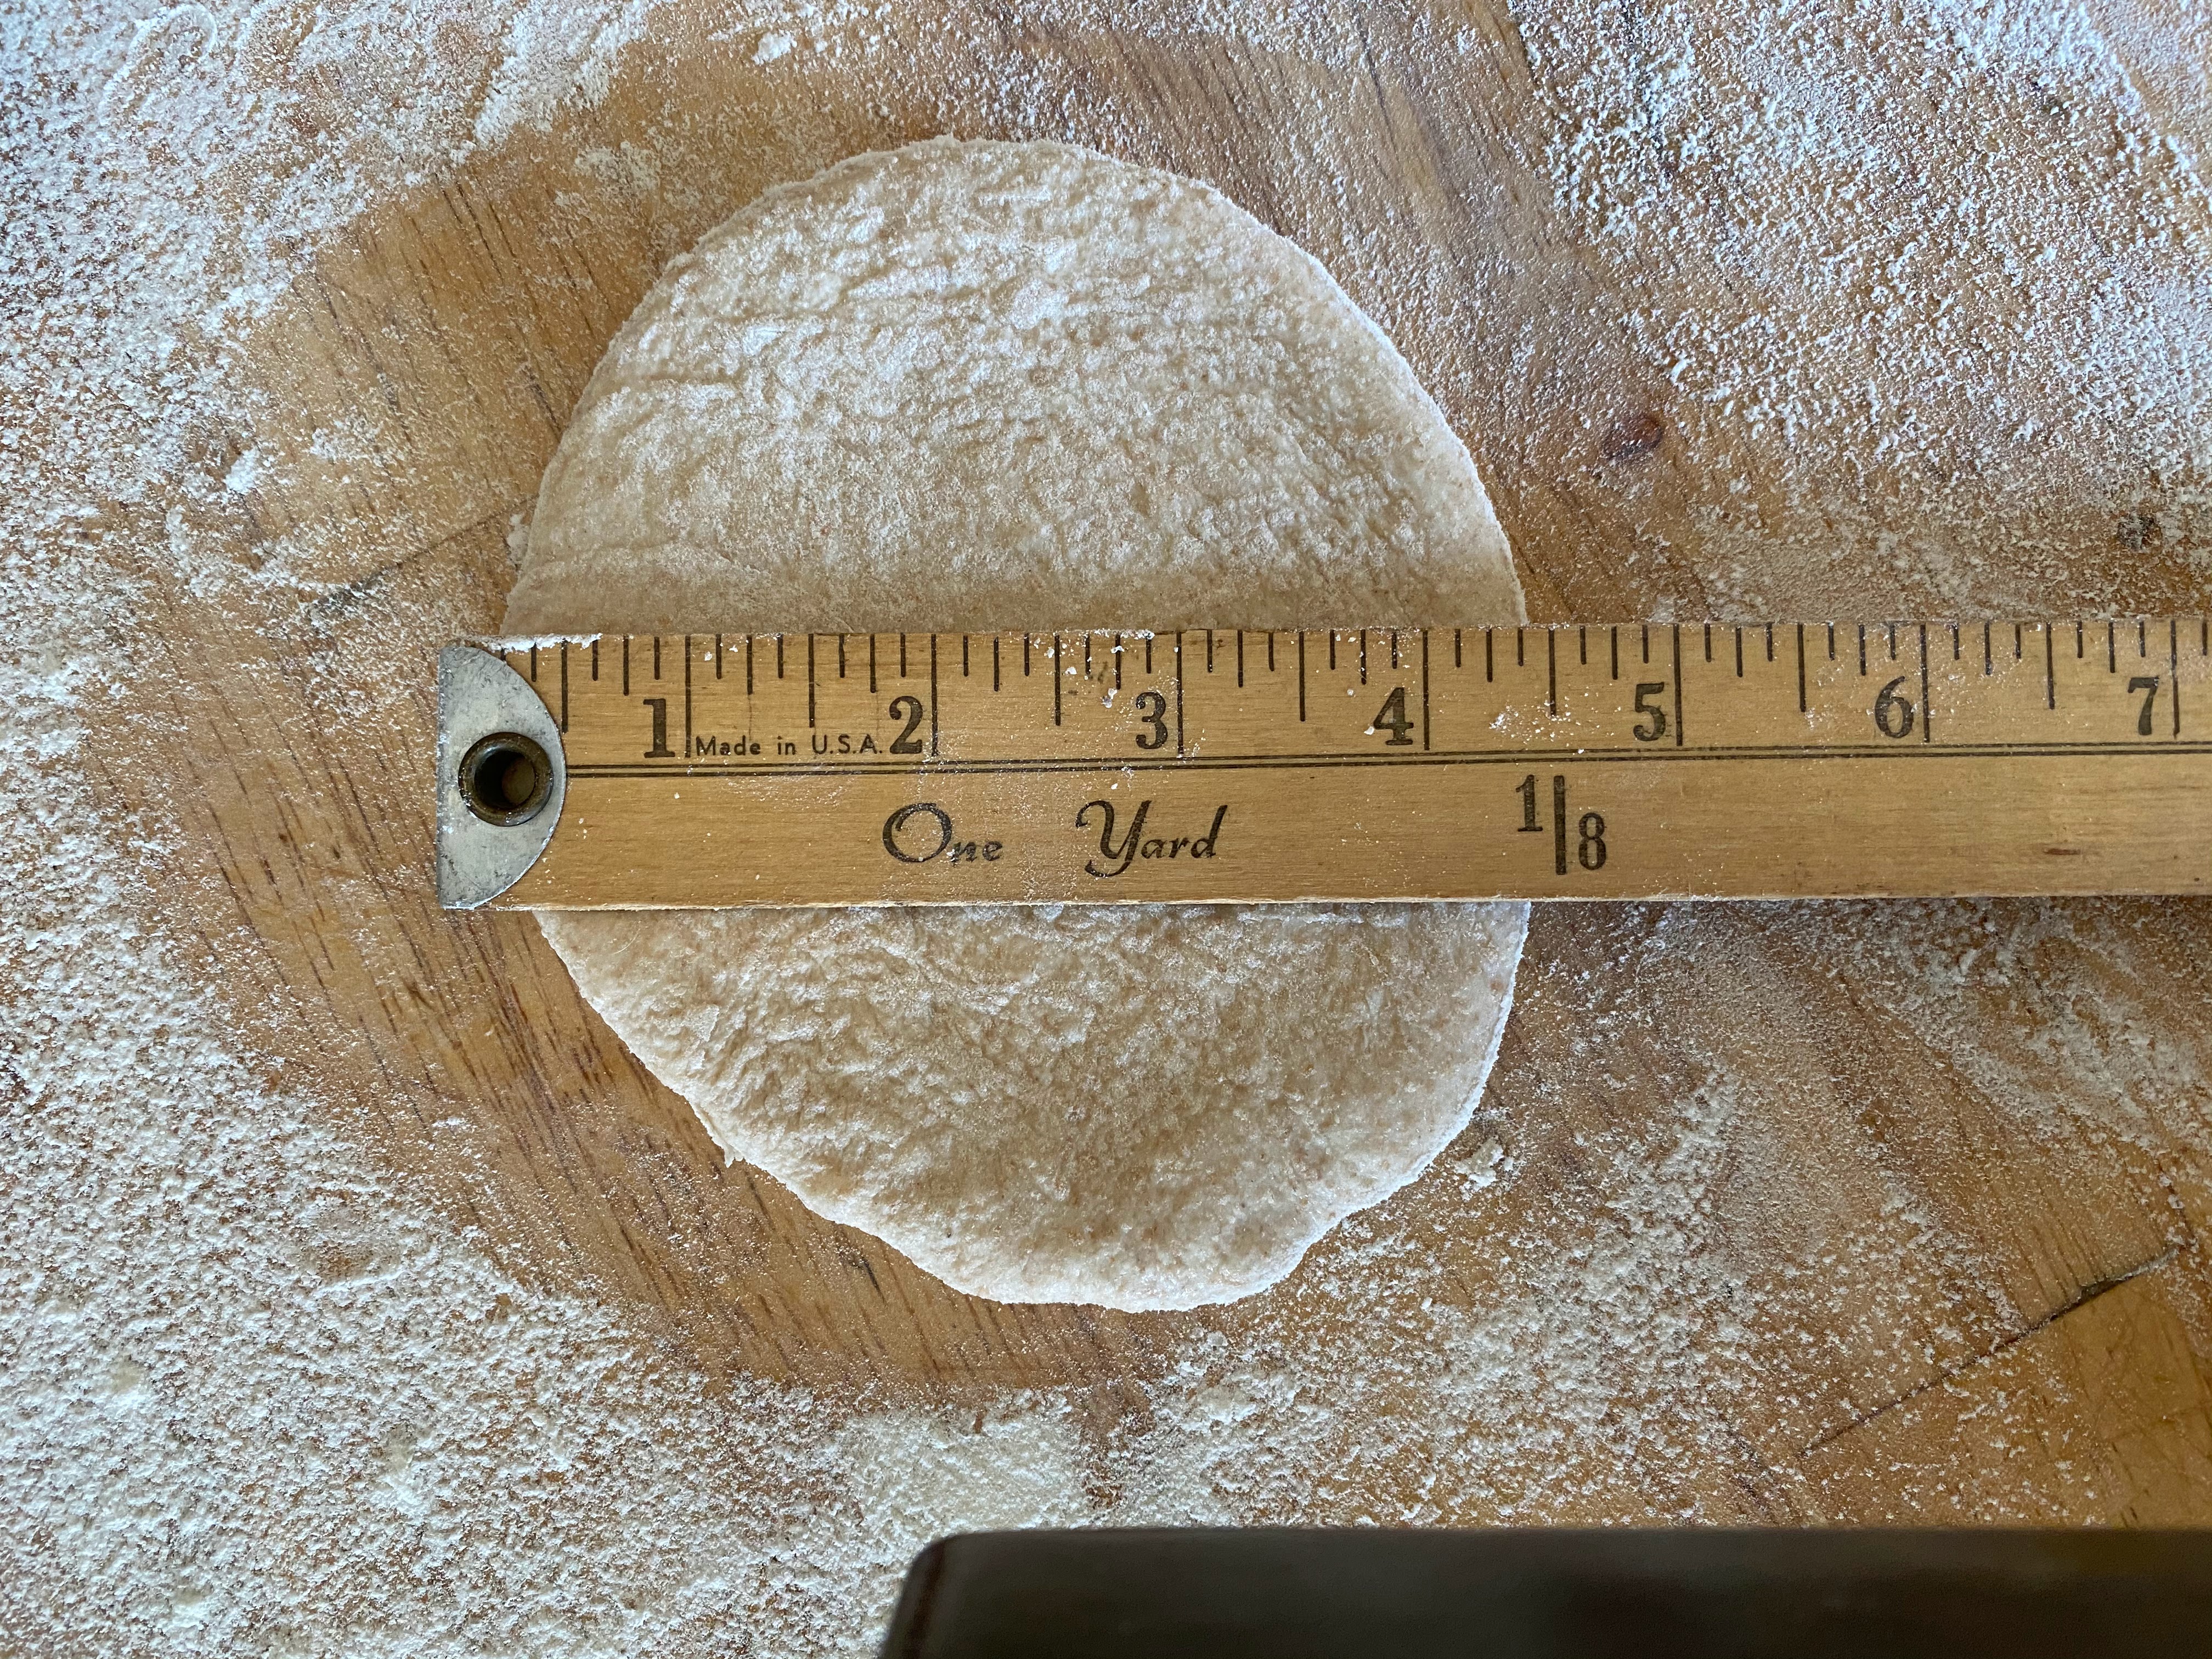
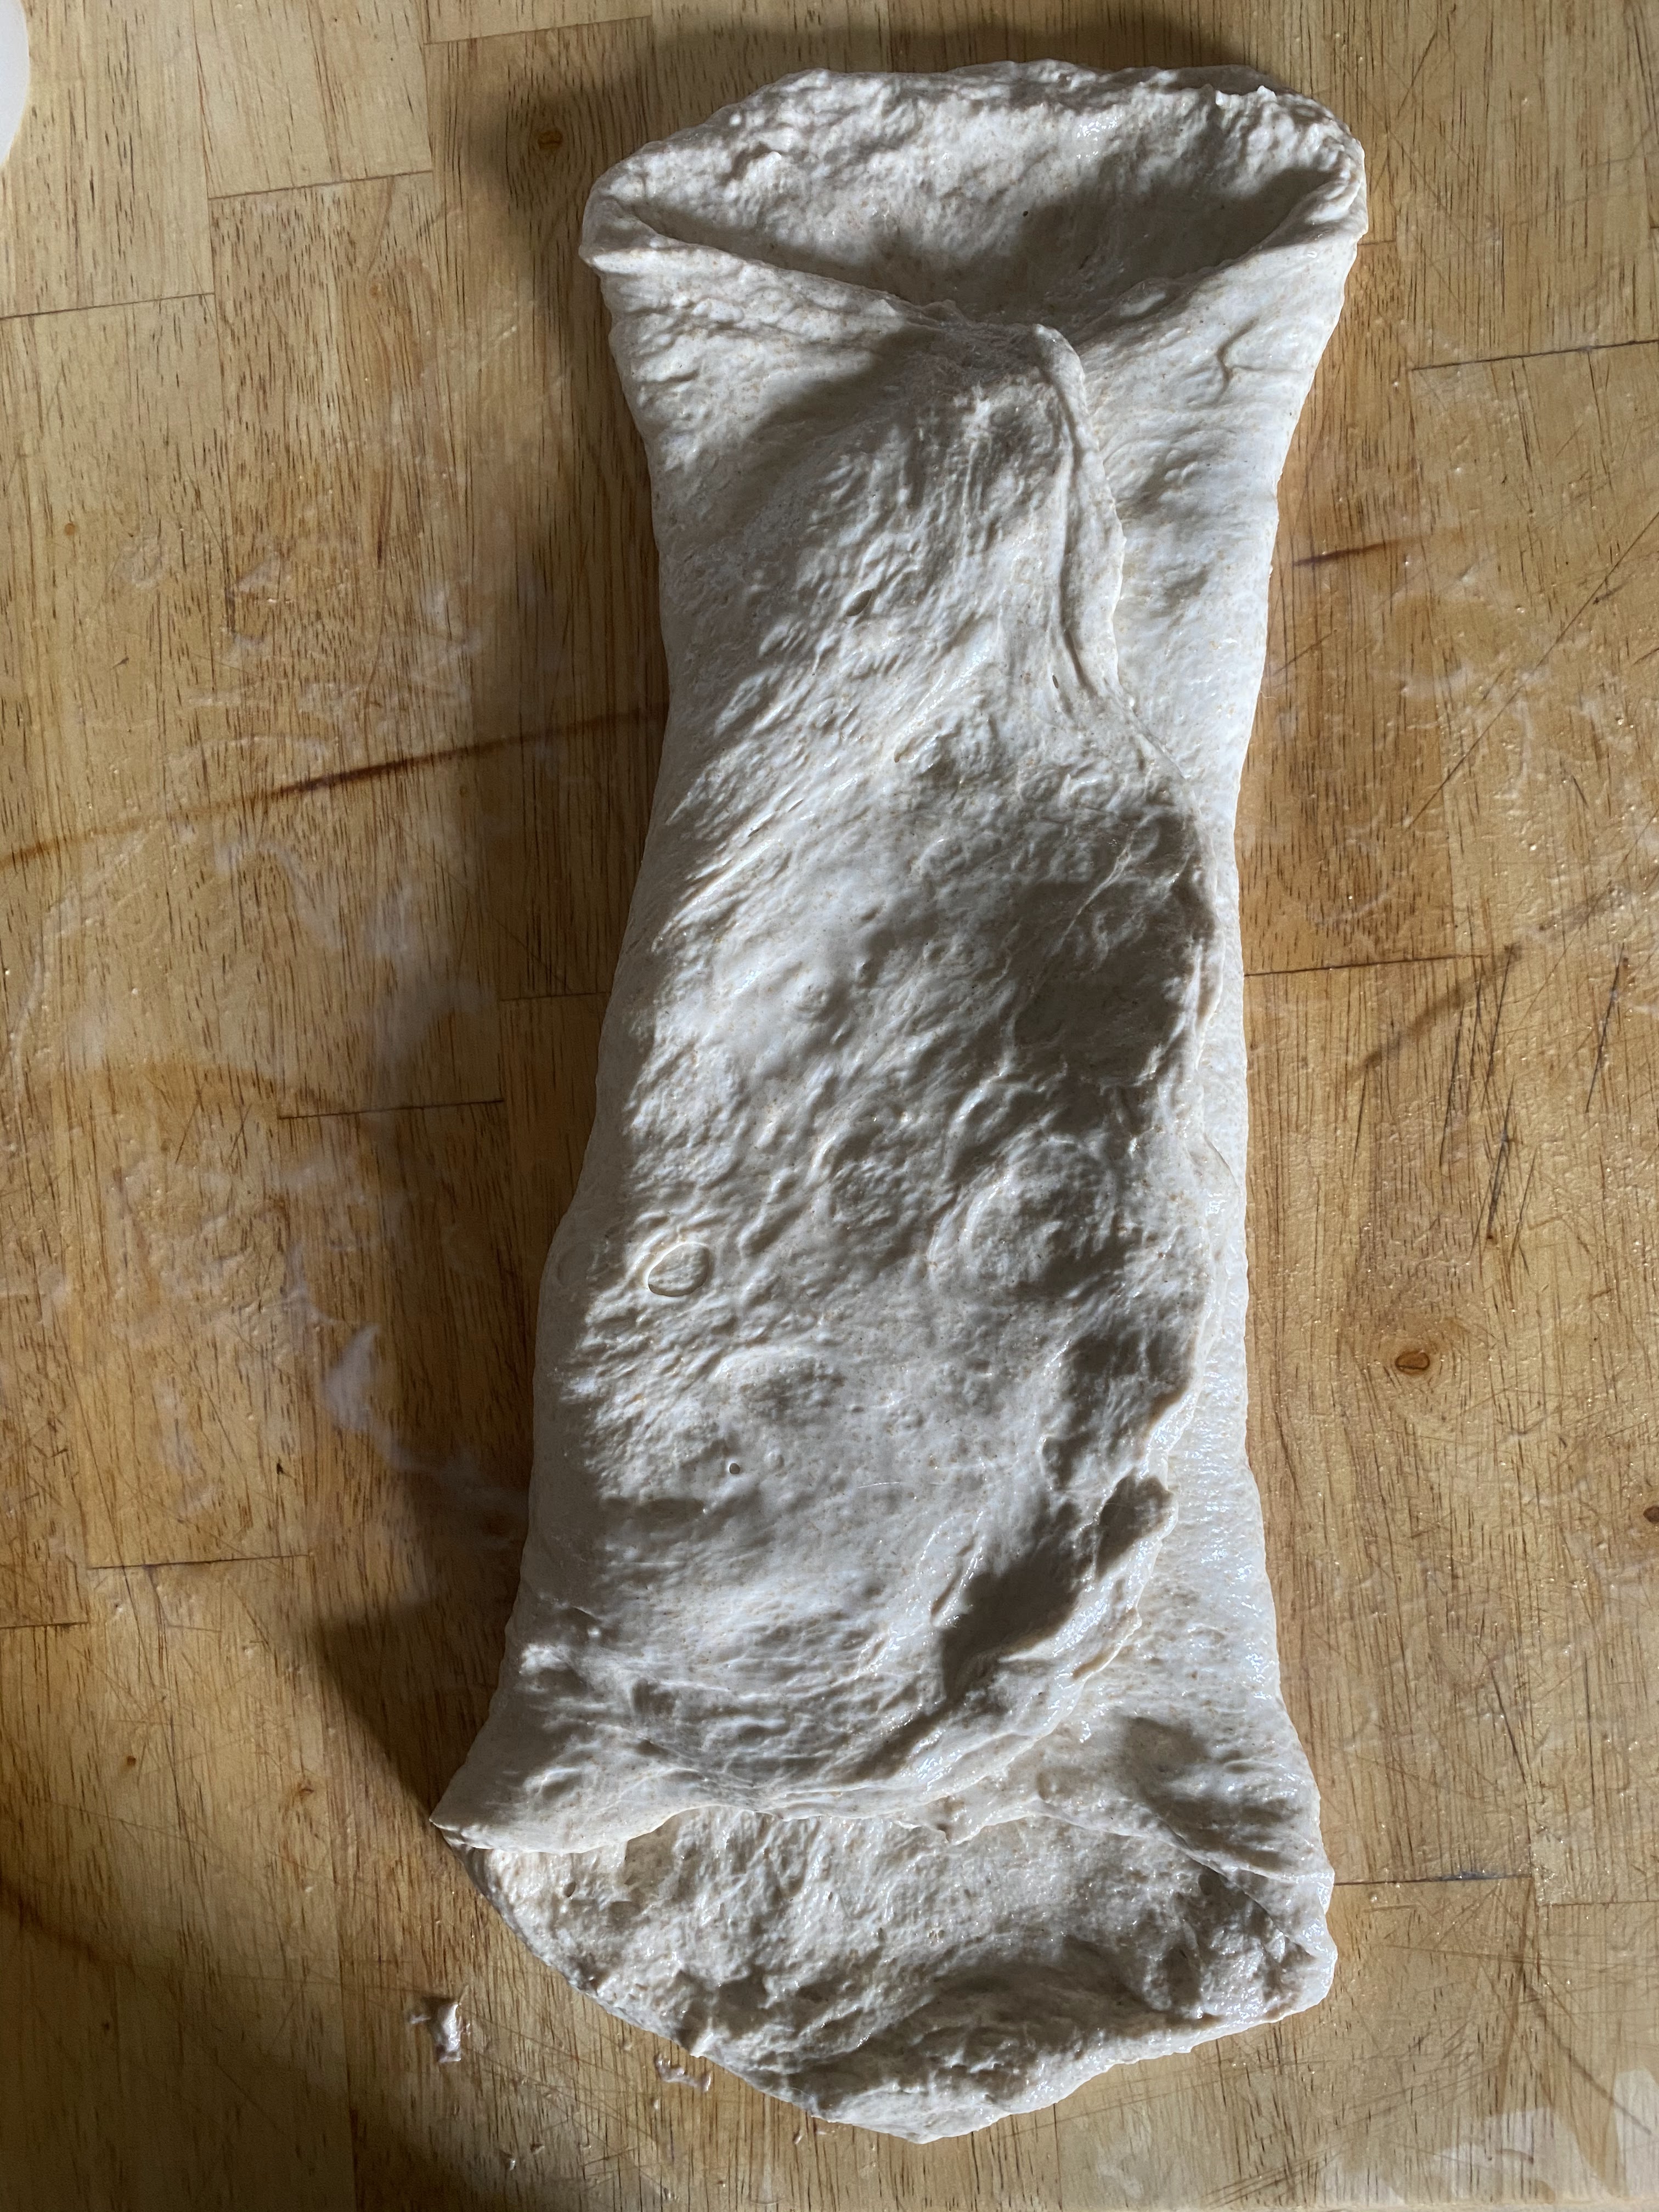
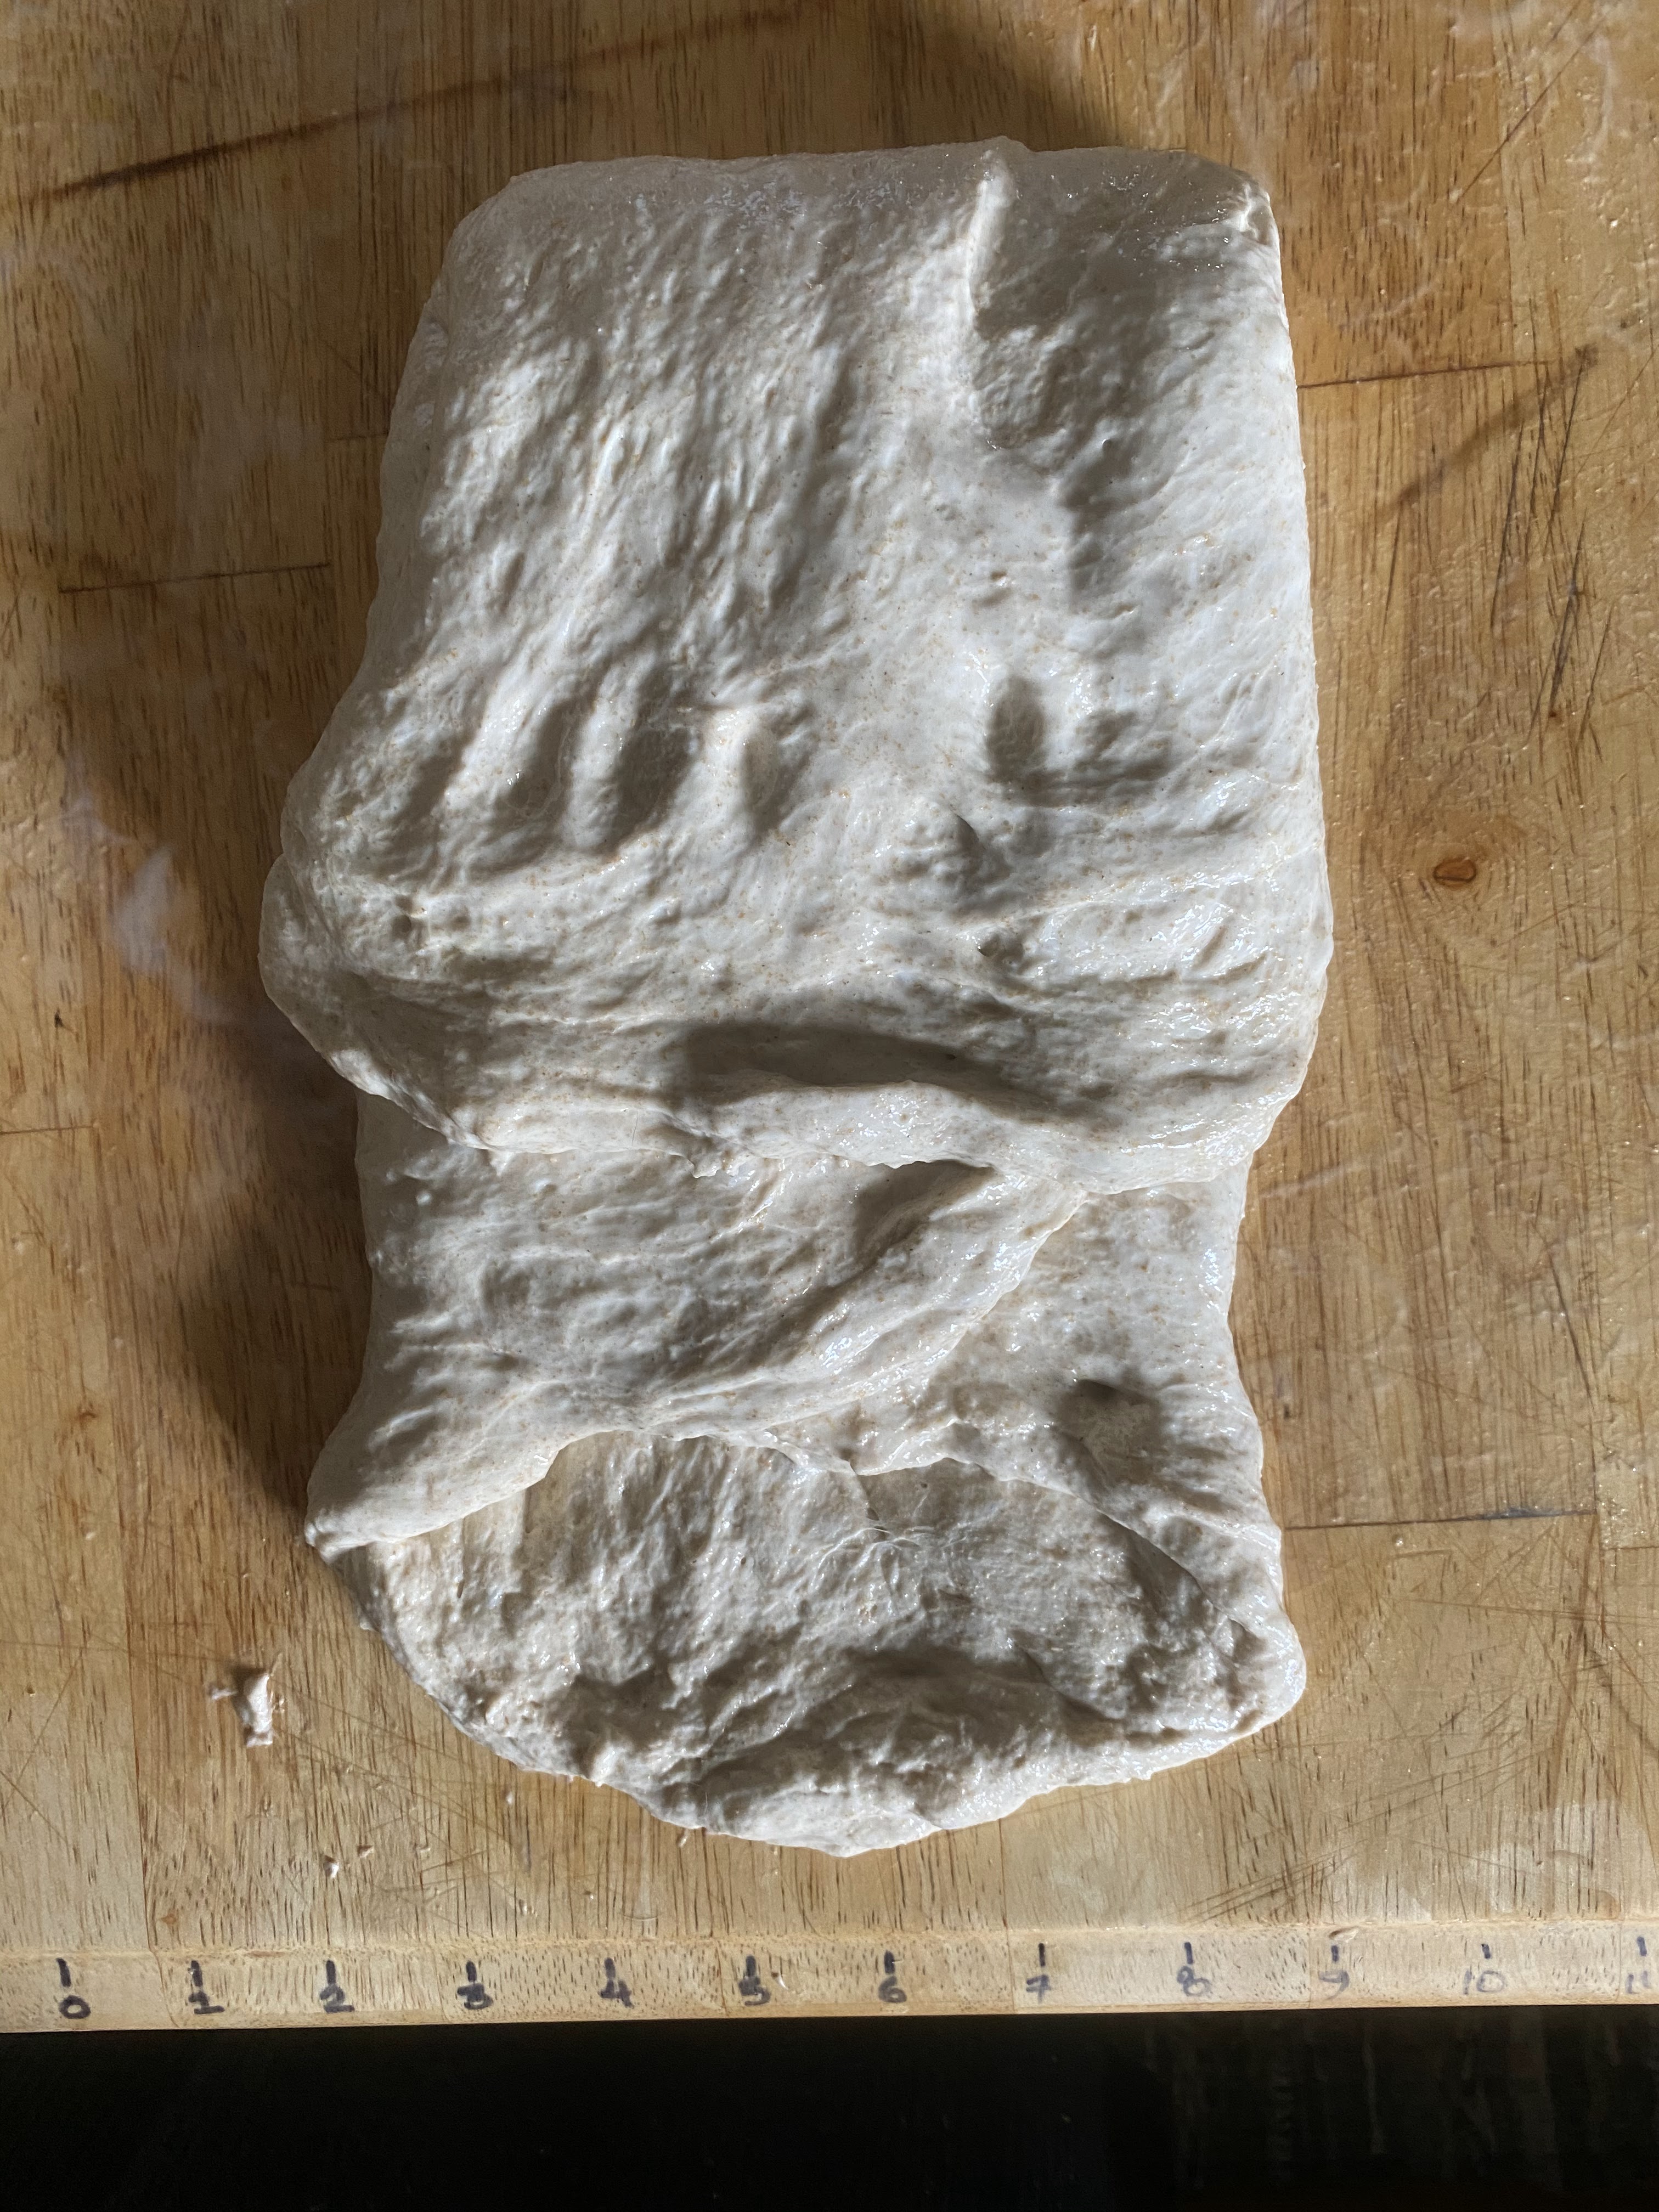
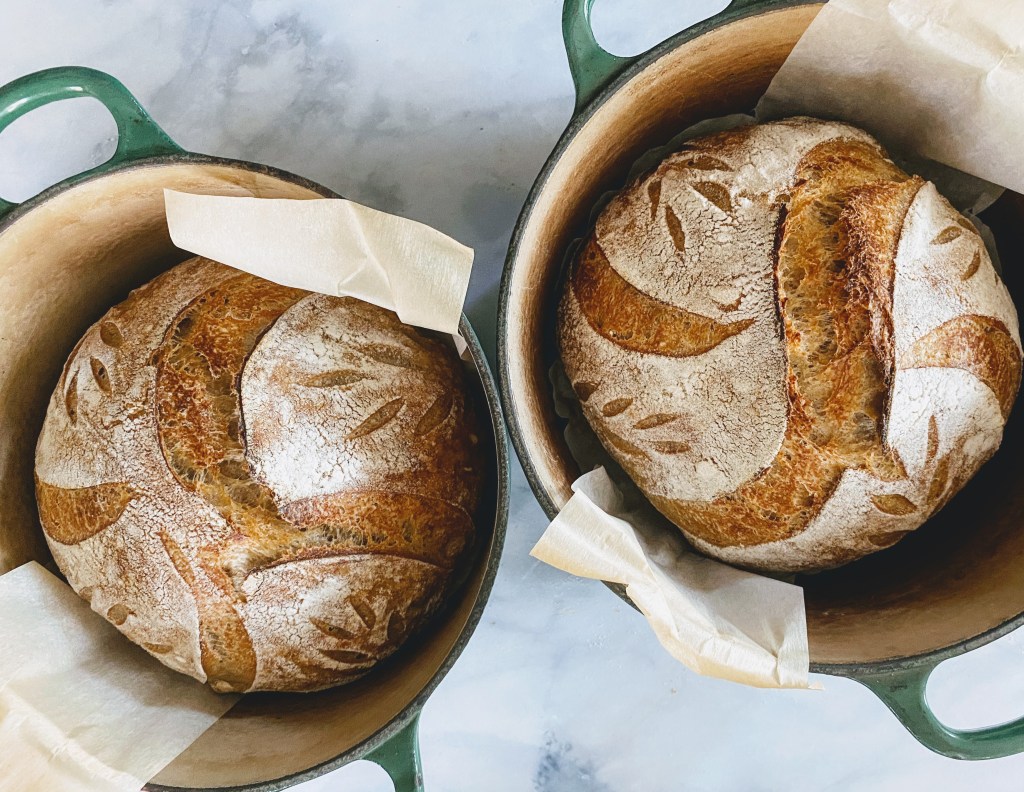
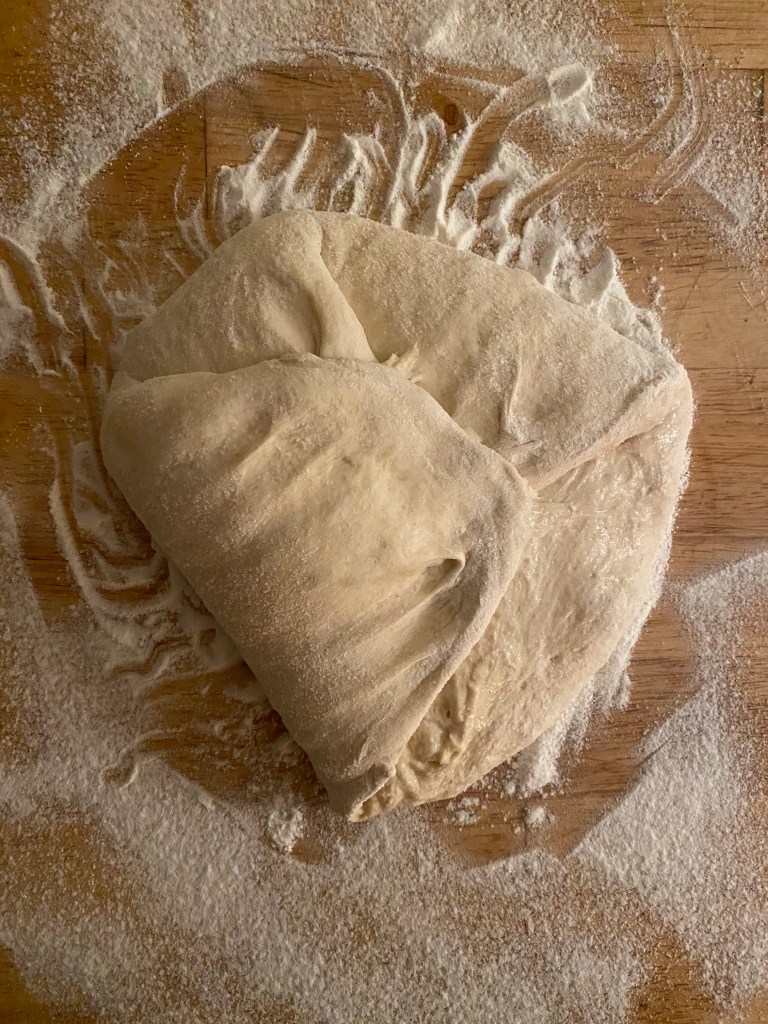
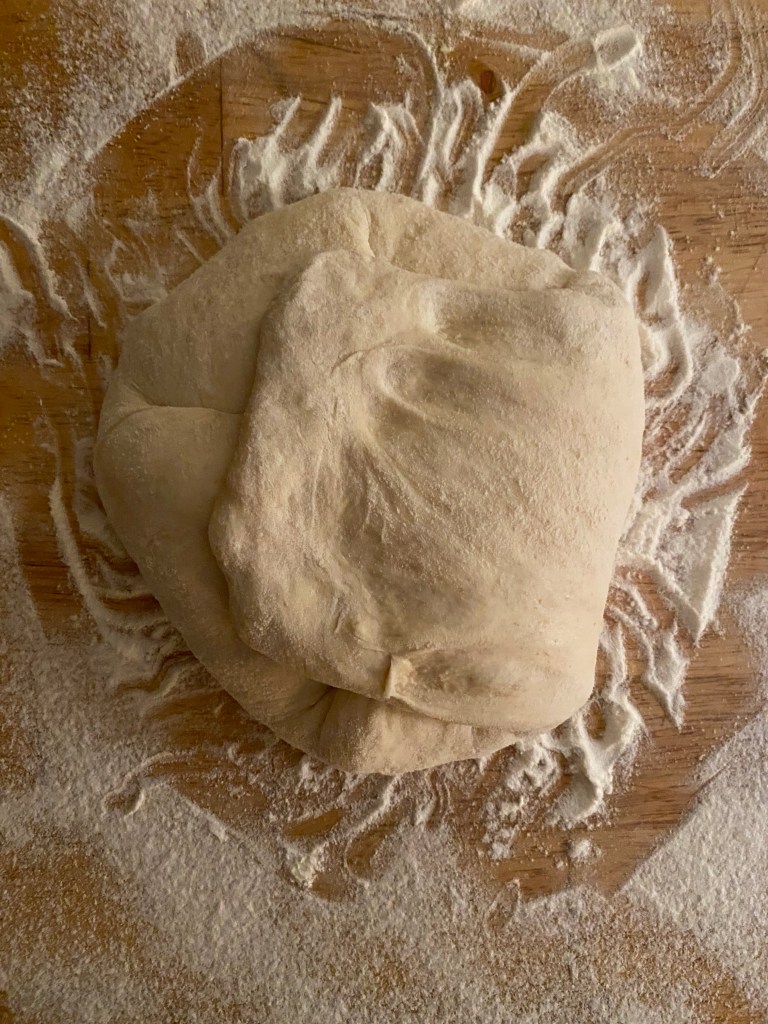
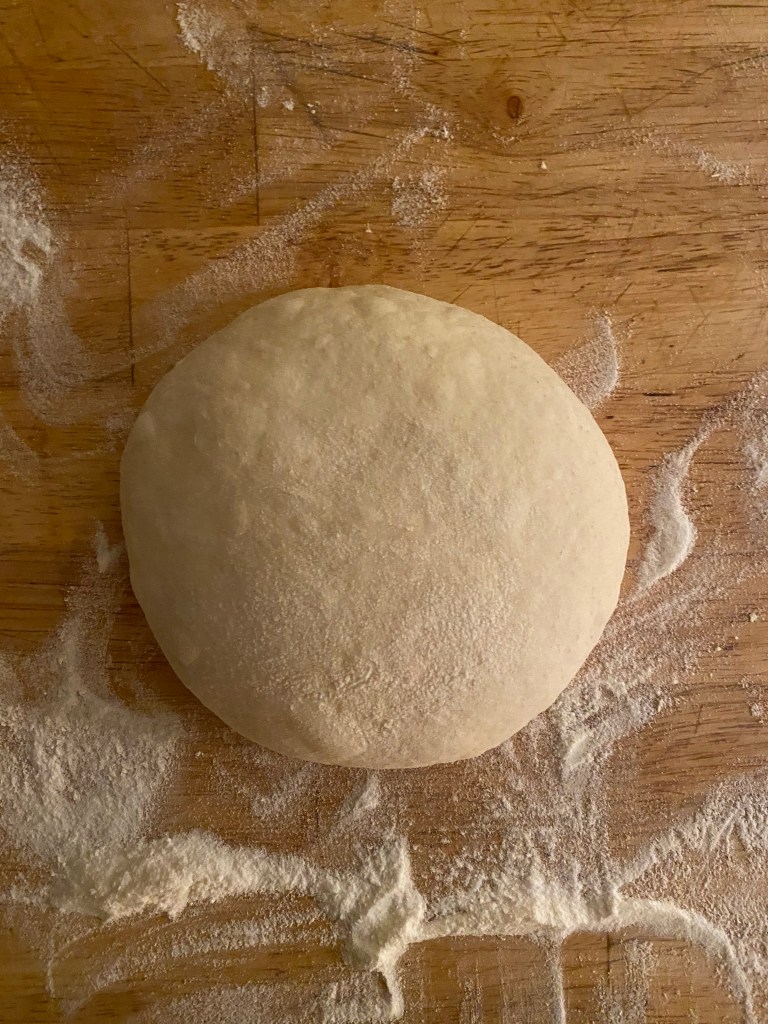
Shape dough by lifting a side, stretching it out a bit and folding it over. Flip it, then round it into a ball or an oval. If you’re resting it overnight in the fridge, place it in a banetton and cover.


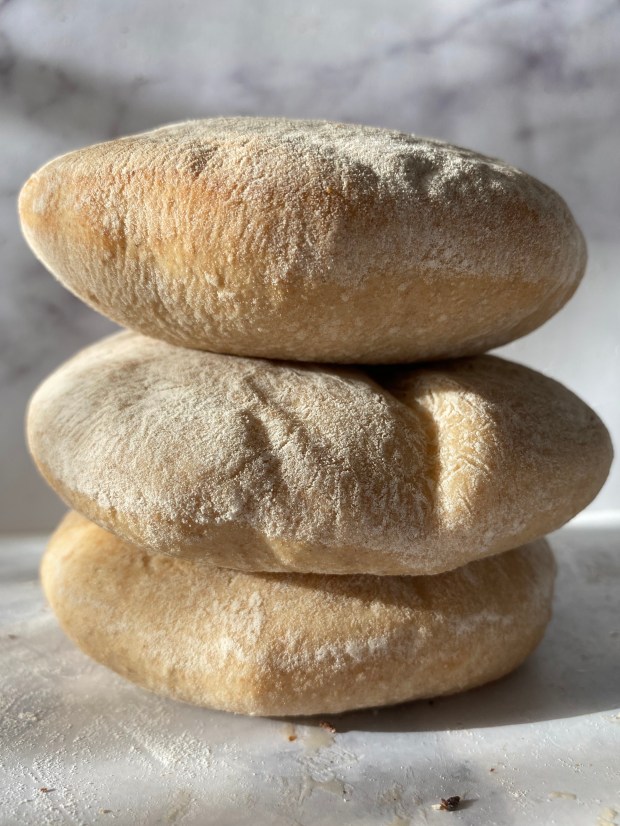
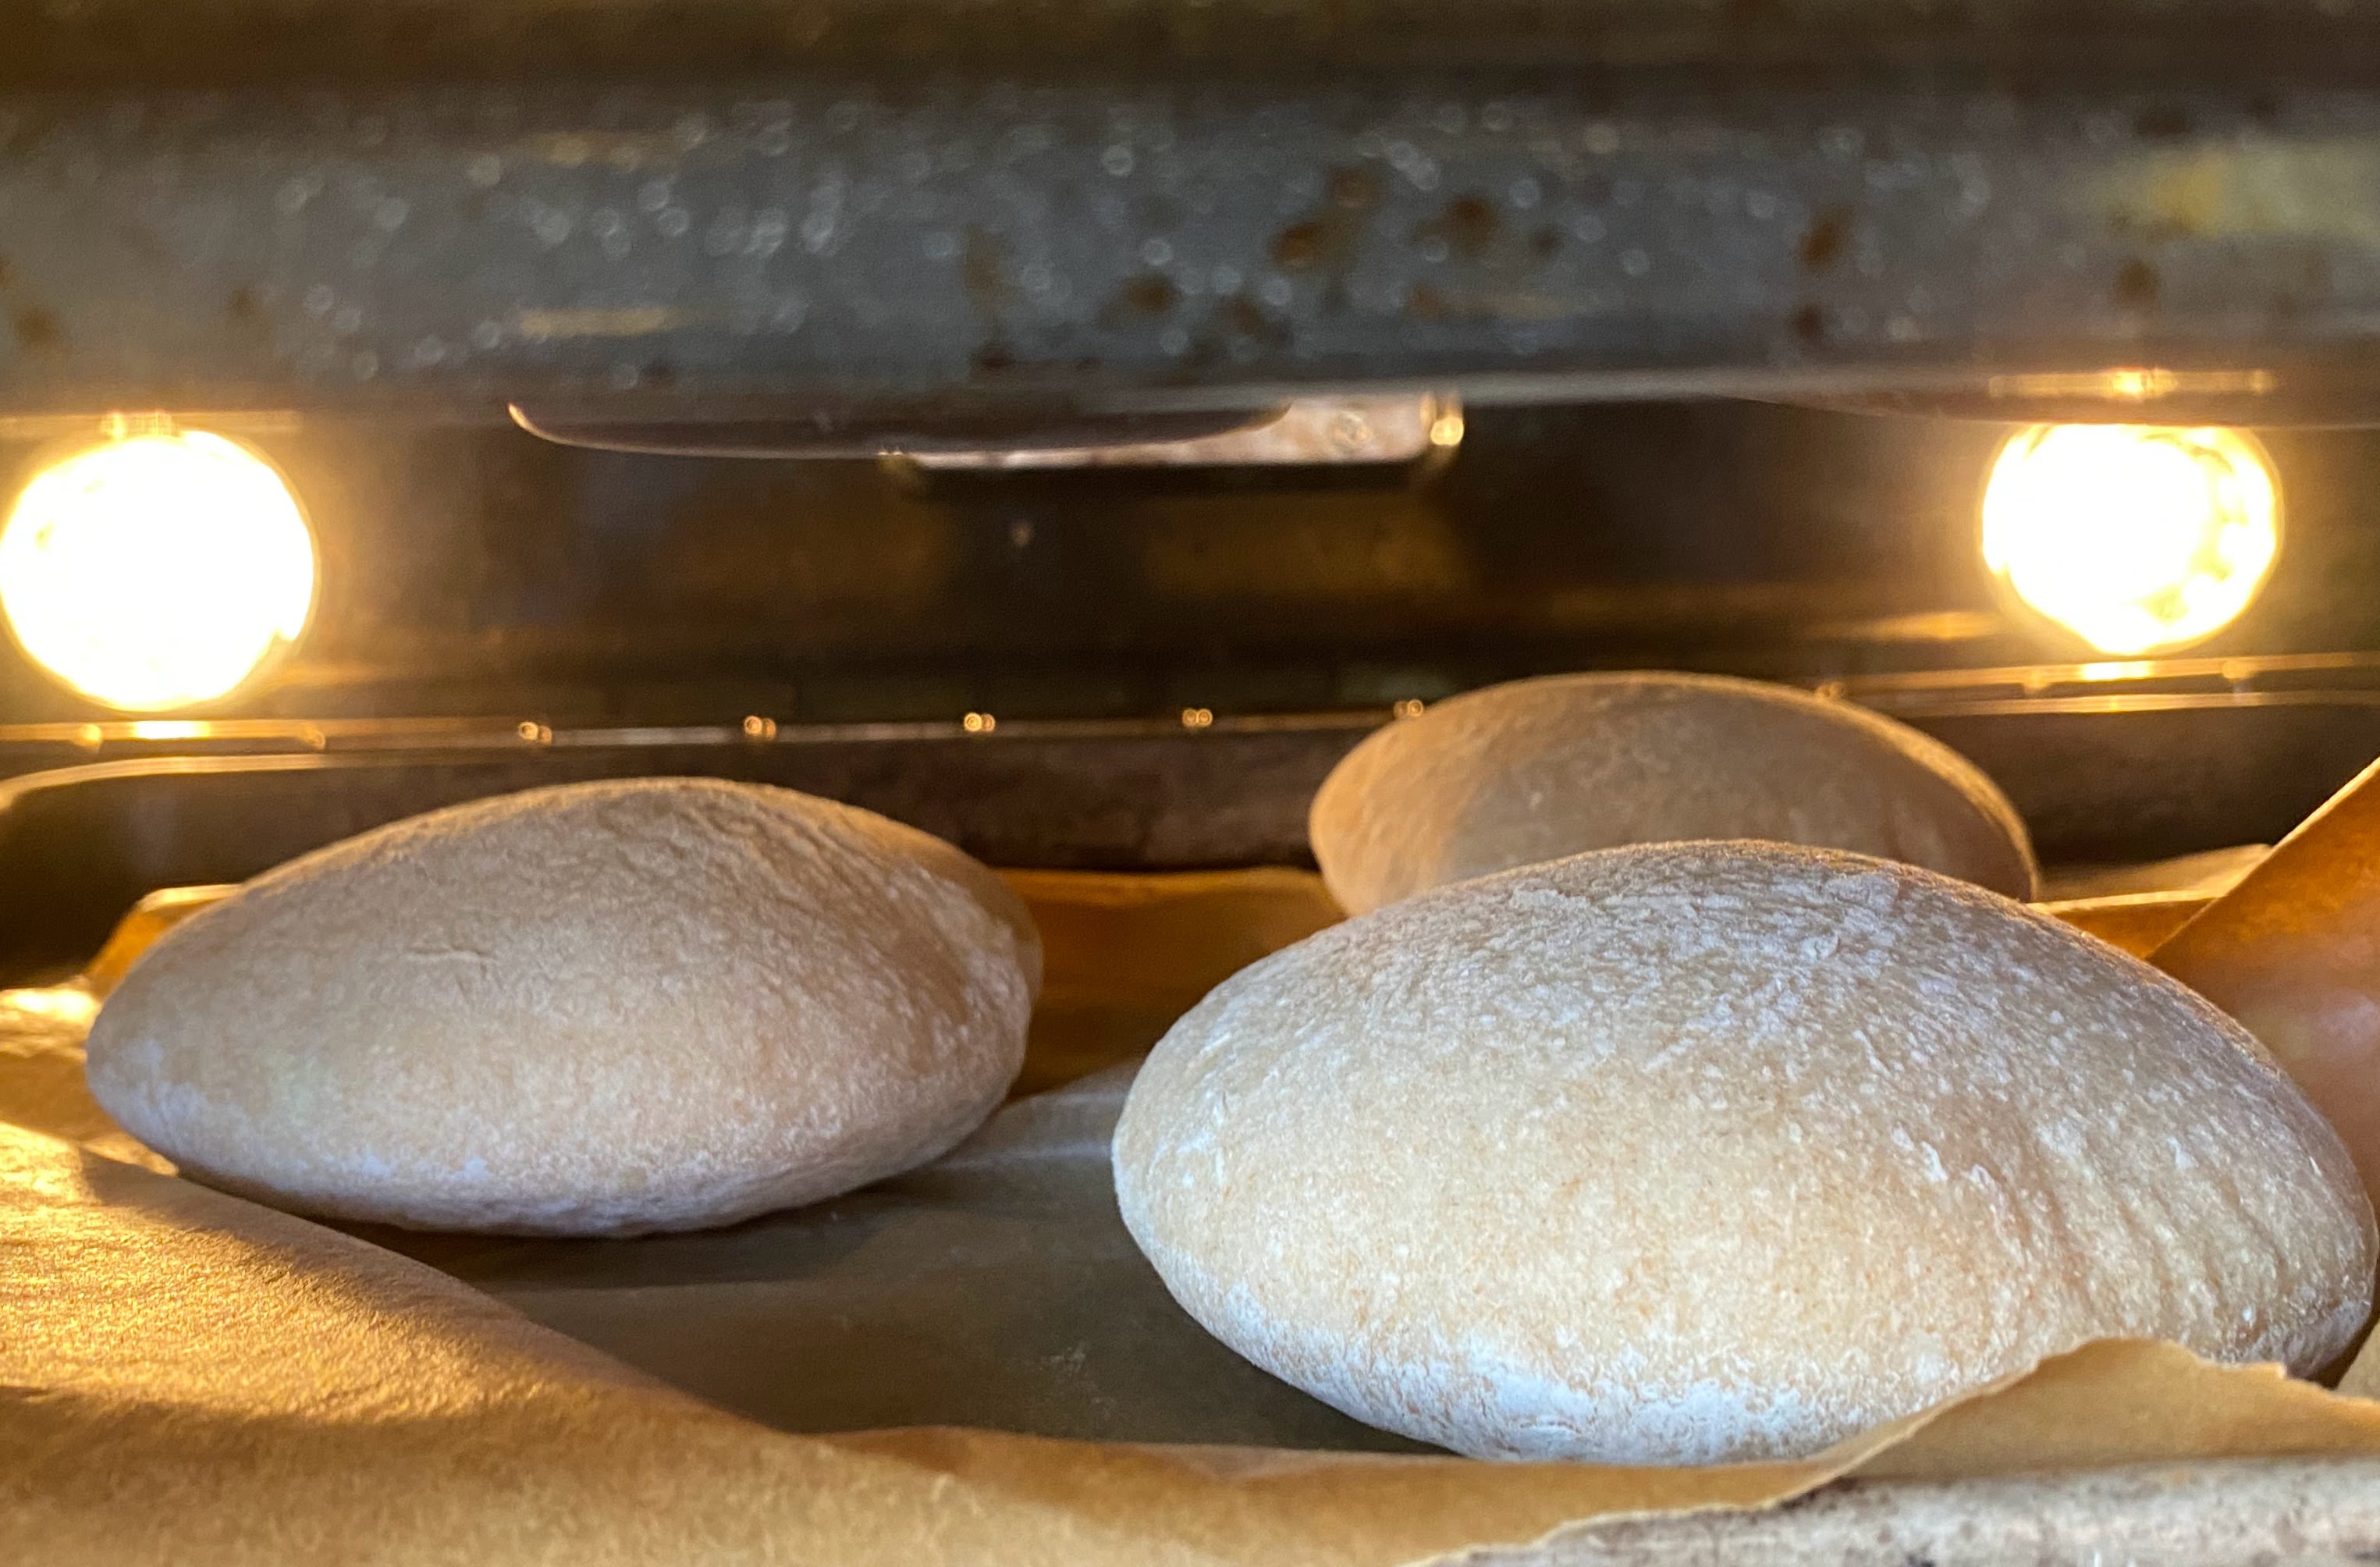
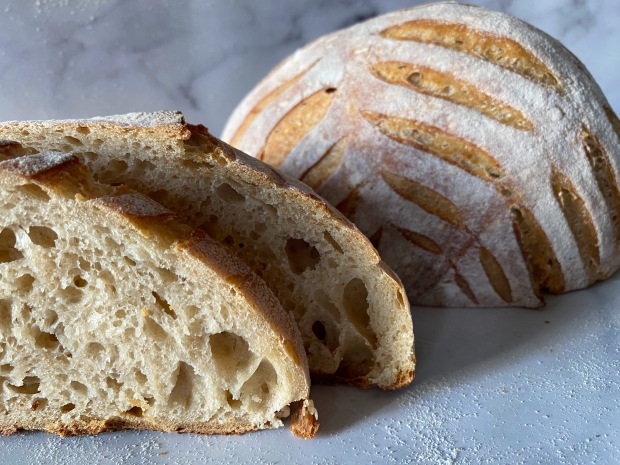
Bake in a Dutch over 450 for 20 minutes, then 20 more uncovered.

Yohan Ferrant demonstration at the Quest for Sourdough workshop in St. Vith, Belgium.