
This is the perfect go-to bread for any occasion. It’s easy enough to be a weekly bake, and makes an impressive contribution to a shared meal. It’s got multiple grains and seeds for flavor, milk and butter for texture, and the overnight fermentation gives both the flavor and the texture an additional boost. If you’re looking for a single grain loaf, with a similar result, check out Week 62’s Low-Knead Bread. You won’t be disappointed!

Step 1: Make pre-ferment (overnight rest)
- 340g room temp water
- 3g yeast
- 180g bread flour
- 50g rye flour
- Mix the sponge ingredients with the handle of a wooden spoon until flour is thoroughly combined with the water.
- Cover, and let rest at room temperature, covered, for at least 4 hours, but preferabley overnight.
Step 2: Make dough (2 hour rest)
- 12g salt
- 4g sugar
- 180g bread flour
- 90g whole wheat flour
- 30g dry whole milk powder
- 30g softened butter (2 Tbsp)
- 1 Tbsp each sesame, flax, hemp and chia seeds
- 1/4 cup multi-grain cereal mix
- Combine the flours, sugar, salt and sesame seeds/multi-grain cereal mix into the bowl of a stand mixer. Whisk to combine.
- Empty the biga into the bowl, scraping the sides tof the biga bowl to get it all.
- Mix until incorporated, with the handle of a wooden spoon, (or your hand, squeezing the dough between your fingers).
- Once it’s all mixed together, place bowl in machine, and knead with dough hook for 5 minutes on speed #2, adding the butter, one little chunck at a time.
- Stop to scrape down the sides and the dough hook. Make sure there’s no dry bits on the bottom.
- Knead for 5 more minutes, still on #2, until it is sticking to itself more than the bowl. It won’t totally clean off the sides of the bowl and be all stuck on the hook like some doughs.


- Scrape down sides with a bowl scraper, cover and let rest for 15 minutes.
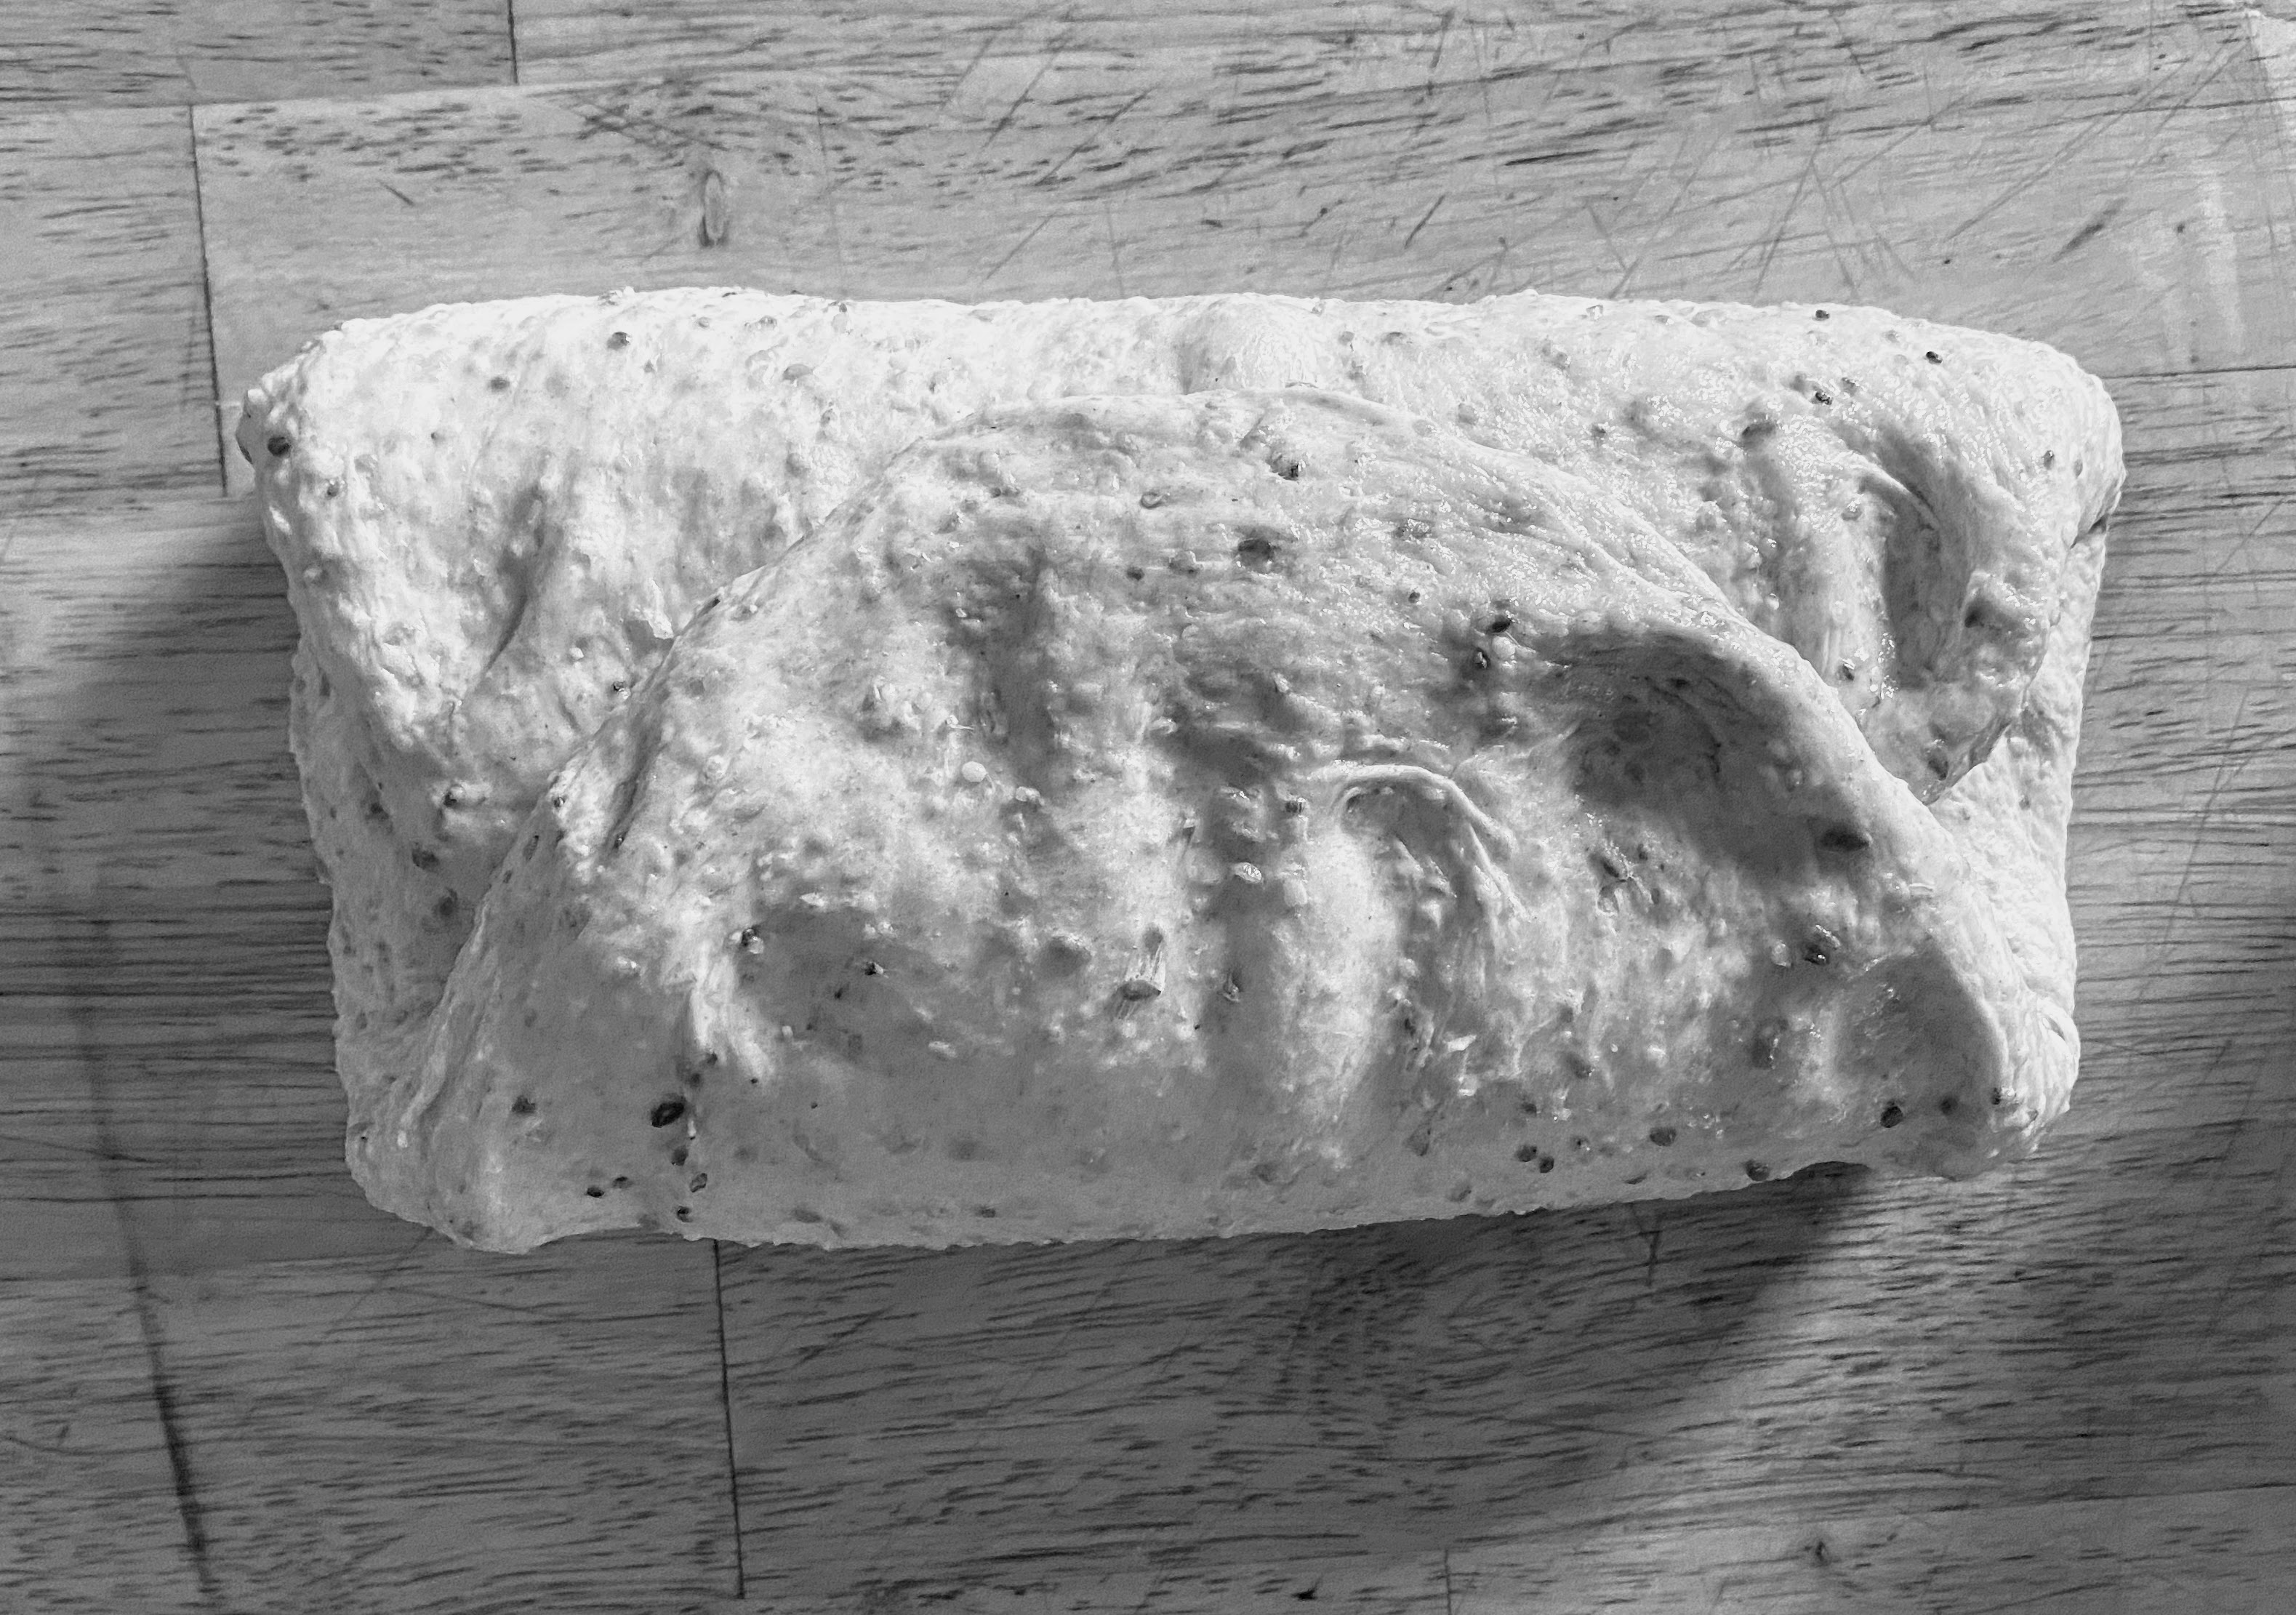
- Turn out until a lightly oiled surface. Flatten out a bit, then fold sides over on itself towards the middle to form a circle. Turn over and shape into a ball.


- Place the dough in a greased bowl, seam side down, cover and let rest 30 minutes.
- Turn out until a lightly oiled surface. Flatten out a bit, Do two envelope folds/ First fold top third down, then bottom third over that. Then fold the left third over, and the right third over that.


- Return dough to the greased bowl, cover and let rise in a warm place 1-2 hours (if you kitchen is colder than 72 degrees, warm up an EMPTY microwave, then store it there), until doubled in size.


Step 3: Shape dough (1 hour rest)
- Turn the dough out onto a lightly oiled countertop, and gently press into a square.
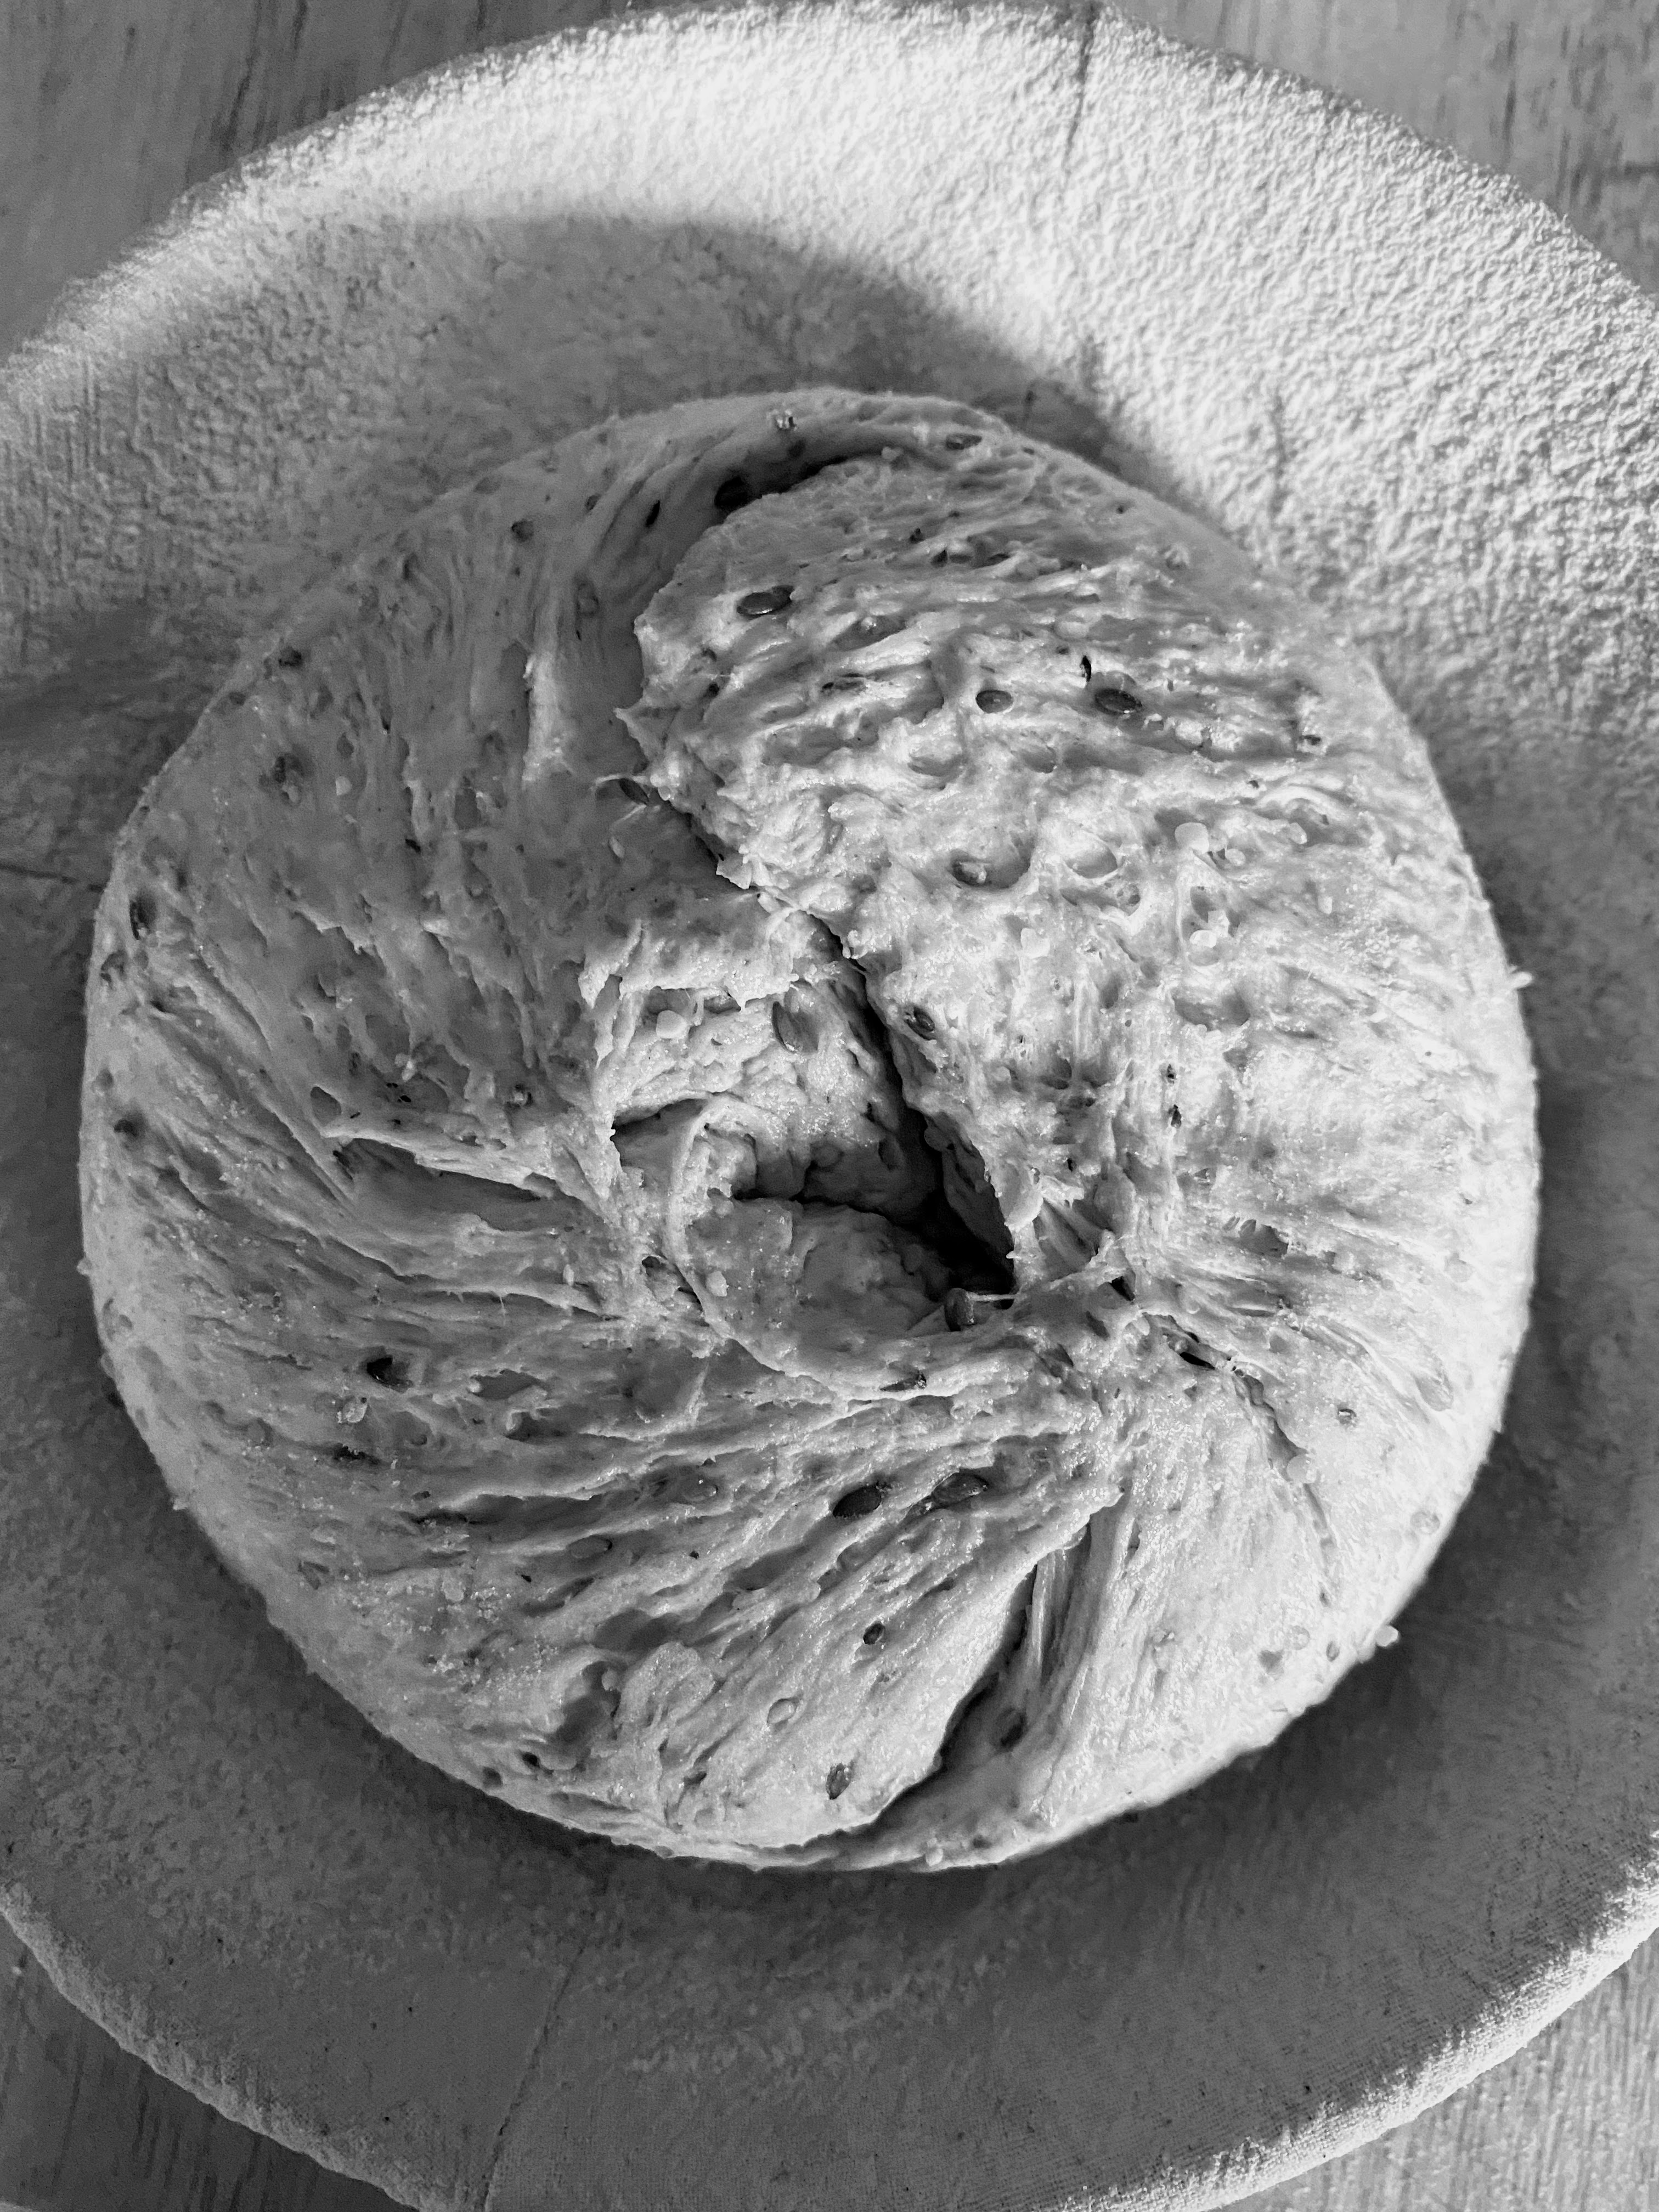
- Flatten out a bit, then fold sides over on itself towards the middle to form a circle. Turn over and shape into a ball.
- Cup it with your hands and rotate, pulling the sides down a bit to make the surface taut.
- Then slide a bit to make the surface taut. See video for shaping dough on the Tips page.
- Lightly dust the surface, and smooth with your hand.
- Place dough ball, seam side down, into a lined banetton (or a bowl lined with a tea towel) that’s been dusted with flour. Pinch seams together to tighten.

- Cover and let rise for about 30 minutes to an hour. It will continue to rise in the oven, so this second rise does not need to be for as long as the first. Better to be slightly under-proofed, than over-proofed.
- Meanwhile, preheat over to 475 degrees, with a Dutch oven inside, and have at the ready a parchment paper sling.
Step 4: Bake dough
- Place a the parchment sling on top of the basket/bowl, and flip it over.
- Remove bowl from dough, scape off any excessive amounts of flour, and score.
- Remove pan from oven, and place dough inside. Cover and put in oven.
- Turn oven down to 450 degrees.
- Bake about 30 minutes, uncover and back 5 more, until crust is dark golden, and internal temperature is 190-200 degrees.
- Remove from pot, then place in turned off oven with door open so it can cool down in a dry place.
- Cool completely before slicing.


