
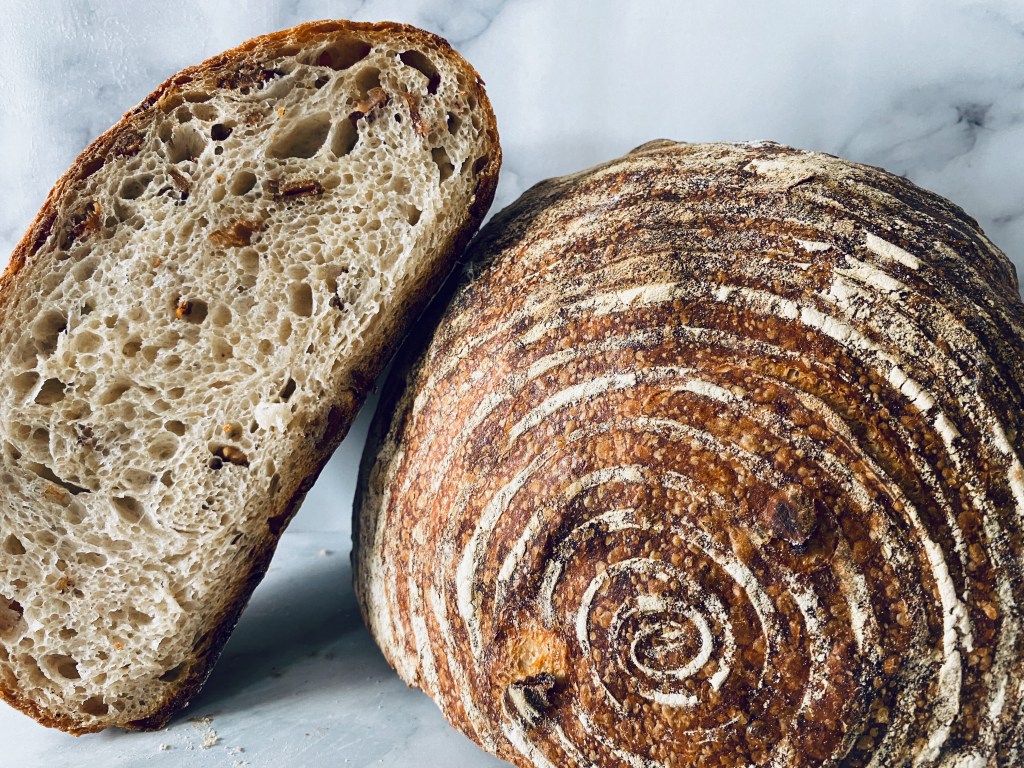
My oh my, I don’t think a bread can get much better than this! I adapted it from Ken Forkish’s Pain au Bacon recipe in Flour, Water, Salt, Yeast, one of my all time favorite bread making cookbooks (see all my favorites here). After ditching a successful 20-year tech career, he opened up Ken’s Artisan Pizza and Ken’s Artisan Bakery in Portland, OR. and hasn’t looked back. He’s got quite a lot of video instructions for pizza and bread making on his website that every aspiring baker should view.
Step 1: Make the levain
- 25g active starter
- 100g white flour
- 25g whole wheat
- 100g warm water (85-90 degrees)
- Mix the starter, flours and water until incorporated.
- Cover, and let rest 9~10 hours.
Step 2: Prep bacon
- 1/2 lb bacon
- Chop bacon into small pieces, and fry until nice and crisp
- Drain on paper towels
- Reserve 1 Tbsp bacon grease
Step 3: Make the autolyse
- 432g white flour
- 8g whole wheat
- 342g warm water (85-90 degrees)
- Mix the flours and water together in a large bowl until incorporated
- Cover, and let rest for 30 minutes
- 10g salt
- Sprinkle the salt onto the top of the dough and fold it in.
Step 4: Make dough
- Levain
- Autolyse
- Bacon
- Bacon fat
- Add the levain to the autolyse and use the pincer method to mix it in. See Ken demonstrating this method in the “Mixing By Hand” video here.
- Let rest, then spread the bacon fat over the top, and sprinkle the bacon over that.
- Mix again with the pincer method.
Step 5: Proof and knead
- The dough needs to rest for about 2 hours. Knead the dough using the stretch & fold method every 30 minutes. See the “Kneading during Proofing” videos on the Video page.
Step 6: Shape dough
- Gently remove dough onto a floured countertop, using a dough scraper.
- Dust flour around the perimeter, then lift sides just a bit and scoot the flour under.
- Lift sides up, then over to form a circular shape and tighten it up a bit.


- Flip over and push sides down and under with cupped hands to make the surface taught. See “Shaping” video on the Video page.
- Dust a proofing basket, or a tea towel placed in a bowl with a generous amount of flour.
- Gently lift than lower the dough into the basket, seam side down.
- Cover and proof about 3-1/2 to 4 hours.
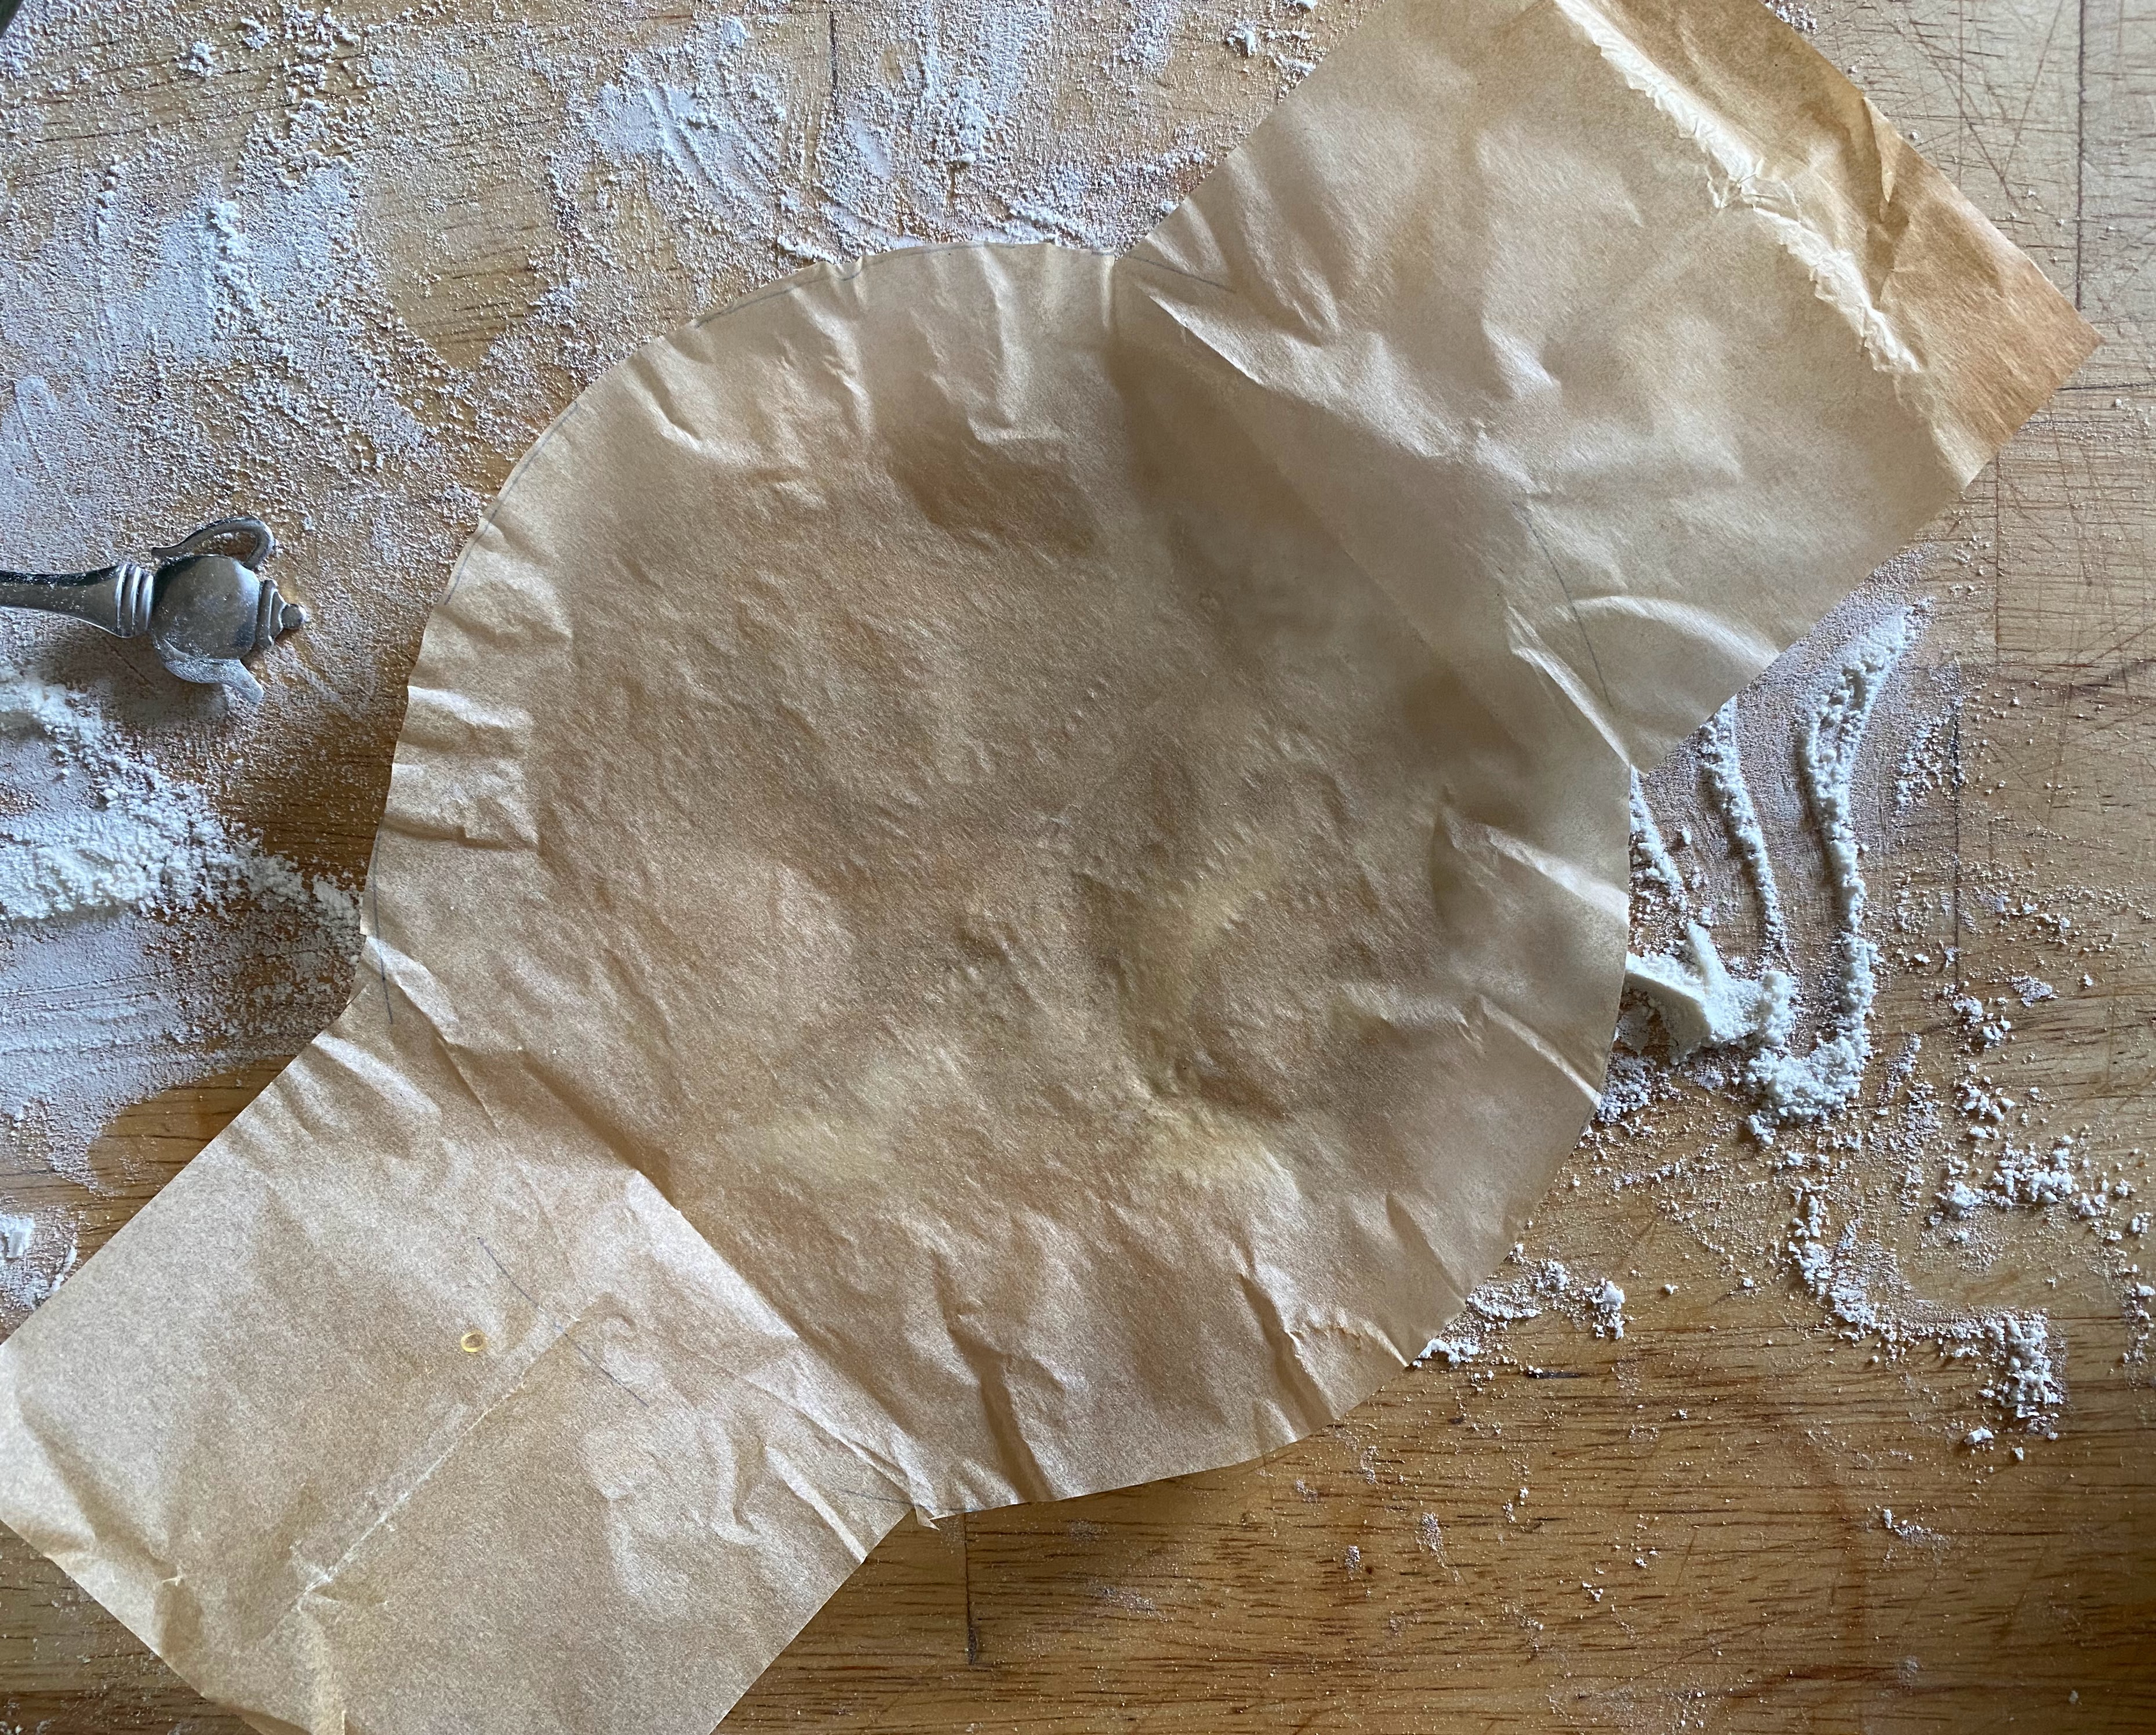
- Cut a sling out of parchment paper to use for lowering the dough into your baking receptacle.


- Meanwhile, preheat the oven to 475 degrees, and place a Dutch oven with lid (or any heavy pot that has a lid) inside to heat up as well.
Step 7: Bake
- When dough is proofed, place the paper sling on top of the basket/bowl, then a cutting board on top of that.
- Carefully invert so the dough is on the cutting board, and out of the container.
- Remove the Dutch oven/pot from the oven, remove lid, and carefully place dough inside.
- Replace the lid, then return the Dutch oven/pot back in the oven and bake for 30 minutes
- Uncover, reduce heat to 450, and bake for 30 minutes more, until it’s a medium dark brown.
- Let cool on a rack before slicing.
