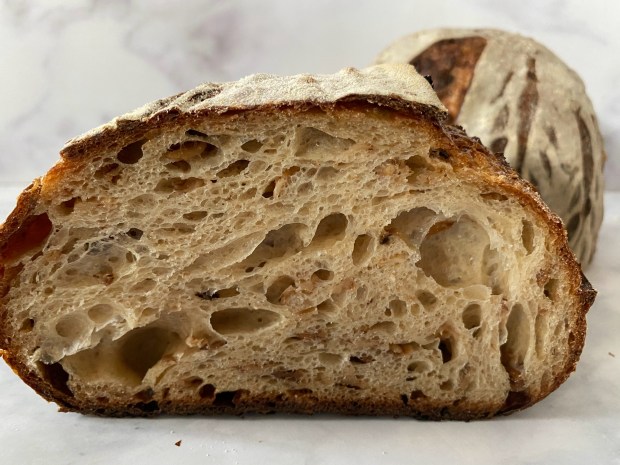
This is a hybrid sourdough, calling for both a wild yeast starter levain/sourdough) and commercial yeast. There’s a lot of shouting on bread forums whether or not using yeast in a sourdough loaf is sacrilege, or cheating, but I’ve come across recipes from Dan Lepard, Peter Reinhart and Ken Forkish (the three kings of bread), and if they can do it, then so can we. If you want to make a beautiful loaf, but don’t want to wait three days, then this is your answer.

The following is adapted from from Dan Lepard’s Mill Loaf. I wanted to share the minimalist kneading technique that he accidentally discovered when working in a very busy restaurant. He was constantly having to run between kneading doughs and prepping other dishes, and the time period in which the doughs were left to rest were often getting overextended. Much to his surprise, he found that this was a good thing. His book, The Handmade Loaf, is one of my favorites because it has easy to follow recipes that are beautifully photographed and unique.

You’ll need a Dutch oven, or any other pot with lid to bake the bread.
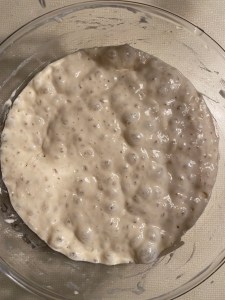
Step 1: Feed starter
- You’ll need 250g of starter
- My starter is a 1:1:1 ratio. i.e. 100g each of starter/water/flour.
- The flour I use is a mix of 70g wheat + 30g rye
Step 2: Make dough (next day)
- 250g active white starter
- 275g water from the tap (about 68 degrees)
- 300g bread flour
- 150g whole wheat
- 50g rye
- 3/4 tsp salt
- 7g yeast
- Measure water into a large bowl.
- Add the starter and whisk to combine.
- Measure out all the dry ingredients into a medium bowl and whisk to combine.
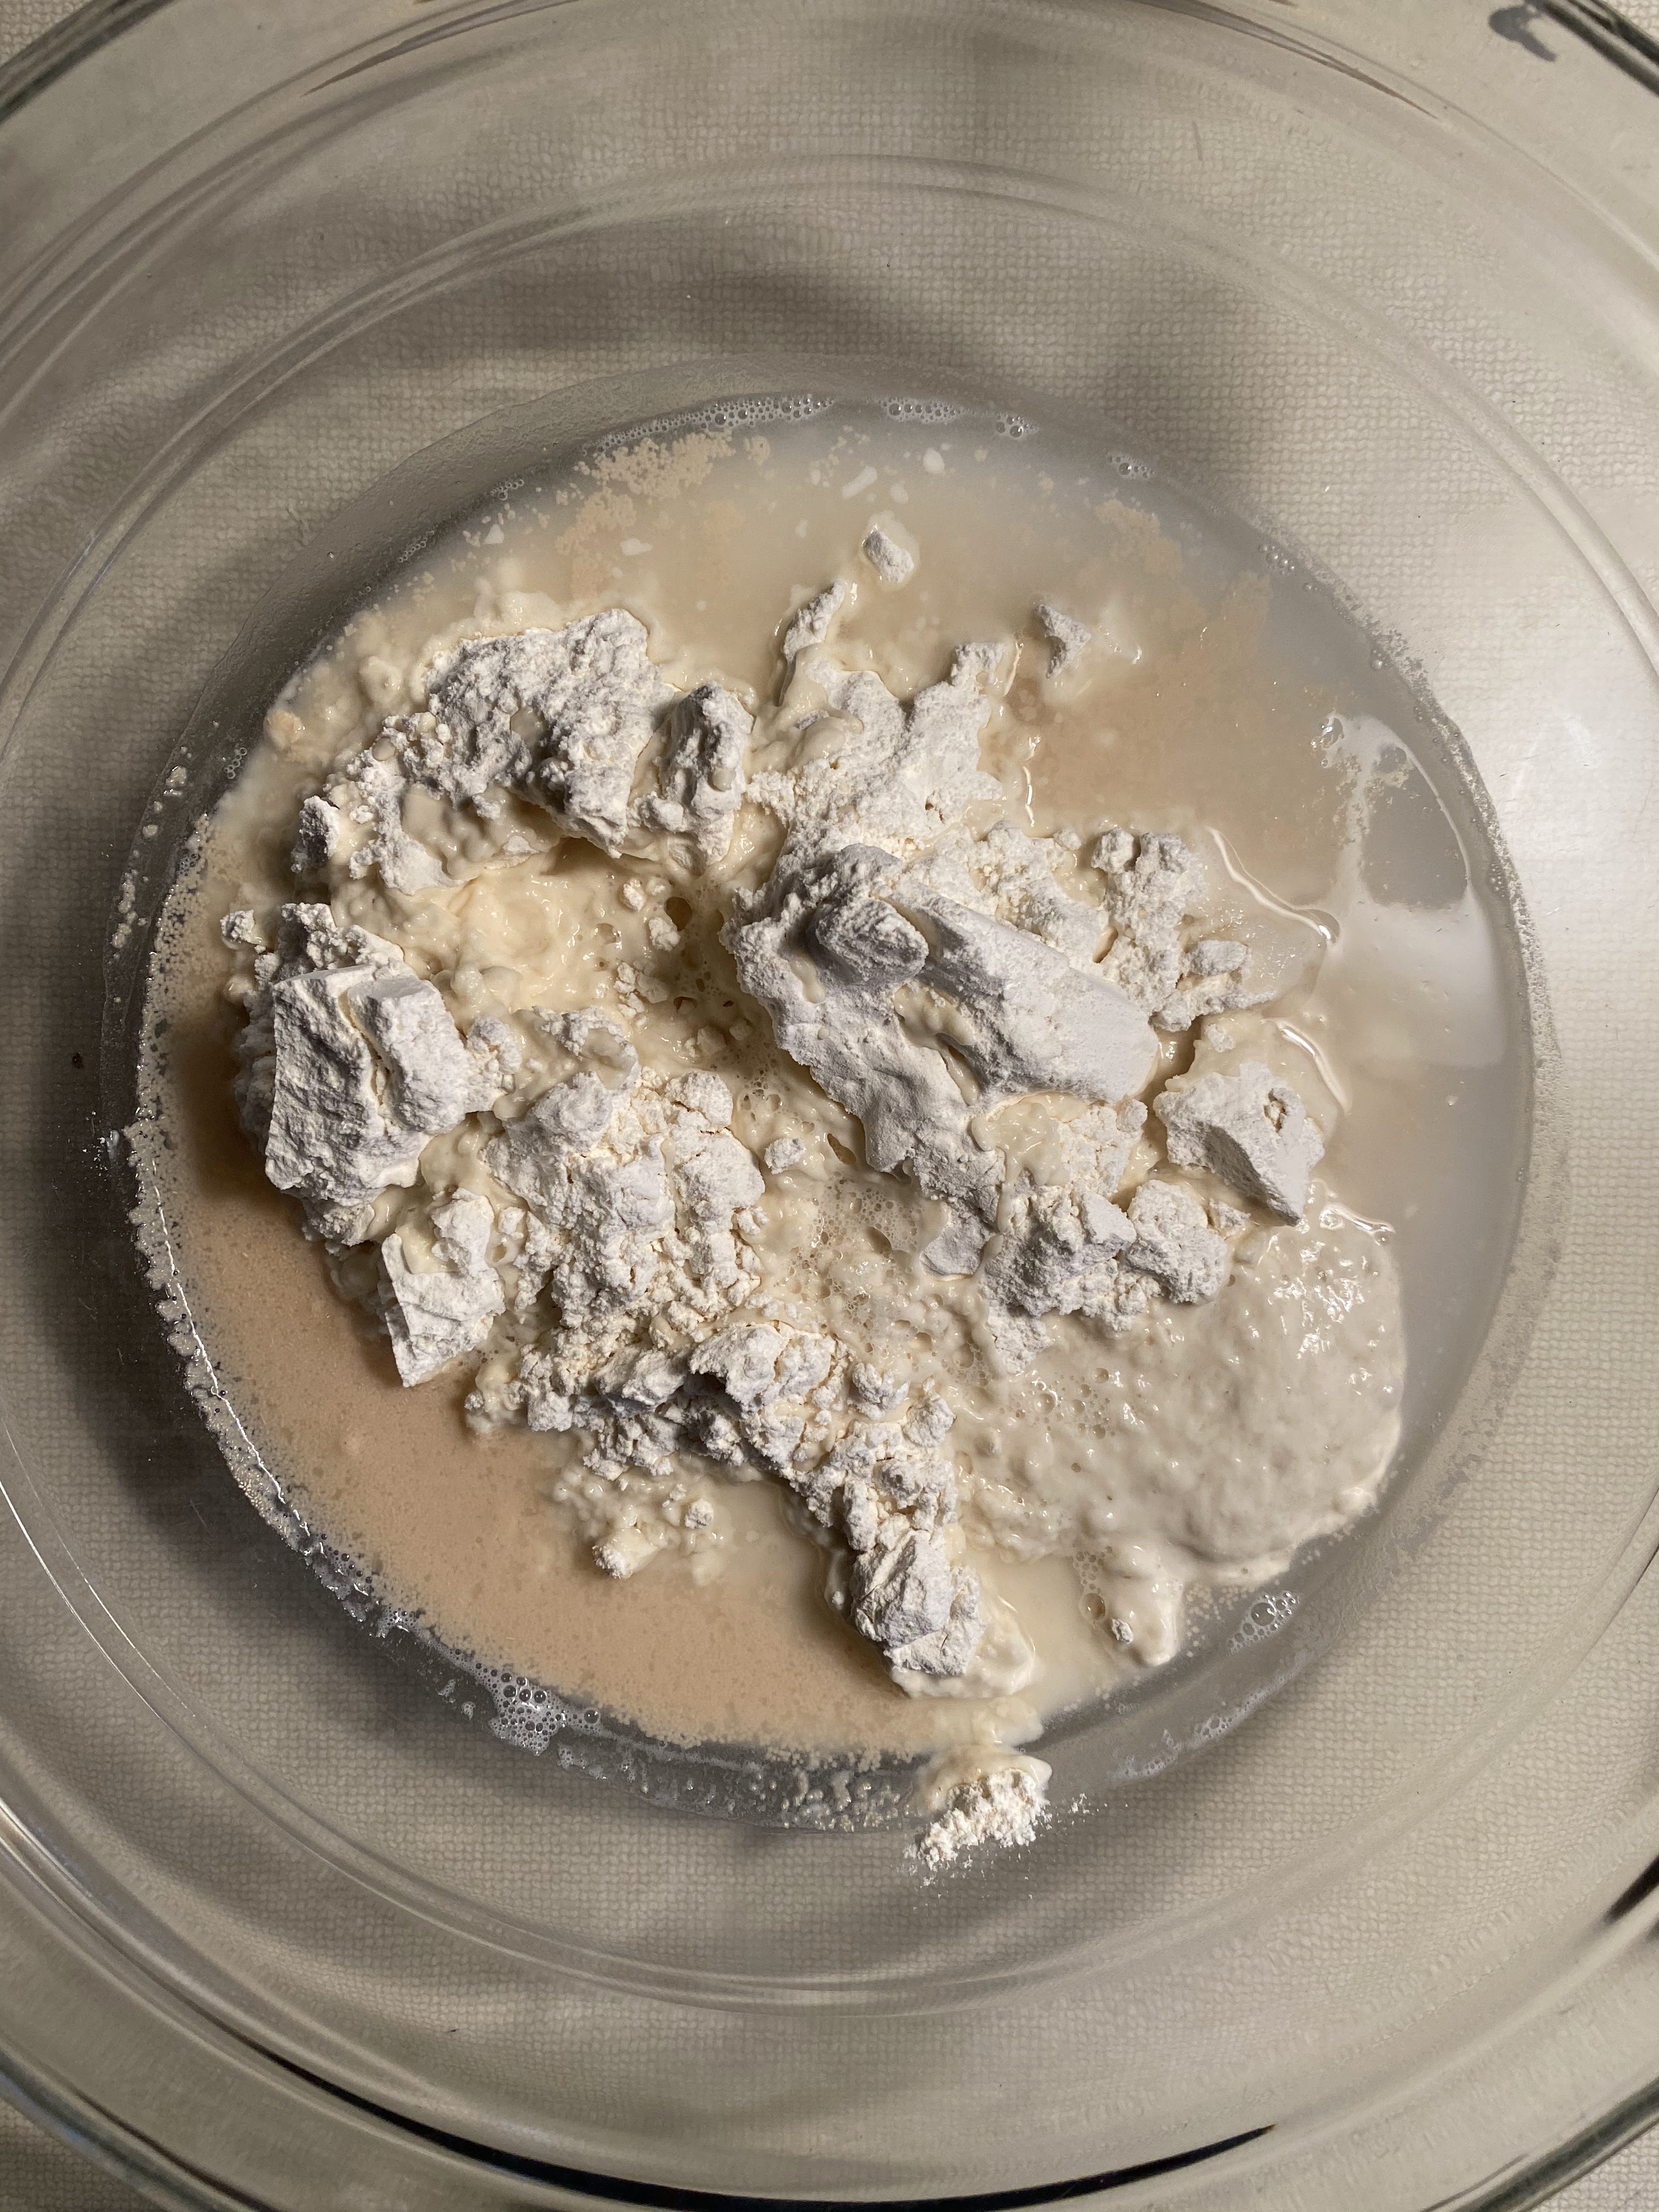
- Add dry flour mixture to the water/yeast liquid.
- Mix with the handle of a wooden spoon, til no dry bits remain. If you prefer, or if it’s not coming together, go ahead and use one hand to squeeze the dough together and get it thoroughly mixed.
- Cover and let rest 15 minutes in a warm place.


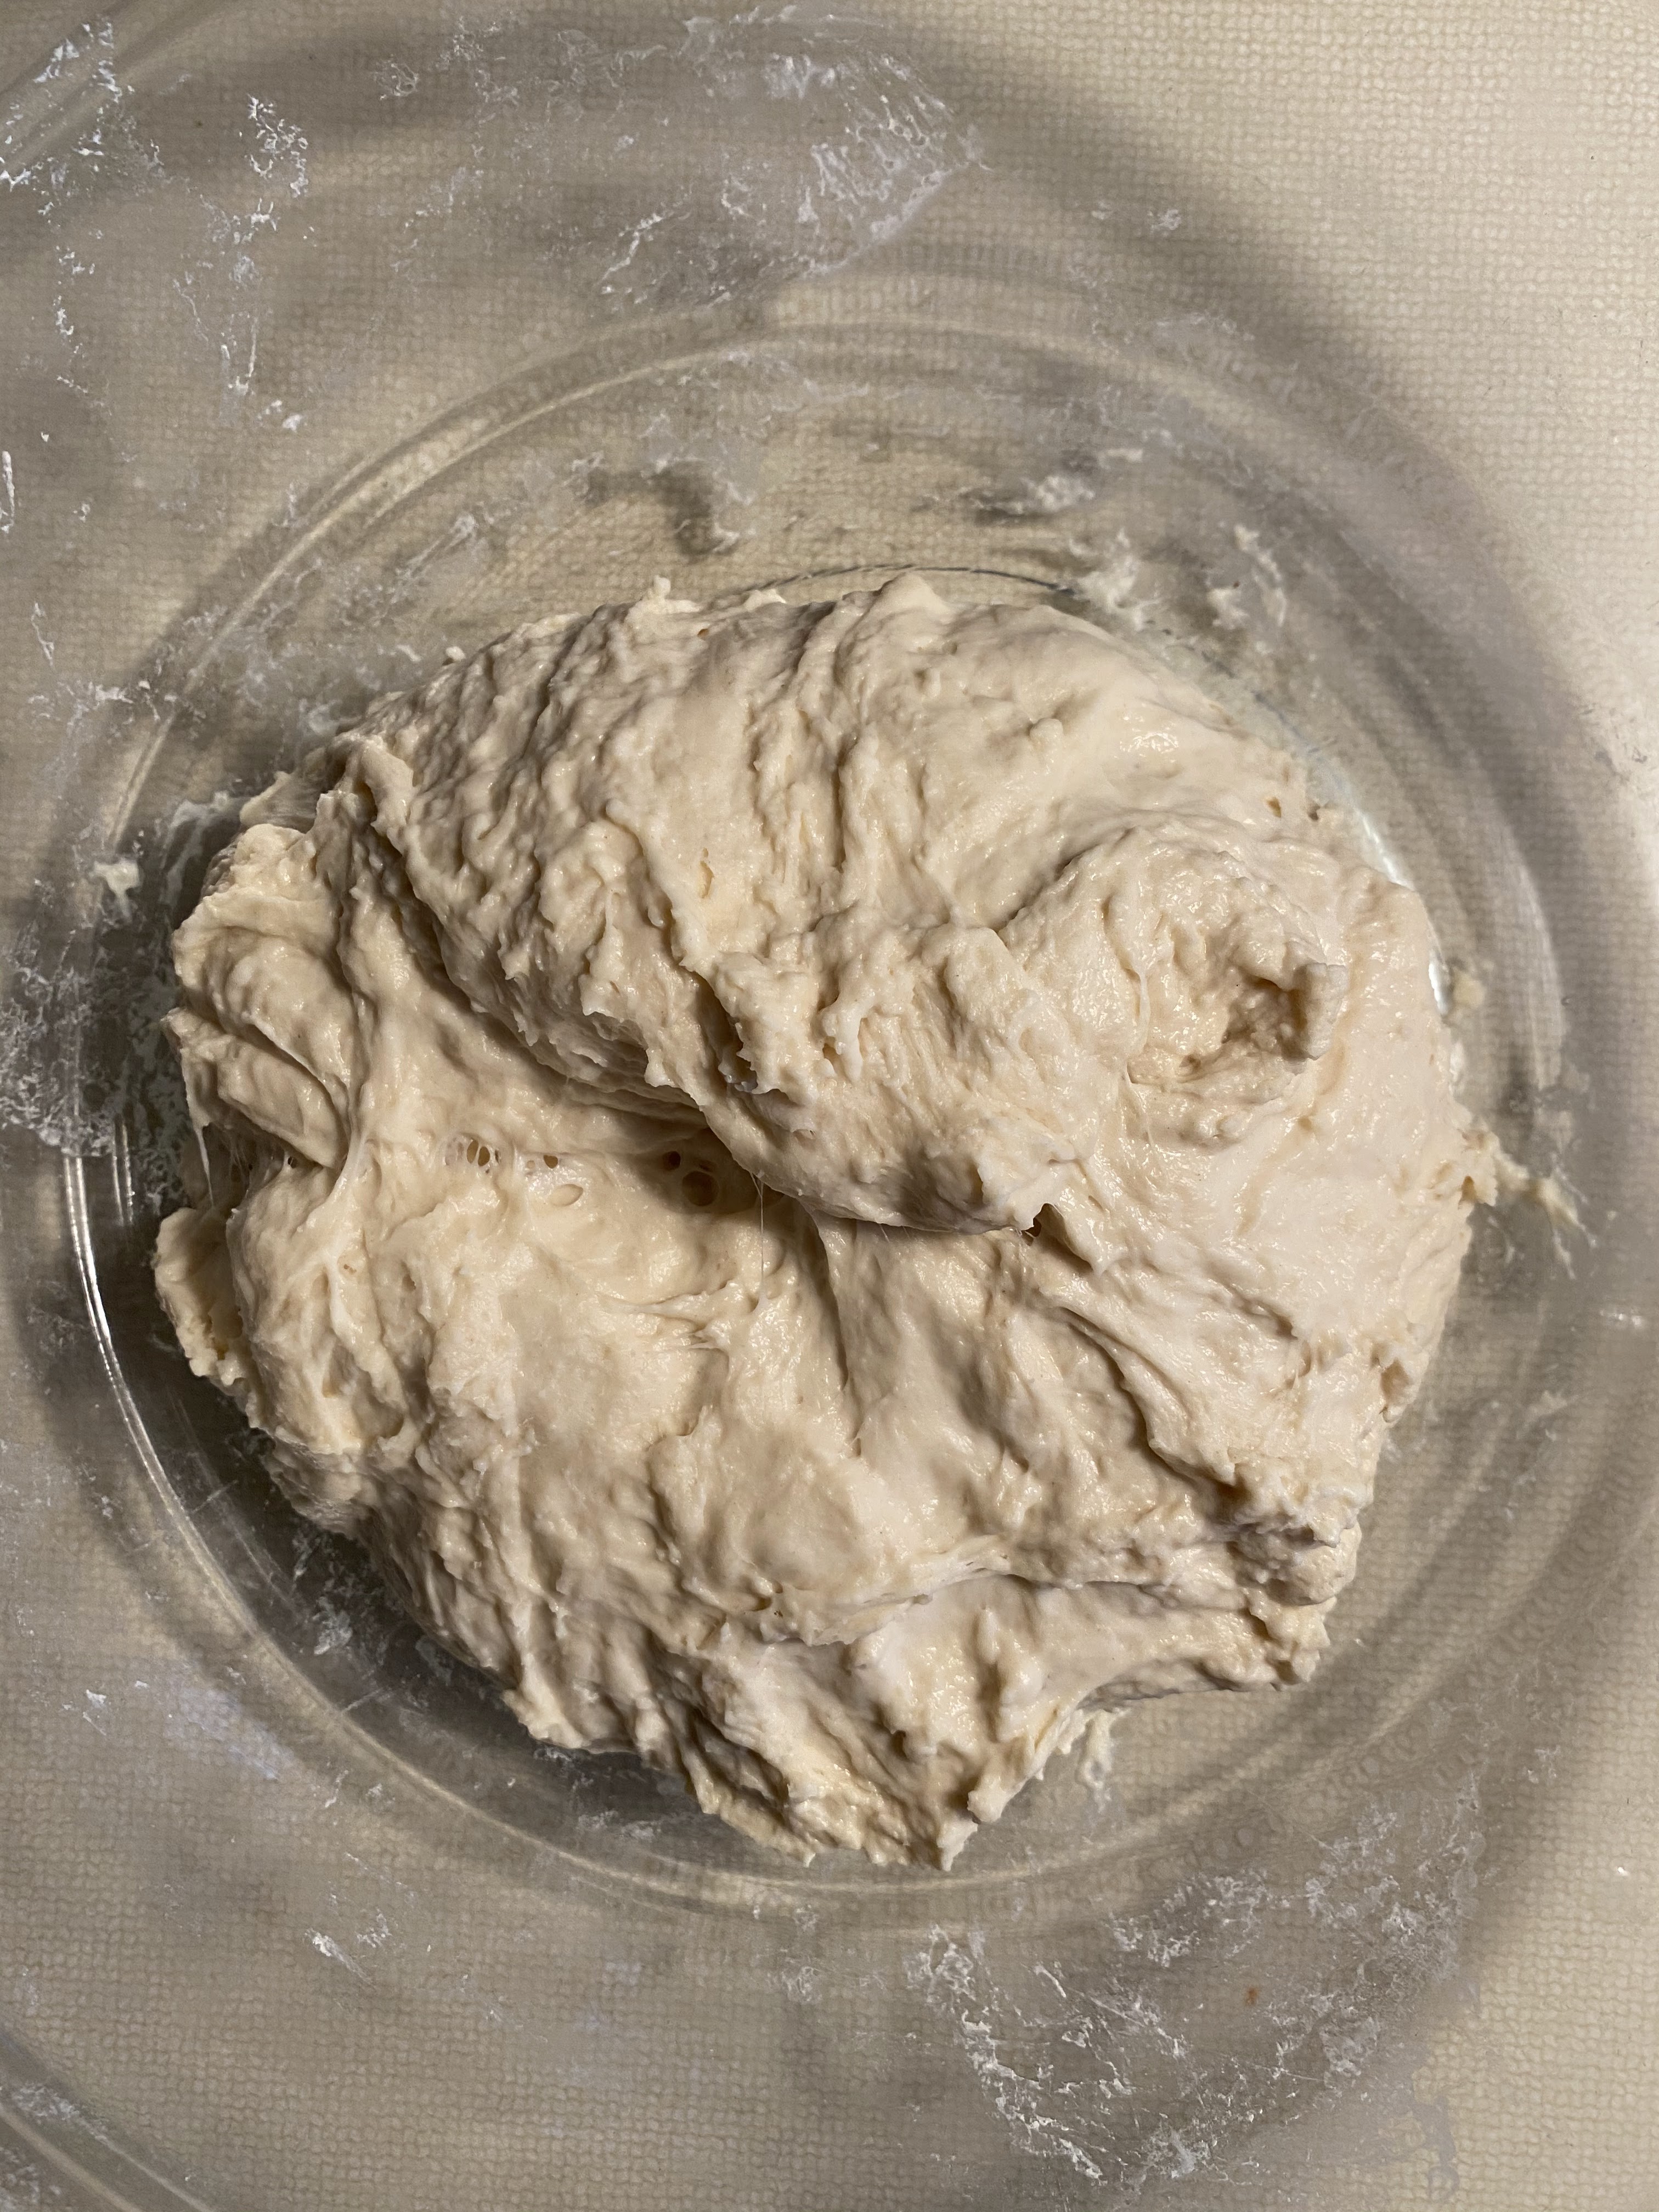
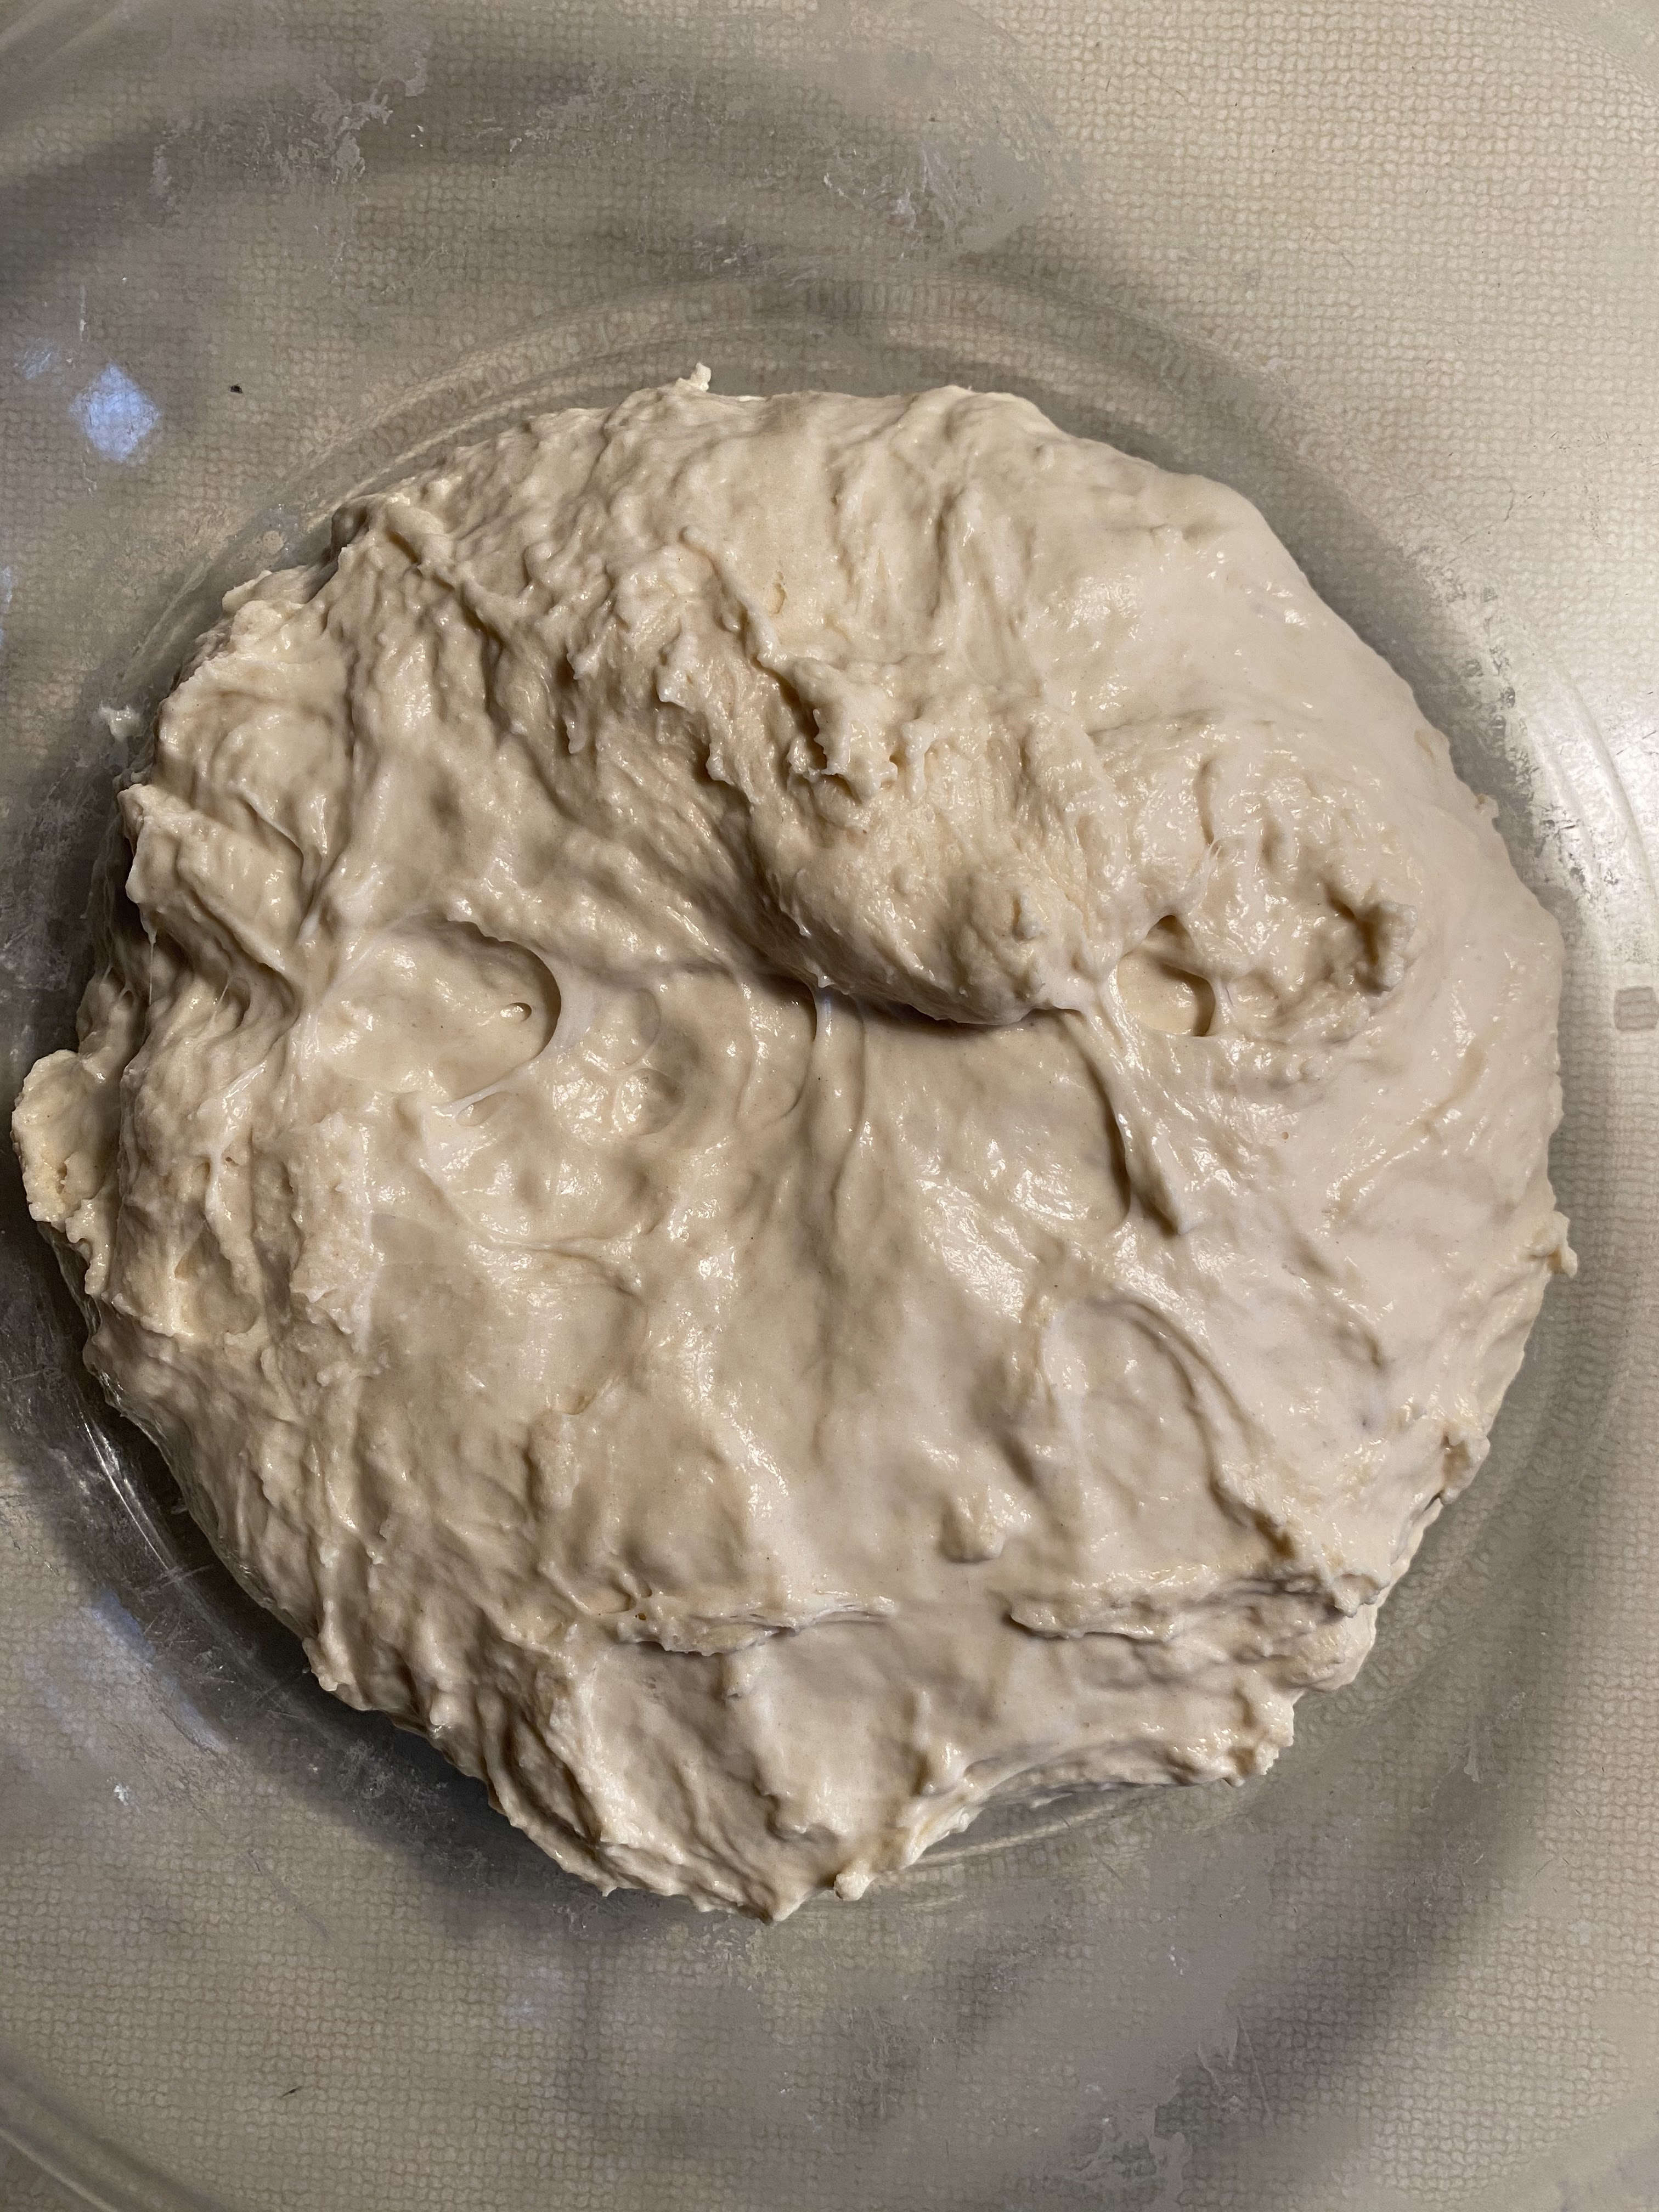
Step 3: Knead and proof
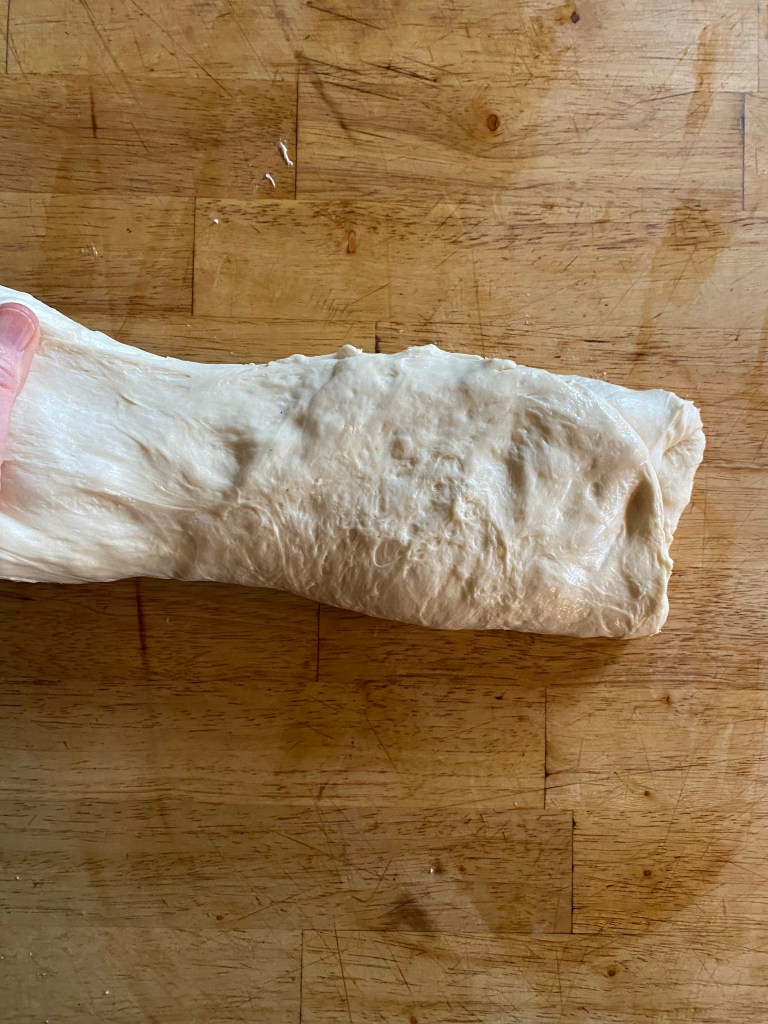
- Now it’s time to do the stretch and fold method of kneading:
- With wet fingertips, pull up a section of the dough, then fold it over itself. Do this 8 to 12 times, rotating the bowl as you go along. Don’t pull too much, and if it starts to tighten stop. Turn over, cover and rest 15 minutes.
- Repeat this stretch and fold kneading/resting for 15 minutes two more times.
- You’ll have done 3 stretch and fold cycles and 1 hour total resting period since mixing the dough together.

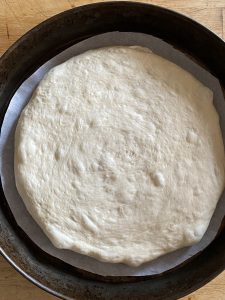
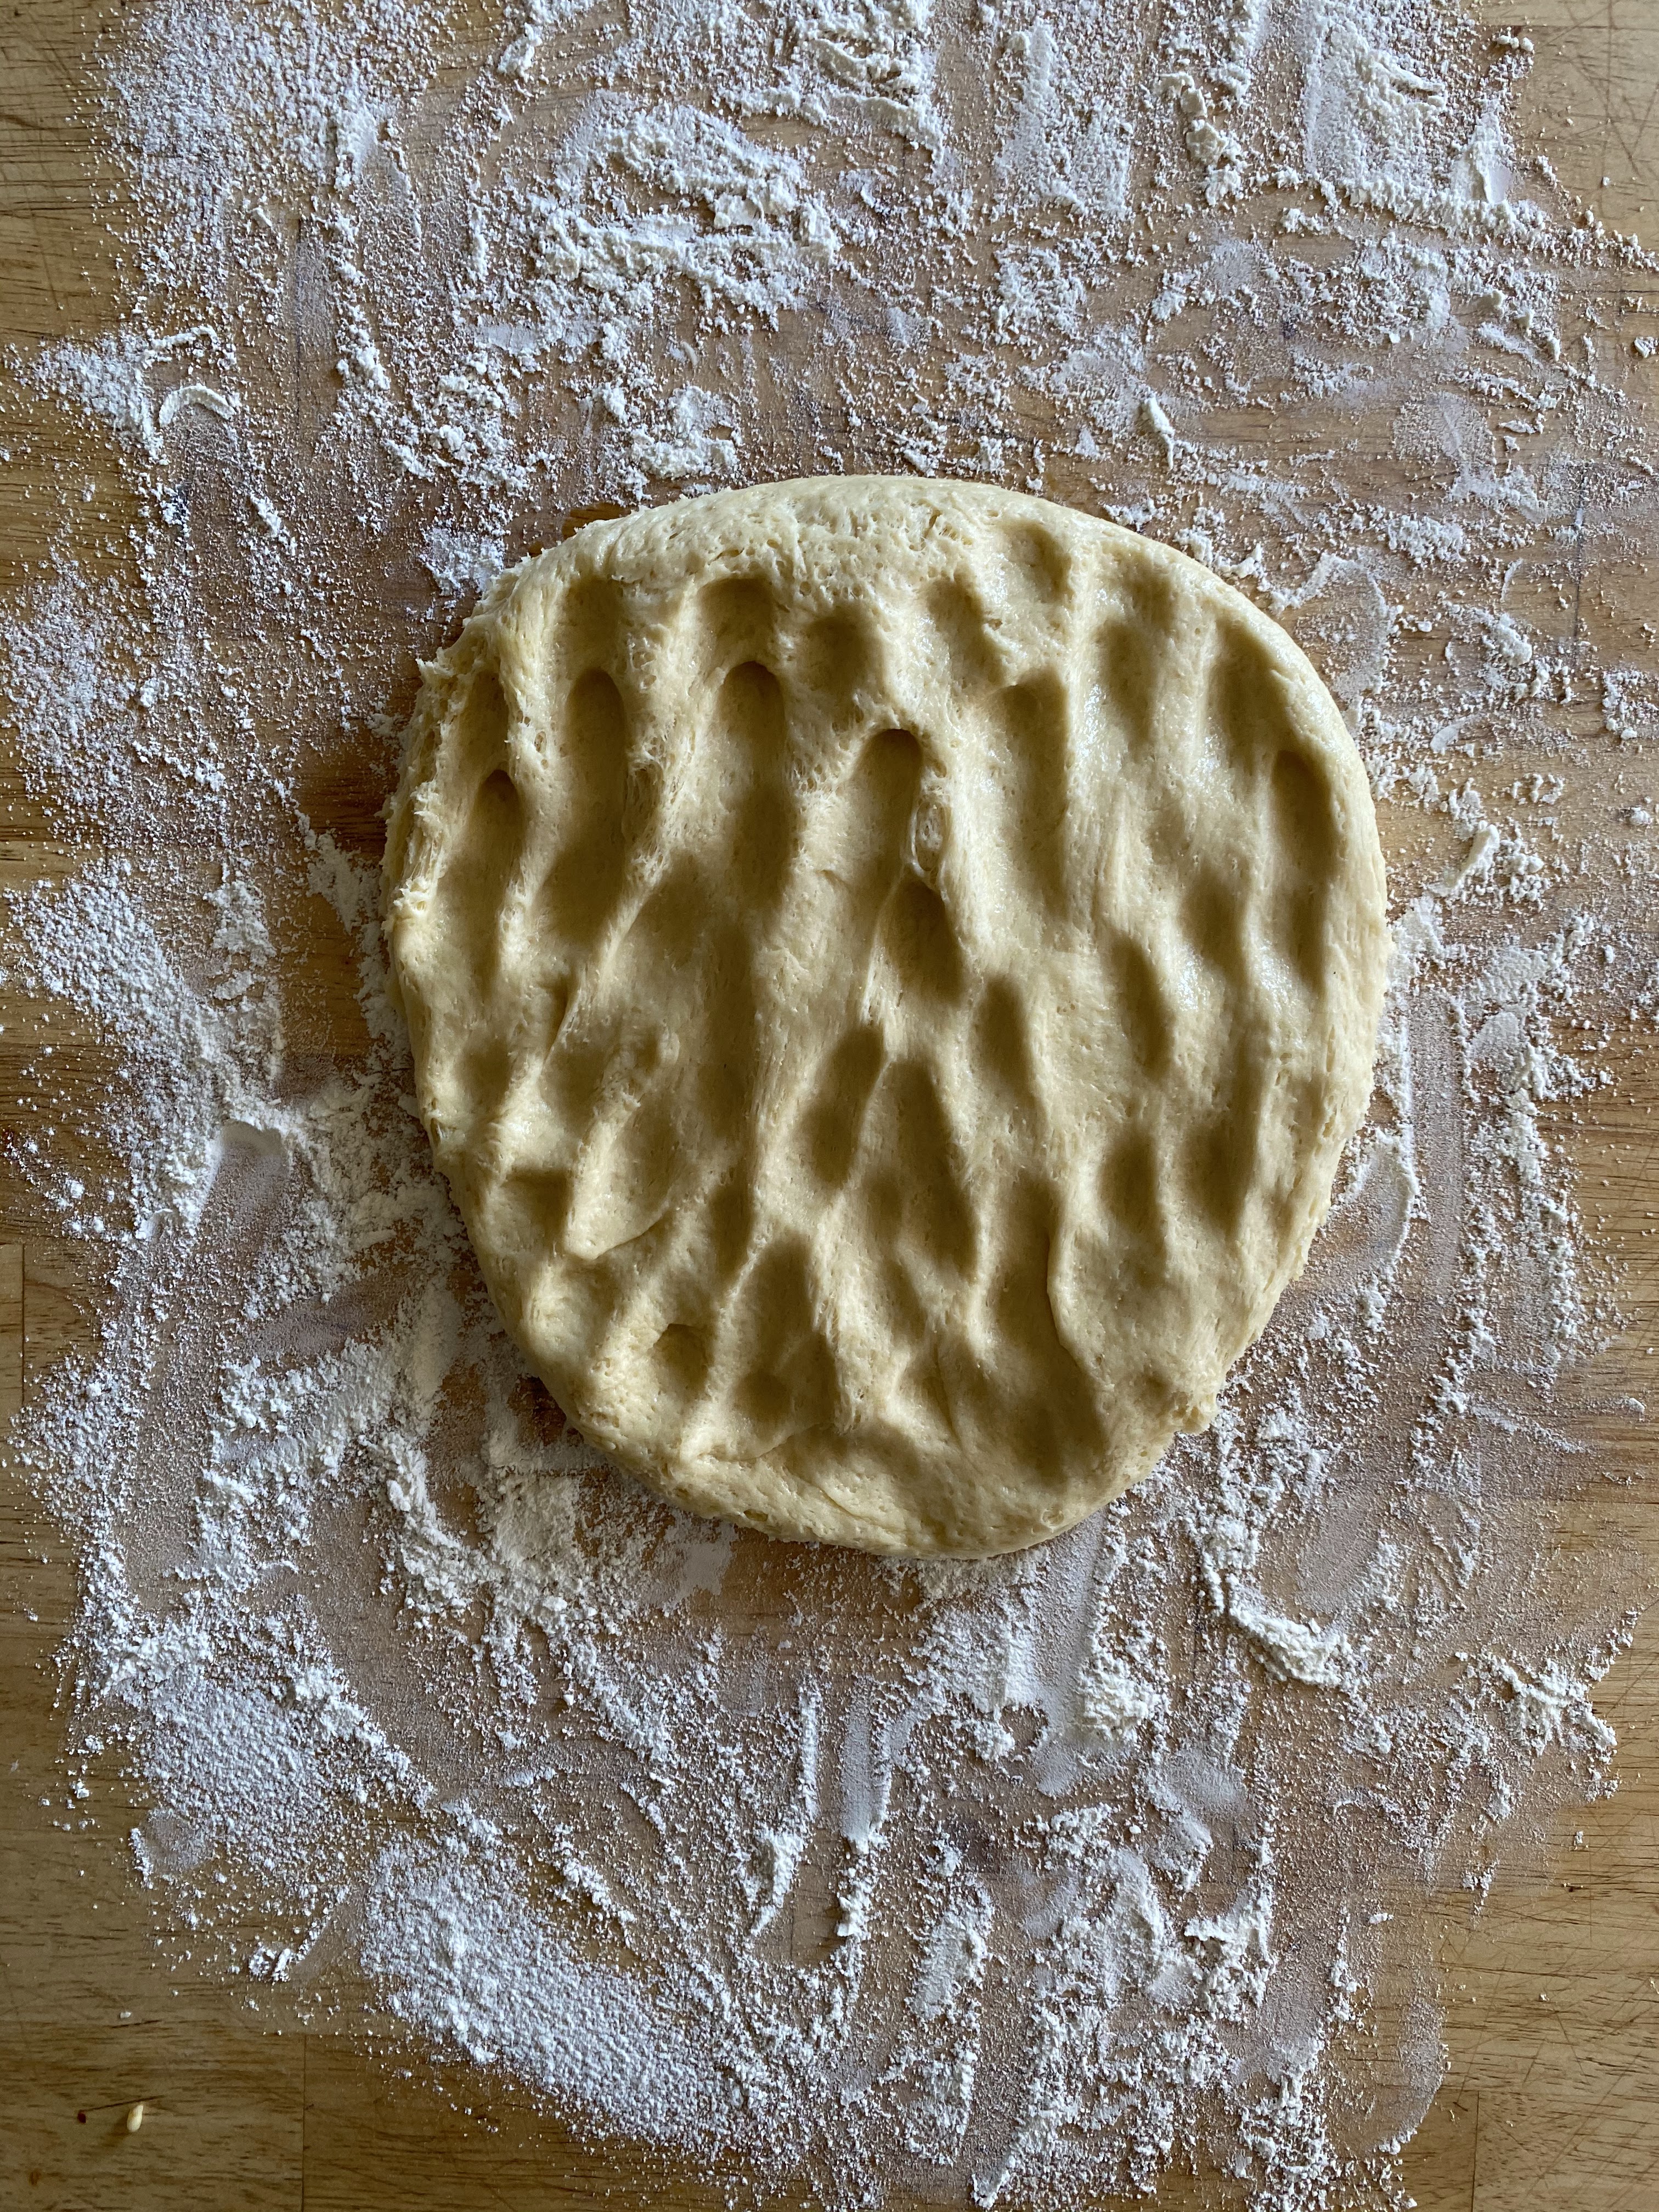
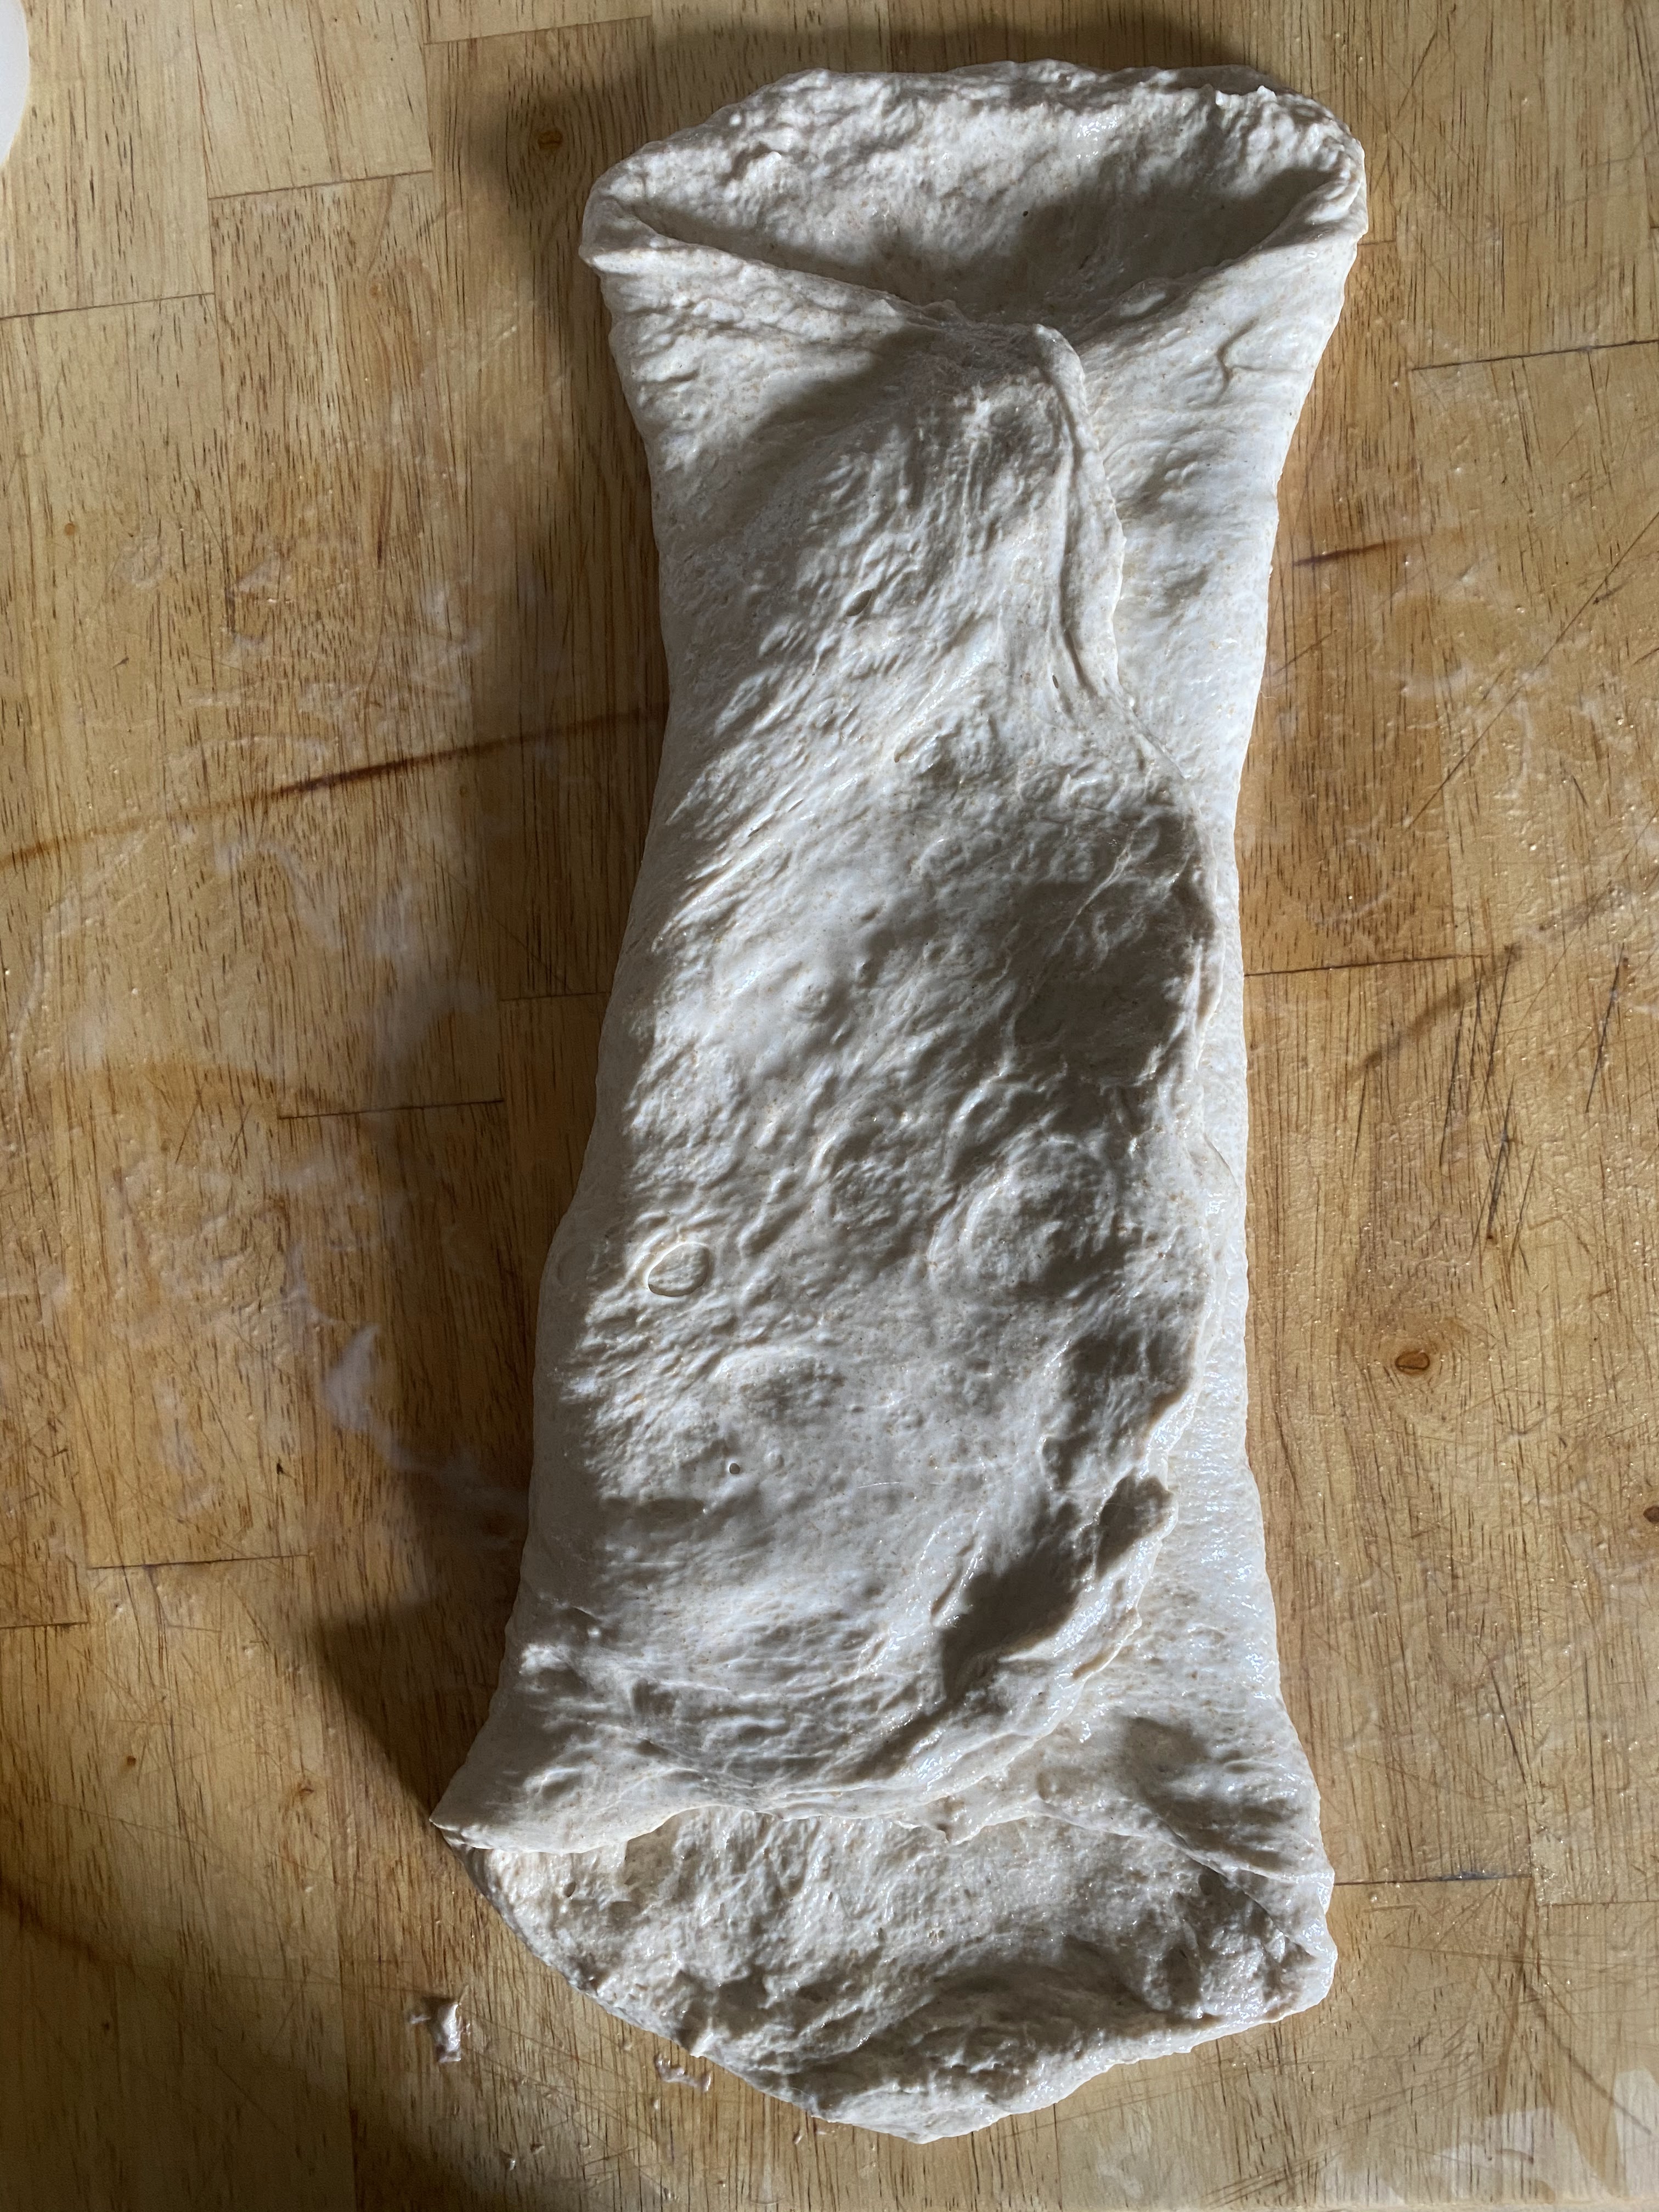
- Place dough on an oiled countertop and gently press to flatten.
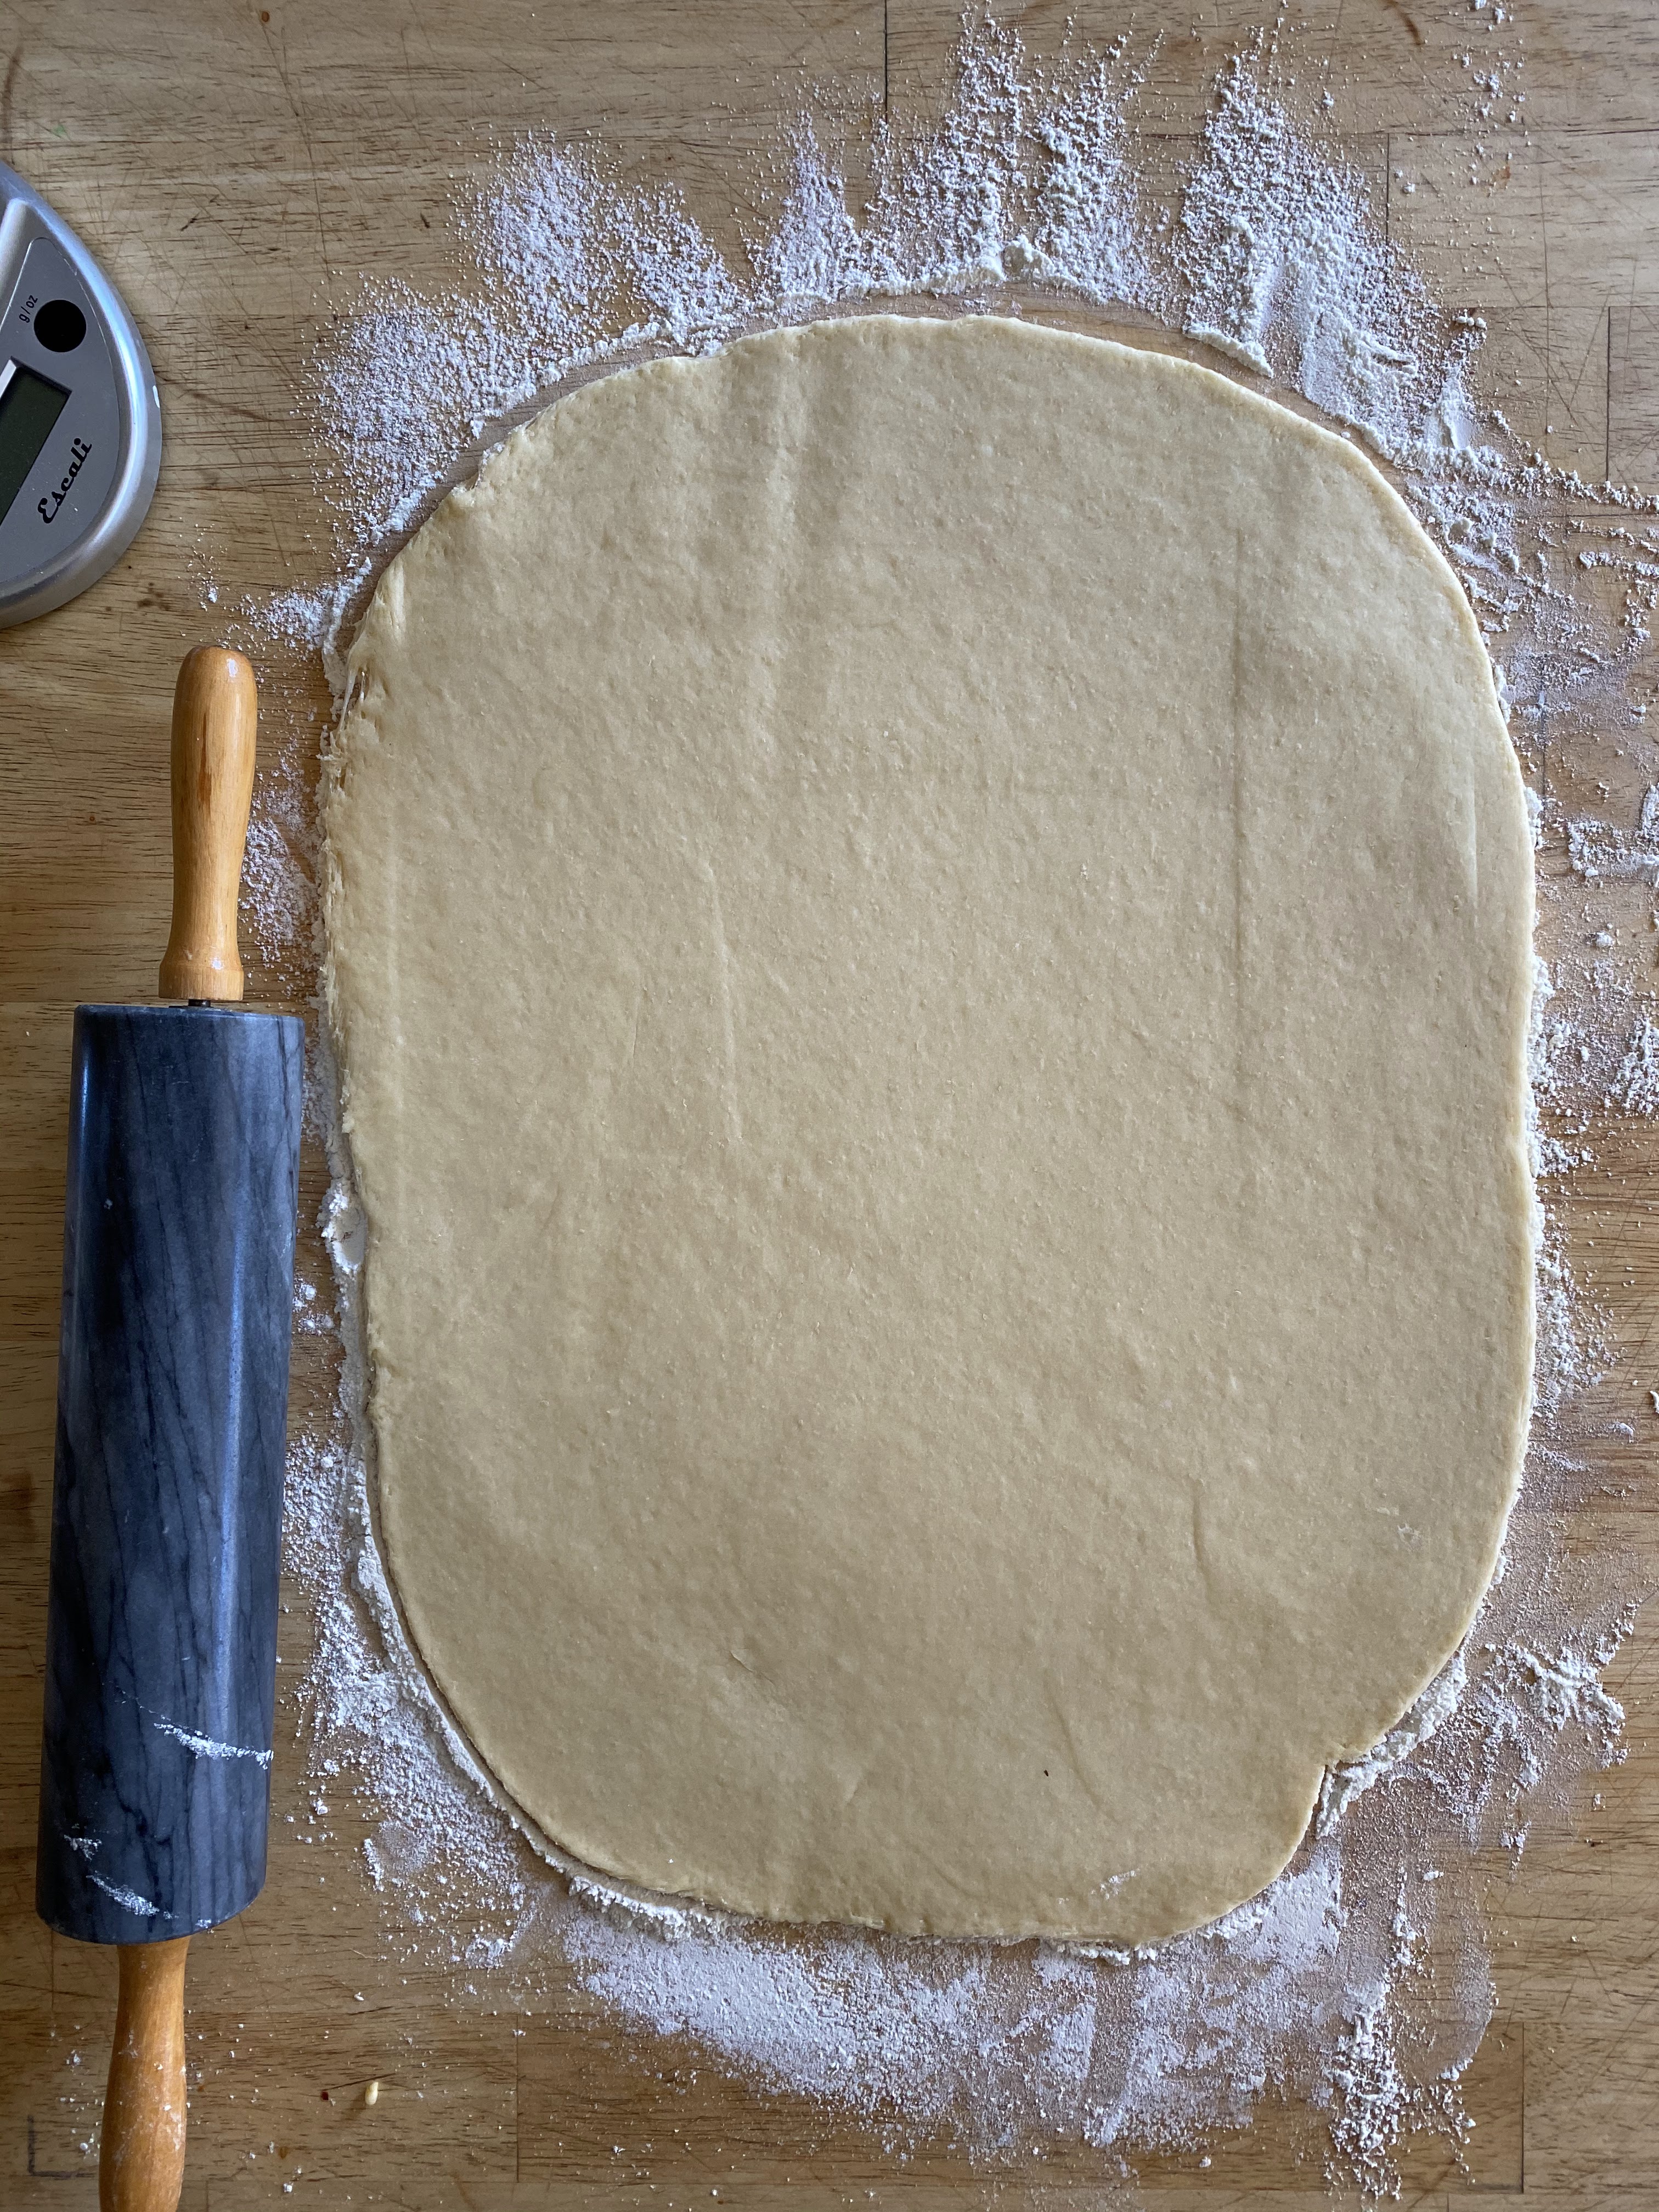
- Pick up the sides, one at a time, pull out and gently flap up and down to stretch it out into a rectangular shape.
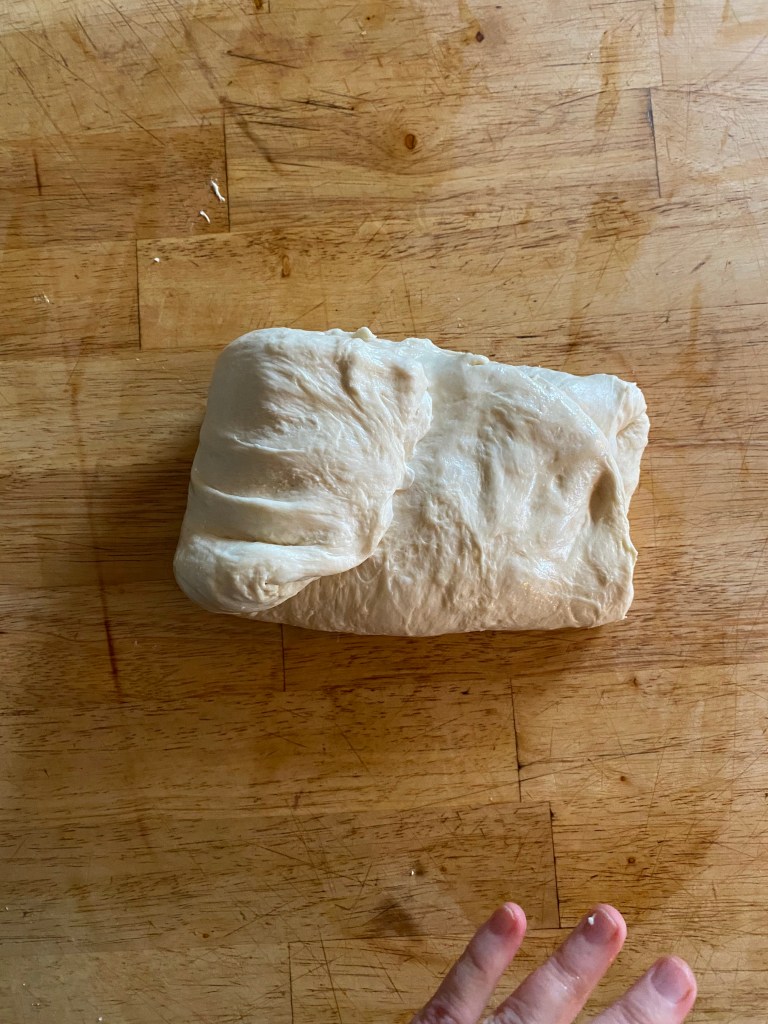
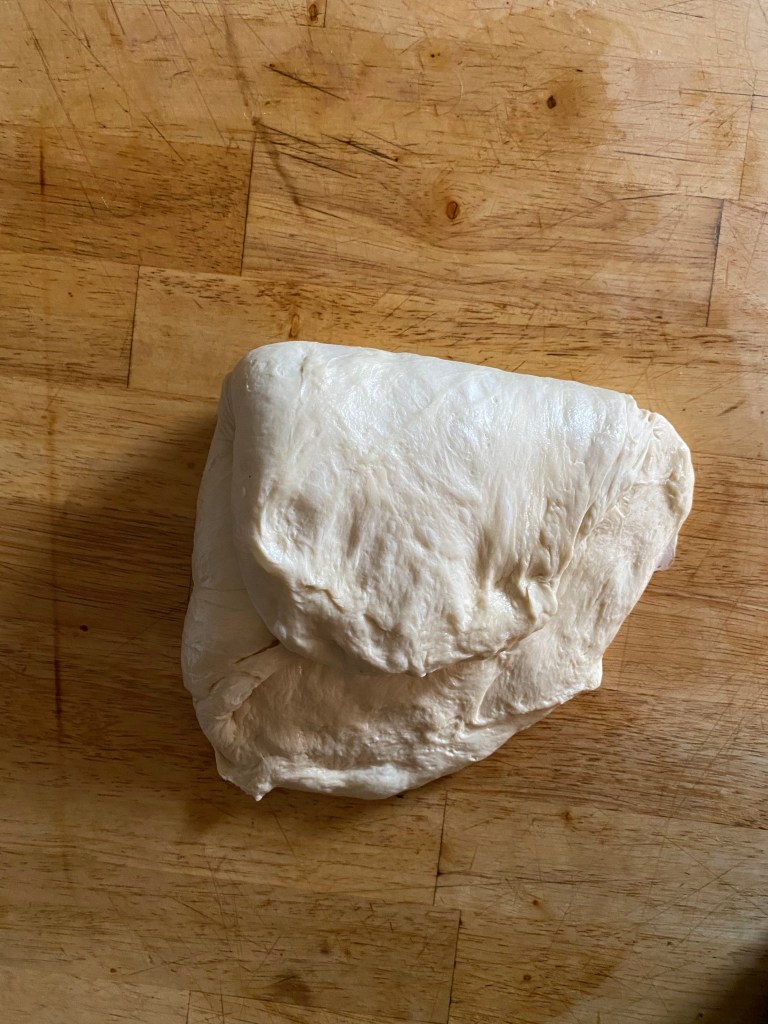
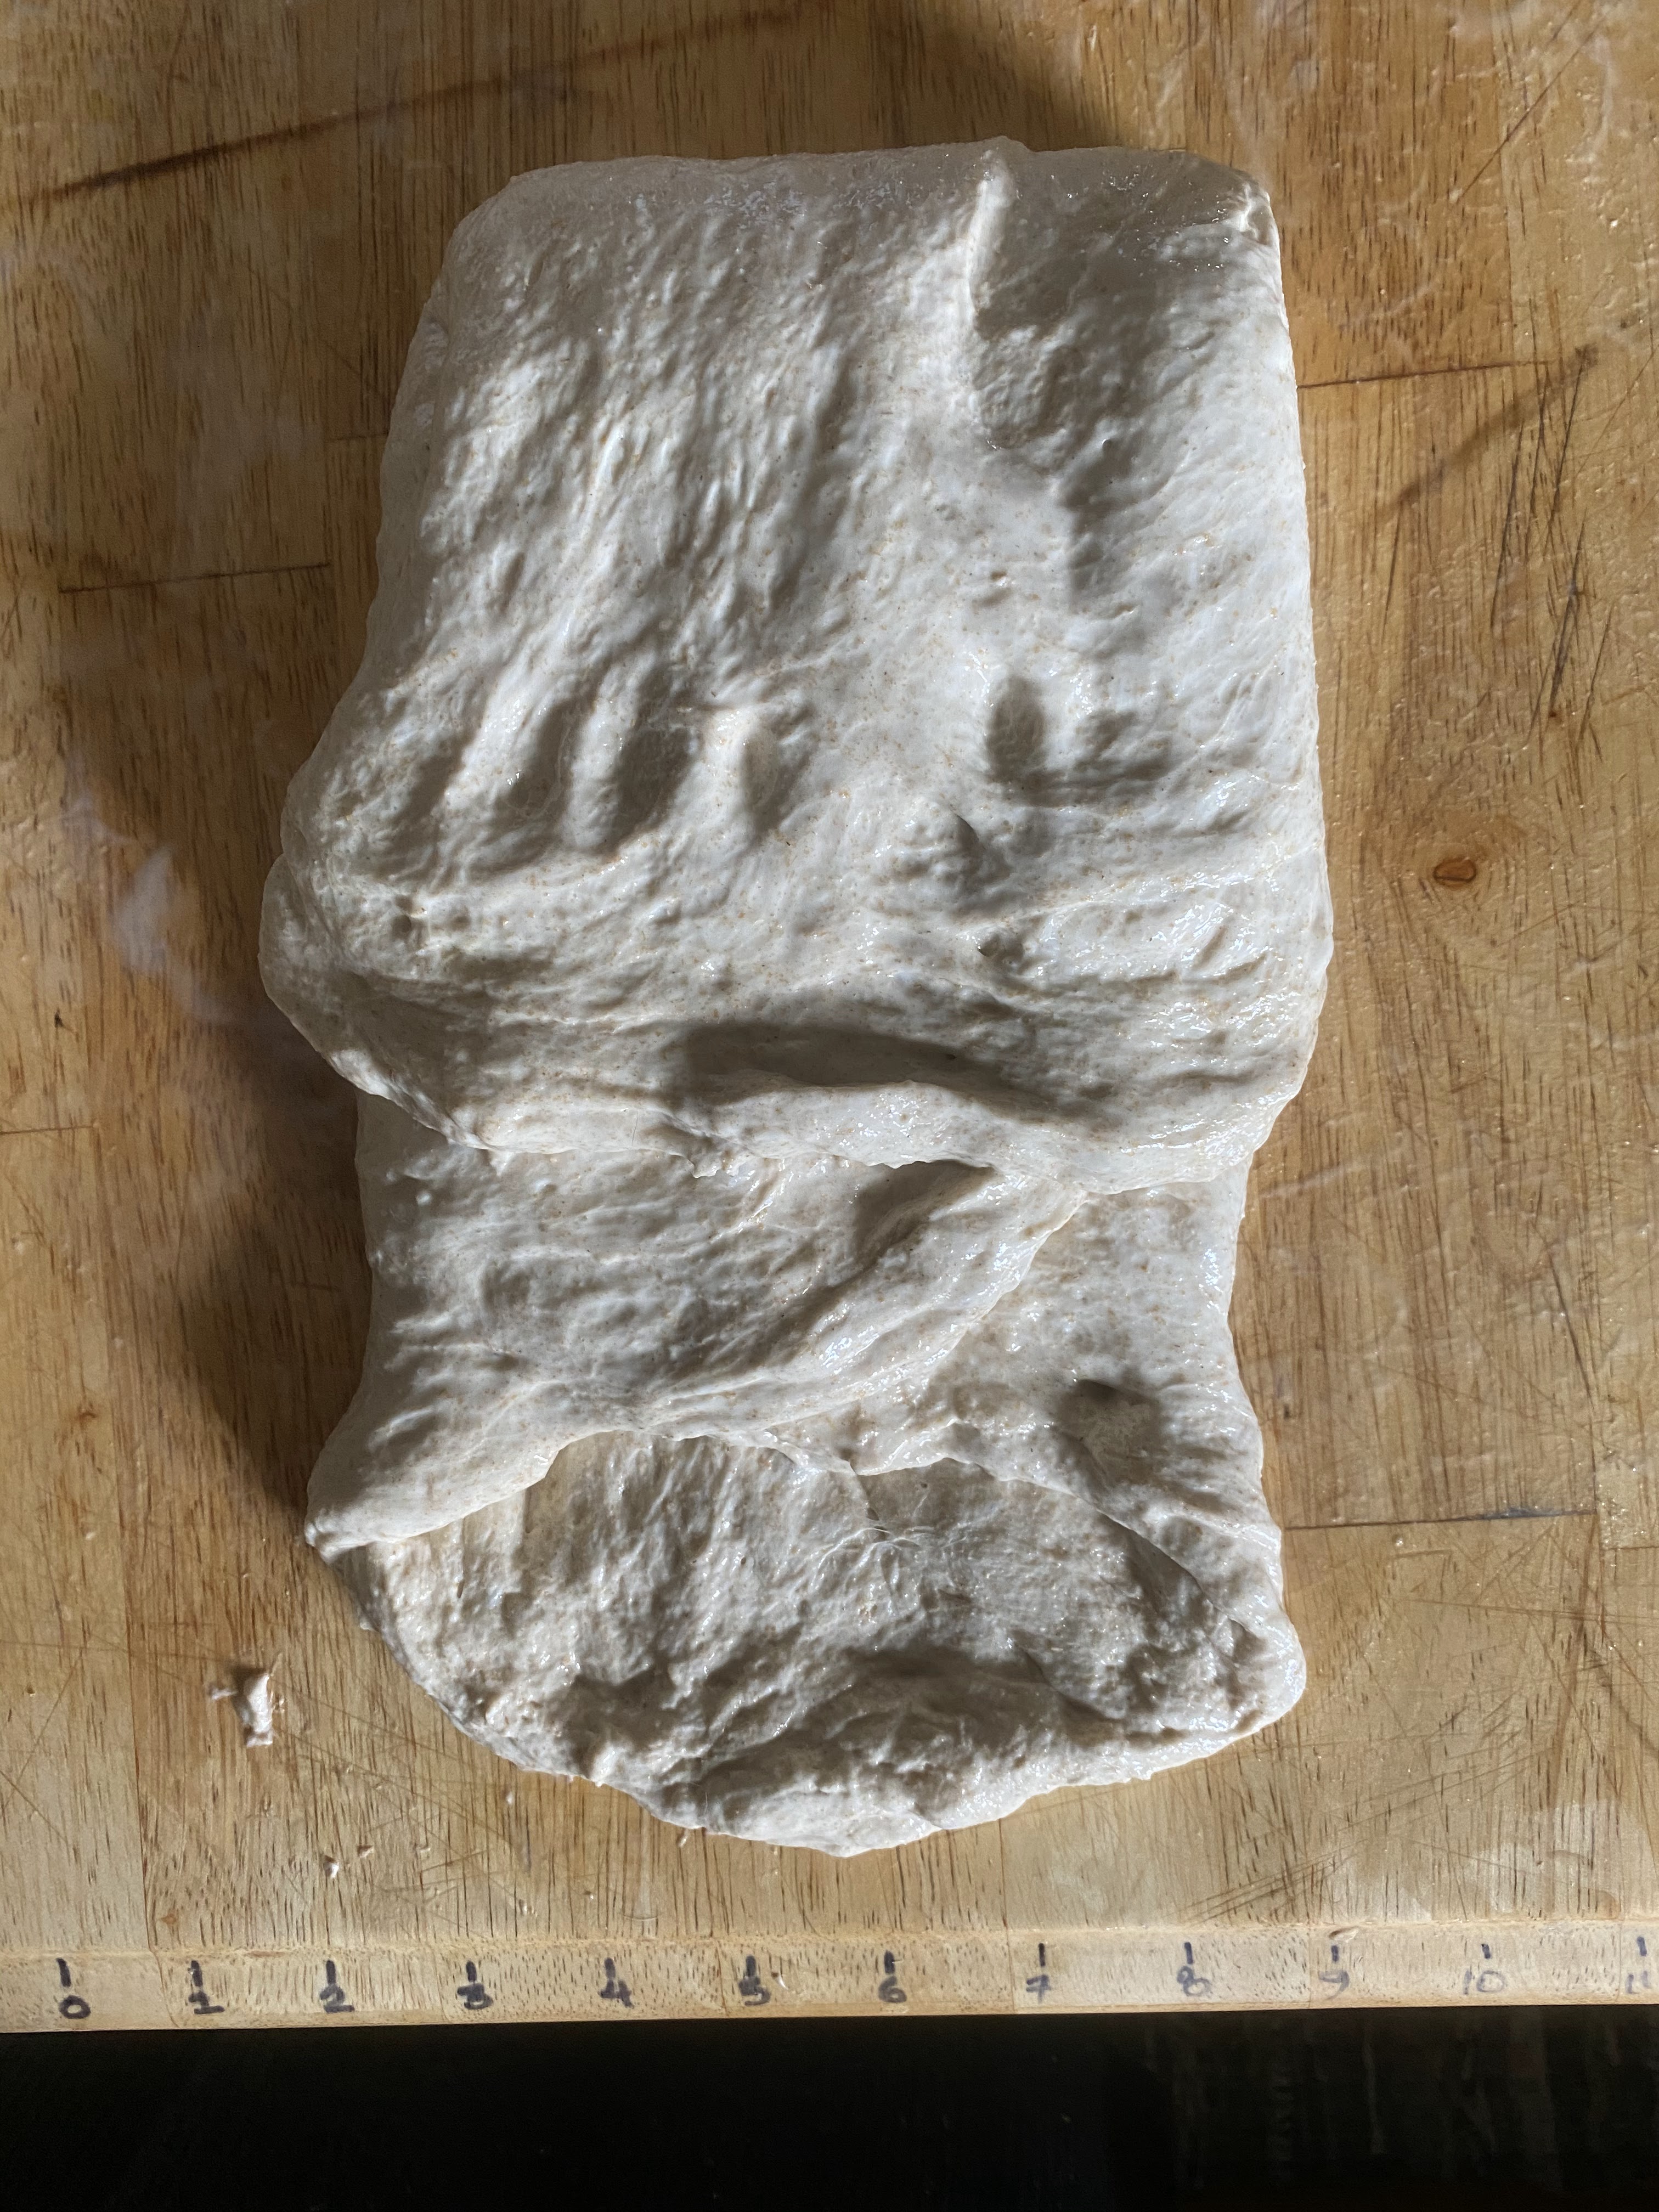
- Now you will do the envelope fold of kneading:
- Pick up the right hand side, stretch it out a bit, then fold the right side over, then fold the left side over on top of that. Then, fold the top portion down and the bottom portion over on top of that. Flip this over and return it to the bowl. Cover and rest 1 hour.
- Repeat this envelope fold knead one more time, cover and rest for another hour.
- You’ll have done 2 envelope kneading cycles and 2 more hours resting for a total of 3 hours.


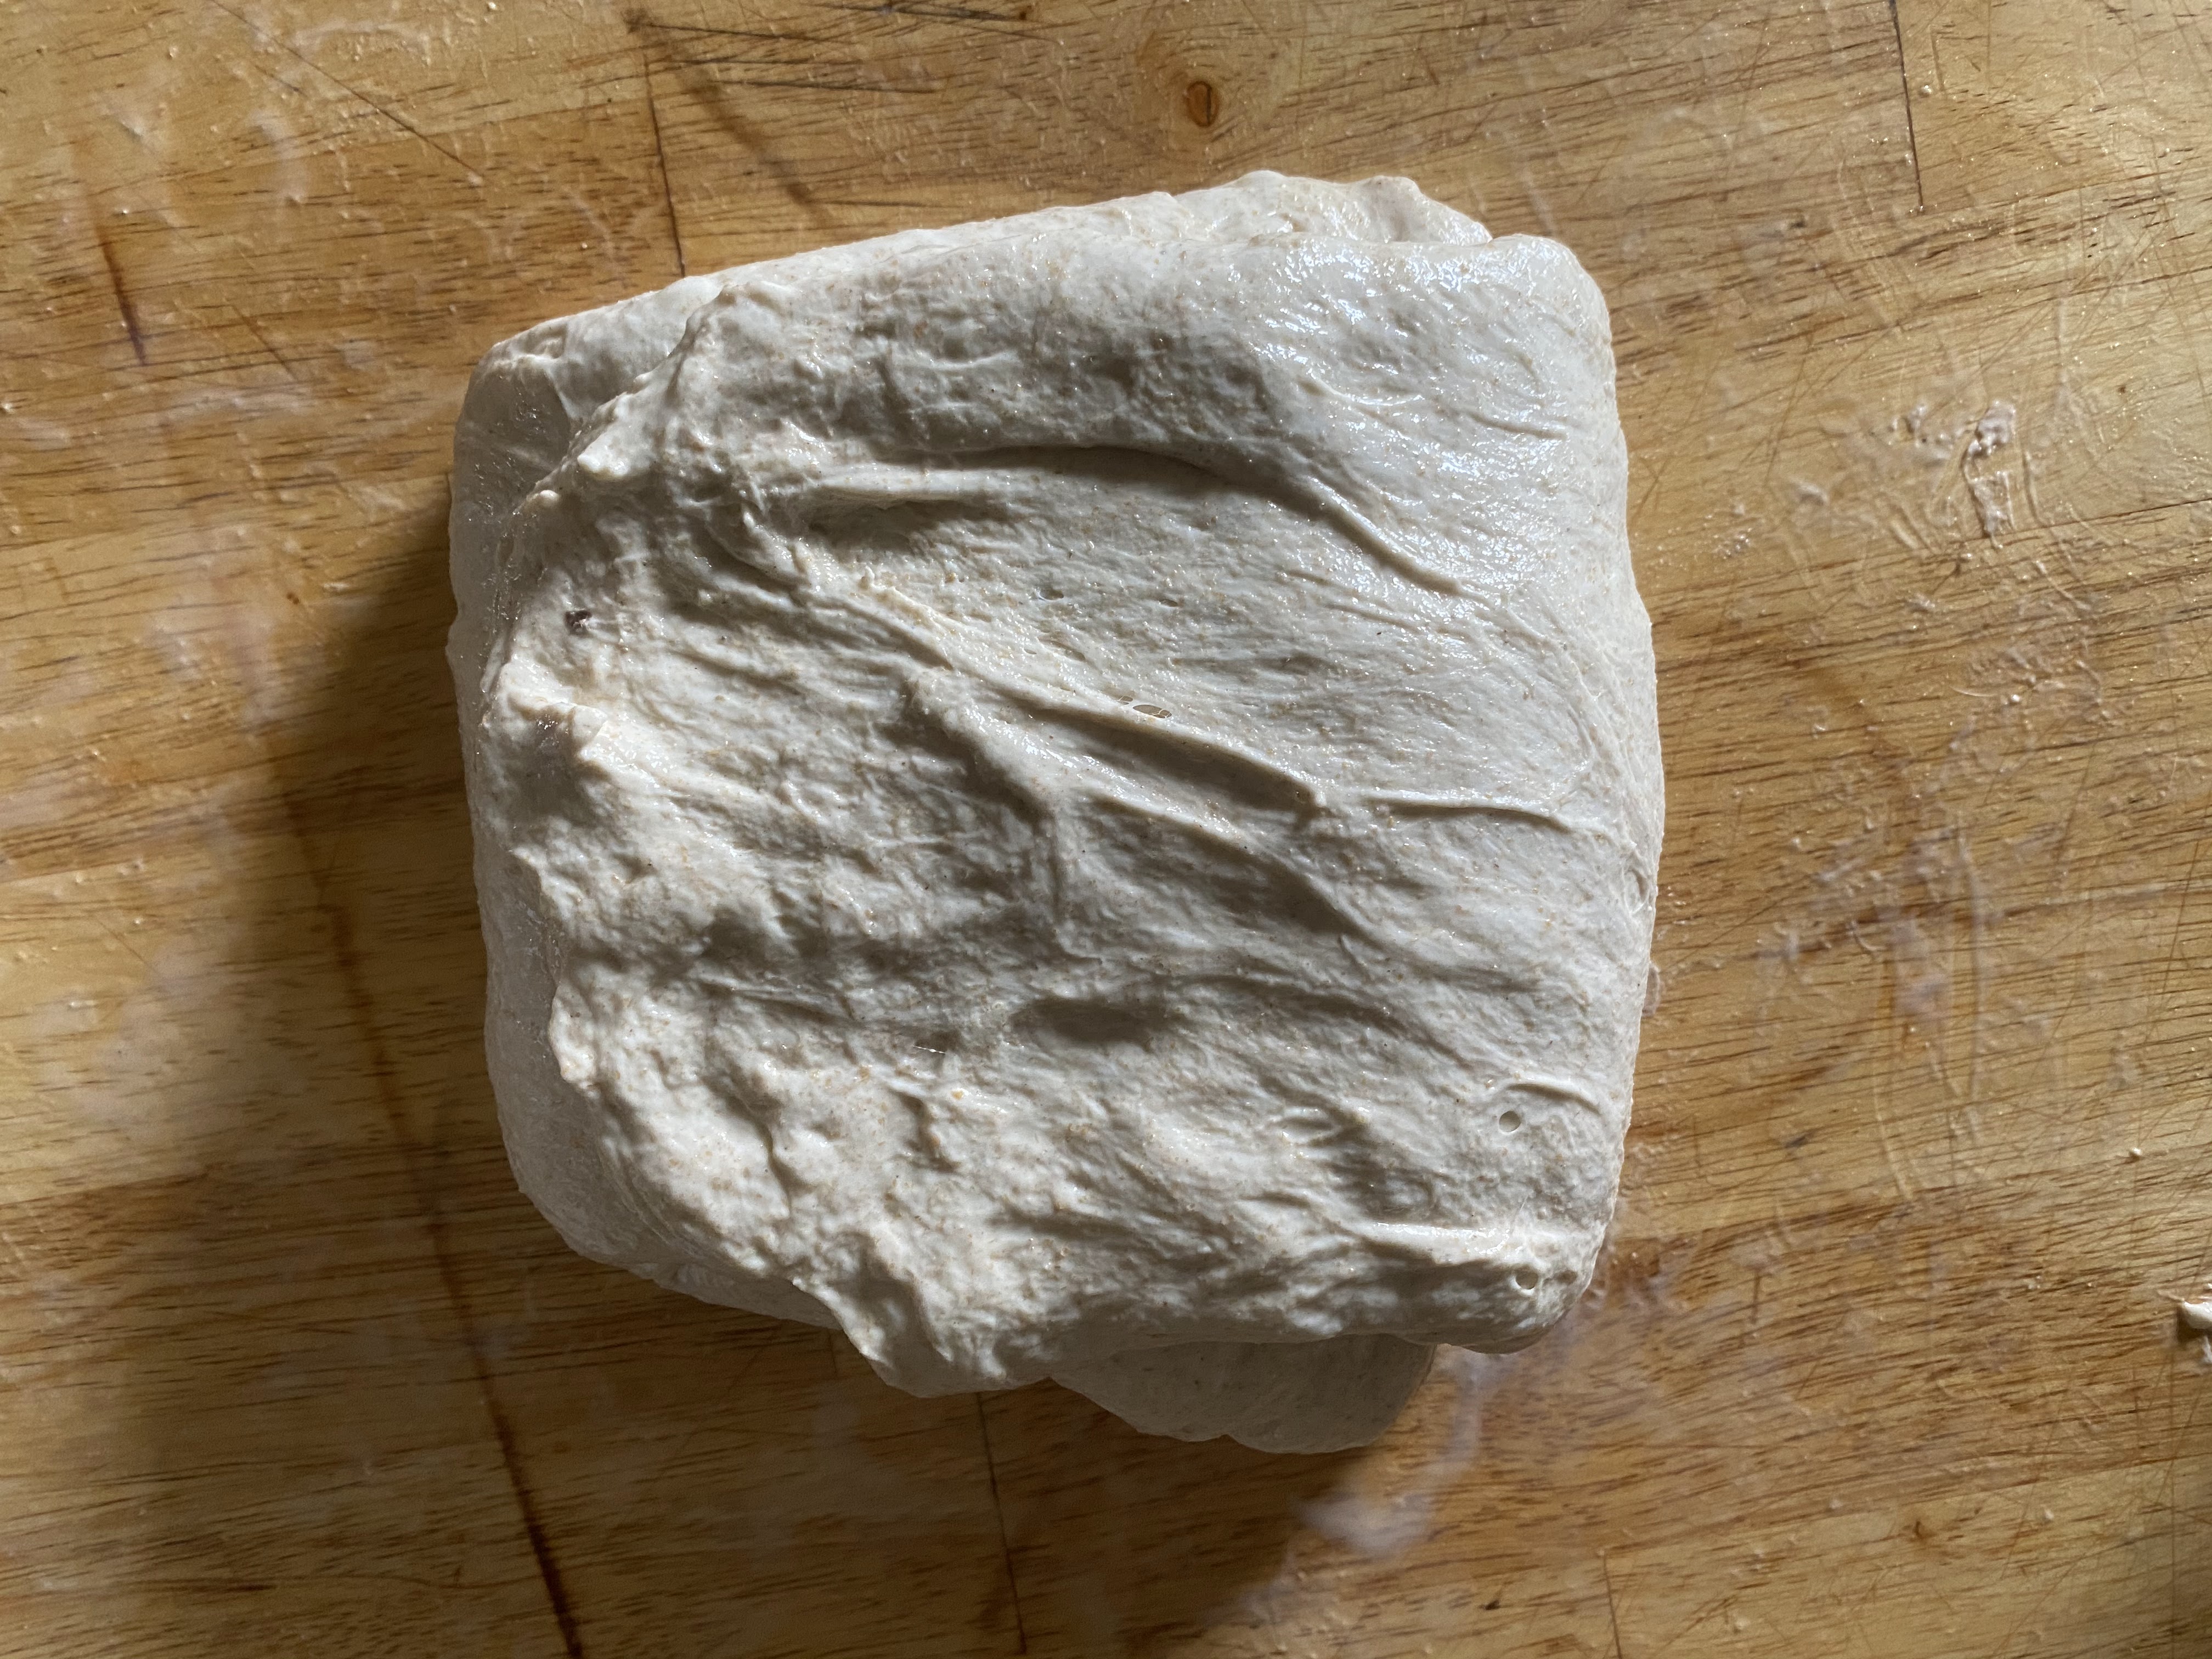
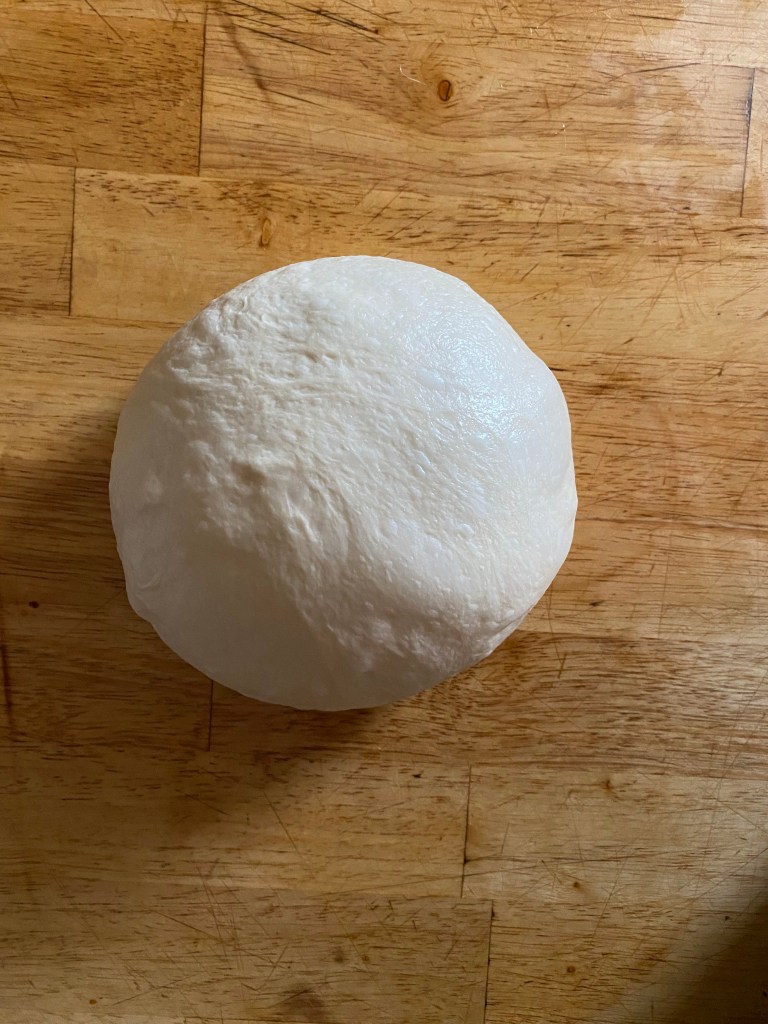
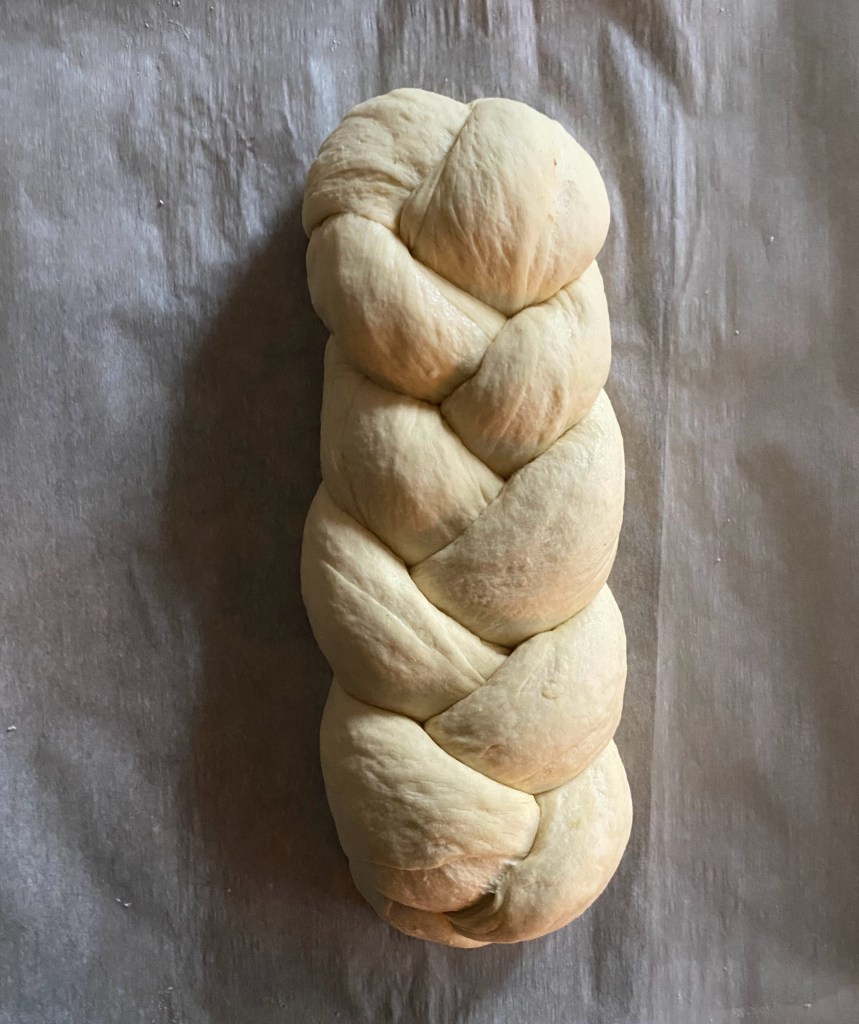
Step 4: Shape
- Remove dough from bowl onto a lightly floured surface.
- Follow along with this “How to shape a batard” video
- Place dough, seam-side up into a floured proofing basket.
- Cover, and let rest for about 30 minutes.
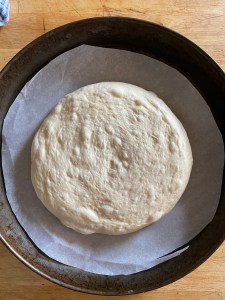
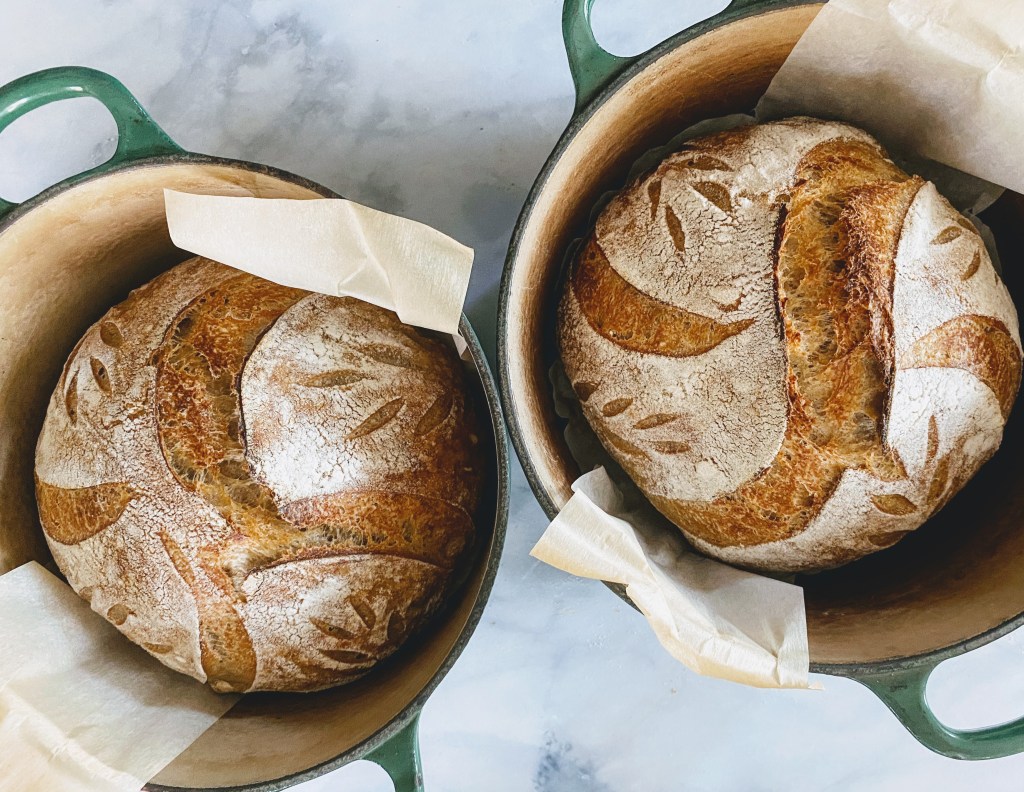
Step 5: Bake
- Cut out a parchment paper sling that will hold the dough and fit in the pot your using to bake the bread.
- Preheat oven to 450, with a Dutch oven, or other heavy pot with a lid, inside.
- Lay the sling over the dough, flip and remove dough from basket.
- Score
- Bake at 425 for about 50 minutes.